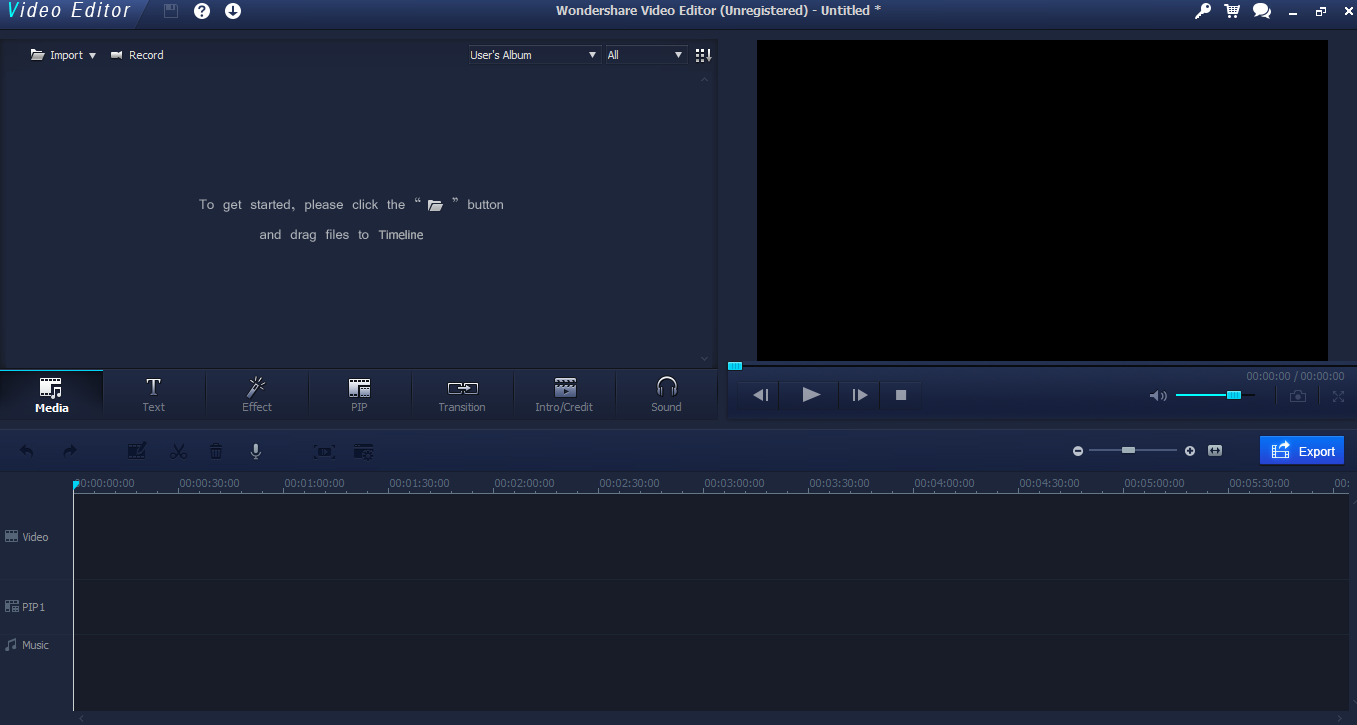
How to Make a Picture Video with Music

Mar 27, 2024• Proven solutions
With modern smartphones having ever more sophisticated cameras people are taking more and more pictures, and with that habit of recording everything we do in picture form, has come a trend for viewing pictures in video form, with added music to provide a full audio/visual experience, rather than looking at simple static pictures. But how do you go about doing that? With the right software it is very easy indeed, and Wondershare Filmora makes it as easy as can be. I’m going to walk you through the process to show just how quickly you can turn your pictures into a multimedia viewing experience.


1. Install Wondershare Filmora (originally Wondershare Video Editor)
As with any software, you start with installing it, you can find the installer here, then once the installer is downloaded, set the installation going. If your firewall software asks about the installer let it connect to the internet to download any updates and after a short while you will be at the menu screen for Video Editor.

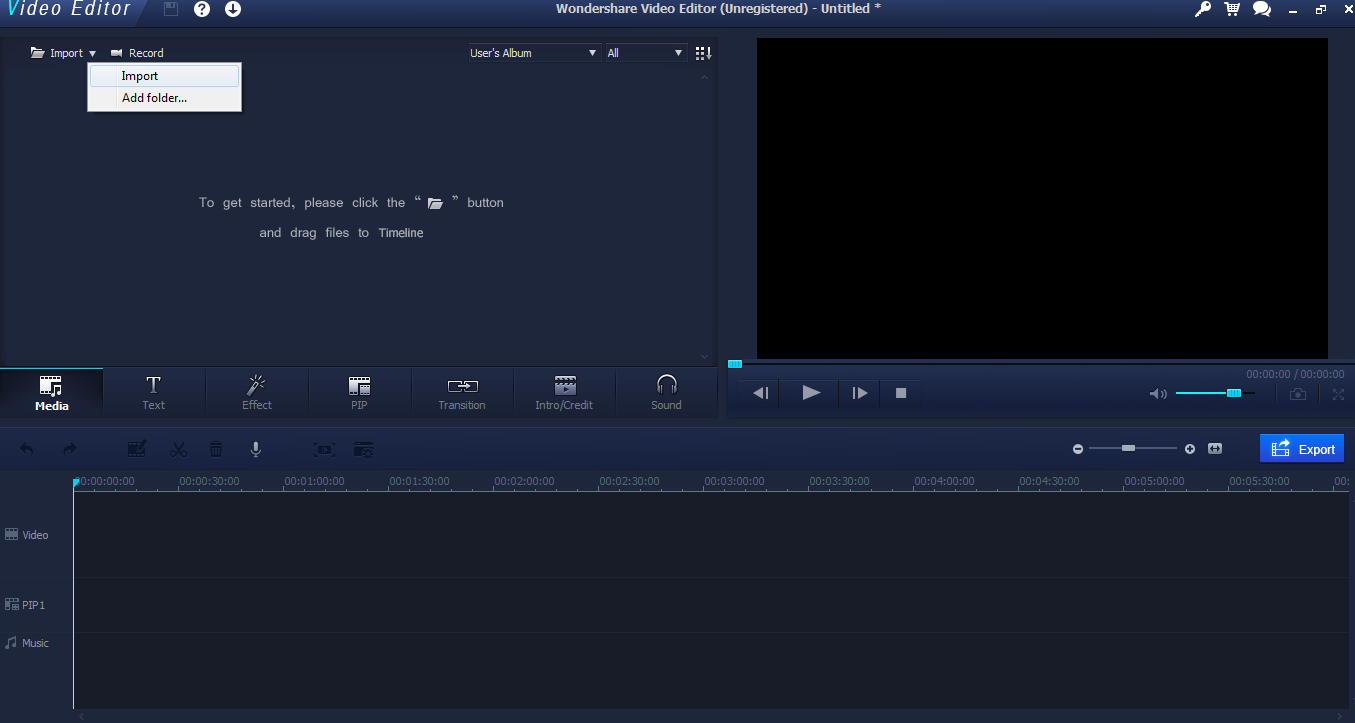
2. Import your pictures
To accomplish this you click on the ‘Import button at the top left, this presents you with two options, import or import folder. The first allows you to import single or multiple files, the latter a whole folder.
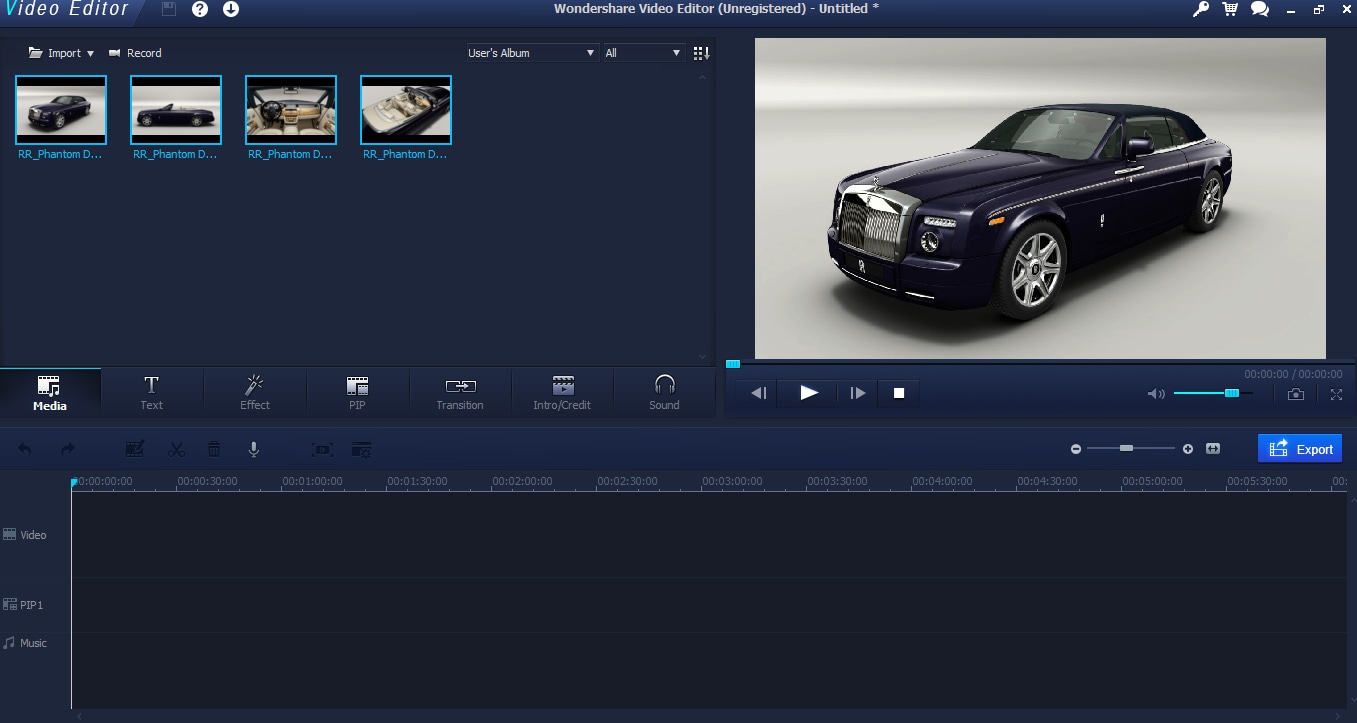
Once you make a selection you get the standard operating file browser, navigate to the files or folder you want and select it. Here I’m making a picture montage so I selected some images of a nice car, by holding down shift I could select them all at once, and then they imported into the program as we see here.
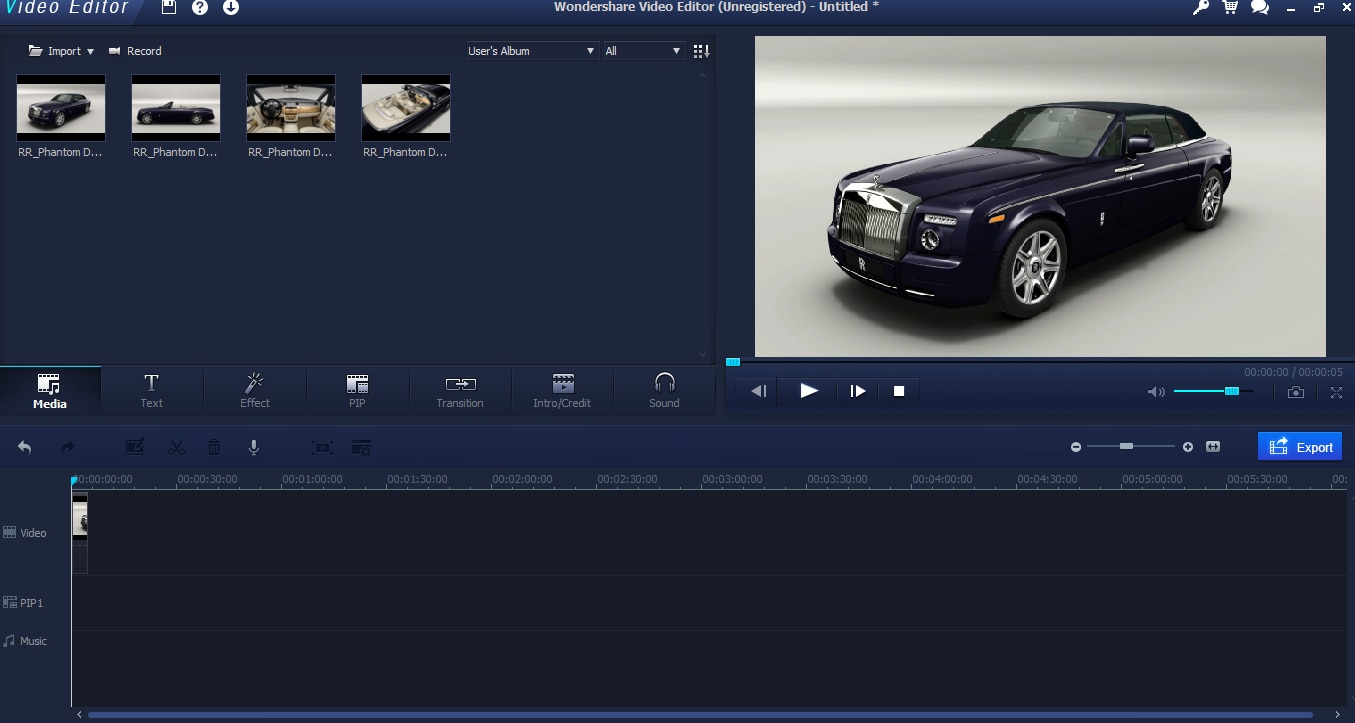
3. Drag and drop pictures to the timeline
As with many video editing software, the workspace is focused on the timeline at the bottom, where you align your footage, effects and audio. You want your video to be made up from your picturea, ao they need to be in the video section. Simply take your first picture and drag it to the video area, as we can see here.
Now, you can probably see the problem here. That picture doesn’t take up much space. The width of the picture is representative of the time on screen, and as we can see by default this is only around 1 second. This may suit for some types of video montage, but here I am working with only 4 images, so I need it to last longer than that.
4. Edit in timeline and preview in screen
Luckily enough this is easy in Video Editor, by selecting the image in the timeline I can drag it out to the duration I want, here I’m going for 20 seconds to make a nice montage.
5. More editing tools like effects, transitions, picture in pictures
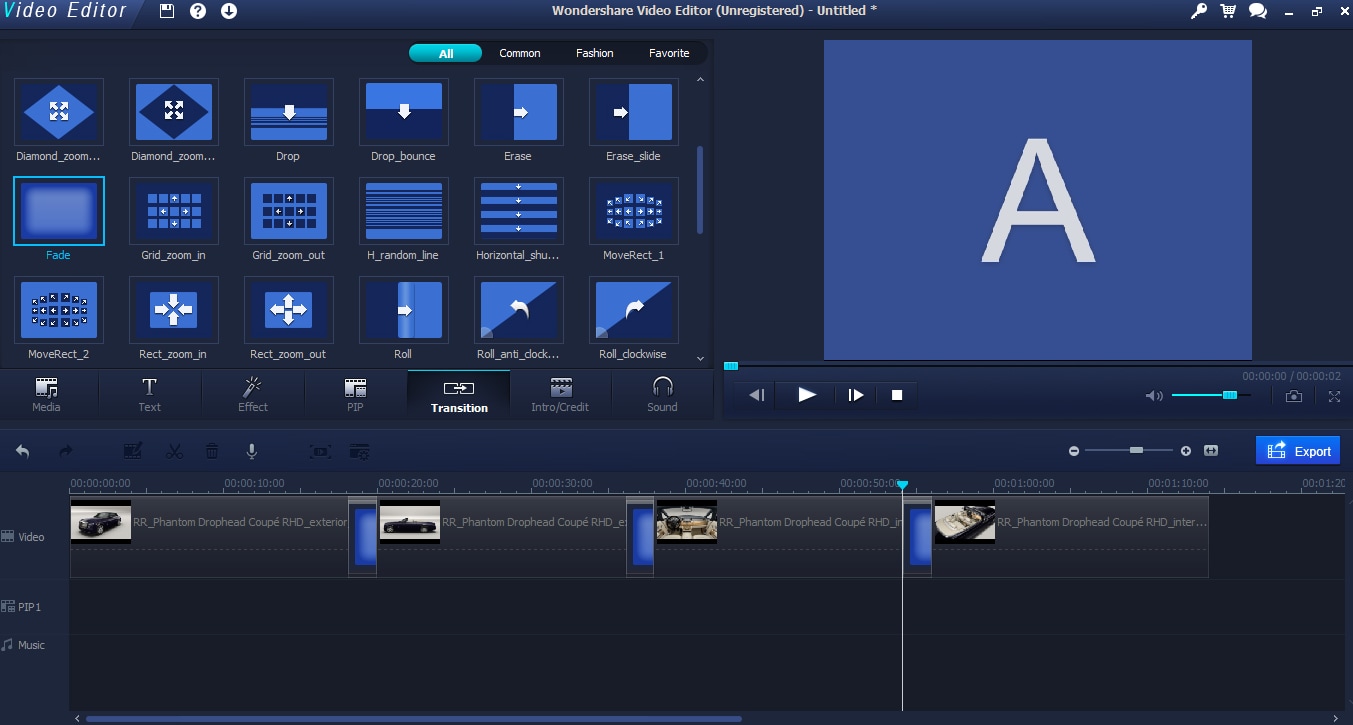
Video editor allows you to add some nice effects very quickly and easily as you go along. You can add transitions between your pictures, this is the way they swap. This is done by selecting transitions from the object menu and simply dragging one to the place where two pictures meet. When you select a transition, you can preview it in the video screen to see what it will look like.
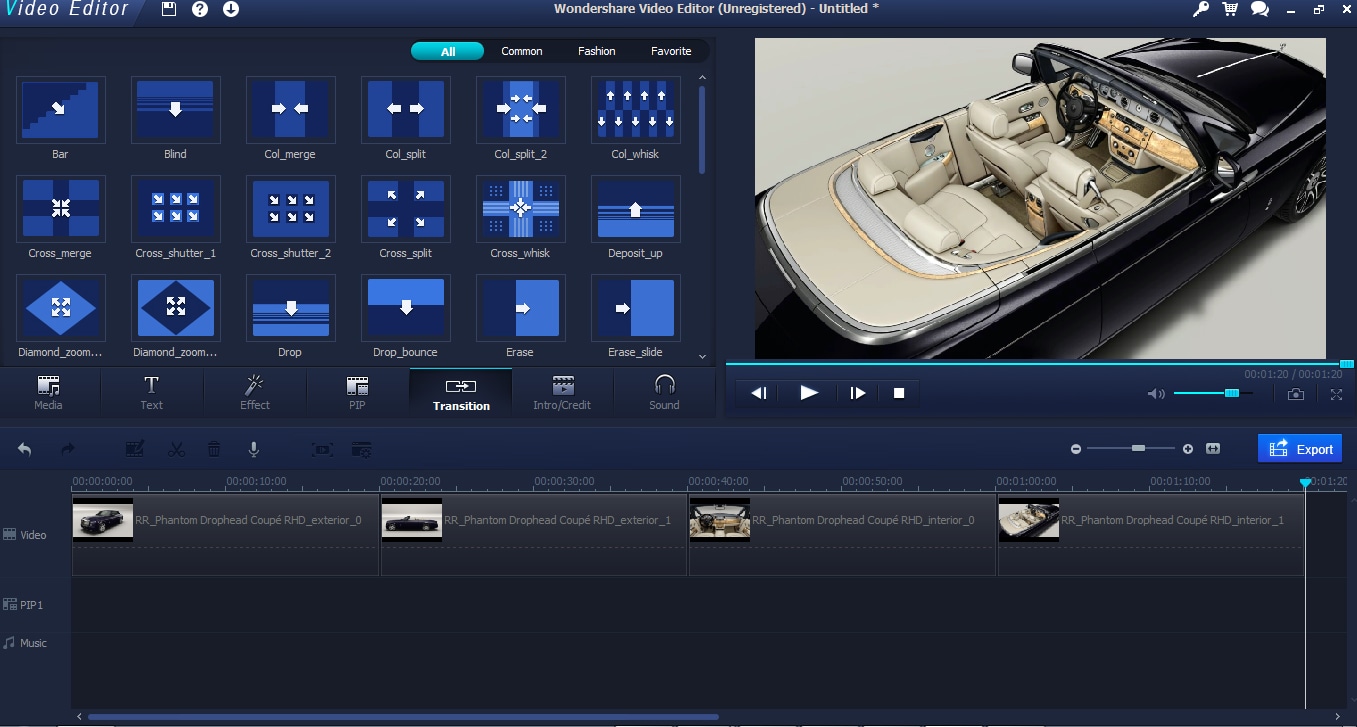
I settled on a fade effect for my pictures and added on at each change of image. It automatically sets the time and so on itself, just drag it to the join and that’s it.
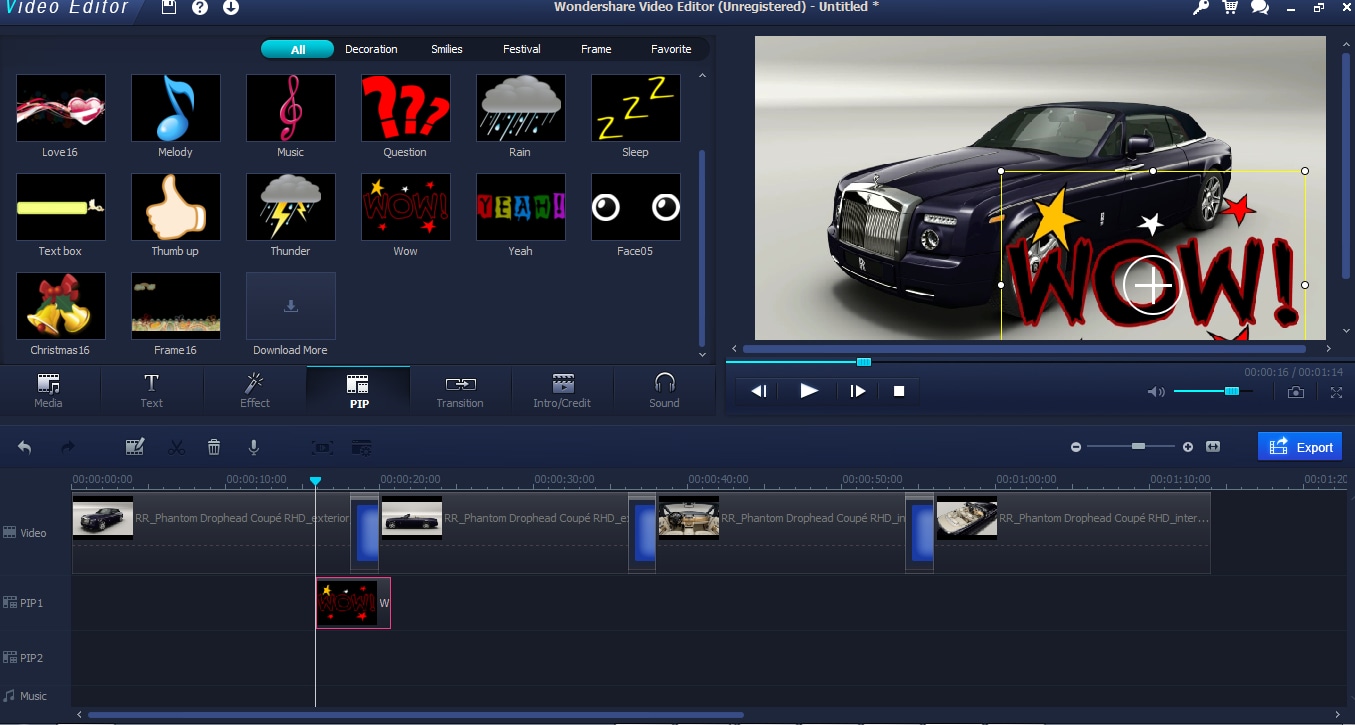
The other effect you can add are the PIP effects, by selecting the PIP tab of the object menu you can see a wide variety of things you can add to your video.
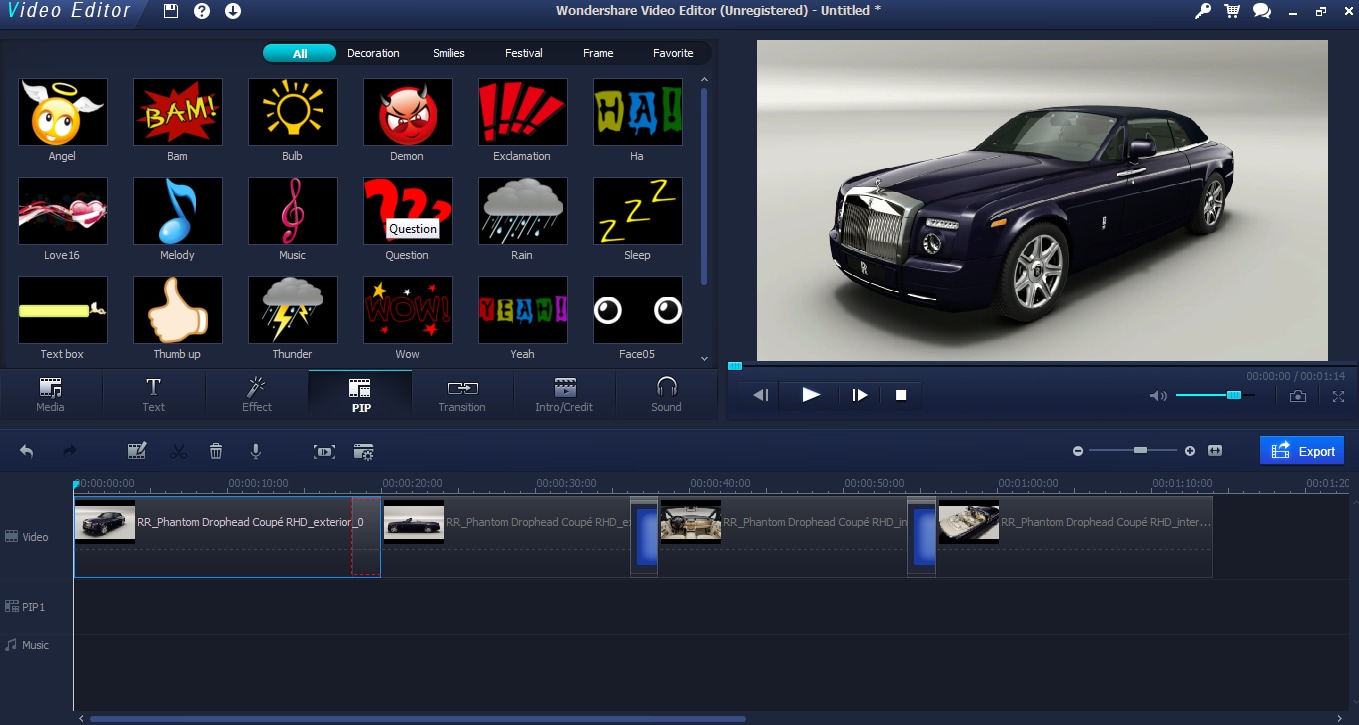
These work in the same way transitions do, in that you choose one and drag it down to the timeline. PIP objects have their own section though, below the video portion.
Once there, you can adjust how long they are on screen in the timeline as normal, and in the video player you can adjust size and placement as we can see in this screenshot.
I chose not to have any PIP objects in my video in the end, but there are effects for all kinds of videos there plus more to download from Wondershare.
6. Add music to pictures
The next step is to add some music. Unless you plan on using the included sound effects, you will want to go back to the import button, and import the music you want to use. It is then displayed in the media area.
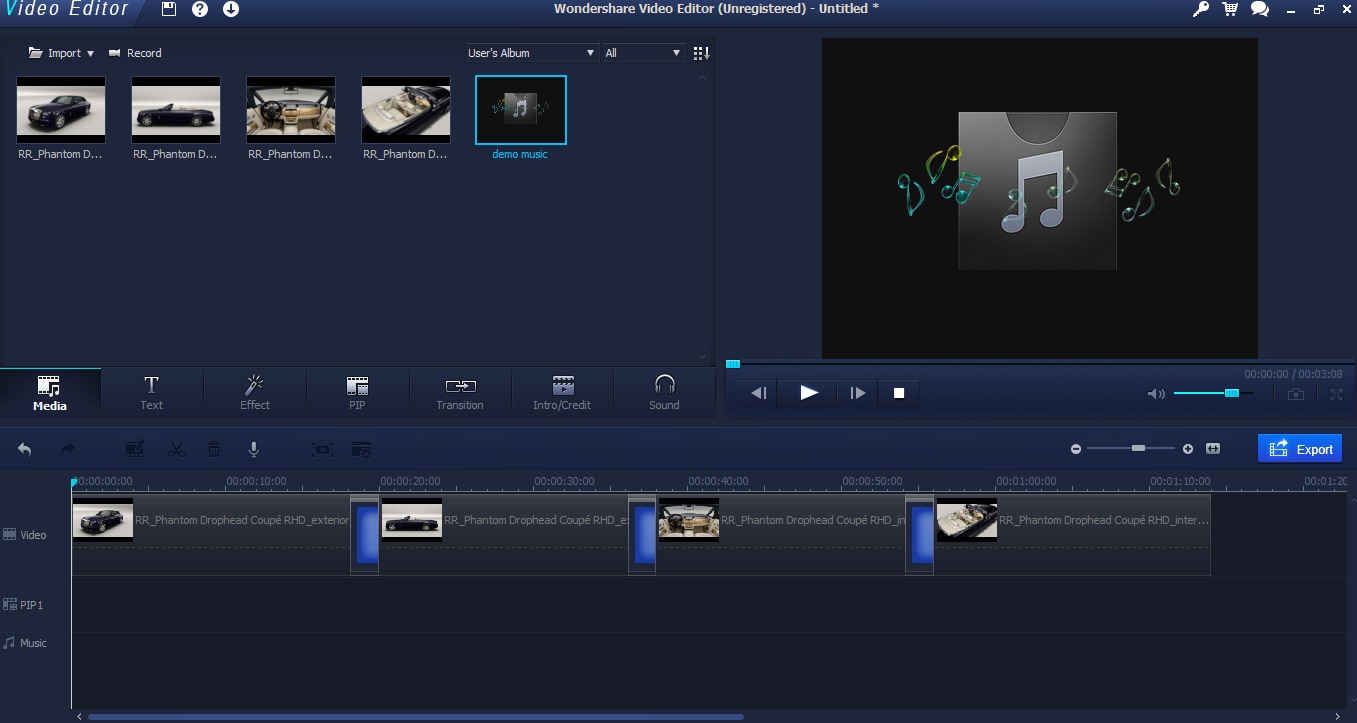
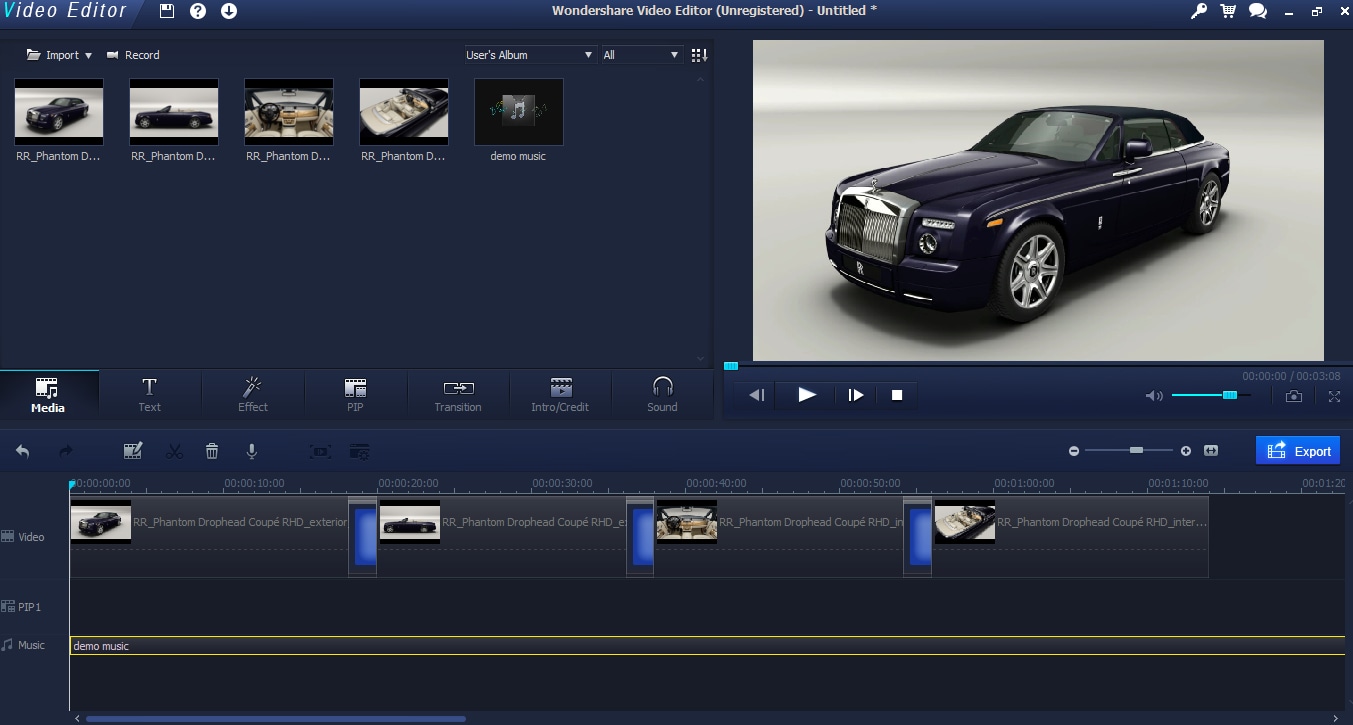
Once in your media you can, as with everything else, drag it down onto the timeline. Music has its own space on the timeline, so drag your file to the bottom.
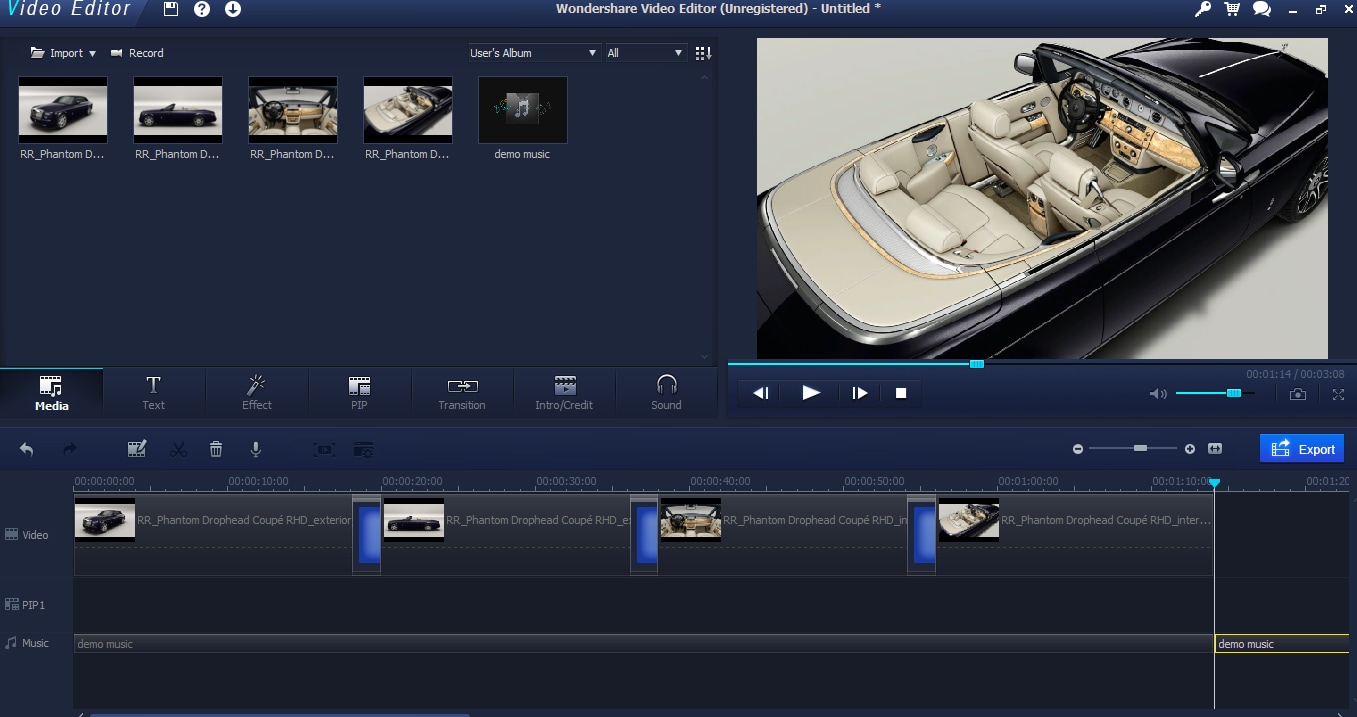
Now, unless you have planned this very well indeed, your music file will not be the same length as your video. Here it is much shorter. This is not a problem however, you can make everything stop at the same time. First take your guide to the very end of the images so you have a clear indication of where you want to cut off the music.

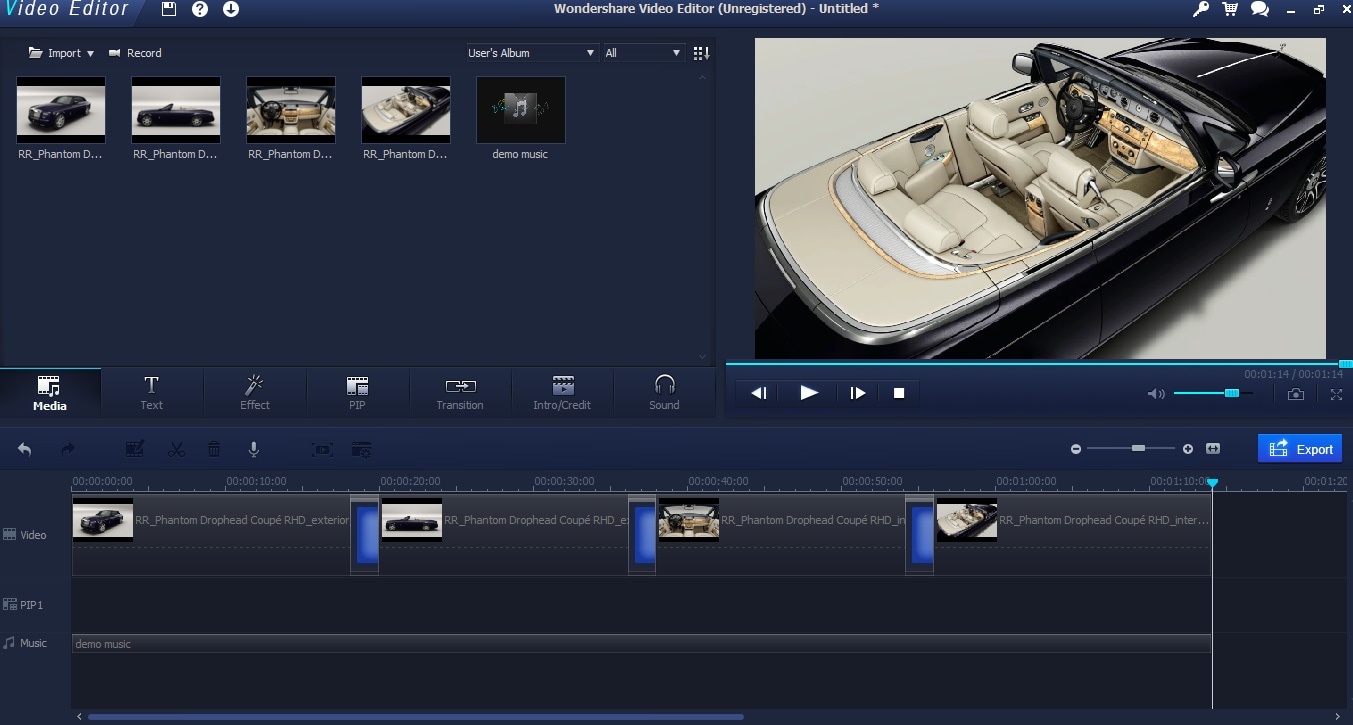
Then you select split from the timeline menu, that is the ‘scissors’ image just above the video timeline. Make sure that your music track is highlighted, clicking split will split the music track in two exactly where the playback guide is, as we can see here.
Now I can select the track after the end of the pictures and just delete it.
Then we have our music and video in sync.
7. Final touches and export
After we have everything set, you can make it a bit more polished by selecting the edit button with the music track selected and bringing up the music edit menu.
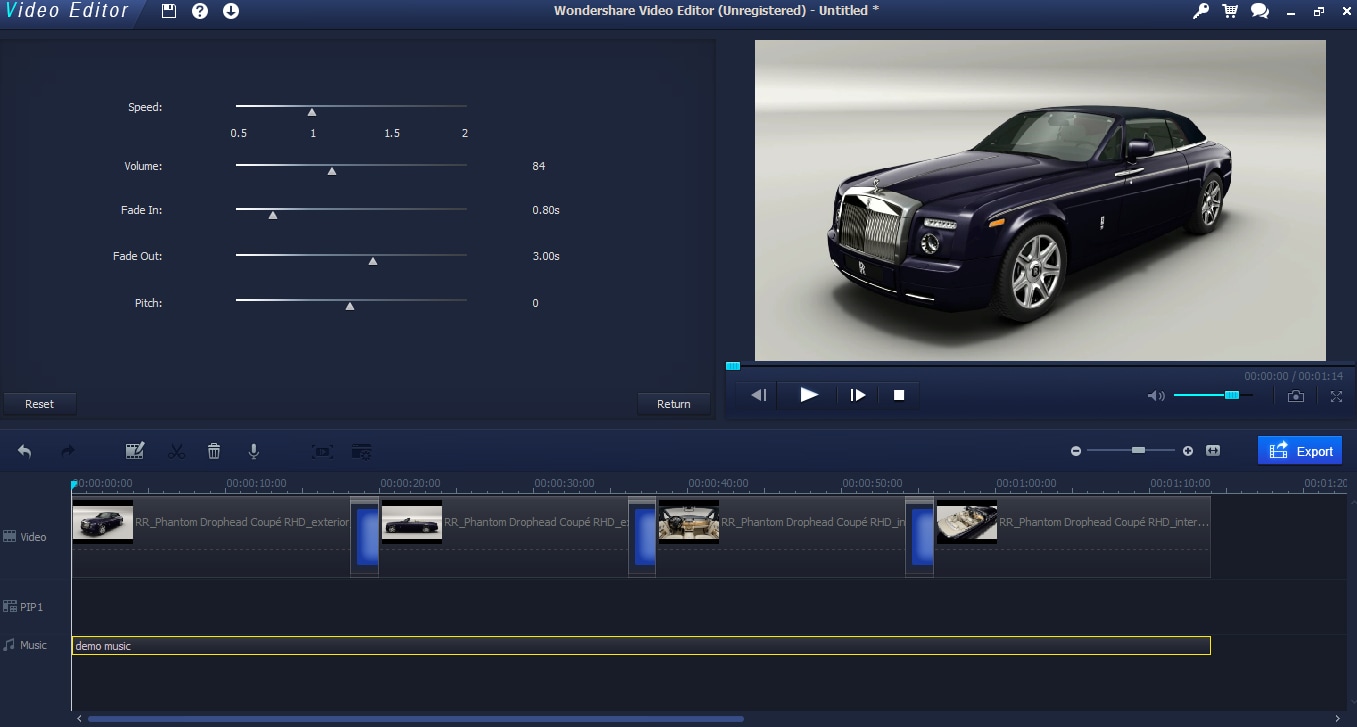
Here I’ve added a fade out over 3 seconds at the end of the video, and a short fade in so it doesn’t just immediately come on.
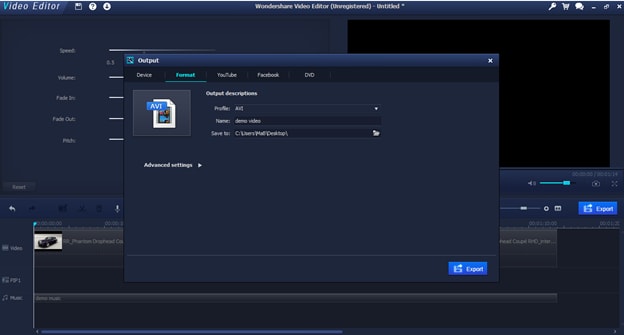
Finally, once you are happy with everything, it is time to export the video.
Selecting the Export button takes you to this menu where you can choose what format you want the video in. Helpfully there are prests for various devices such as iPhones, Playstations and so on, as well as DVD output all built in. You can also manually choose a format and where you want the file exported. Once all the choices are made, click Export and the file will be processed.
And that is it! You have just created a nice video with music and pictures with Wondershare Video editor. Download the free trial version of this video editing tool below.
Here is best video slideshow maker to make video with still photos and music to share life's memorable moments in an unforgettable way.
by Liza Brown Mar 27, 2024 11:08 AM
In this article, we introduce you to 17 music websites that you can download the perfect background music for your video editing. Find free music now!
by Liza Brown Mar 27, 2024 11:08 AM
How to add music to video on various devices? This article listed 3 different ways for adding background music to video on computers, mobiles, and the web.
by Liza Brown Mar 27, 2024 11:08 AM
Liza Brown
chief Editor