Have you ever wanted to film from home but missing some filming gear? You still haven't acted because of a limited budget. Well, in this article, we will share 5 tips and tricks to help you film at home. So let's dive into it.
In this article
Part 1. Hack. DIY A Flag for Lighting Control
When we set up the light near the subject, the light might be leaked onto the background. So, we may need to shape it to block the light from hitting the background.
On film sets and studios, the professionals use flags to absorb and make shapes of light. A flag is a thick black fabric that does not reflect light. To make your flag at home, you can try cardboard and a black t-shirt.
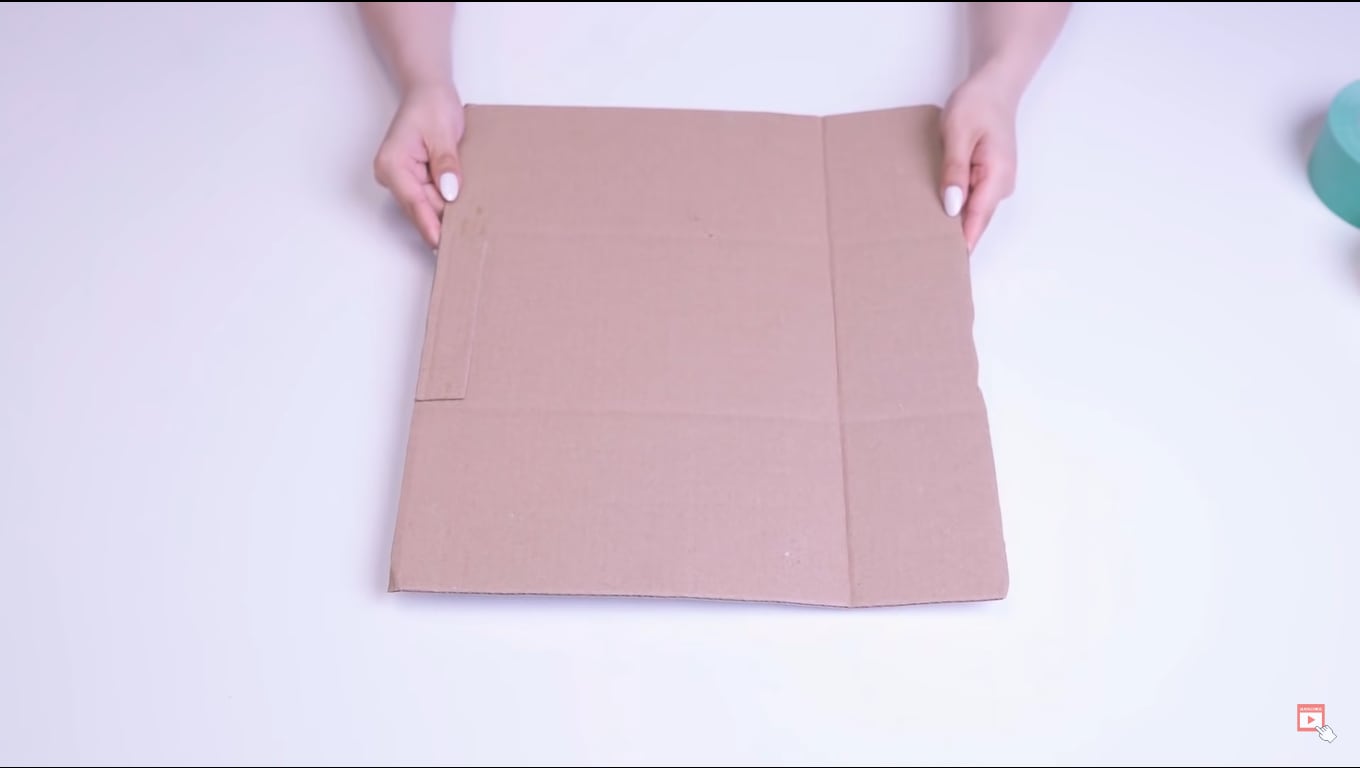
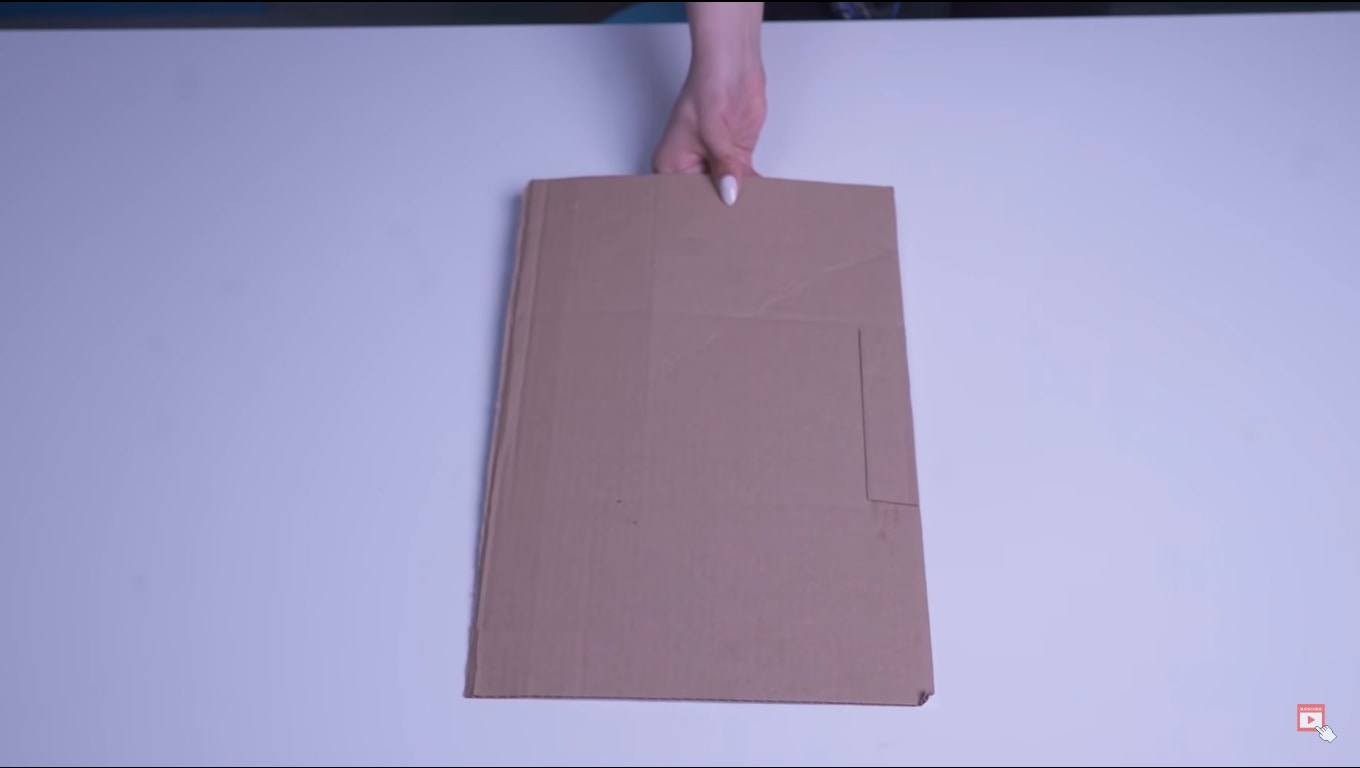
1. A Cardboard
You can buy it from a nearby stationery store. Ensure the cardboard is not too big to fit the t-shirt around the board.
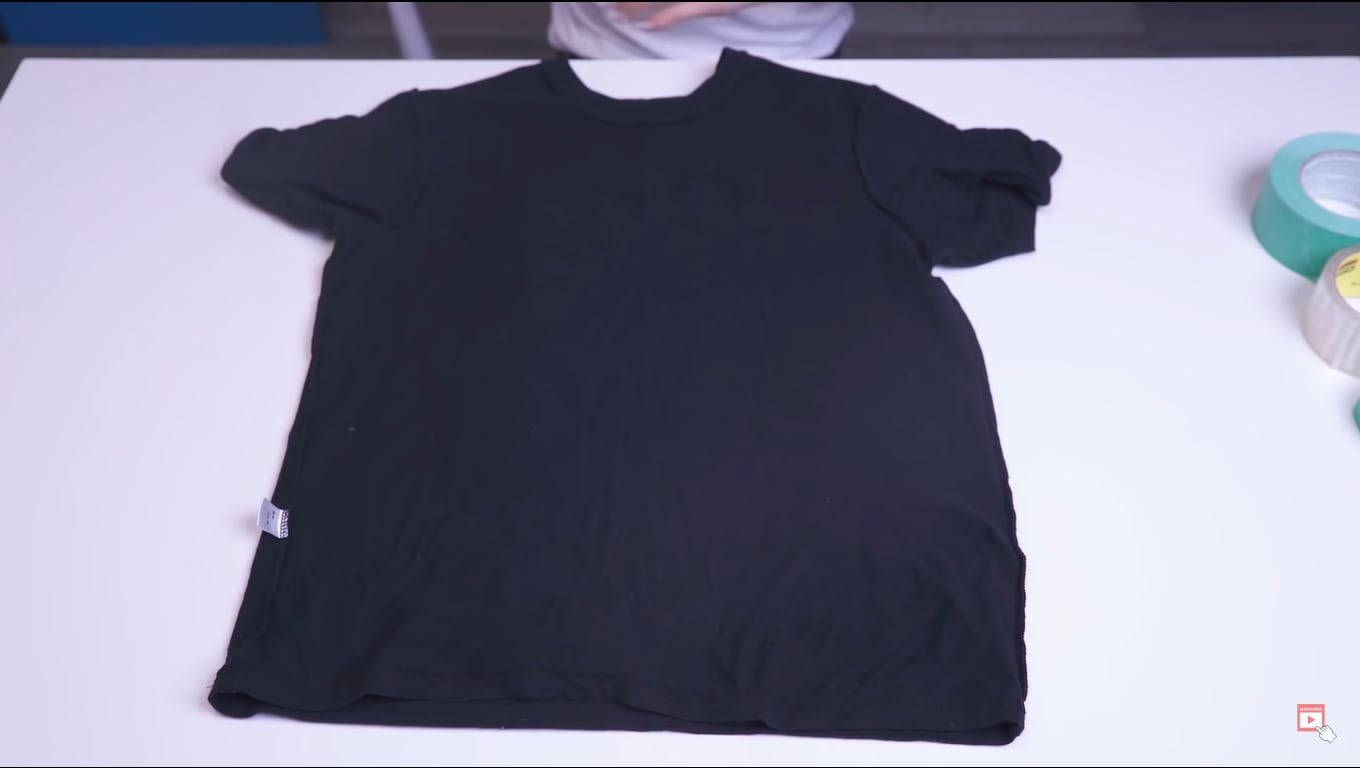
2. A Black T-shirt
For the black t-shirt, you can use an old t-shirt that you don't wear anymore. You can also find these shirts at your local thrift shop.
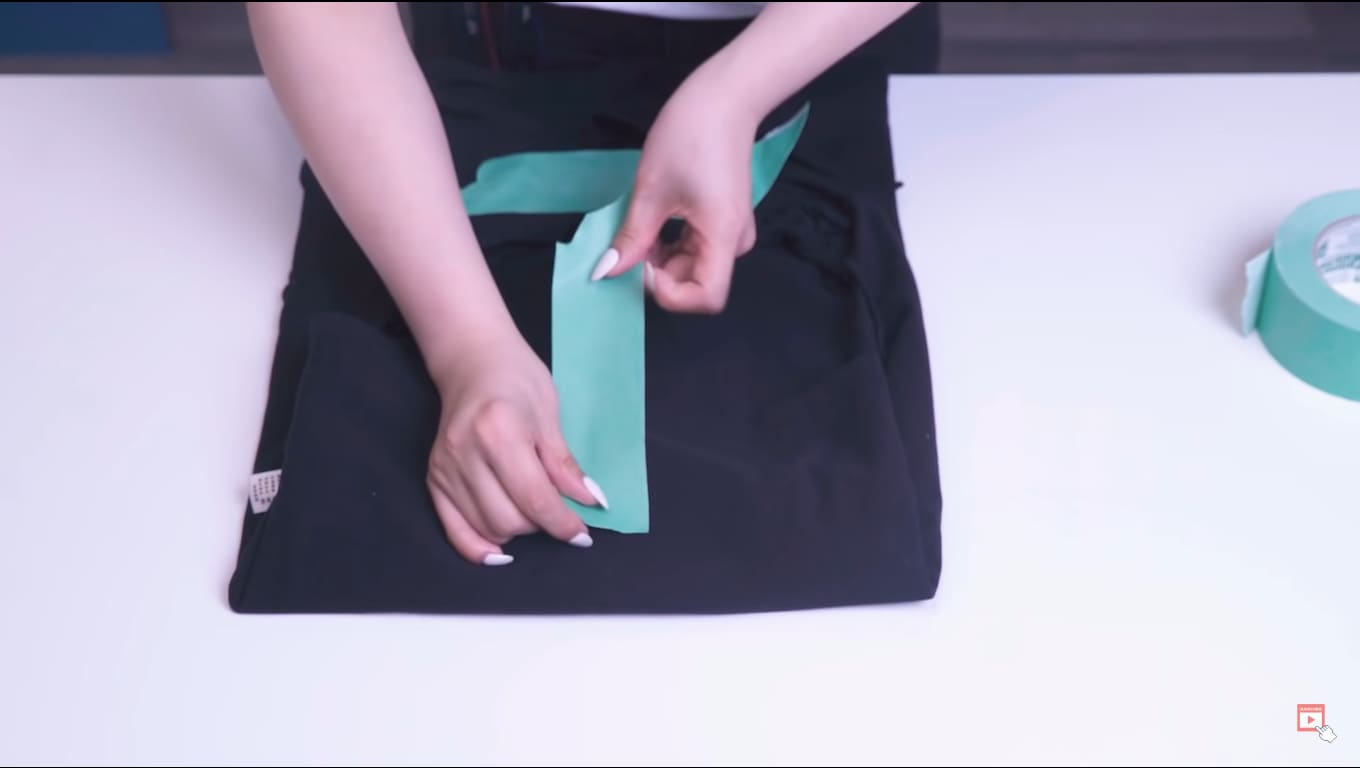
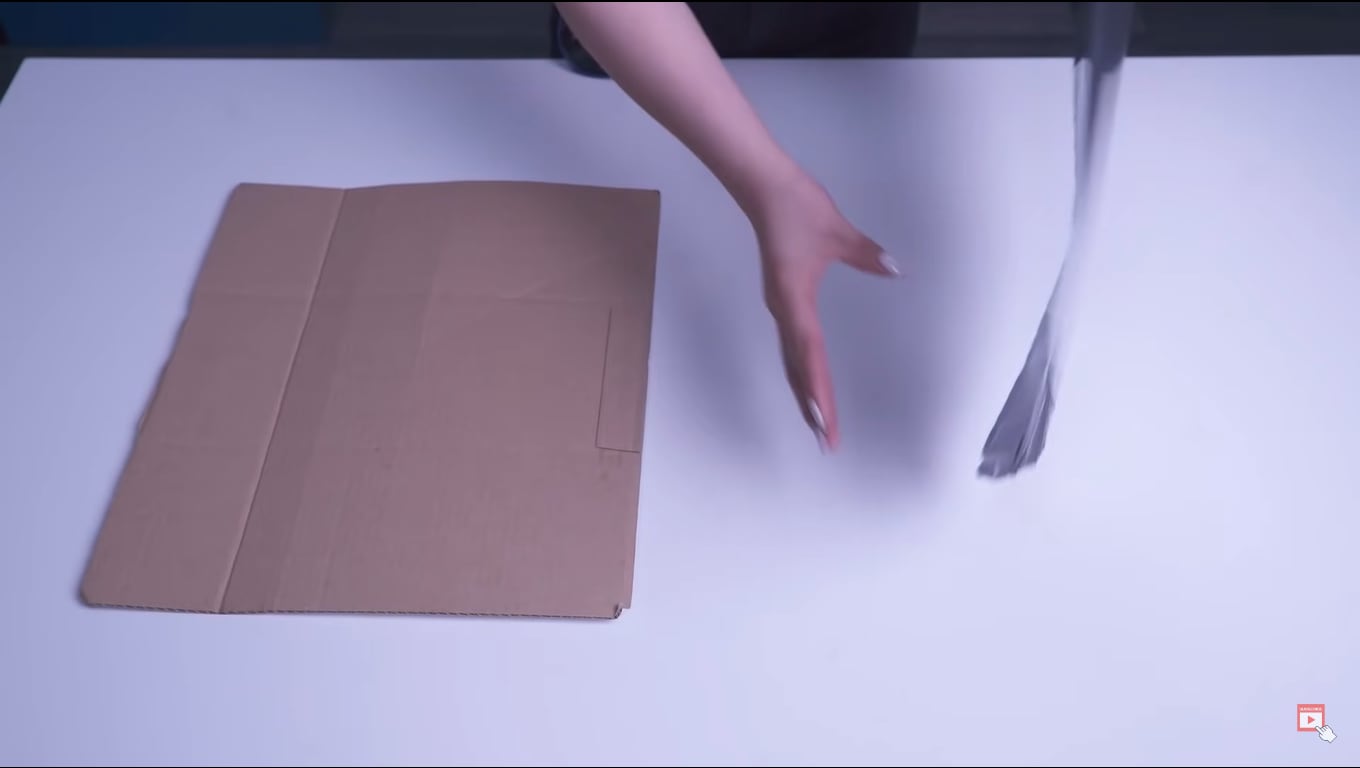
After managing all the required things, you must wrap and secure the t-shirt around the board. If the size of the t-shirt is larger than cardboard, tie the sleeves to secure the t-shirt. Or you can also use tape to secure the t-shirt and fasten it on the backside.
With this DIY flag, you can now easily give shape and block the light while filming at home. Warnings: Some fabrics are not fireproof, so always keep an eye on the flag.
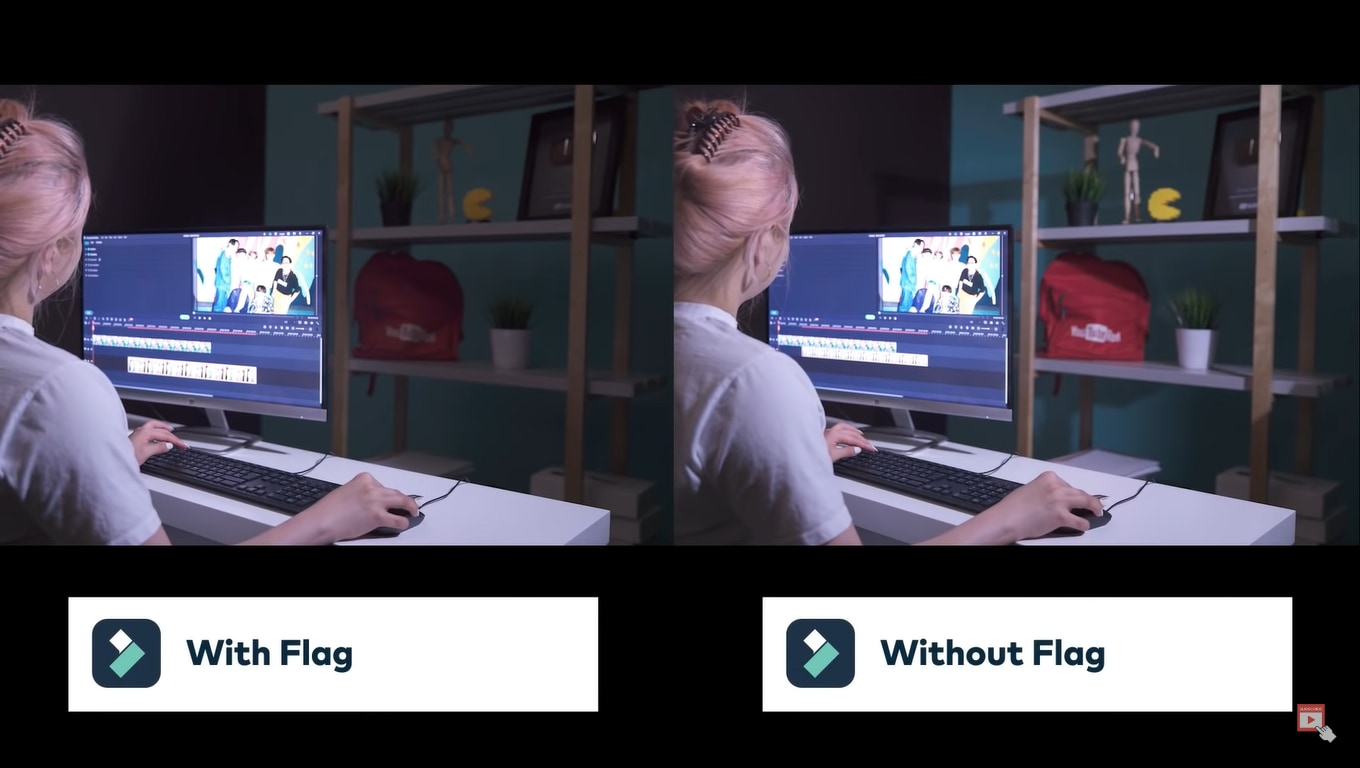
Final Results for the Flag Light Shaping
After filming the video, see the precise results before using the flag, when the light is dispersed everywhere, which makes a euphoric effect. While after using the flag, the light is only glimpsing the subject.
Part 2. Hack. DIY Black Wrap or Cinewrap
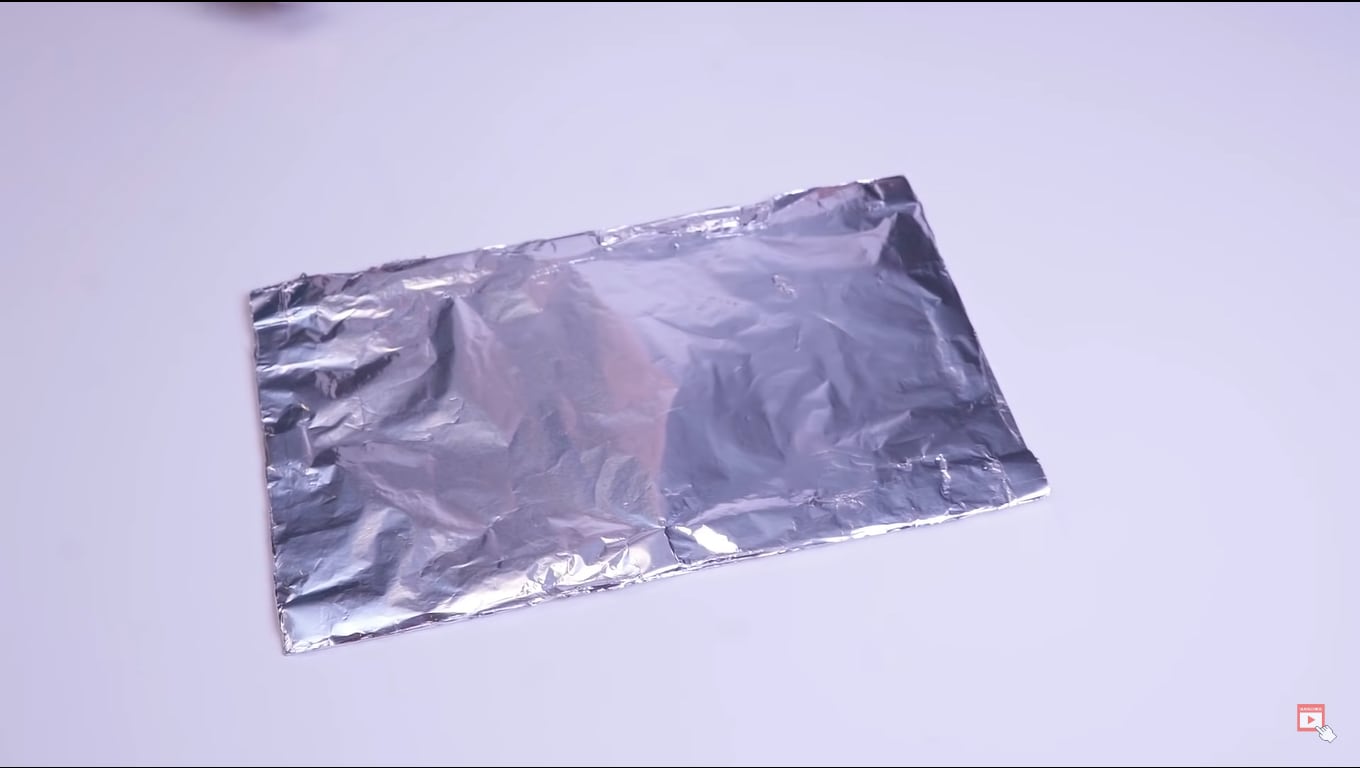
The black wrap is used in professional studios and set up to block and shape light. You can block light by directly giving shape to LED lightbulbs. The black wrap is made mainly of aluminum, so it's easy to provide forms for different lights.
The aluminum foils used in households have the same characteristics as a black wrap, so that you can use it as an alternative. Look at the following requirement to make it! To make a black wrap, you need two household tools. There is no need to get pricey things from the market. For this, follow the below outlines of the tools!
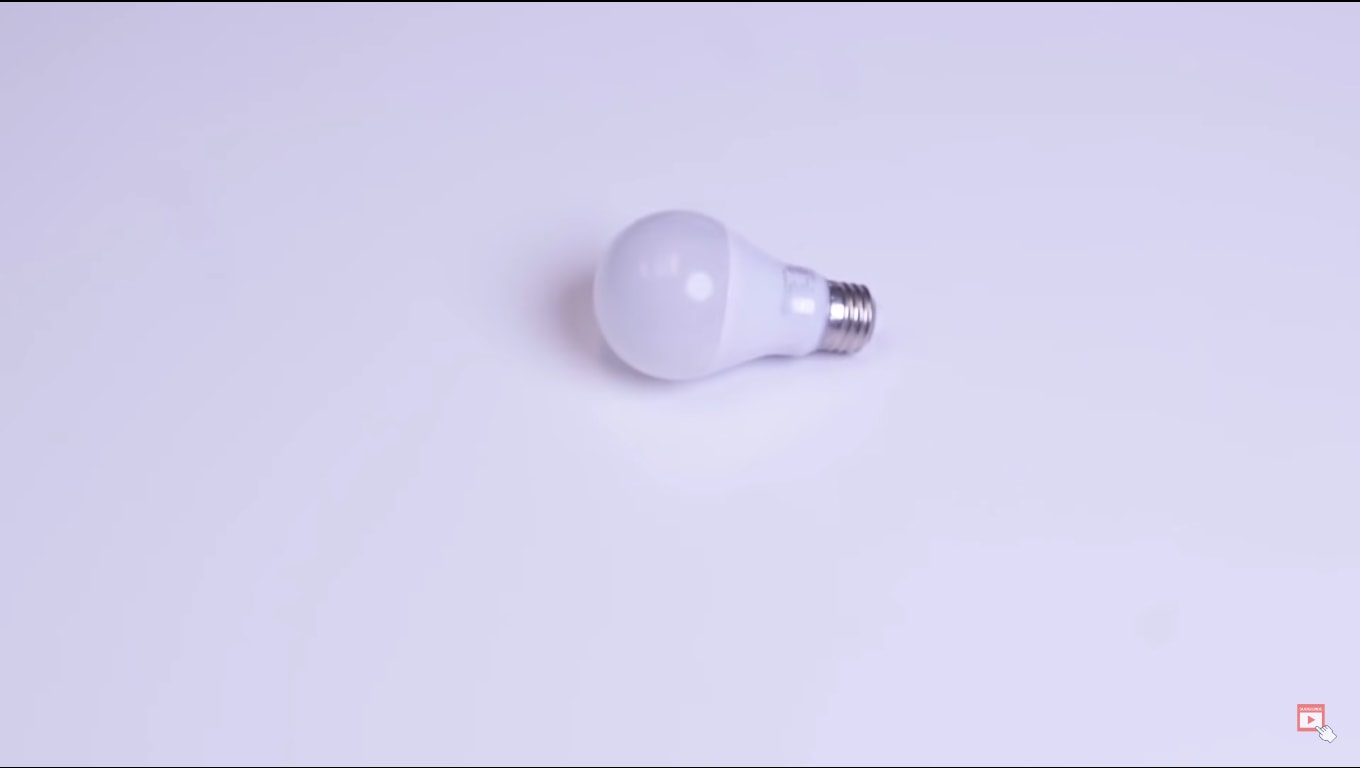
1. A Light Bulb
You can take any LED bulb present at our home. Ensure that the bulb size is manageable to avoid any issues handling it.
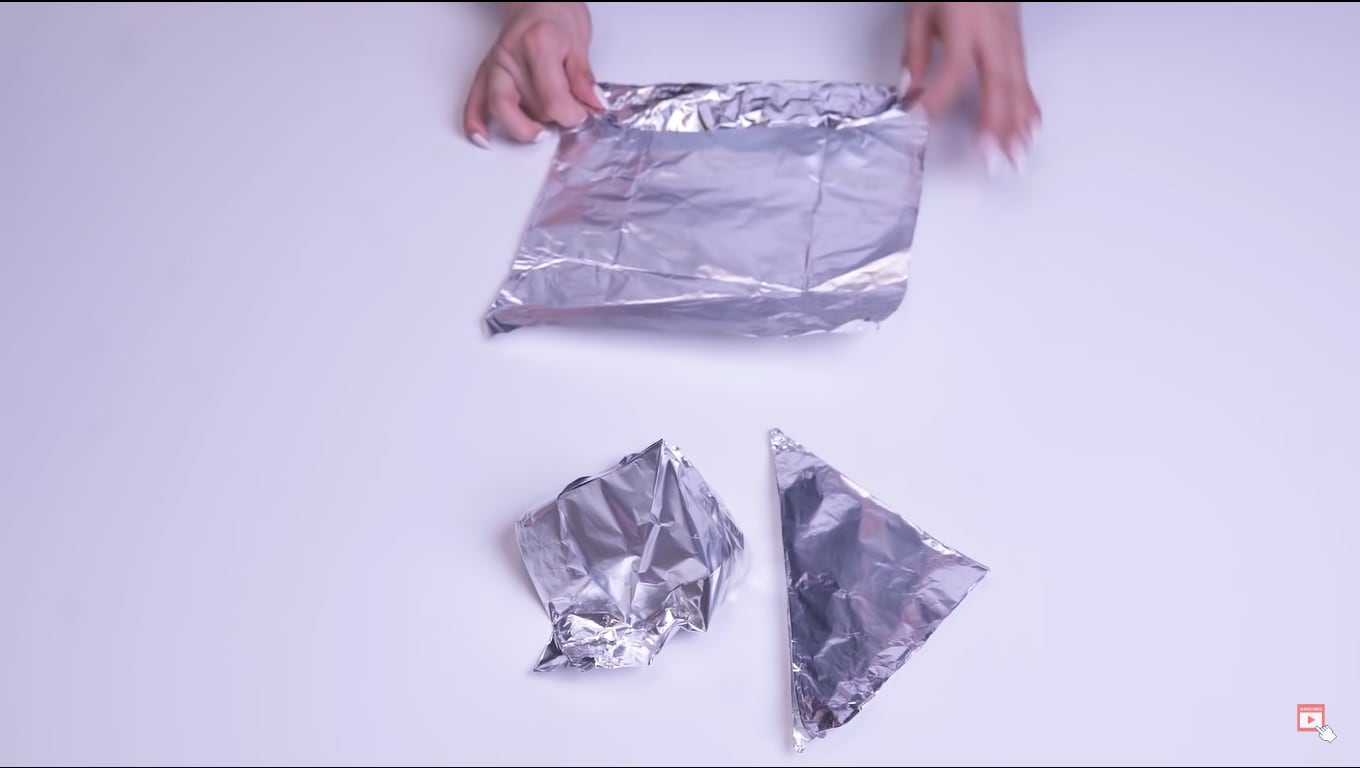
2. Foil Paper
The foil paper used to cover the lightbulb should be aluminum because foils usually absorb the light and get fired. In contrast, aluminum foil is resistant and doesn't produce too much heat.
Now, all the tools are ready and waiting for further processing. For this, follow the processing step to make it work. To proceed further, you have to follow the below step-by-step process as shown:
Step1 First, carefully wrap the bulb with the foil paper to shape the light.
Step2 Then, you need to install the bulb on the lamp.
Step3 Leave a small part of the bulb open from the top and cover the part from the side.
Step4 Ensure the lamp switch is off, and install the light bulb.
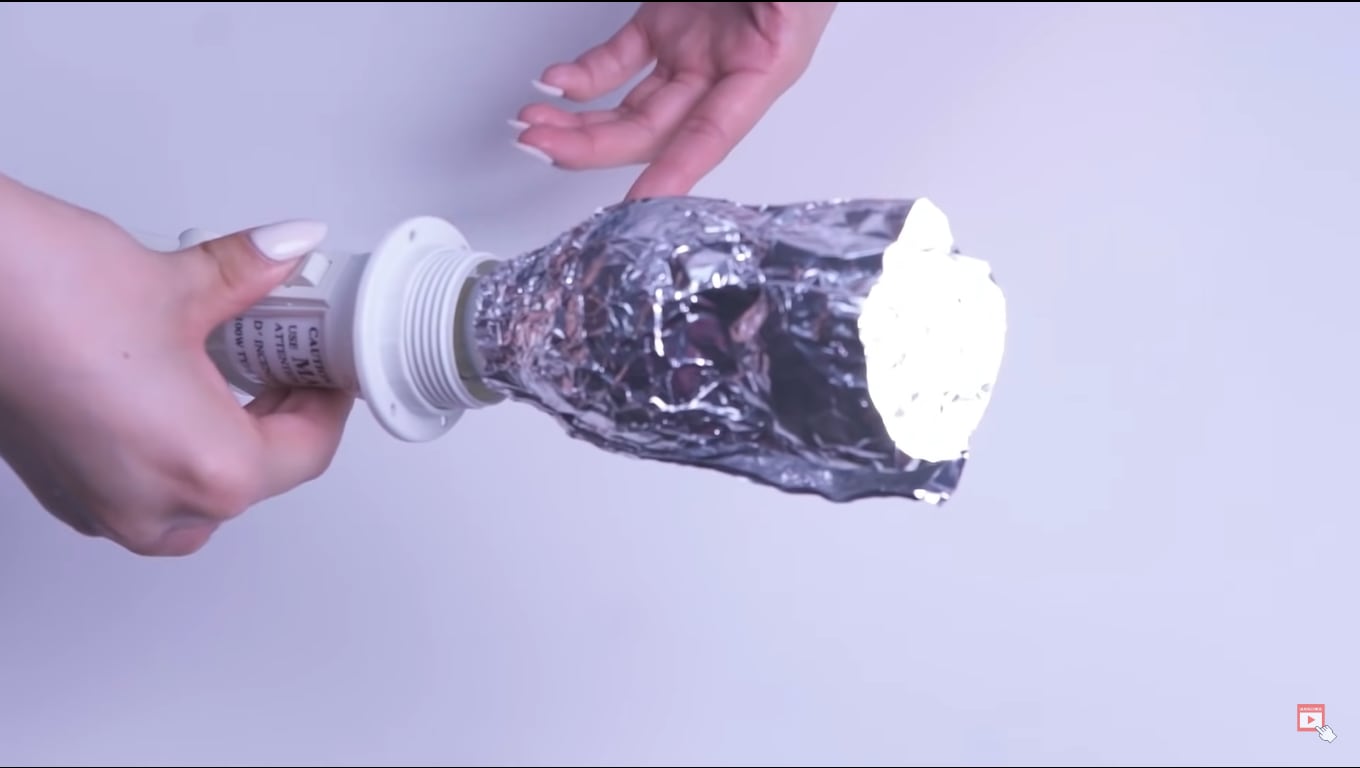
When you turn on the lamp, the light has been shaped into a smaller light source.
Final Results for the Black Wrap or Cinewrap
You can observe that the light is only at the required place, with no dispersion observed and no scattering. You can create more shapes to foil and then wrap them on the bulb for a different look.

After experimenting with light shaping and blocking hacks, we will move toward the light reflector hack!
Part 3. Hack. DIY Light Reflector
A reflector is a spontaneous or specialized reflective surface that diverts the light to our subject or object. Professional filming setups usually use a large reflector to get a glowing effect on a subject or even more than two.
When applied to flat surfaces, the foil has a reflective surface. It makes it the best alternative to a professional reflector. To make your one, you will need
1. A Cardboard
As mentioned, you can get cardboard from a nearby stationery store. The cardboard size varies according to your requirement to make a light reflector. The reflector will perform better if the cardboard is large.
2. Foil Paper
The next thing you should have to make a reflector is foil paper. The foil paper is readily available at all supermarkets or in shops. Ensure that the foil paper is of aluminum because it can reflect back the light.
You can wrap the foil paper around the cardboard as smoothly as possible to prevent too many creases. The smoother look, the more chances of a glowing effect.
Final Results of Using the Foil Light Reflector
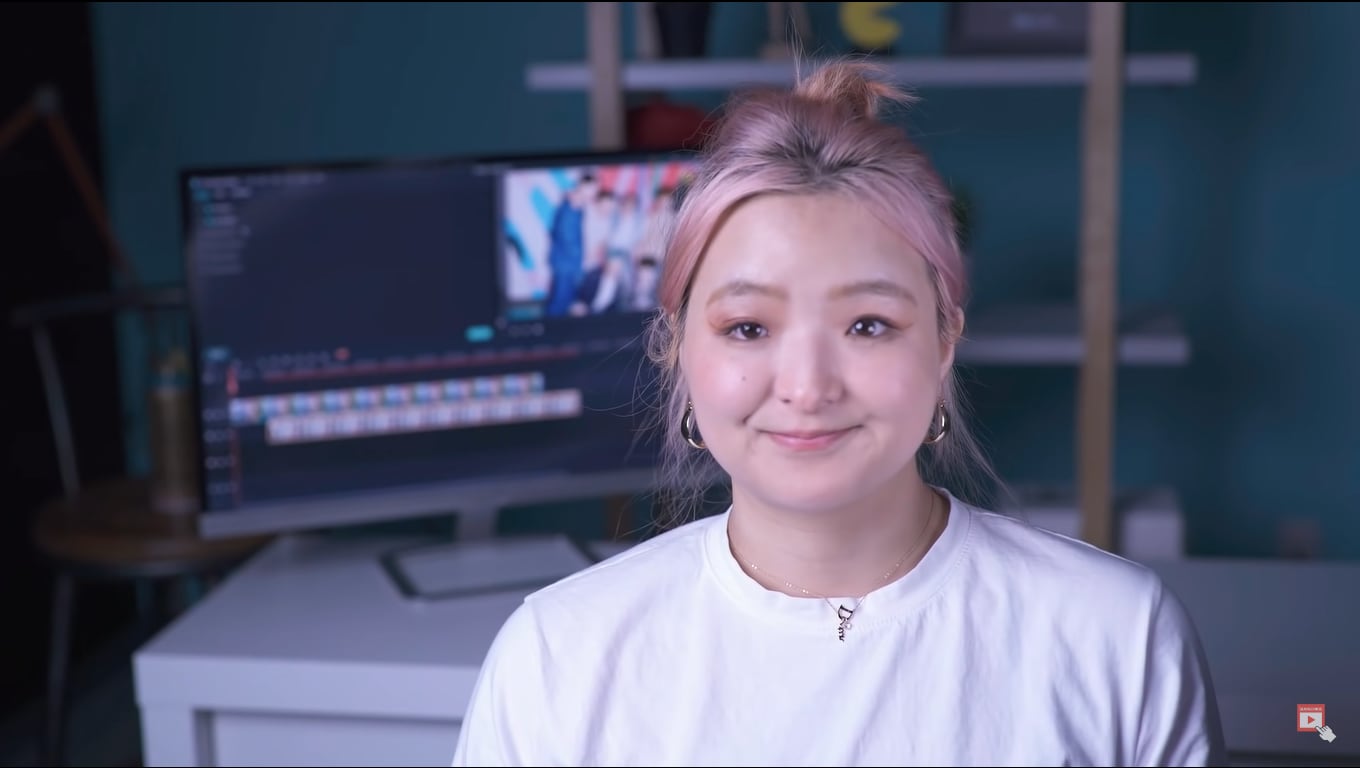
You can see clearly that the subject face is brighter than before the reflector usage. You can make large-size reflectors too, as per your requirement.
Part 4. Hack. DIY LED Light Panel
For a good-supplied light to a subject, you can make your own LED light panel with LED strips at home in two steps.
1. A Cardboard
Still, cardboard is the most helpful one. Ensure that the size of the cardboard is ideal and equal to the LED strips attached to it.
2. LED Strips
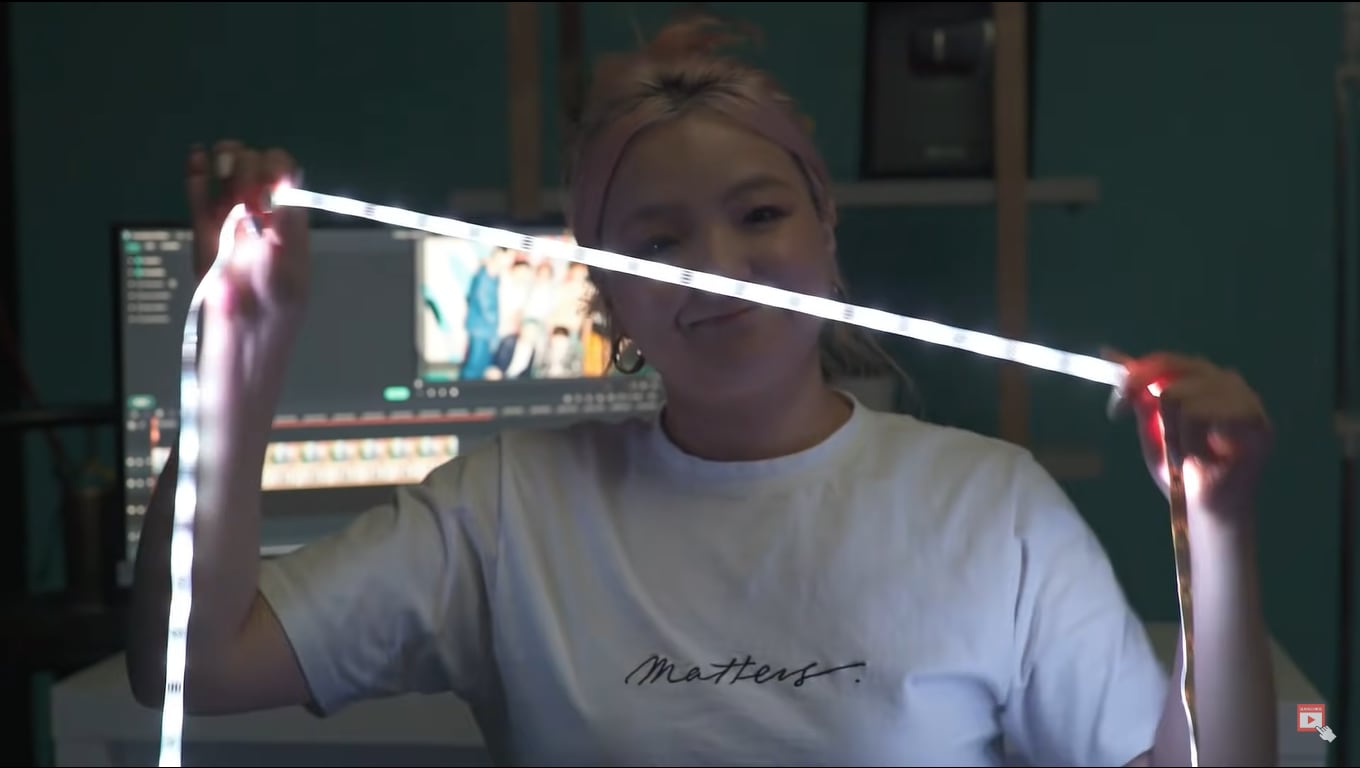
First, you need to cut the cardboard into the required size. The single LED strip does not provide broad light when spread as a straight line. So, we need cardboard to create a broader light source.
Fasten the LED strip on the cardboard into a spiral shape. Make sure that the gap between each circle does not change too much.
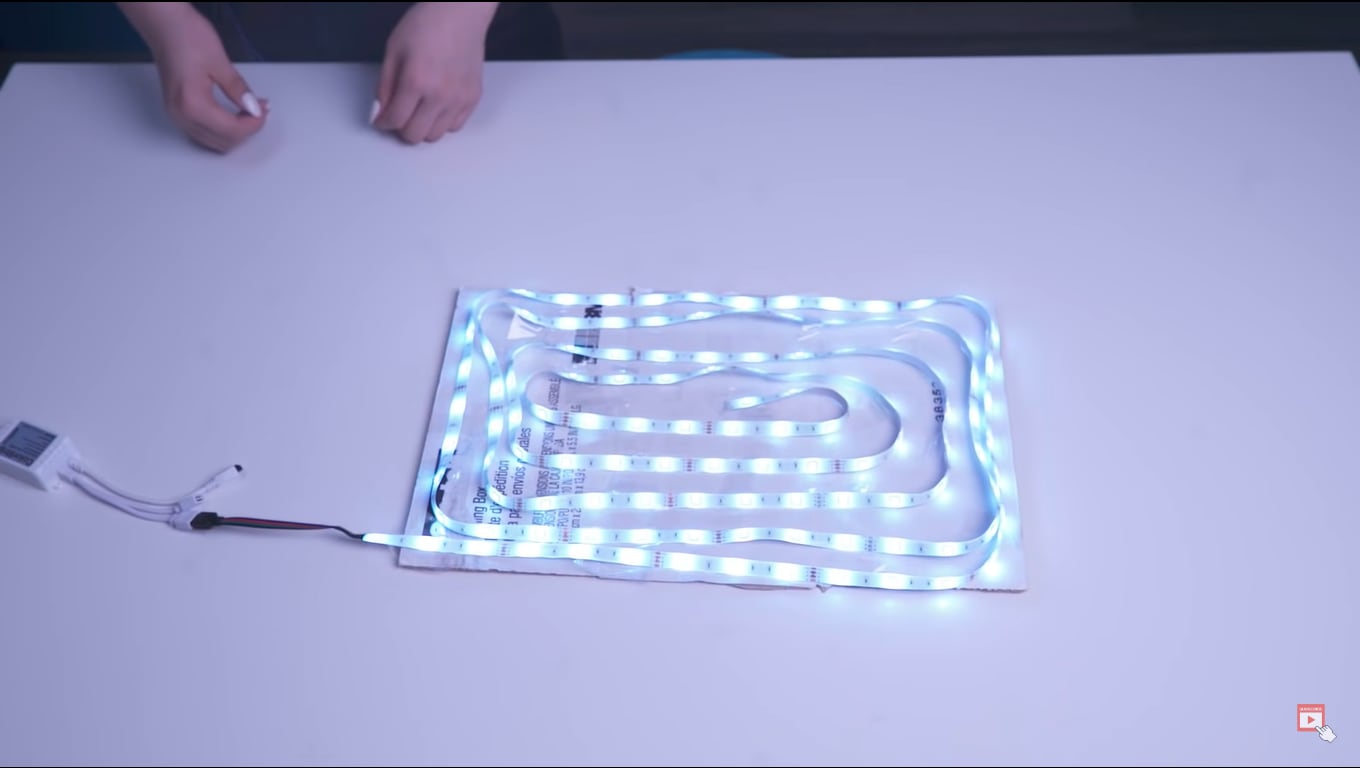
Final Results of Using the DIY LED Light Panel
See how clear the subject's face looks after using an LED panel. Of course, you can make a broader panel if you have to film a more extensive subject.
As you have noticed, the light is too bright on the subject. However, you can diffuse the light by following the next hack!
Part 5. Hack. DIY Light Diffuser
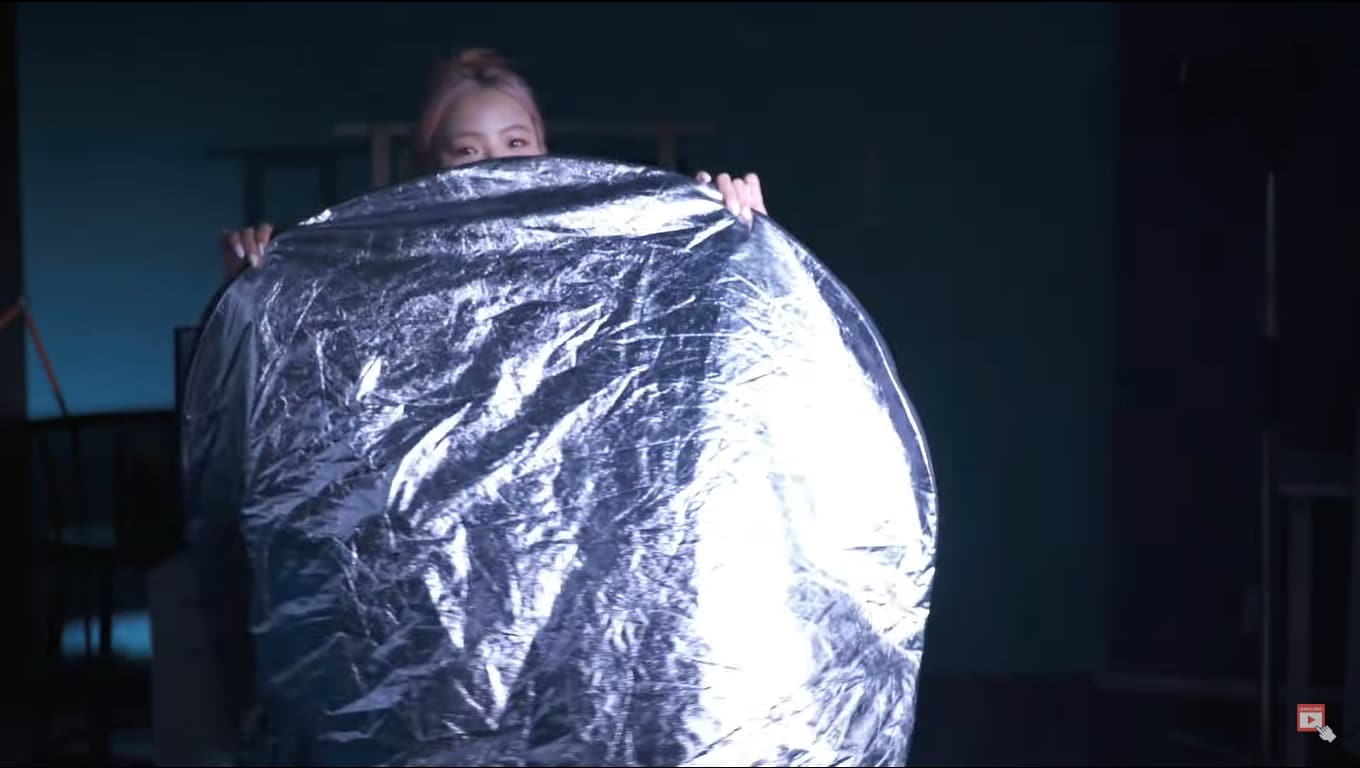
The light diffusers reduce the bright light and create smooth and soft touching of the light on the subject. You can see below how professional setups use light diffusers.
Light diffusers are often used on professional sets to reduce harsh shadows and create even soft lighting. However, they mostly use large diffusers due to the large filming spots, as shown below!
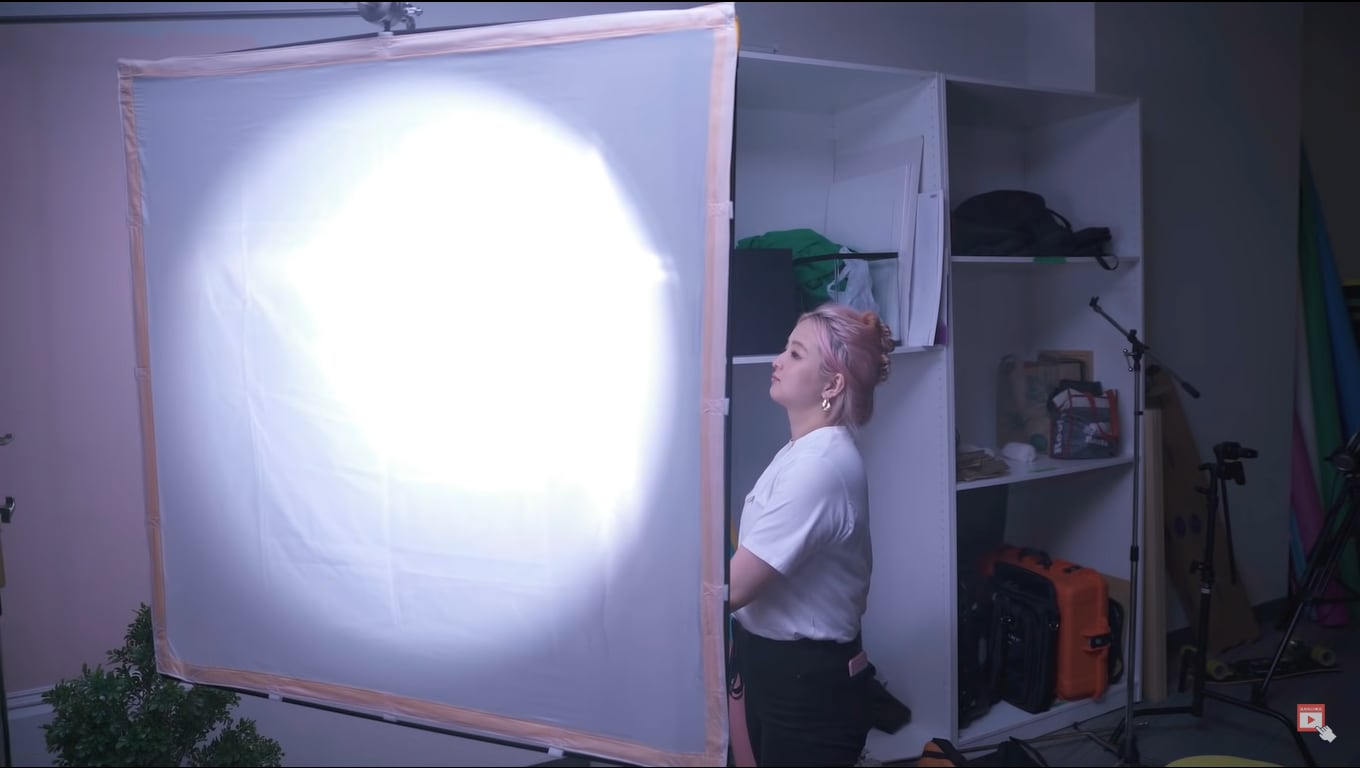
To make a light diffuser, you don't need specific props or tools. However, as shown below, you need a desk mat to make it possible!
1. A Desk Mat
It would be best if you had a transparent desk mat, which you can find at any household store. It is an alternative to a diffuser and helps maintain the light's tone.
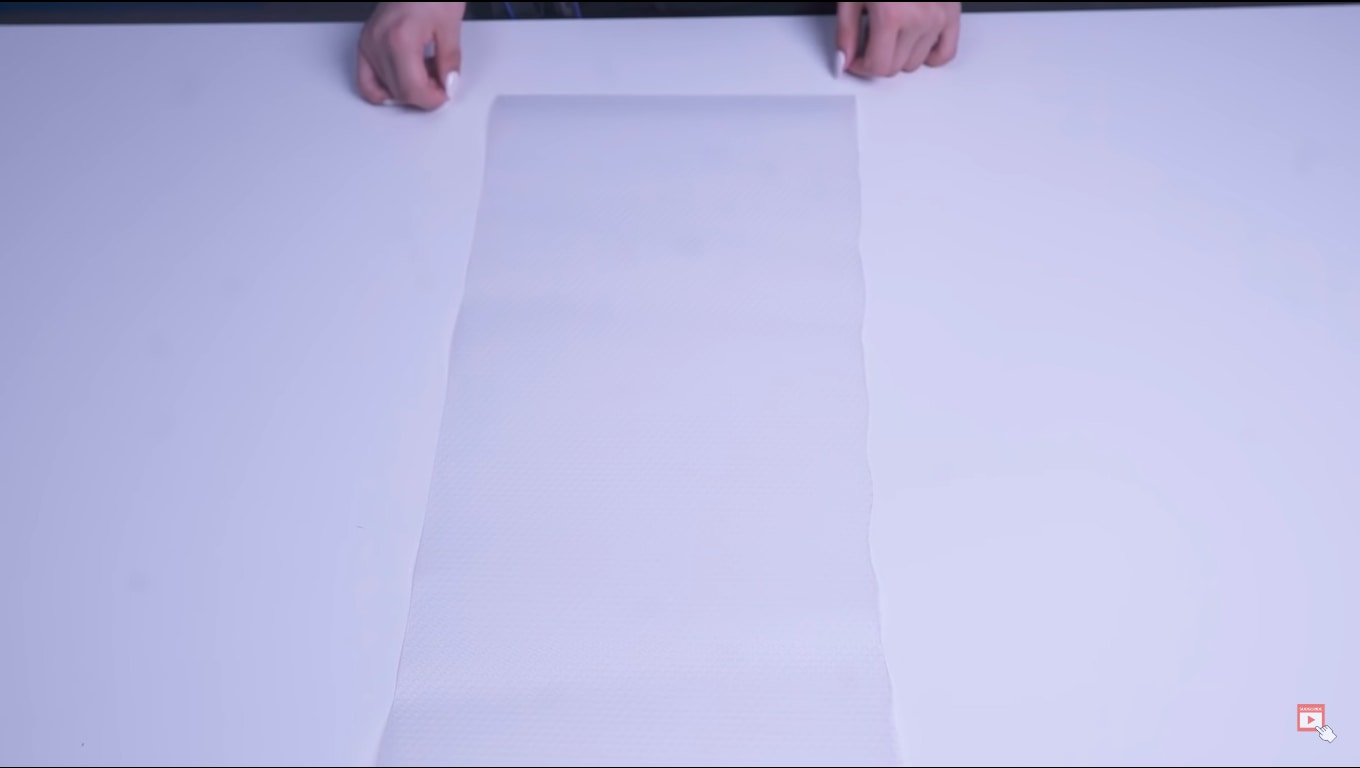
First, cover the LED light panel as made in the above hack with a desk mat to make diffuse light and soften the light. After covering it, take it near the subject for shooting the video or film of an upcoming project.
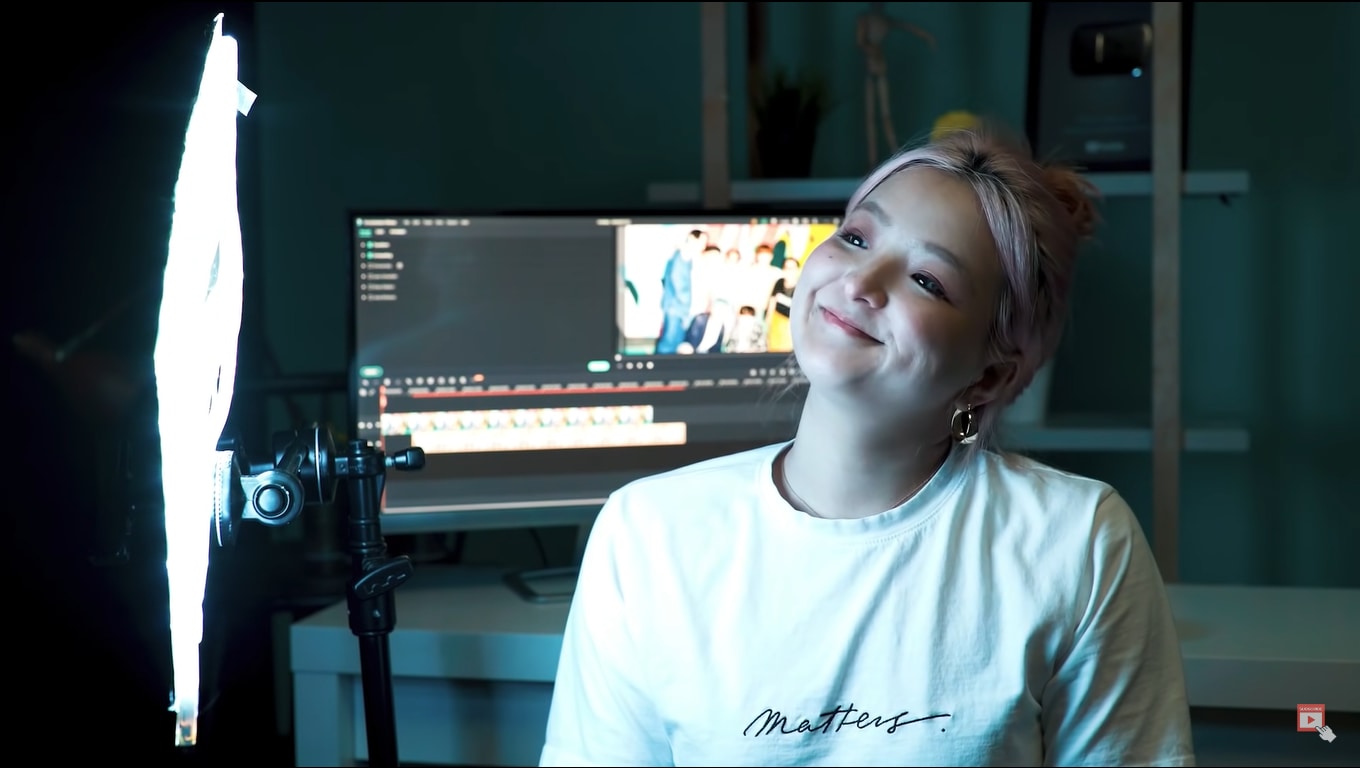
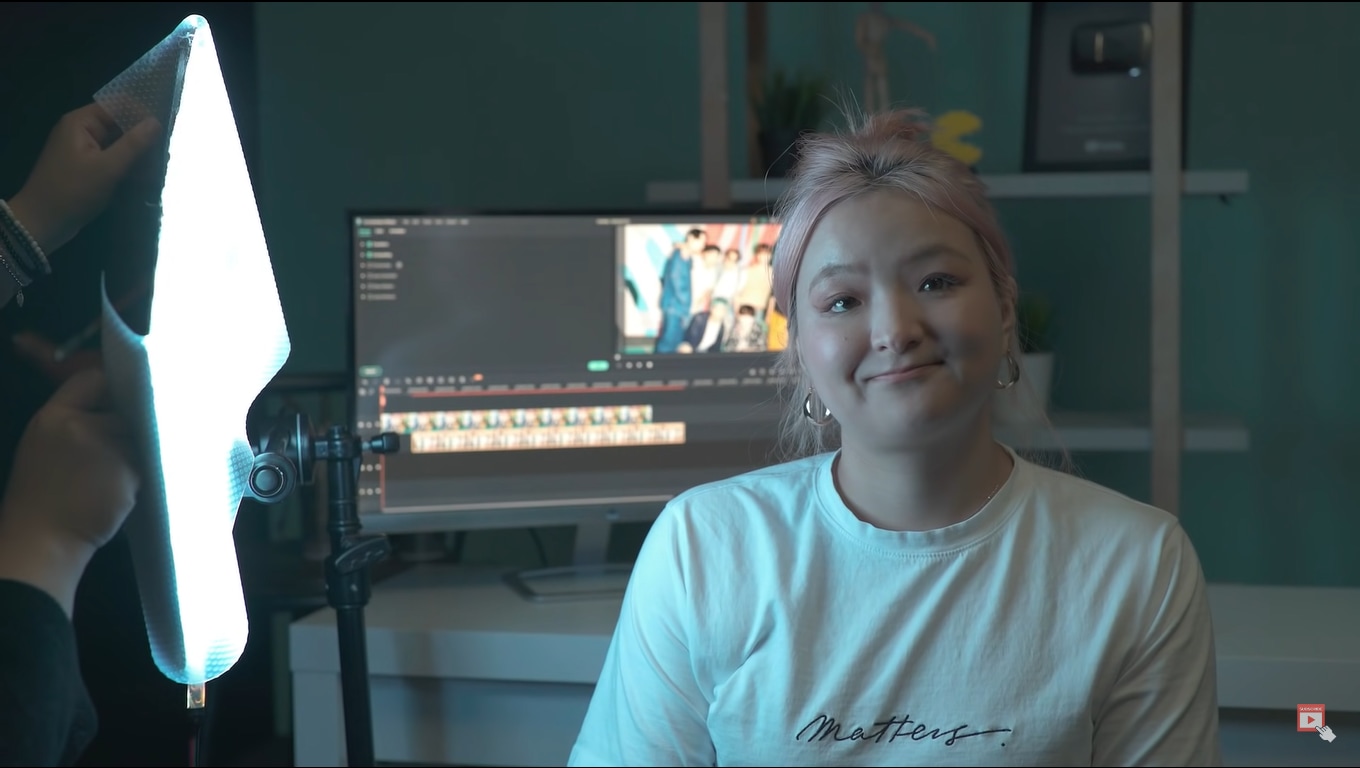
Final Results of Using the Light Diffuser
Look below and notice that the light is not much dispersed now and balances the subject. It gives a smooth look!
Conclusion
You can now create your filming studio at home by following the DIY hacks. You will get professional results from these tools. Think about more creative ideas and make them possible to boost your audience.
Experiment with other props at home and see which hack evolved from them. You can also share these tips and hacks with your audience and friends!