Multiple Videos in Text Tutorial
To make movie trailers or other sorts of videos engaging, many people use video in text shape effects. You can select text font, color, and size preferably to create this effect. Initially, to manually generate this special effect, you were required to put in a lot of effort. However, with Filmora, you can instantly create a video inside text shape effect without any hassle.
Tool
Assets


Transcript
Before we start editing, click the download link in the description box. Click on the free download option. Now a Filmora installer is downloaded automatically. Just double-click on it and agree with the terms. And here you go, Filmora started to download and install.
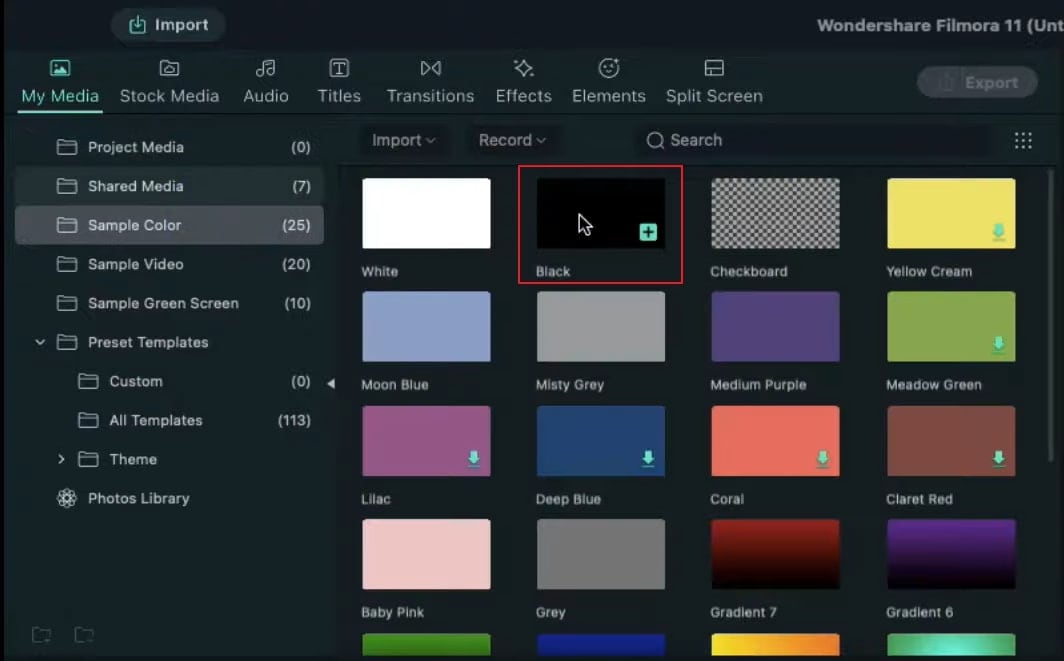
Once it's installed, it'll start and run automatically. First, go to the sample color and drop the black color on the timeline.
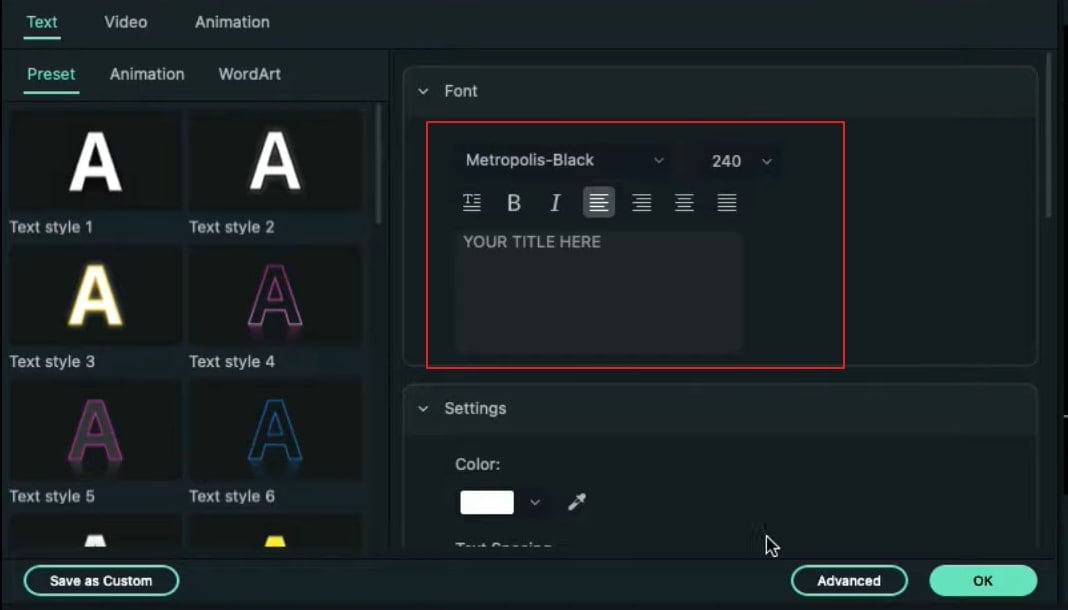
Now go to the titles and drop the default title on the timeline. Double-click on it. And change the font to any bold font and increase the font size to 240. Enter your word, scroll down and increase text spacing to 10. and change font color to green or blue color. Press OK and take a snapshot.
Delete both files from the timeline. Open track manager and add three more video tracks. Drop snapshot on track 5. right click on it and change the duration to 15 seconds.
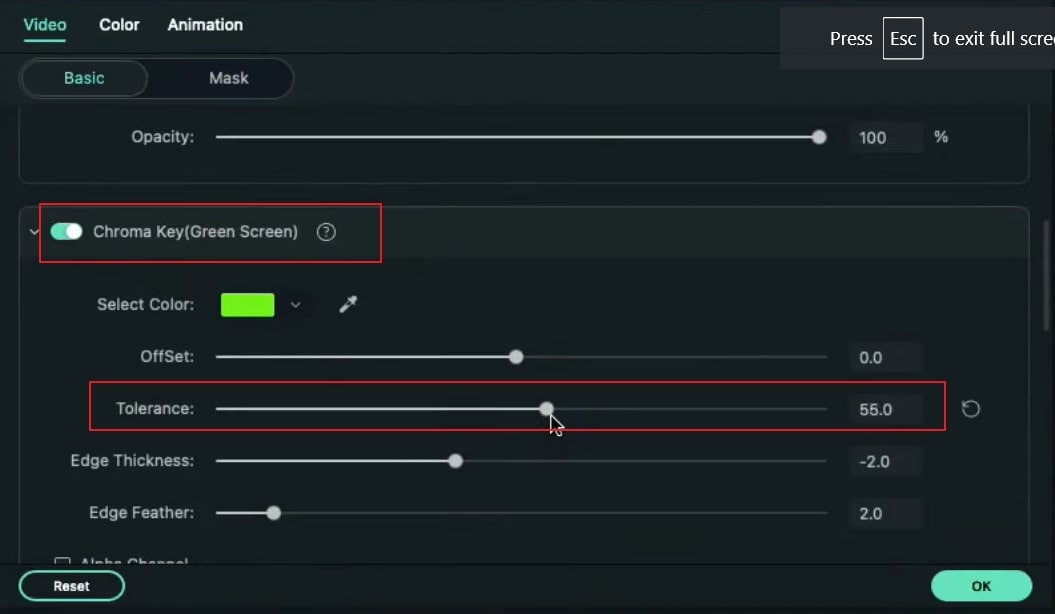
Now import four video clips to project media. Drop the first clip on track 4 and make it 15 seconds long. Double-click on the snapshot and scroll down. Enable the chroma key and change Tolerance to 60.
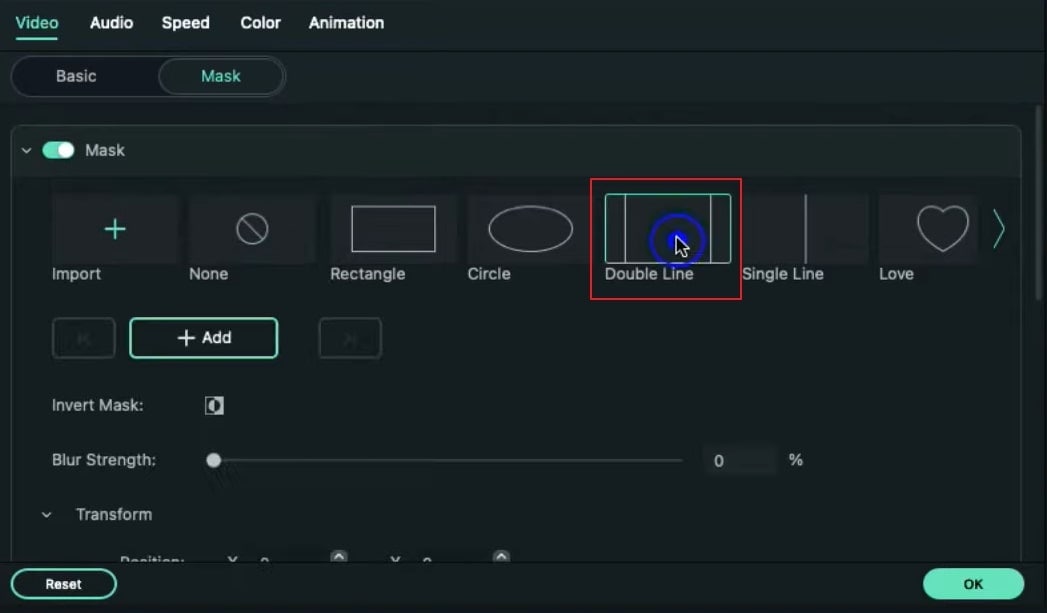
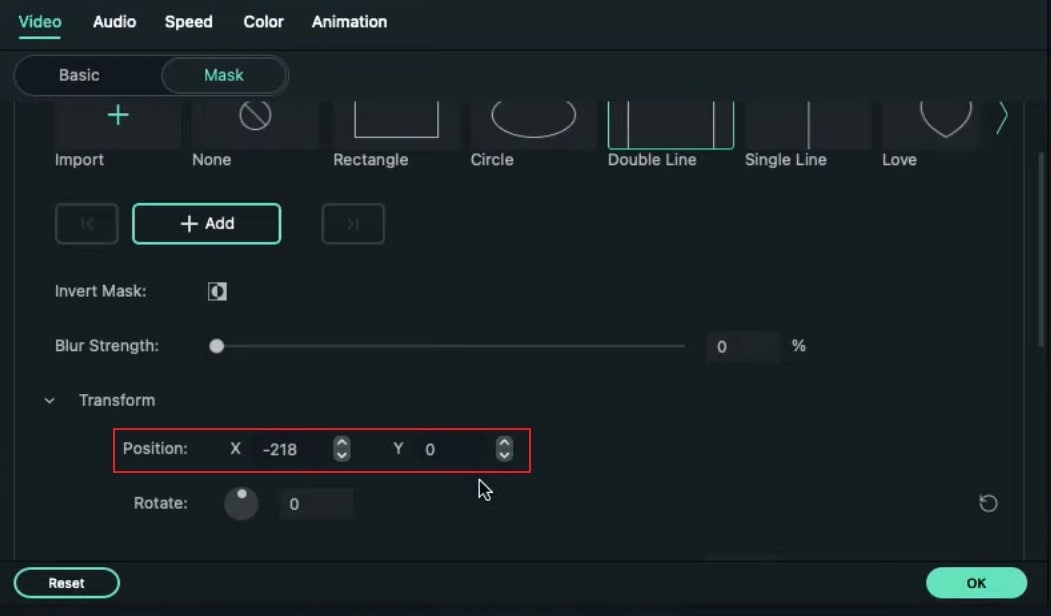
Double-click on the video clip, select mask, choose the double line, adjust the x-axis and place it over the first letter and change the horizontal value a bit. Drop the second video clip on track 3.
And under the mask, select Double Line. Place it over the letter O and set x-axis and horizontal. Follow the same steps for leftover letters. Click on render for smooth playback.
That's it. You can place as many videos as you want to place according to the number of letters.
How to Make Multiple Videos in Text Tutorial
What you need to prepare:
- A computer (Windows or macOS)
- Your video materials.
- Filmora video editor
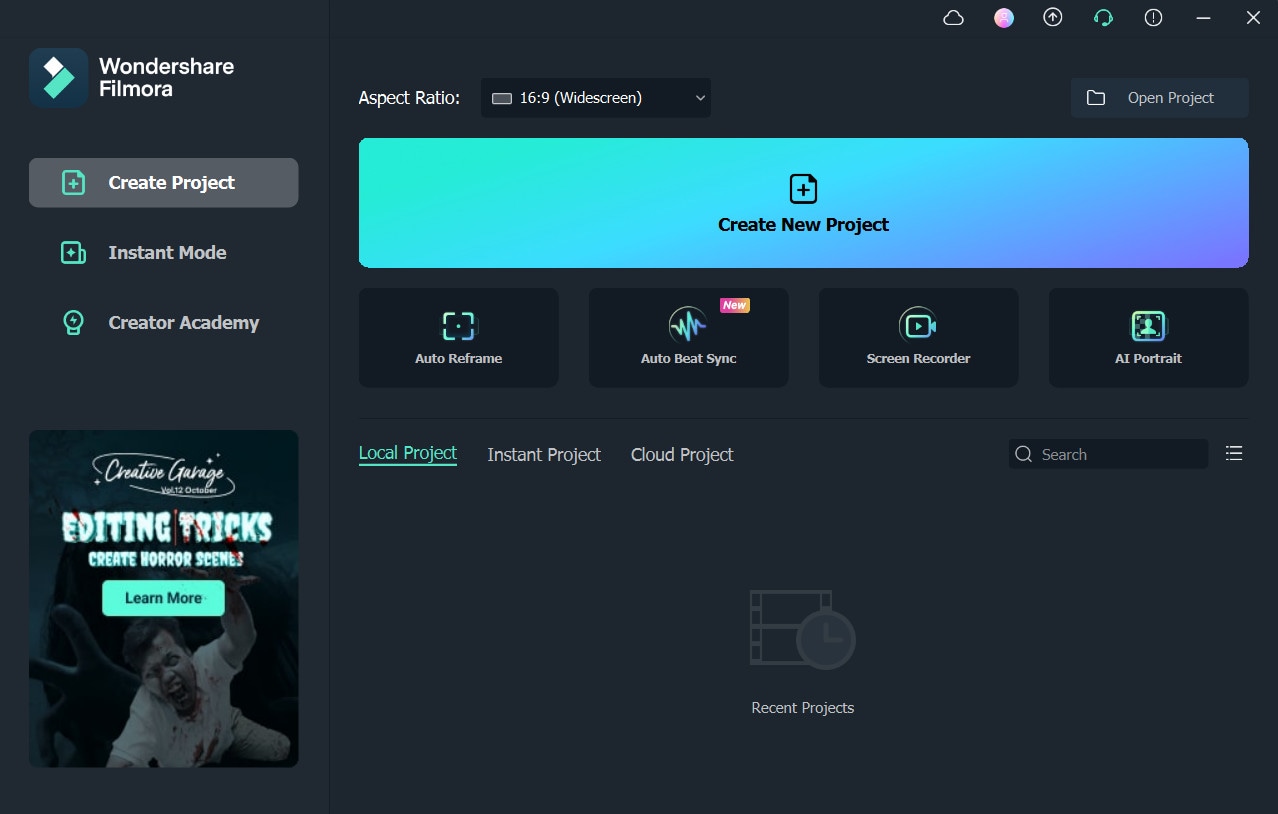
To begin, download and install the Wondershare Filmora. Afterward, you will be able to open its interface on your computer easily.
On its main interface, head to the My Media tab and click on the Sample Color option. From there, drag and drop the black color on the timeline. Afterward, proceed to the Titles section and drag the Default Title on the timeline.
Double-click on the added default title and change its font to your preferred one. Enhance the font size to 240 and enter your words. Scroll down a little bit and increase the text spacing to 10. Afterward, alter the font color to green or blue. Hit the OK button and capture the snapshot.
Now delete both files from the timeline and open the Video Track Manage. From there, add three more video tracks to the timeline. Once done, drag the snapshot on track 5 and right-click on it. From the small pop-up menu, change the duration to 15 seconds.

To continue, upload 4 video clips from your computer to Project Media. After importing them, drag the 1st video clip to track 4 on the timeline. Right-click on it and change the time duration to 15 seconds. Afterward, double-click on the snapshot and open the Video section. Scroll down and activate the Chroma Key. Also, change the Tolerance to 60. Press OK to proceed.
Now, double-click on the added video clip and proceed to the Mask section. From there, select Double Line and adjust the X-axis. Place it over the first letter, as you can see on the Preview screen. Don’t forget to change the horizontal value.
Drag and drop the 2nd video clip to track 3. Double-click on it and open the Mask section. Here, choose Double Line and place it over the second letter. Also, adjust the X-axis and horizontal value accordingly.
Repeat the same procedure with all the leftover text letters. Once you are done, start rendering your video. To see the results, you can head to the Preview screen. You can place as many videos according to the number of text letters.

What you've learned:
- You can change any background in video with green screen.
- Use transitions in video to make it more smoothly.
- Filmora comes with many types of background, including social, busiess, sports and more.
Speak Your Mind