Note: This video tutorial is compatible with Filmora V11, V12 and V13 versions.
Filmora Preferences for Better Performance
Filmora is a comprehensive application software for graphical editing and formation. Hence, it is obvious that it has a huge set of commands running in the fore and background, so to provide it with the suitable options to run smoothly and present you with the best product. For your ease and comfort, you can set these preferences, preferences which are present in quite a diverse manner. These preferences allow you command over the editing, general, and automatic saving tabs to performance and browsing essentials. A basic and simple tutorial about these preferences is given as under.
To go to preferences in Filmora you can click on ‘file’ in windows and then ‘preferences’ or ‘Wondershare Filmora’ in MAC and then preferences. This will open a new pop-up window for you.
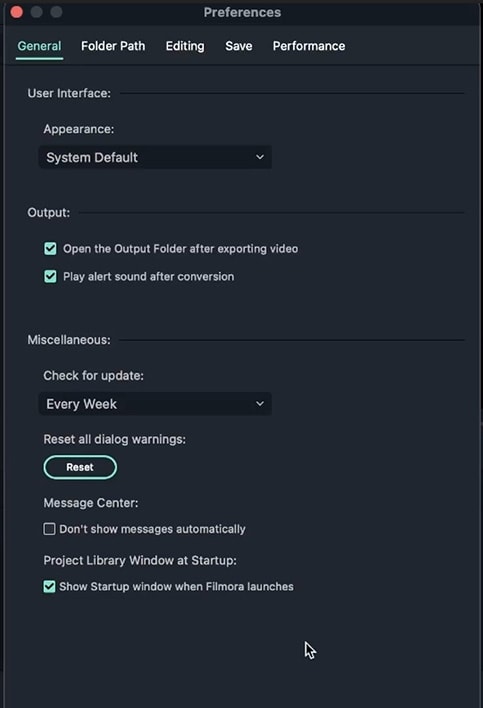
General: This tab allows you to select the suitable interface like the mode of layout, it offers the light and dark mode or the system default. If you have a problem reading text then selecting the light mode is much suitable but if you want to refrain from the bright interface then dark mode serves you better.
Then there is the output section, which takes default folder address for browsing. Also, it has an alert sound for whenever you open that folder.
Miscellaneous section asks permission for updates.
Massage center updates about any announcements from Filmora.
Project library window at start up allows you to access different essential tools through start up window.
 General Preferences
Initially, you have snapshot folder, where snapshots are saved. Snapshots can be taken by clicking on the camera, right under the display video.
Snapshots are useful, when you need to share your work with someone to ask of their opinion. This option comes in handy when a number of effects or filters have been applied and video or image sharing can be quite tough.
Upload contains your uploaded files. Effects pack contains the effects on the main tool bar, so whatever you download and install goes into this folder.
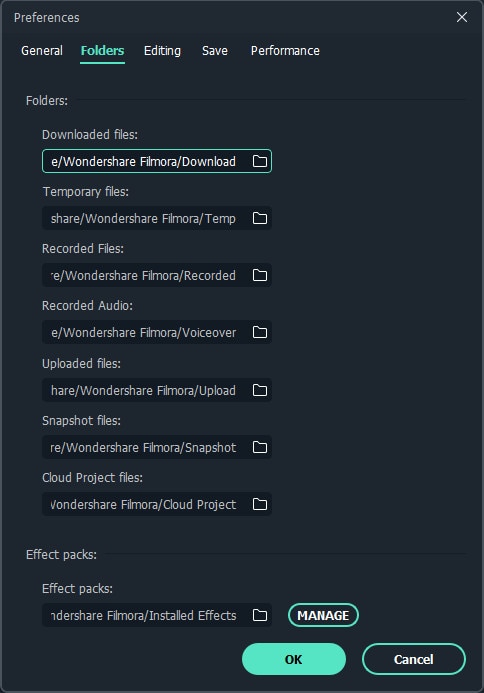 Folder
It contains default duration settings: photo duration is set at 5 seconds; effect duration is 5 seconds; transition duration is 2 seconds; freeze frame and split screen durations are also 5 seconds by default.
Photo placement determines the dimensions of the image/video.
Insert mode is for selecting an image and dragging it on a track which would split that track at that point.
And the split button is the scissors icon on our play head.
 Editing
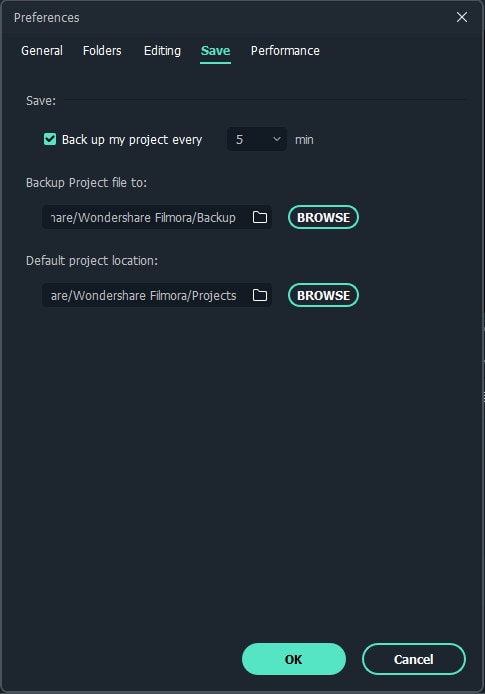
Then we have the save tab: this tab allows you to automatically save your progress over a fixed interval of time. By default, Filmora saves your work automatically after every 4 minutes.
 Save
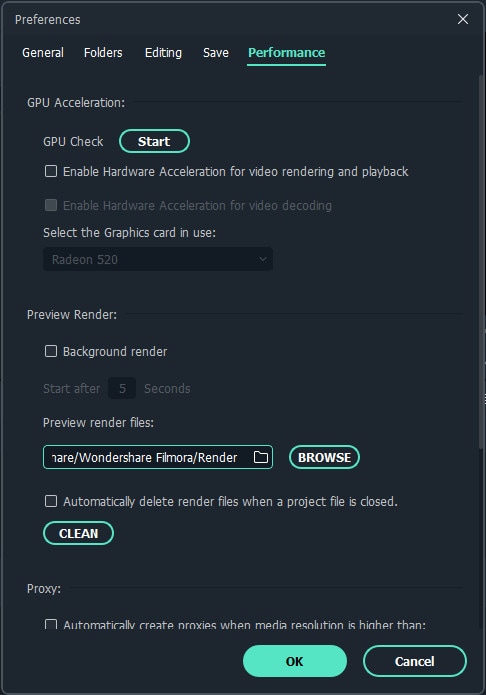
SaveThis tab has the first section of GPU, it enables and disables hardware acceleration for video rendering and play back. And has a different check box for video playback so that Filmora would work smoothly.
 Performance
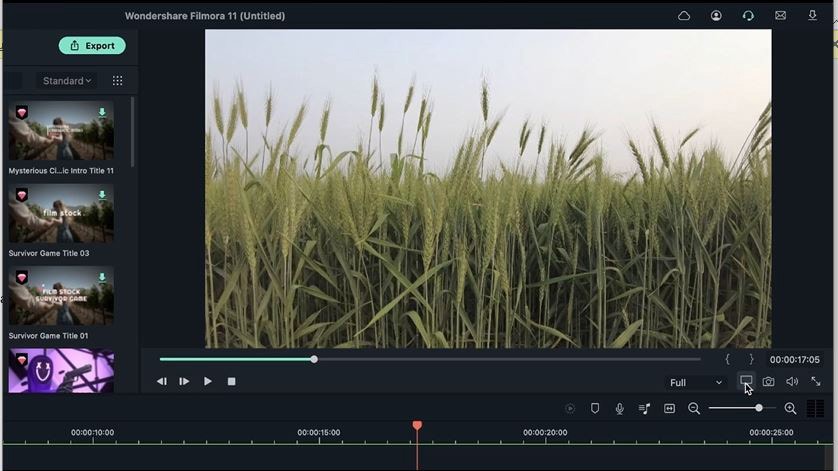
The dimension of the video screen can be altered by clicking on the rectangular icon below the video screen. The icon can change the project aspect ratio. Clicking on it will open a pop-up window for having different video screen settings and resolutions.
This icon also allows us to change the zooming level, ranging from 10% to 400%.
Safe zone: keeps the subject of your video at the center regardless of the video being played on a different computer. And prevents these areas to be cropped out or removed from the project.
The audio icon controls the audio of the project, so instead of raising volumes of tracks one-by-one you can simply turn up or turn down the audio by this icon.
Full screens can be used to view the project in complete screen dimensions.
 Display