Photoshoot Slideshow Tutorial
Photoshoot Slideshow is a method where you string together multiple images and videos using different effects, transitions, frames, etc. It makes the viewing experience special and heartfelt. You can also use it to present your ideas in a highly sophisticated way. Filmora helps you do this by providing a user-friendly interface and easy-to-understand procedure.
Tool
Assets


Transcript
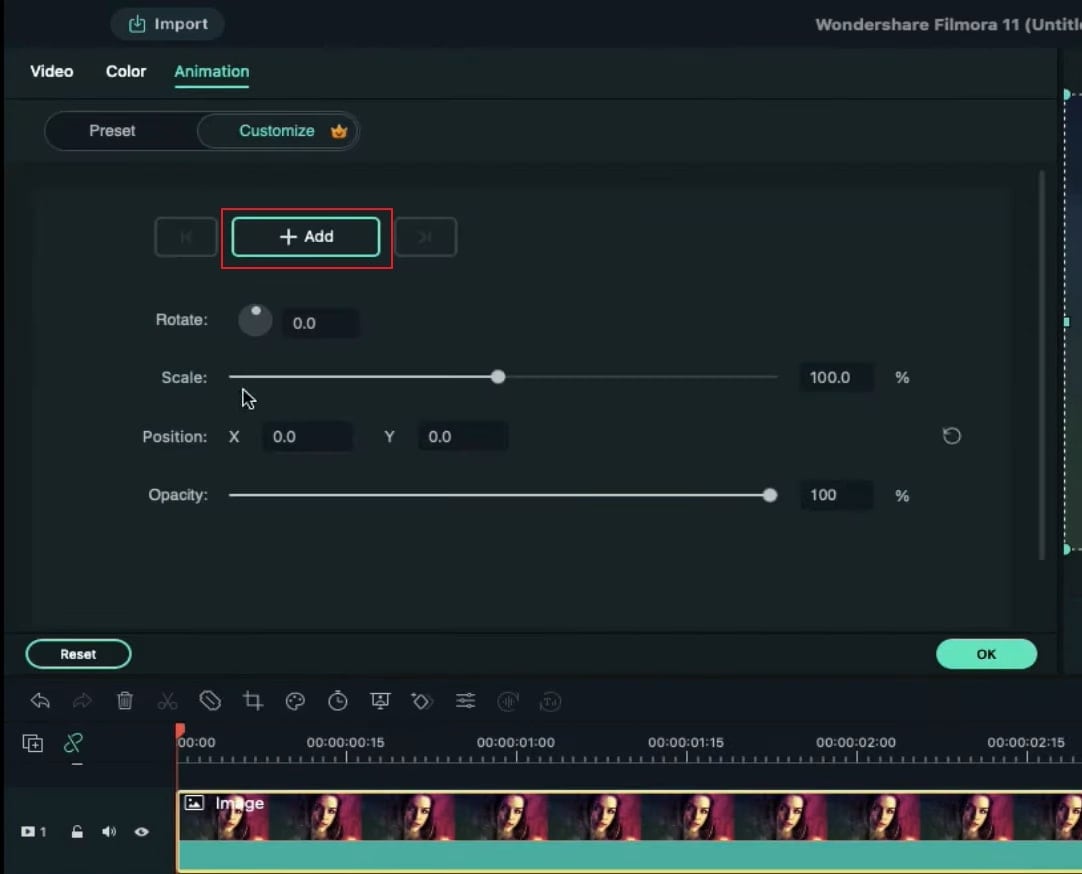
First, drop your image or video on track 1. Double-click on it. Then, go to Animation. Add a blank keyframe at the start and set the Scale at 110% at the end.
Located at one second and 5th frame. Go to effect and drop the Square Blur effect. Keep it five seconds long. Then, split the effect at 1 second and 23rd frames.
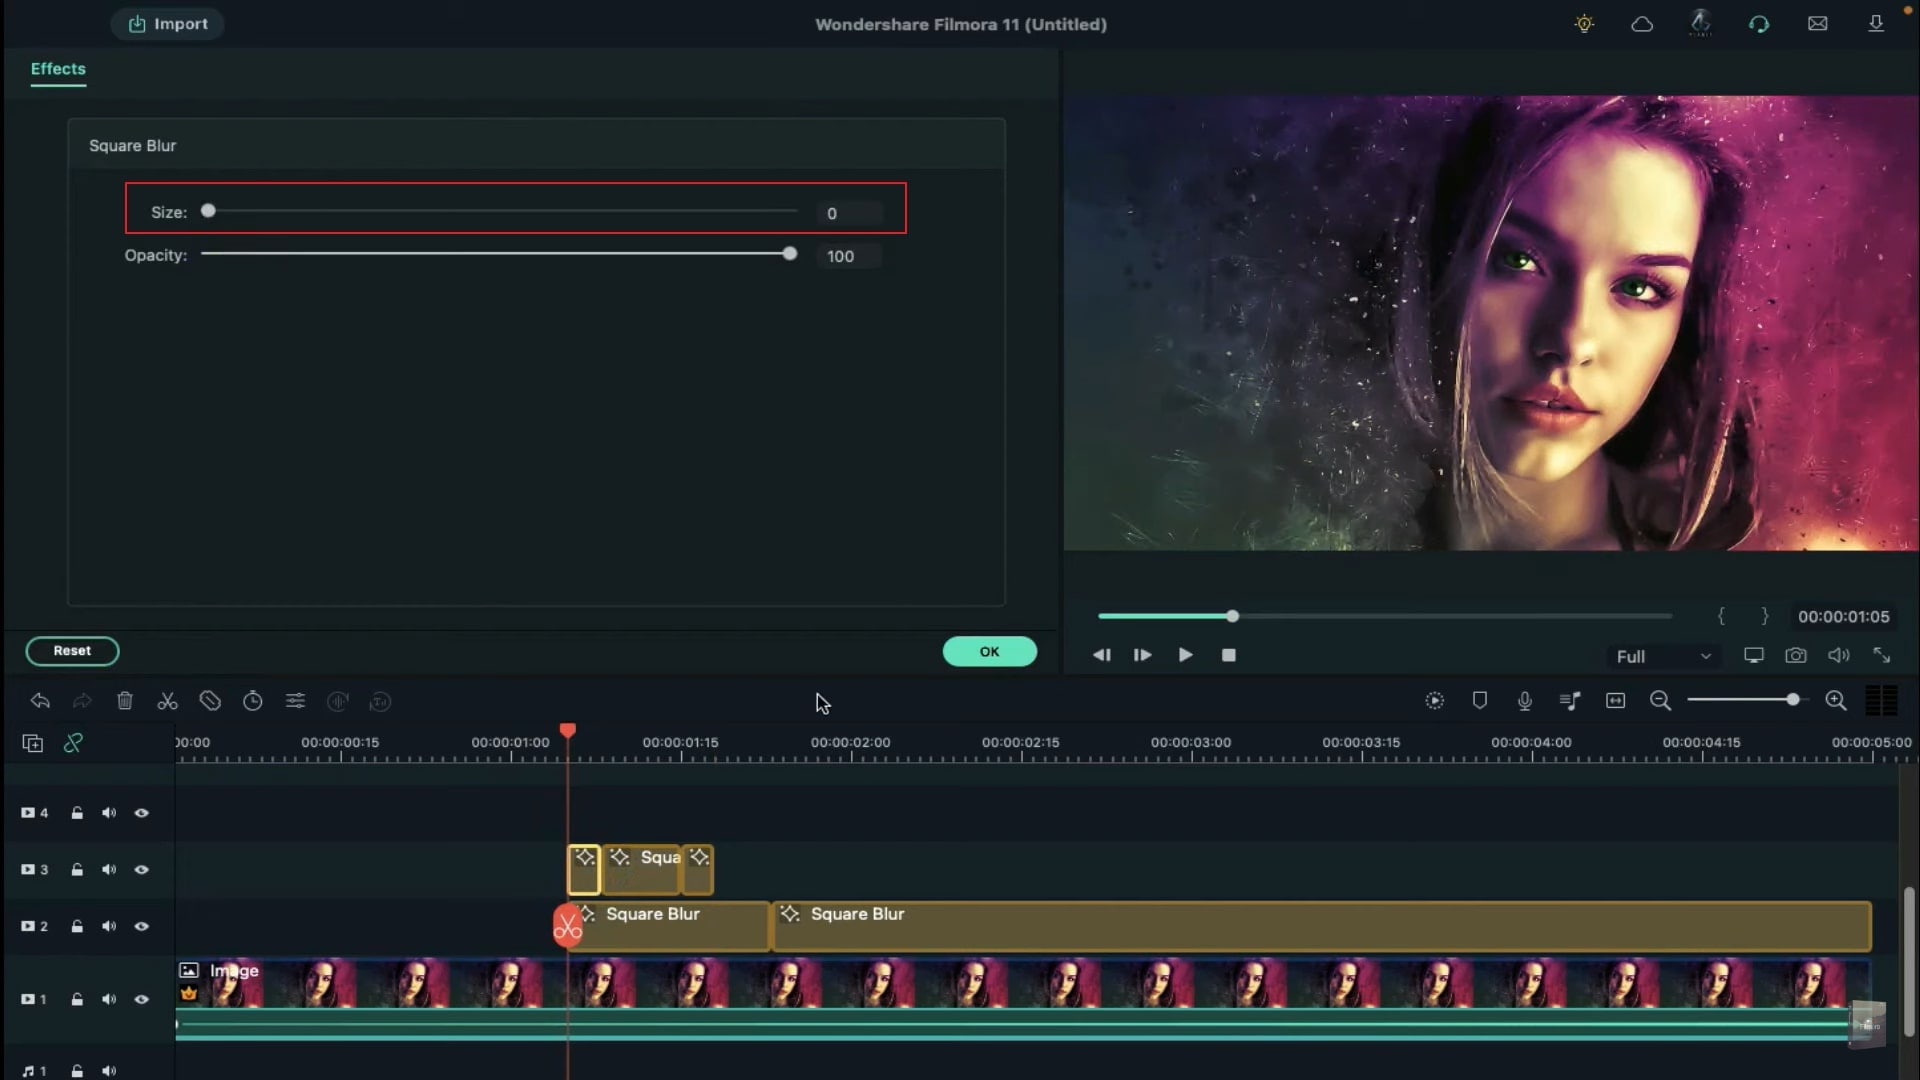
Click on the first Square Blur and change the size to 0. Then, click on the second part and change the size to 3.
Again, drop the Square Blur on track 3. Split the effect at three frames further. Then, split the effect at 7 frames further. Then, split the effect at three frames further and delete the rest of the effect.
Click on the first part of the effect and change the size to 0.
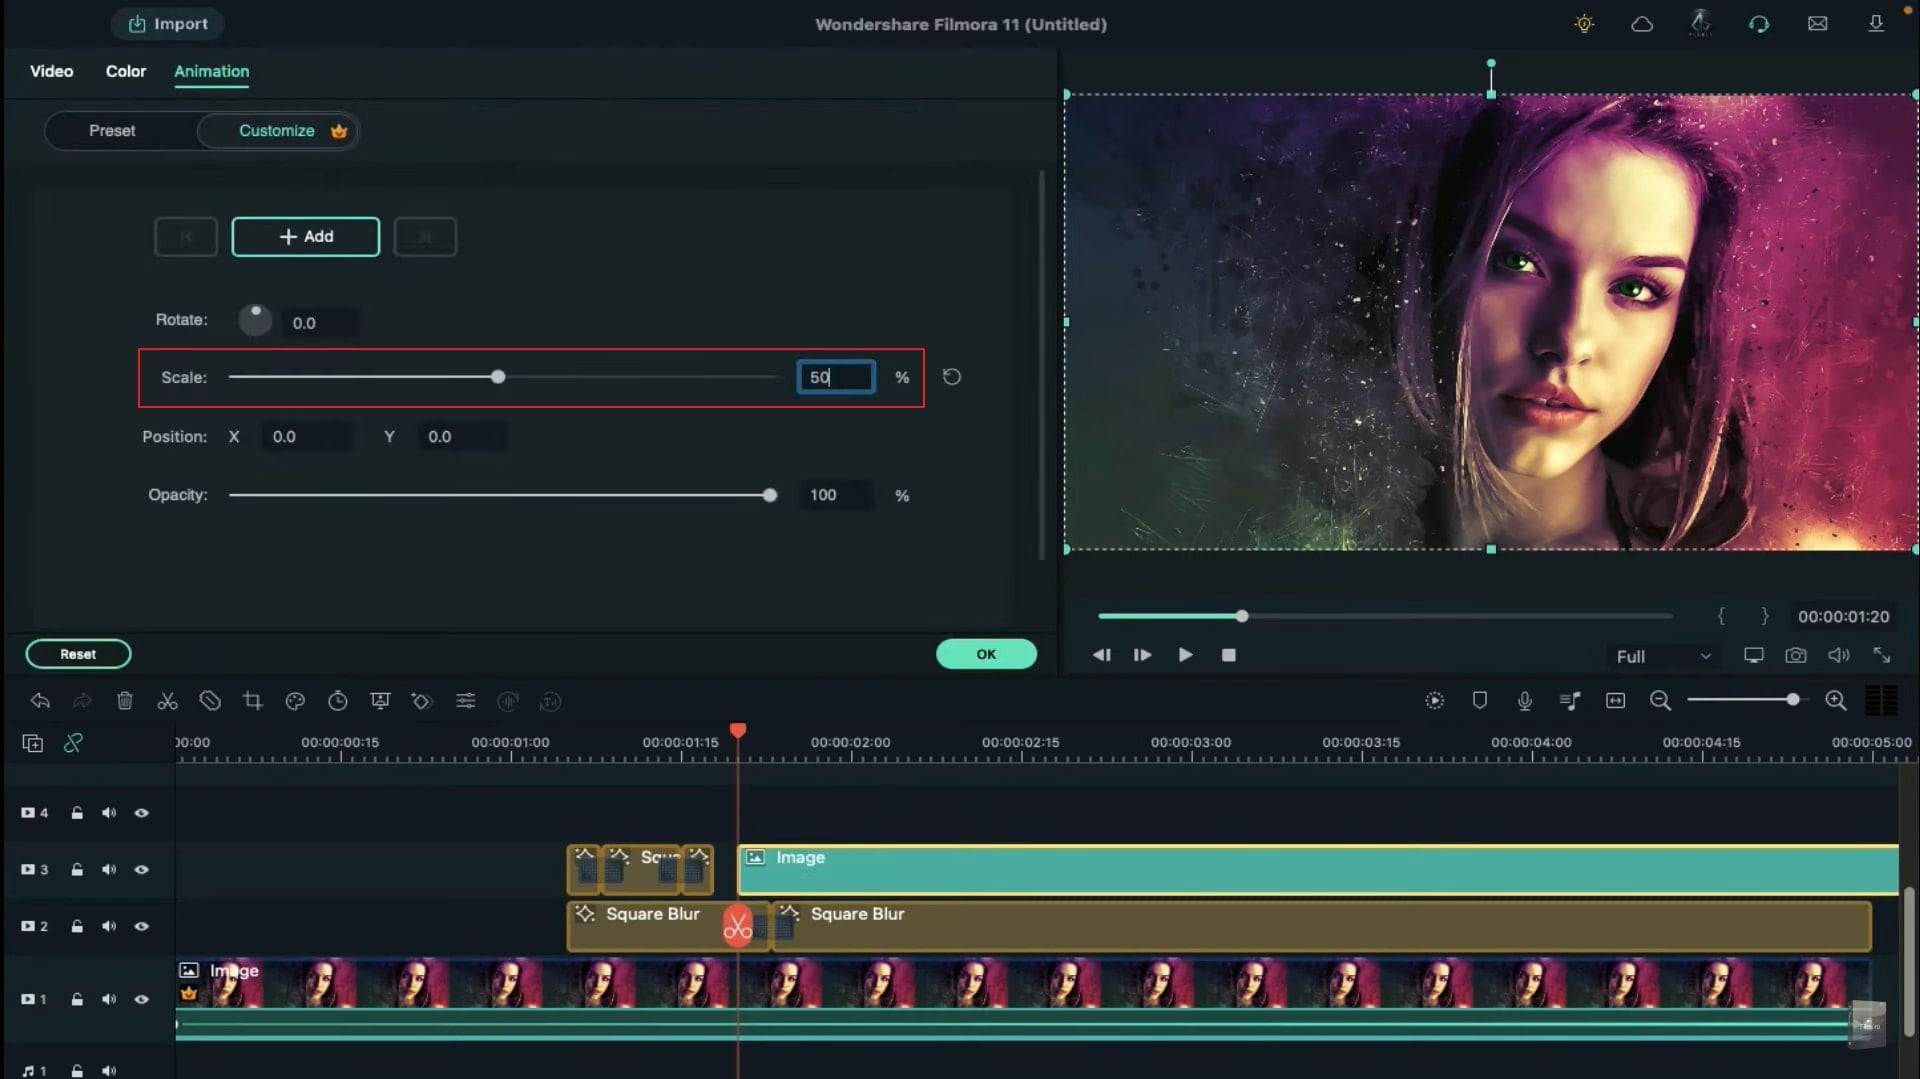
Then, drop your image on track 3 at 1 second and 20th frame. Reduce the Scale to 50 and remove the part after 5 seconds.
Then go to the elements and under Filmstock, search for a frame. Drop your frame above the image on track 3. Double-click on the frame and adjust the size to match the image perfectly.
Drag the keyframe at the starting point. Select your picture and set the rotation to -20. Do the same with the frame. Then drag your picture out of the screen using X-axis same as the frame.
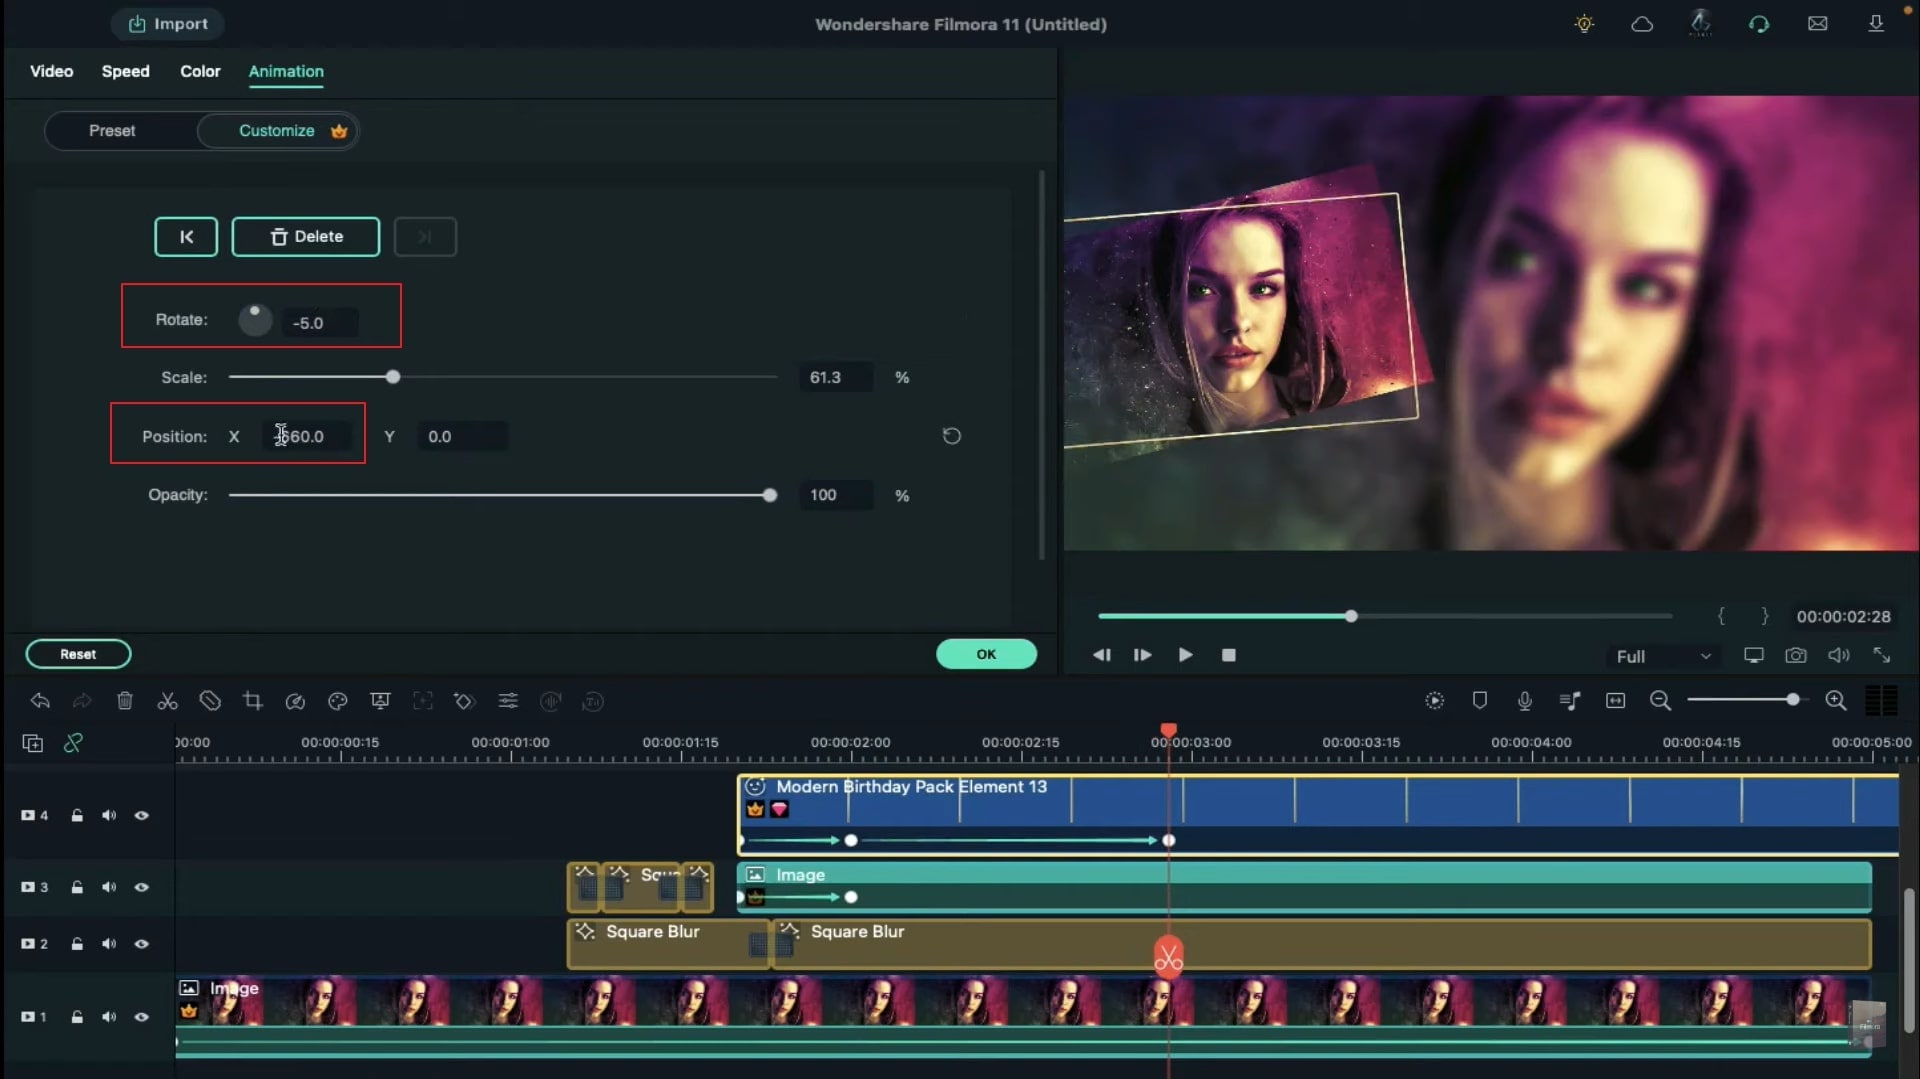
Now go to two seconds and bring back the frame and image by setting X-axis to -660 and Rotate to -15 degrees. Located at 2 second and 28th frame and change the rotation to -5 and X-axis to 68.
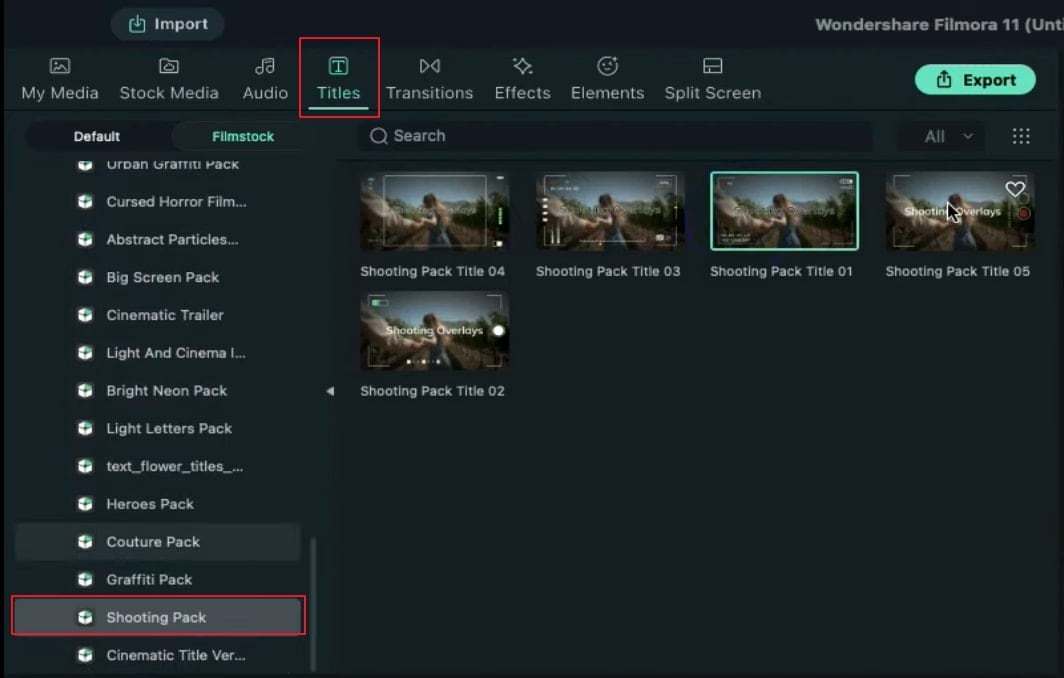
Go to the end and set increase Scale by 5 for frame and picture. Then, go to the titles and scroll down and download shooting pack from Filmstock.
Drop Title 1 on track 5. Double-click on it and remove the text. Change Scale to 90% at one second and fifth frame. Change Scale to 85 %at five frames further.
Then go five frames further and set Scale to 90% and Opacity to 0% at one second and 26th frame.
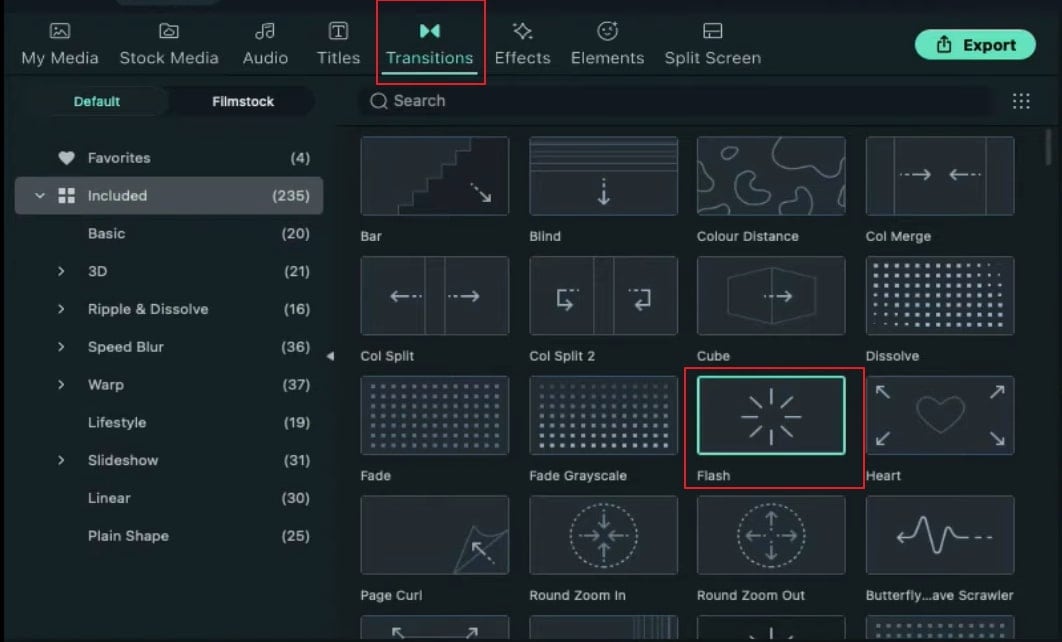
Then go to the transition and apply Flash transition on your picture and frame and keep it 5 to 10 frames long.
How to Make Photoshoot Slideshow
What you need to prepare:
- A computer (Windows or macOS)
- Your video materials.
- Filmora video editor
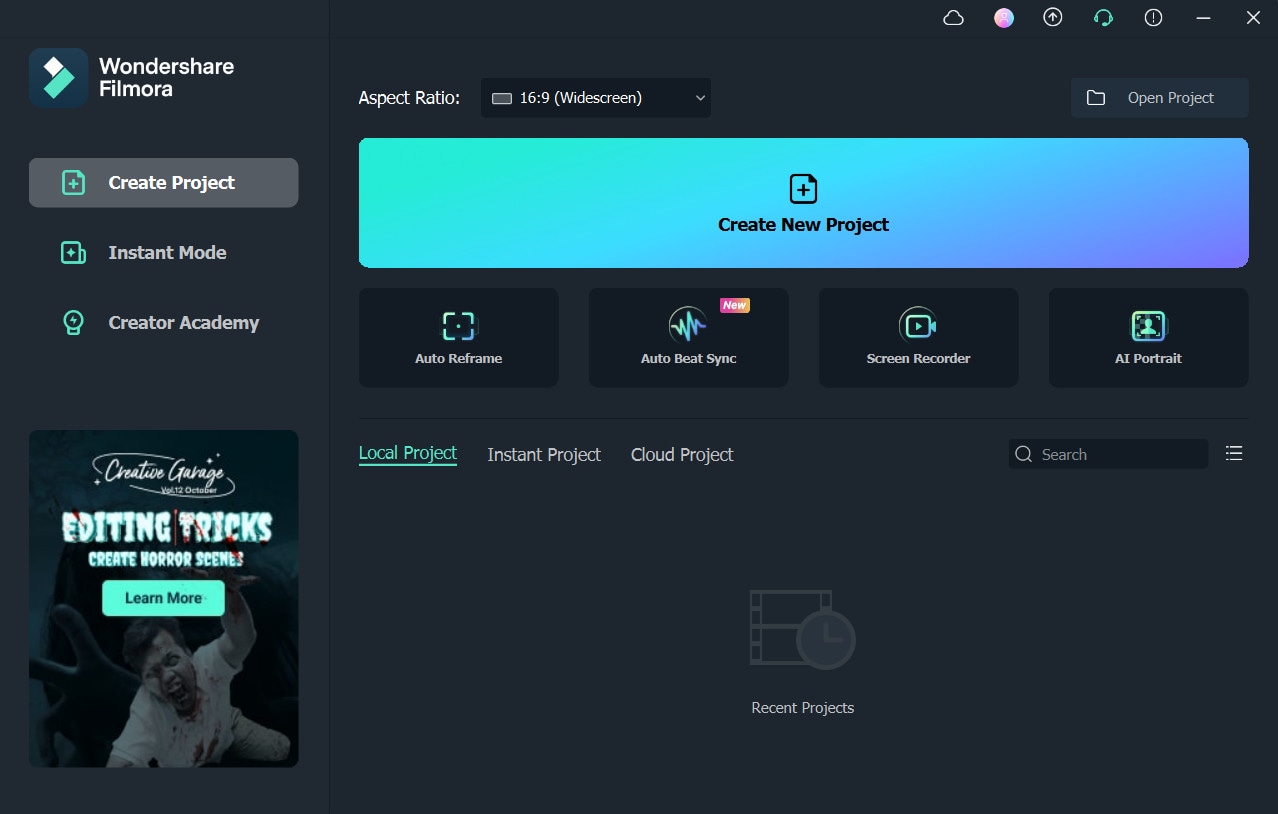
You can download Filmora for free from its website and install it on your computer. When it is installed on your system, run using “Start Now” to create a Photoshoot Slideshow.
Once the Filmora app runs, import the image and drop it on track 1 on the timeline. Select the image and navigate to Animations. Here add a blank keyframe at the start and change the scale to 110% at the end.
Now move 1 second and 5th frame to add the Square Blur effect from Effects on track 2. Keep the Square Blur effect 5 seconds long and split it into two at 1 second and 23rd frames. Tap on the 1st part of Square Blur, change its size to 0 and change the size of the 2nd part to 3. Add another Square Blur effect on track 3 and split it at multiple places. Split the 1st part at 3 frames further, 2nd at 7 frames further, 3rd at 3 frames, and delete the rest of Square Blur. Change the size of the 1st and 3rd parts to zero.
Navigate to Transitions, select Dissolve Transition, and apply it on Square Blur on track 3. Double-click on it and set the transition duration to 5 frames long. Also, apply the Dissolve Transition on Square Blur on track 2 and keep its duration to one second. Select your image and drop it on track 3 at 1 second and 20th frames alongside the Square Blur effect. Reduce its scale to 50% and remove any longer part after 5 seconds.
Go to the Elements tab, click on Filmstock and search for Frames. Filmora will provide you with many frame options. Please select your desired frame and drop it on track 4, directly above your image in track 3. Adjust the frame size to match exactly your image size. Move the keyframe to the starting point. Select your image to change its rotation to -20, and do the same to the frame. Now drag the image and frame from out of the screen using X-axis.
Move to two seconds and bring the image and frame back by changing the X-axis to -660. Rotate both image and frame to -15°, move onto 2 seconds and 28th frames and change the rotation to -5 and X-axis to 68. Change the image and frame scale to 55% at the end.
Select the Titles and download the Shooting Packs from Filmstock. Filmora will download different Shooting Packs Titles, and you will get amazing overlays to create a photoshoot slideshow. Choose the overlay Title you want and drop it on track 5. Select the Title and remove text from it. Change its scale to 90% at 1 second and 5th frames, move 5 frames further and change the scale to 85% and move another 5 frames and set 90% scale. Reduce the Title’s opacity to 0% at 1 second and 26th frames.
In the final step, you must select Flash Transition from Transitions and apply it to your image and frame. The duration of Flash Transition should be 5 to 10 frames long. Click on the render preview to get a smooth playback. Your photoshoot slideshow is ready now, and you can make it better by adding a shadow effect.
What you've learned:
- You can change any background in video with green screen.
- Use transitions in video to make it more smoothly.
- Filmora comes with many types of background, including social, busiess, sports and more.
Speak Your Mind