Transcript
The video demonstration of the effect final video that includes jumping from the ceiling of the room onto the chair. This VFX effect can be created easily by using the Filmora editor.
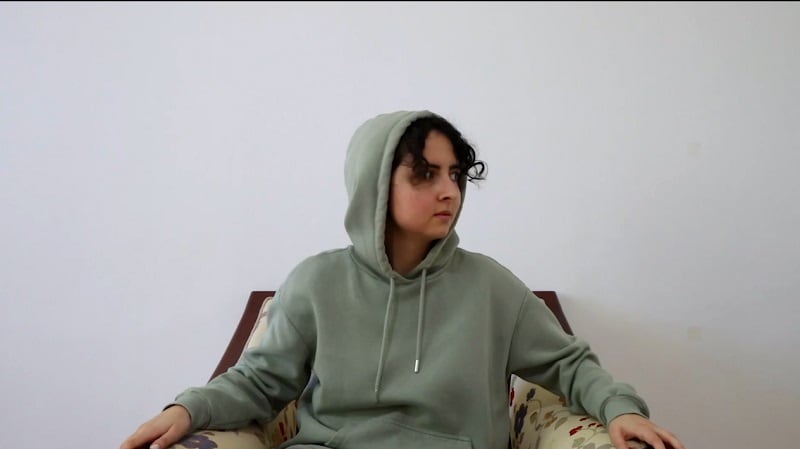
The demo videos that are the requirement for the video. You will need a white background for easy masking. You can also go for any other background as well. Just make sure its simple and begin filming the empty shots.
Record the videos in a way that first 10 second of the empty shot. For the second shot, you need to sit and do any action. There third shot will be a simple jump in front of the background. Be sure to film these three videos for the same lighting.
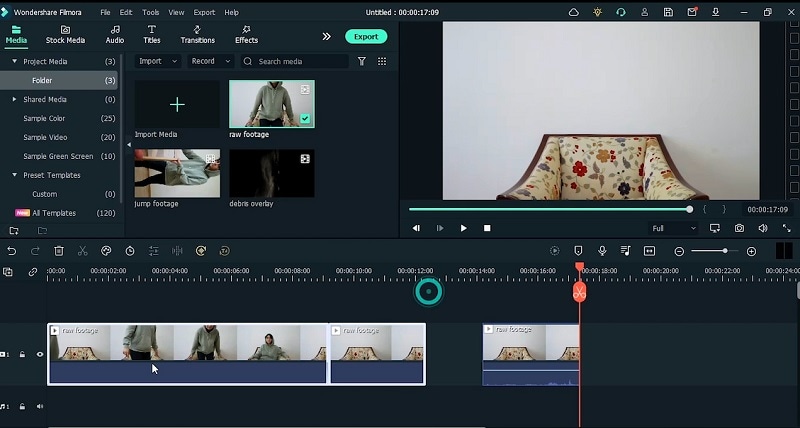
Import your videos into the Filmora project and drag them to timeline. Copy the last section of the video to copy and paste it on top of the video. You can do this by simply using Ctrl + c and Ctrl + v keys within the timeline.
Freeze the video frame and increase the video length of the background video. Adjust the timing of the video in order to cover the whole track. Then go for the preview window and make the cuts for the different scenes. Bring your jump footage to the timeline.
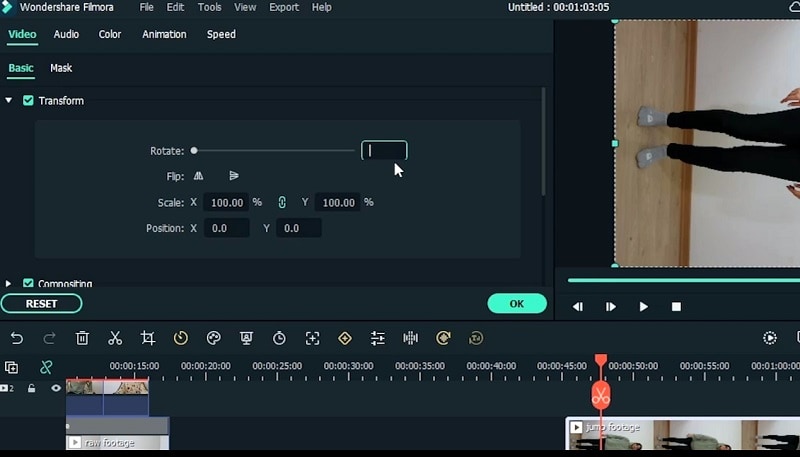
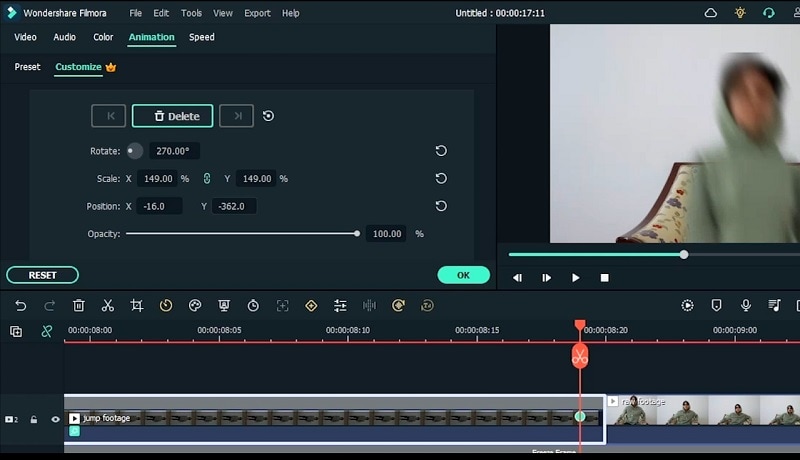
Double click on the video within the timeline and use the rotation. Transform the rotation of the video for the whole video. Look for the part where the character is jumping into the air. Add freeze frame to get rid of the motion blur.
Select the human segmentation effect to get rid of the background. Then type the direction and use the Direction blur from the list and add it on the freeze frame video to do those 2 times.
Place the freeze frame right before the main video after the customization. Spot the changing scene from the video and add the freeze frame using the timeline icon. Use the keyframe sliders to adjust the video.
Go to the start of video and use the scale of the video to make it look as the sitting character. Use the rotate slide bar and make sure you are right at the center of the couch.
Move to the animation section to move to the last frame and use position to match the position of the videos. Use the frames to preview the actions and get rid of the extra frames.
Now add additional overlay to make it look like the VFX effect. Go to the media menu and drag the Debris overlay over the video and change the compositing to hang it from normal to screen.
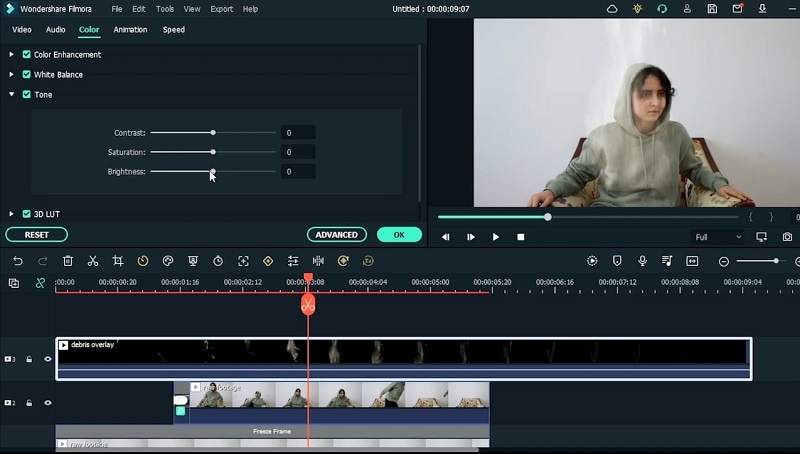
You can change the color of the dust and go to Color of the video and customize it. Match it with the action of the character and cut the
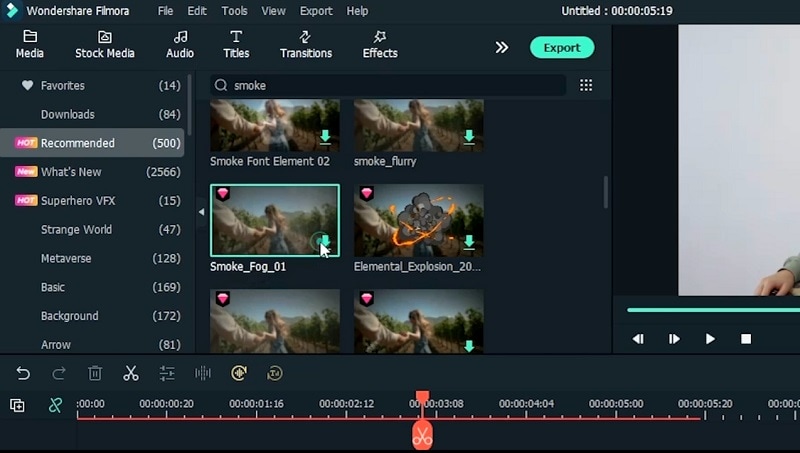
Use the smoke elements by visiting Elements menu and add them to the timeline. Customize the element effect and darken the effect by copy pasting the debris overlay one more time.
Add some filters to the video utilizing the Effects menu and the AI portrait section. Then use the LUT section from the list and add your favorite VFX effect to the video. You can use the Harry potter LUT into the video as this demo.
Add more effects as per the videos by visiting the effect window. You can insert a variety of effects from the list of categories and also adjust the opacity of the effects, you just added to the timeline.
Go to master the timing of the videos to make sure the segments are well in place. Preview the video and see where the character is about to show up. Make sure you add the normal couch clip to the start.
Add keyframes using the animation menu bar. Hover on the video clip for keyframing and doble click on the editor to open up the Animation window to customize. Remember the number and adjust the opacity of the effect a well. Do the same for another overlay as well.
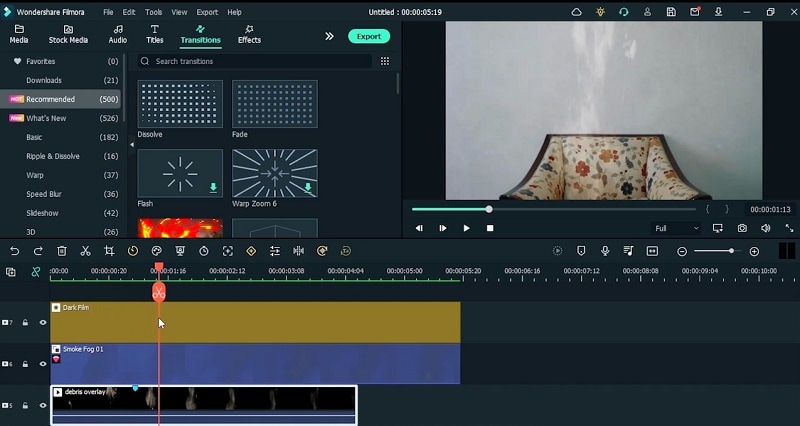
Add the transitions to the clips where you made the cuts. Visit the Transition menu and select your favorite from the list. Make sure you match the duration of those clips and re-adjust the transition effect by double clicking on it.
Go to filters to add the Chaos effect on the video on top of the timeline track. Make a cut when the changing scenes and customize the sliders of the transition effect as well. This will add more epic to your VFX video.
How to make Hollywood VFX Video
What you need to prepare:
- A computer (Windows or macOS)
- Your video materials.
- Filmora video editor
Record the Footage
A couch in front of a white background. You can go for any background but it needs to be simplistic at its best. Film the empty shot and then film another shot of sitting on the couch in a dramatic way. For the third shot, you need to film yourself in front of the white background.
Launch Filmora Editor
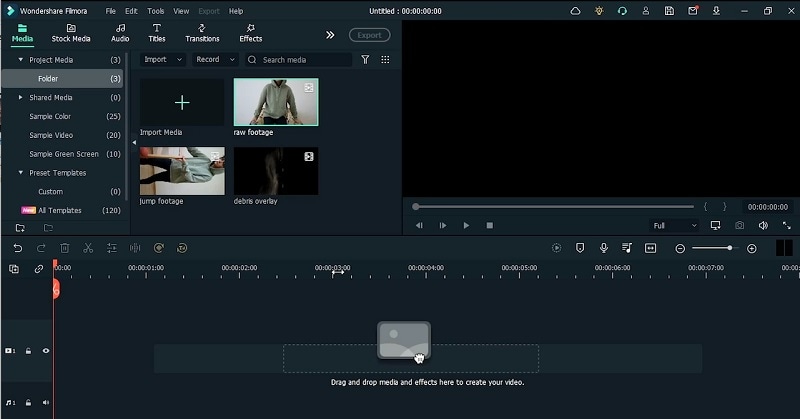
After you’ve recorded your footage as per the requirement, now is the time to jump in to the editor that will convert your footage from raw to Hollywood VFX video. Download and install the editor from these links and launch the software as soon as its finished installation. You will be prompted to the following UI, simply hit Video editor from there:

Add the Footages to Timeline
Now as you are in the Filmora editor, refer to the Import section to add up your recorded footages into the program. To do this, hit the Import button or click on the + symbol to add your files to the editor. Upon successful import, drag the file to the timeline where you can start editing it.
Split the Footages
Within the timeline, preview the footage for a detailed analysis and then hover over the different scenes of the video to make a cut. Hit the Split icon on the video at the point where you need to split the video into clips. You can do this with just a click as shown here:
Rotate the Still Footage
Now as you’ve split your footage, double click on it to open the editor where you can do the basic editing on the video clips. Refer to the Transform section within the editing window and then rotate the footage to the desired extent as shown in the demo here:
Add Effects
Spruce up your video clips by the addition of various effects of your choice. Go to the Effects menu and select your desired effect. After previewing the effect, drag and drop it above the video clip within the timeline to start customizing it. Make sure you double-click on the effect that will open up the effect customization window:

Add Animation Keyframes
In the next step, you need to add keyframes to different frames of your video. For this purpose, go to the video editing setting and then refer to the Animation menu from there. Click on the Add icon and it will place animation keyframe at the instance of your timeline slider. Adjust the keyframing from there:
Customize Color Correction
You can also customize the coloring of your video by double-clicking on the video and then go to the Color menu. To do some advanced level editing, refer to the Advanced button at the bottom and adjust the color correction as per your liking.
Add Elements and Customize
Afterwards, go to the Elements section to add elements to your video. You can use search box to find out the desired element from the list and drag it to the timeline. You can also insert LUTs from there.
Add Transitions
As you have already cut the frames previously, now is the time to make them epic! Use the Transitions menu to add transitions to your video clips. Drag and drop the transition from the list between the video clips and adjust the duration accordingly.
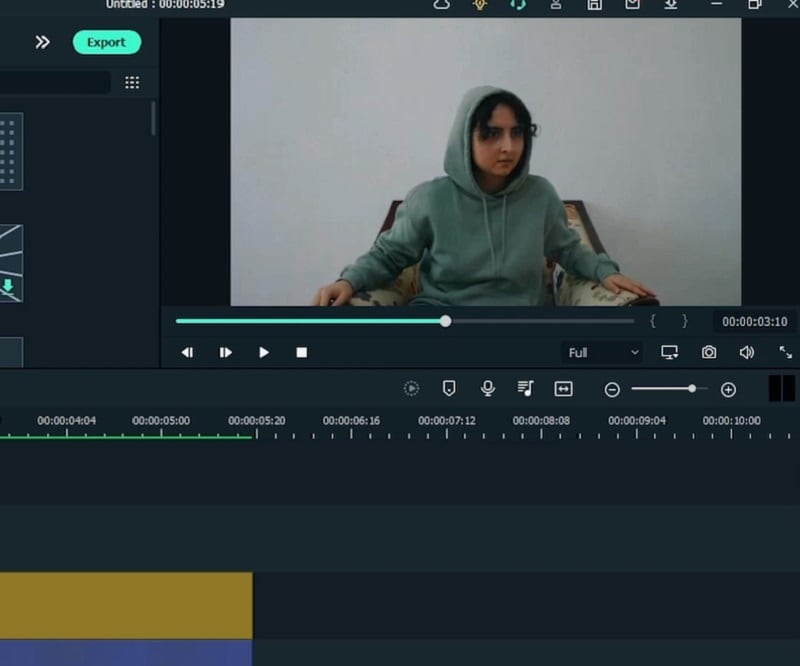
Preview the Effect Video
In the last step, you can preview the editing all-along and then hit the Export button to share the Hollywood VFX video to your audience. Make sure you’ve everything aligned just before hitting the Export button:
With this guide, you probably have found out your way to kickstart your Hollywood VFX video effect journey. Nevertheless, you would be required to have Filmora as your editing partner to accomplish this task without hassle. Download the software from here and get started aptly.


Speak Your Mind