Transcript
The demo of the video with the final preview video. You can see it looks complicated but with the use of Filmora editor, it will be easier than you thought. Let’s get started without further due.
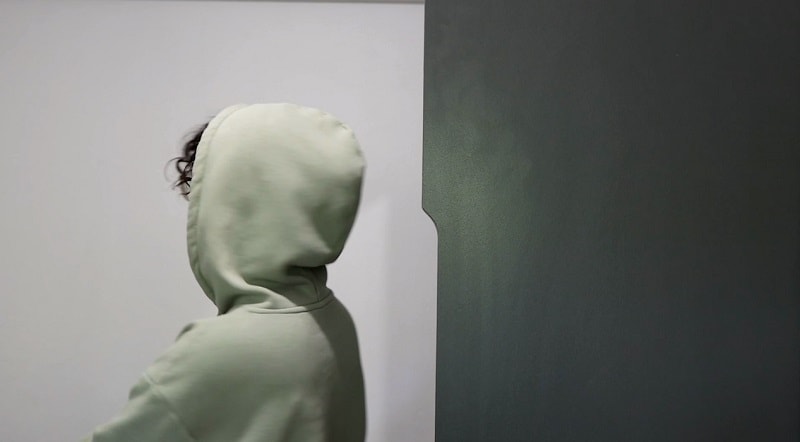
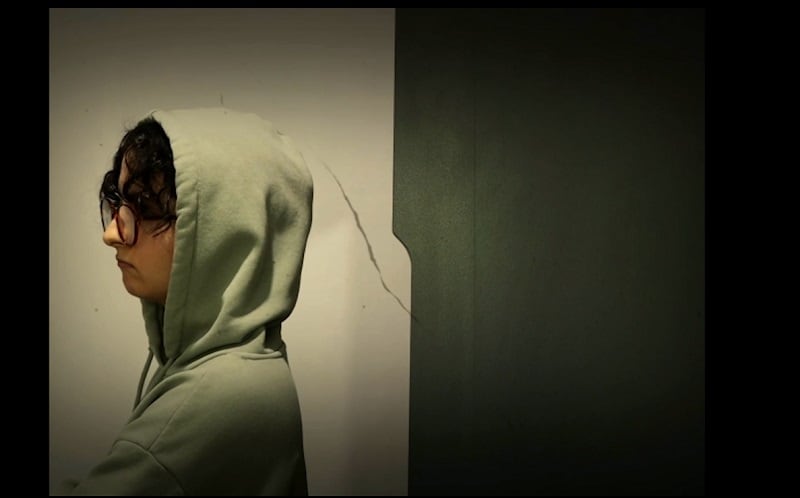
Here are type of shots you need. Use the framing in such a way that half is covered with the object and the other half includes the character. Avoid any light changes by using the manual settings of the camera.
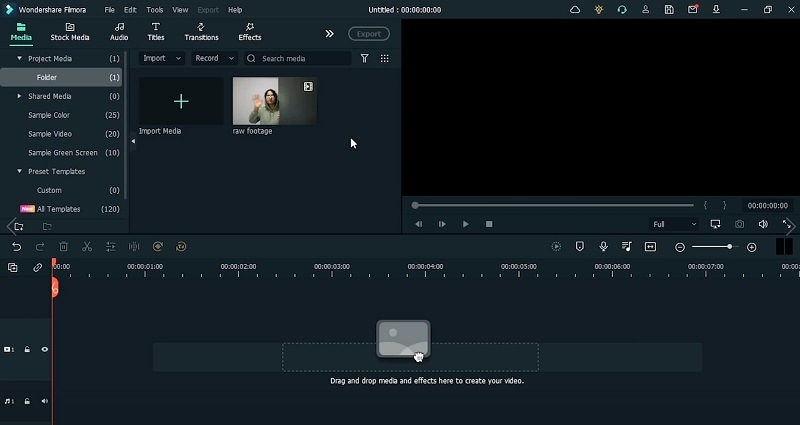
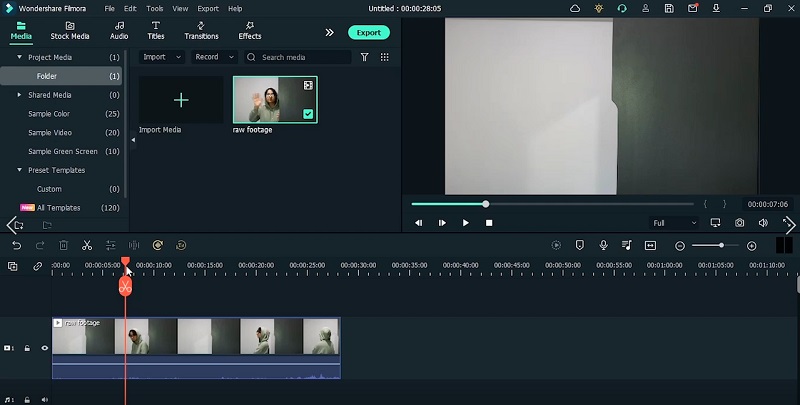
Launch the Filmora and import your raw footage into the software. Bring it to timeline and make a cut where you are about to move out. Get rid of the first clip.
Make another cut when the character the going back behind the cupboard. Once you have this copy and paste the section that has the pause in the frame. Make sure you reverse the other shot by using the right click.
Transform the duplicate clip and flip it using the settings. Double click and use the basic editing window to edit this clip. Go to the transform section and scale the video in lieu of the previous video.
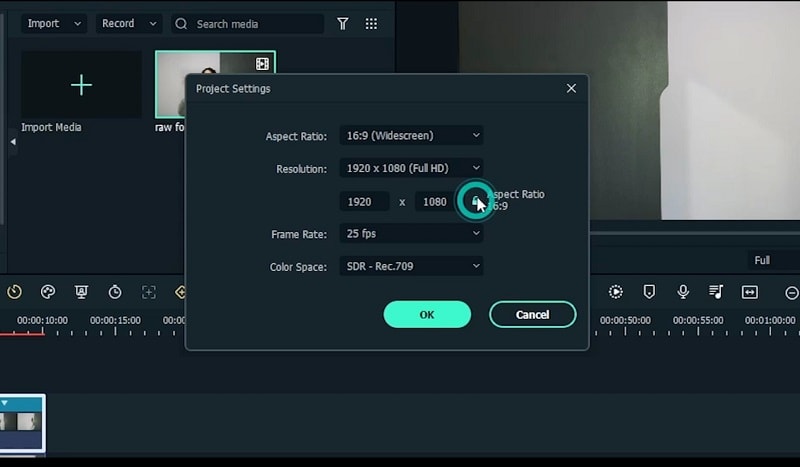
Place both the videos right next to each other. Go to Project settings and adjust the aspect ratio of your video so it will double the width of the project. Make the video adjustments in the preview videos.
Edit the videos to change the scale values manually. Make sure you use the same values for both the videos as they will appear in the final effect video. This will make them look like the same video.
In order to match both the videos, add the mask effect. Go to the Mask properties of the video. Use a single line mask bring it over the second video to increase the blur strength. Preview it accordingly and adjust it.
Playback the video and it will have two scenes. Now you have the scenes as moving out from the sides, looking around then going back behind the cupboard as shown in your Preview window.
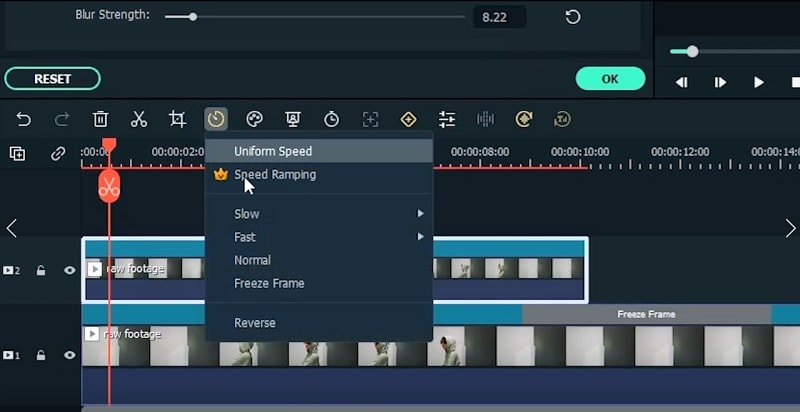
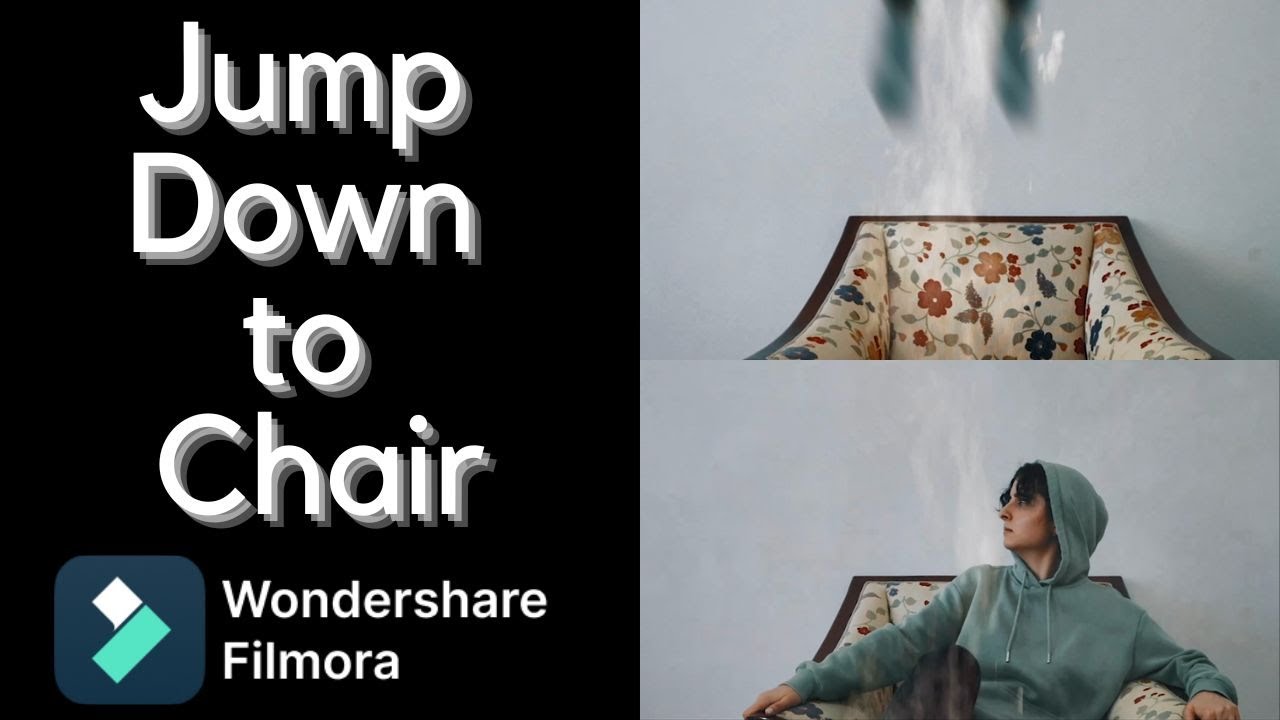
For the final effect, you need to make it look like the character is moving out from the one side and then looking around and moving out from the other side of the screen frame. Then you need to freeze the frame so it gets stuck behind the cupboard.
On the left video, click and exactly where the going back is there, go to time and Freeze frame there. Same goes for the top video and remove the ambiguity from this video to use the Master freeze frame so that the other one is normal.
Match the freeze frames below to the normal frame above to match both the videos. Make sure the duration of the videos after the frozen frames does not exceed each other.
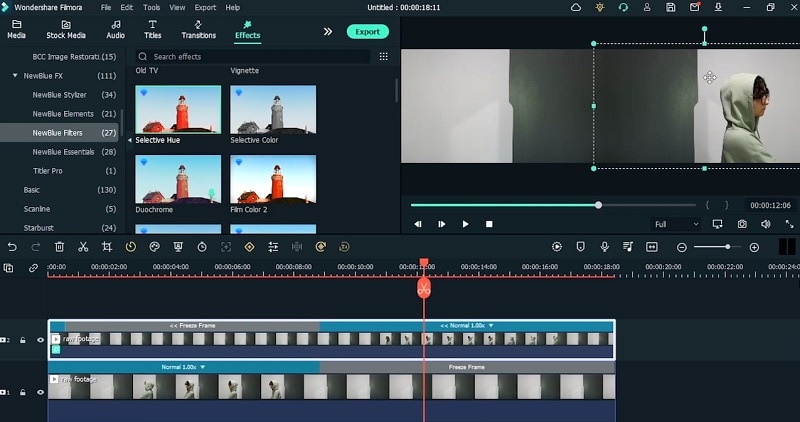
You need to use the colors and then go to New Blue Filters to add the Selective Hue and put it directly on the video that is on the other side. Then double click to adjust this effect. Make sure to use the eye dropper for this video.
Clear the timeline and bring the base video. Aspect ratio needs to be changes and make it standard Take a look at the changing scene and mark it using the M key from the keyboard. Do the same for the other side video.
Go to the first marker and then use the Basic section and then go to the Transform section and scale in to fill the entire frame. This will cover the main frame of the video.
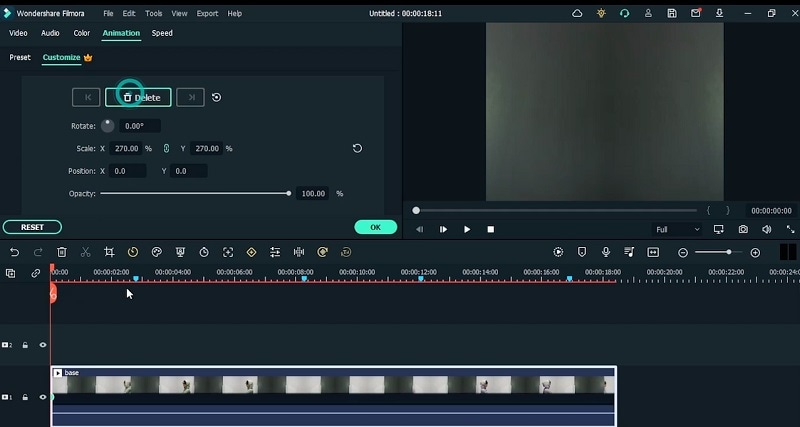
Right at the start, go to the animation section of the video to add the keyframes. Use the position X to move the video al the way towards the left. Use the slider to adjust the position.
Go to the next marker and Press 0. Skip the middle marker and go to the other one. This time move to the other direction and preview it.
For effect to last longer, move the keyframes to move them forward, the longer they last, the longer the effect will be. Increase the keyframes until the character is moved back behind. Preview it accordingly and adjust the keyframe durations with the frames.
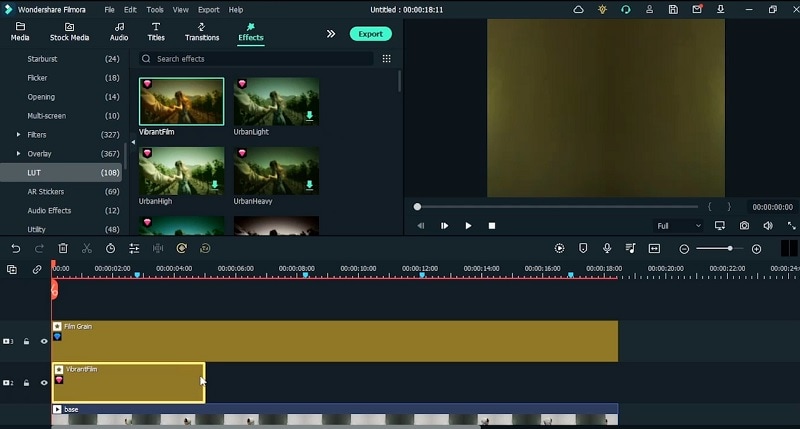
As both the videos start at 0, they are going to have the loop at the end. Lastly, add the color grading and make it look realistic. Use the Effect section and introduce Film Grain to drag it right on top.
Use the LUT effect such as Vibrant Film effect and add it to the video. Adjust the opacity slider. You can also color correct the video colors using the advanced settings. Preview the final video.
How to Make Viral Egg Puking Loop and Mirror Dive Video Effect
What you need to prepare:
- A computer (Windows or macOS)
- Your video materials.
- Filmora video editor
Record the Footage
In the first step, start recording your footages according to the guideline in the transcript video. You will need to shot some scenes but keep in mind that the frame of the shots should be the same as per the videos.
Install and Launch Filmora
In the next step, install the Filmora video editor by downloading the installer from the links we have provided here. Make sure you have the latest version as it will give you more choices to add into the effect video. Then launch the Video Editor program by selecting Video Editor from the options.

Import the Footages
As soon as you’re into the UI of Filmora editor, Import your recorded footages into the software. You can do this by hitting the Import button within the editor and then select the files from the drive. Drag your video footage into the timeline into a video track.
Make Cuts on your Video
Split your added video into various clips. This is to ensure that you have the redundant clips from the video removed. You can find out the scenes as specified in the Transcript and then make a cut using the Split button by hovering over the frame.
Match Aspect Ratios
You can match the width of the video clips to make sure it is aligned with the main project settings. For this purpose, go to the File and Project Settings from the list and adjust the settings from there.
Add Freeze Frames
Now you need to add freeze frames to the scenes. This will make video frames on hold so you can increase the duration afterwards. Go to the timeline and spot the Timer icon, from there, you can add Freeze frame to the clips.
Include Effects
Go to the Effect menu and from the list, add the Selective Hue to the video inside the timeline. You can then customize the effect using the Hue slider as well as the other options it has.
Add Animations
From the start of the video, you need to add animation keyframe so it has the customized animation. Double click on the video and go to the Animation property bar, from there, you can add the Keyframes and then Customize it by using the Scale and Rotate features.
Add LUTs
For that, go to the Effects section and LUT menu from the list. There, you can add LUTs to your video clips. This will also adjust the color corrections of your video to match it with the other clips. Adjust the Vibrant Film Opacity to increase/decrease the intensity of the effect.
Preview and Save
You can also go to the Advanced color settings and after hitting OK, you can preview the footage and then save it to your desired location. You can also share your loop video effect to make it go viral on social platforms like YouTube.
You would have planned of creating your own viral video effect but the way it firstly appeared, you have let go the idea. Luckily, this behind the scene guide with Filmora will make it obvious to try it out subtly. Download it from here and let the fun begin.

Speak Your Mind