Transcript
Ever want to grab something to munch on but you find it too difficult to make it. Through this guide, we will teach you a way to create your favorite snacks, of course, digitally.
Place everything in a bowl and magically your favorite snack will be there ready to be consumed. For this shoot a video.
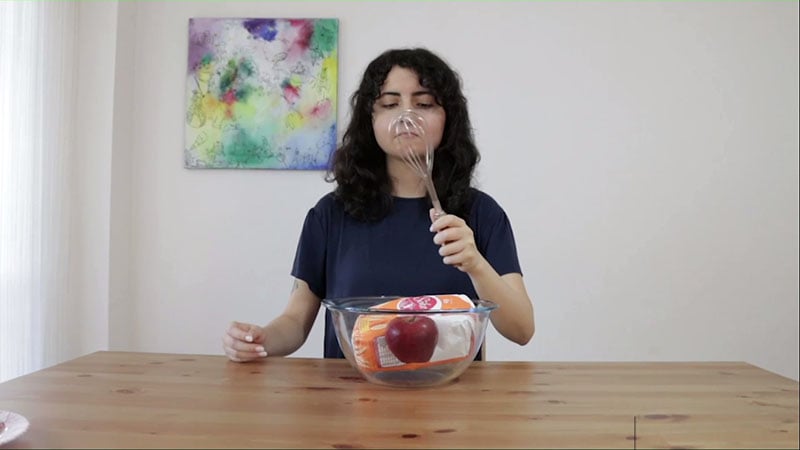
Switch your utensils while you pretend to bake or create your favorite snack. You need to have a bowl, ingredients of your snack, your snack itself, and some utensils so that we can switch them.
In the bowl, place the ingredients that are somehow relevant to that snack. For example you choose an apple pie snack so you must throw some flour and an apple in the bowl. Grab your first utensil which you need to replace.
Make a video pretending to throw the first utensil and freeze in that moment. During this moment, tell your assistant or friend to replace the first utensil with the second utensil with which your snack can be created.
Start the motion of your hand towards the bowl so pretend that you are actually mixing all the stuff to make the snack. Snap your fingers and freeze in the moment. During this time, tell your assistant or friend to come and replace the bowl with the ready to eat snack which you were pretending to make, for example apple pie.
Snap your fingers once again to resume the movement and grab the plate with your ready to eat snack and show excitement. Then pick up the plate and move away with your favorite snack.
Keep in mind a few things. Shoot the entire video on the tripod to avoid movement and make sure that the tripod does not move from its original position. Secondly, shoot the video on the manual mode on your camera. Make sure all of your auto settings are turned off.
Make sure that in the shots where you have to freeze, you should really be frozen in space and do not change your expressions when your assistant is replacing the utensil and the bowl. If you move even a little bit, the effect will be really bad.
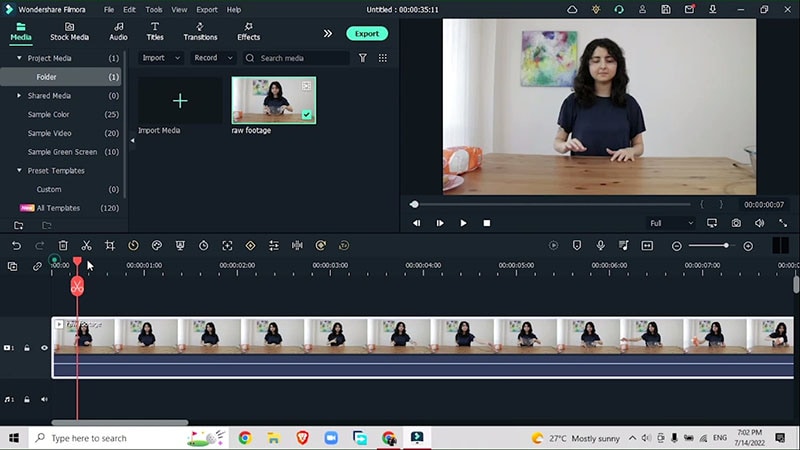
Import your raw footage and place it into your timeline. Imagine that in the video, you are hungry for a snack but you don’t have it to eat. You will decide your transition points accordingly. Make cuts in the motion blur points of your videos where you want to add the effect. Split the footage after marking the points by hitting ‘M’ on your keyboard. Adjust the setting of your split footage.
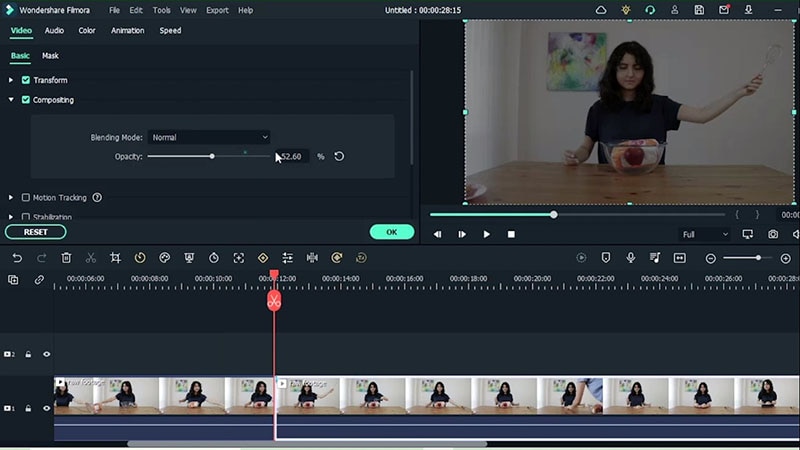
Go to video, basic, compositing and lower the opacity of your top track video. Zoom in so that you can move through your video frame by frame and see wherever you need to mark the points. Don’t forget to get rid of the extra parts of your footage.
Bring back the opacity by double clicking on the second video on which you made a cut. Do the same for the third point where you want to mark the transition.
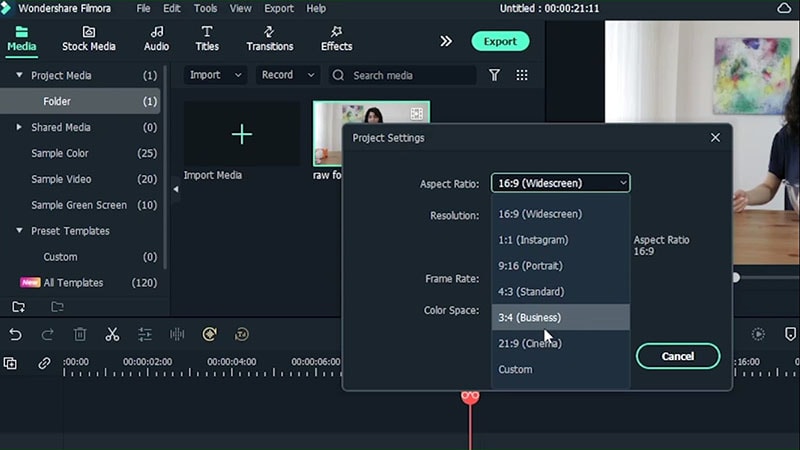
Change the dimension of your video. Get rid of the side areas to divert attention to the subject in the video. Go to file, open project settings, and change the aspect ratio from widescreen to 3:4 Business.
Double click on your video, go to transform, and zoom in until you have the subject in the screen only. Use position X and Y and make sure that you are at the center of the video. Do the same for the other videos which were split in the beginning.
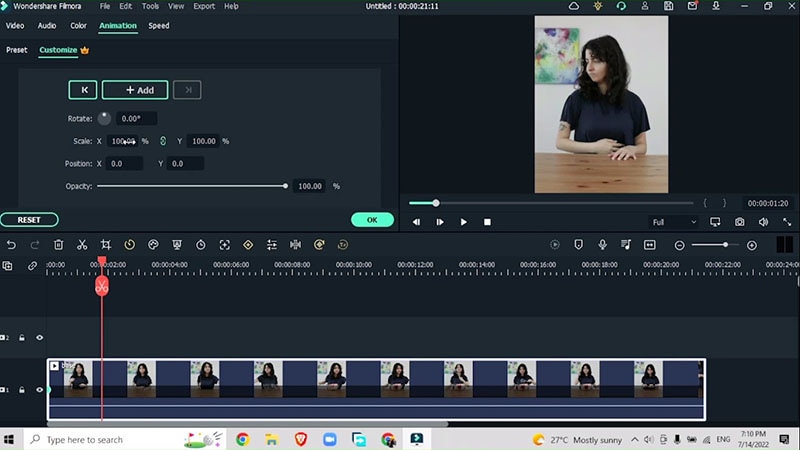
Go ahead and export your video. Clear the timeline and bring in the exported video. Add key frames to the video to add movement effect into the video to engage the audience.
Double click on the footage click animation, customize and add a key frame to the start of the footage. Zoom in, add rotation and use X and Y scales to position yourself. Once you have focused on subject in the photo, zoom out again by changing X and Y scales.
Go to effects, add realistic smoke effect and place it right above the video. Double click on the effect and place it right above the bowl where you need the smoke to appear.
Create variation in smoke by double clicking on the effect, go to transform and increase the scale. You can also flip the effect.
Add simple LUT effect to bring the video together. Go to effects, LUT, double click on your favourite LUT and adjust the opacity.
Render your video and preview in full screen to check for more additional changes.
How to Create a When It Rains Effect
What you need to prepare:
- A computer (Windows or macOS)
- Your video materials.
- Filmora video editor
Record a Footage
Record a single footage in which you have a bowl filled with the ingredients of your favourite snack. Just pose with one utensil and freeze until someone changes the utensil in your hand. Start the motion of the replaced utensil towards the bowl. Snap your fingers, freeze into place and let someone replace the bowl with a plate which has ready to eat snack.
Download and Install Filmora
Go to chrome, download, and install Filmora for free. Filmora is available for both, windows and MacOS computers.

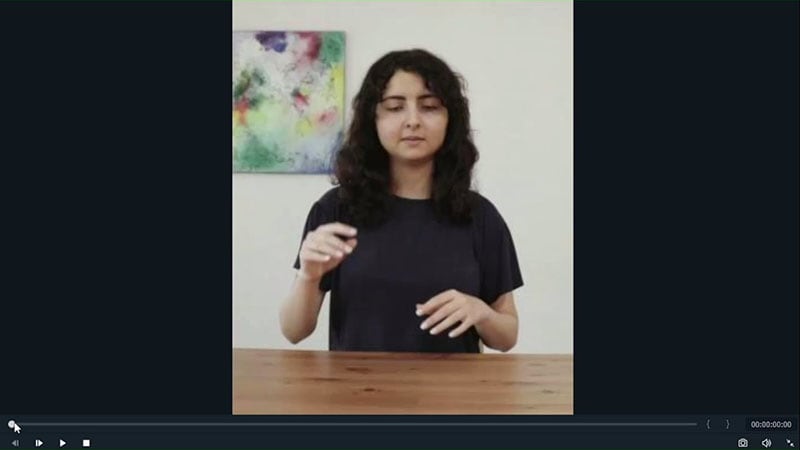
Import the screen recording into the Filmora timeline
Launch Filmora 11 and import your footage to proceed adding the when it rains effect to your video.
Image name: add-when-it-rains-video-filmora.jpg
Split the Videos and change Opacity
After you have marked the points where you need the transition to be, split your footage by marking the motion blur points and change the opacity according to the adjustment of your clips. Don’t forget to re-order your footage so that you can easily add effects in between the cuts.
Adjust the Dimension
You do not need to focus on the sides of the videos, and you may also want to divert your attention onto the subject and whatever that subject is doing so always djust the dimension of your video by going to File > Project Settings > Aspect Ratio > Change into 3:4 Business
This is done to divert the attention to the subject instead of the extra sides.
Adjust Zoom Settings
You need to clearly see if any point of your video needs any maskin or not. Other than masking, you should also zoom in to see if there are further changes required. But for now, we need to divert the attention on to the subject. Select all the videos one by one and adjust the zoom settings to bring the focus from one thing to another by going to Video > Basic > Transfrom > change rotation and positon on X and Y scales.
Do the same for all the clips to get a uniform adjustment.

Export and Add key Frames
Export the video, clear the timeline by deleting all the clips.
Import the exported video back into the timeline and now add some key frames.
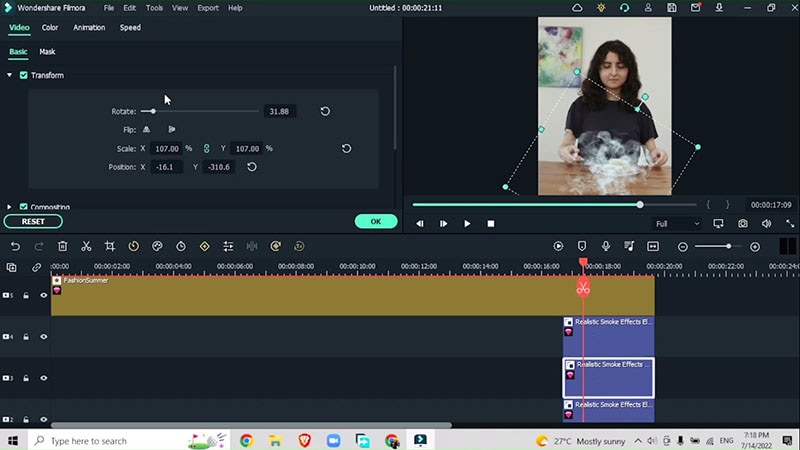
Double click on your footage, go to Animation > Customize > Add key frame. Change the zoom in level by changing the X and Y scale. Add rotation and change position.
Add Smoke Effect
Go to Effects > Smoke > Add your favourite Smoke Effect (for example realostic smoke effect) to the location where the bowl turns to a ready to eat snack. Place this effect right above your video.
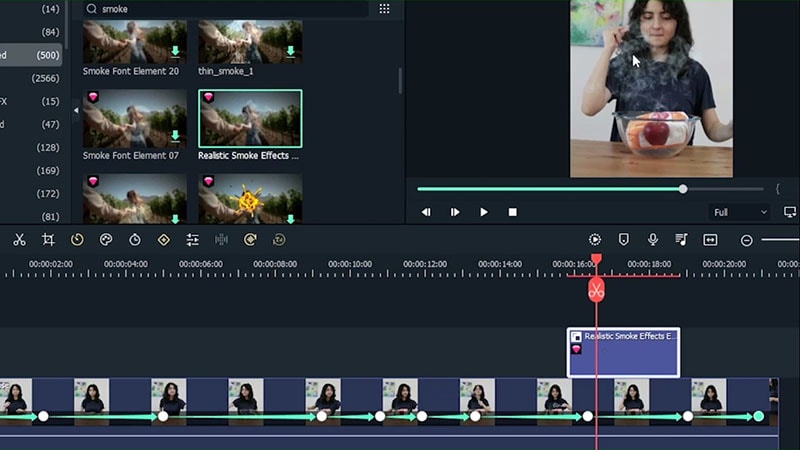
Double click this effect and resize it adjusting it right into its place.
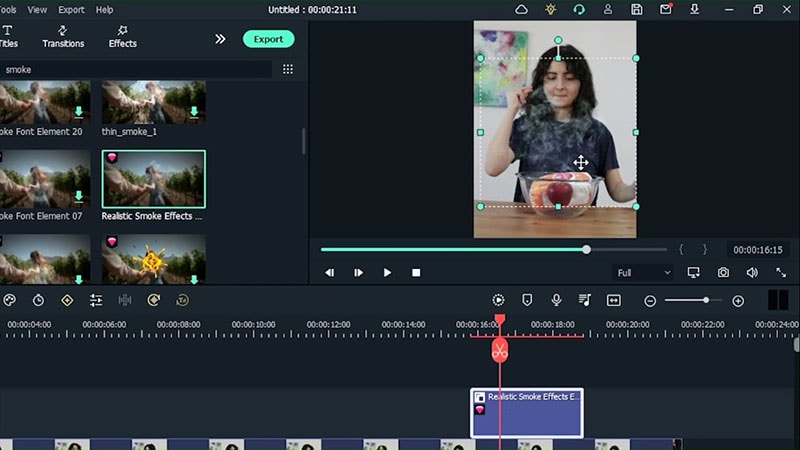
Create variation in smoke by double clikcing the effect, go to Video > Basic > Transform > use X and Y scales to adjust.

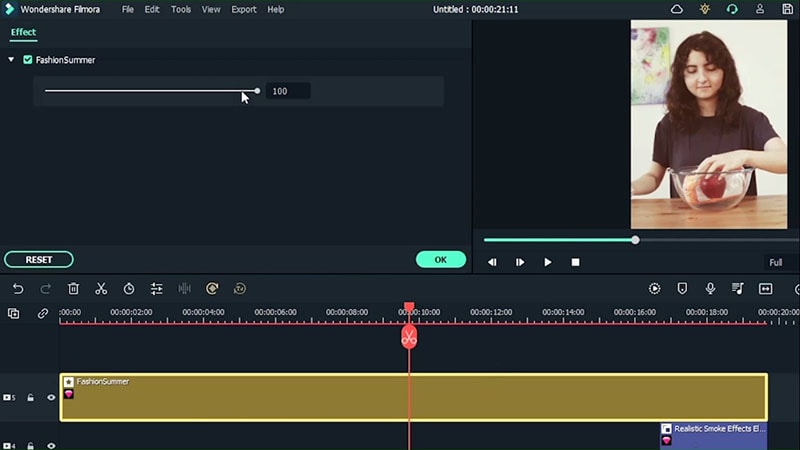
Add Simple LUT Effect
To tie it all together, add a simple LUT effect. Go to Effects > LUT > Fashion Summer (or any other which you like).
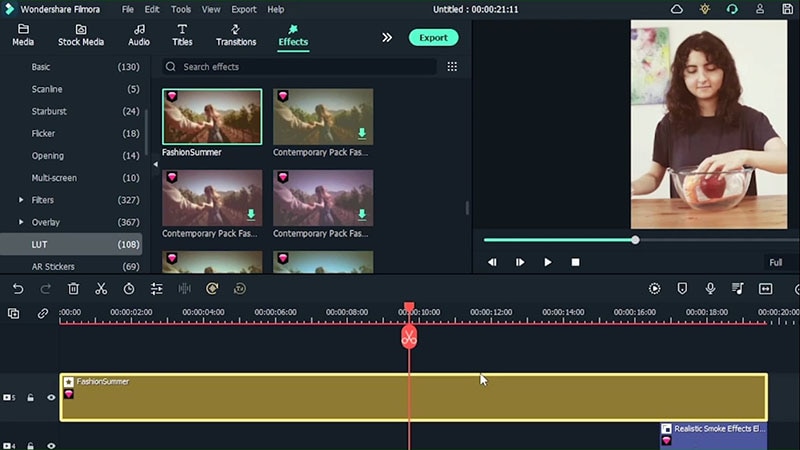
Double click on this effect and adjust the opacity
Rotate to Adjust
Rotate the second element to make the video look more natural.
Render the footage and preview in the full screen to see if more changes are required.
Everyone wants immediate gratification of their favorite food cravings, well this digital way to convert your ingredients into a ready to eat snack will definitely work with your mental fantasies, if not the actual cravings.

Speak Your Mind