How to Use Jump Cuts in iMovie on Mac? [Step by Step]

Aug 23, 2024• Proven solutions
With this article series being one that revolves around video editing, readers need to be aware that there are multiple components and creators involved in the making of any video project and every person involved can have a different outlook on how to achieve a seamless film-watching experience. When you are immersed in a movie, there are often cuts that can break the immersion and bring you back to reality but at the same time they can do just the opposite, and Jump Cuts are just that!
Now, iMovie by Apple is a fairly simple video editing tool. Its layout is minimal, and its capabilities while many are still lesser than those of other professional-grade options. But Jump Cuts are some of the simplest sequences to make, and iMovie can handle them just fine. Thus, in this article, we will teach you how to create a Jump Cut Sequence in iMovie, and like always, we've also included the steps you will need to follow to do the same in Wondershare Filmora.
The list below summarises everything that you will get to read about in this article:
- What is a Jump Cut?
- Where and how to use a Jump
- How to create a Jump Cut in iMovie
- How to create a Jump Cut in Wondershare Filmora
But before we delve further, let us get to know what exactly is a Jump Cut.
What is a Jump Cut?
A Jump Cut can be defined as a shot that has been separated into multiple pieces whose best use case is to signify the passage of time. While most projects aim to create a seamless experience, Jump Cuts do just the opposite and show the breaks, going against the principle of continuity.
This choice, if executed properly, can have a significant impact on the viewer's experience but is quite easy to do poorly.
With the definition cleared, we now move on to the questions that answer where and how someone can use a Jump Cut.
Where and how can you use a Jump Cut?
When you plan to apply Jump Cuts in a video project, the best places to integrate them are in the following scenarios:
- You want to show a montage of items, for example, food, drinks, rooms, etc.
- You wish to introduce new characters — jumping between one and another with drastic cuts should not pose much of an issue.
- You wish to amplify the tension in a scene — such an effect is achievable by gradually zooming into an object with each cut.
- Showcase the passage of time — change the scenery or subject in a shot to bring about this effect.
Note: Keyframing, a key video editing tool, often helps create smoother transitions and produces effects that are drastically different from the one that a Jump Cut can create.
Now that we've learned about the basics of a Jump Cut, listed below are the steps on how to create one in iMovie and Wondershare Filmora.
How to make a Jump Cut in iMovie?
Once you have iMovie open and ready, you can start following the steps listed below.
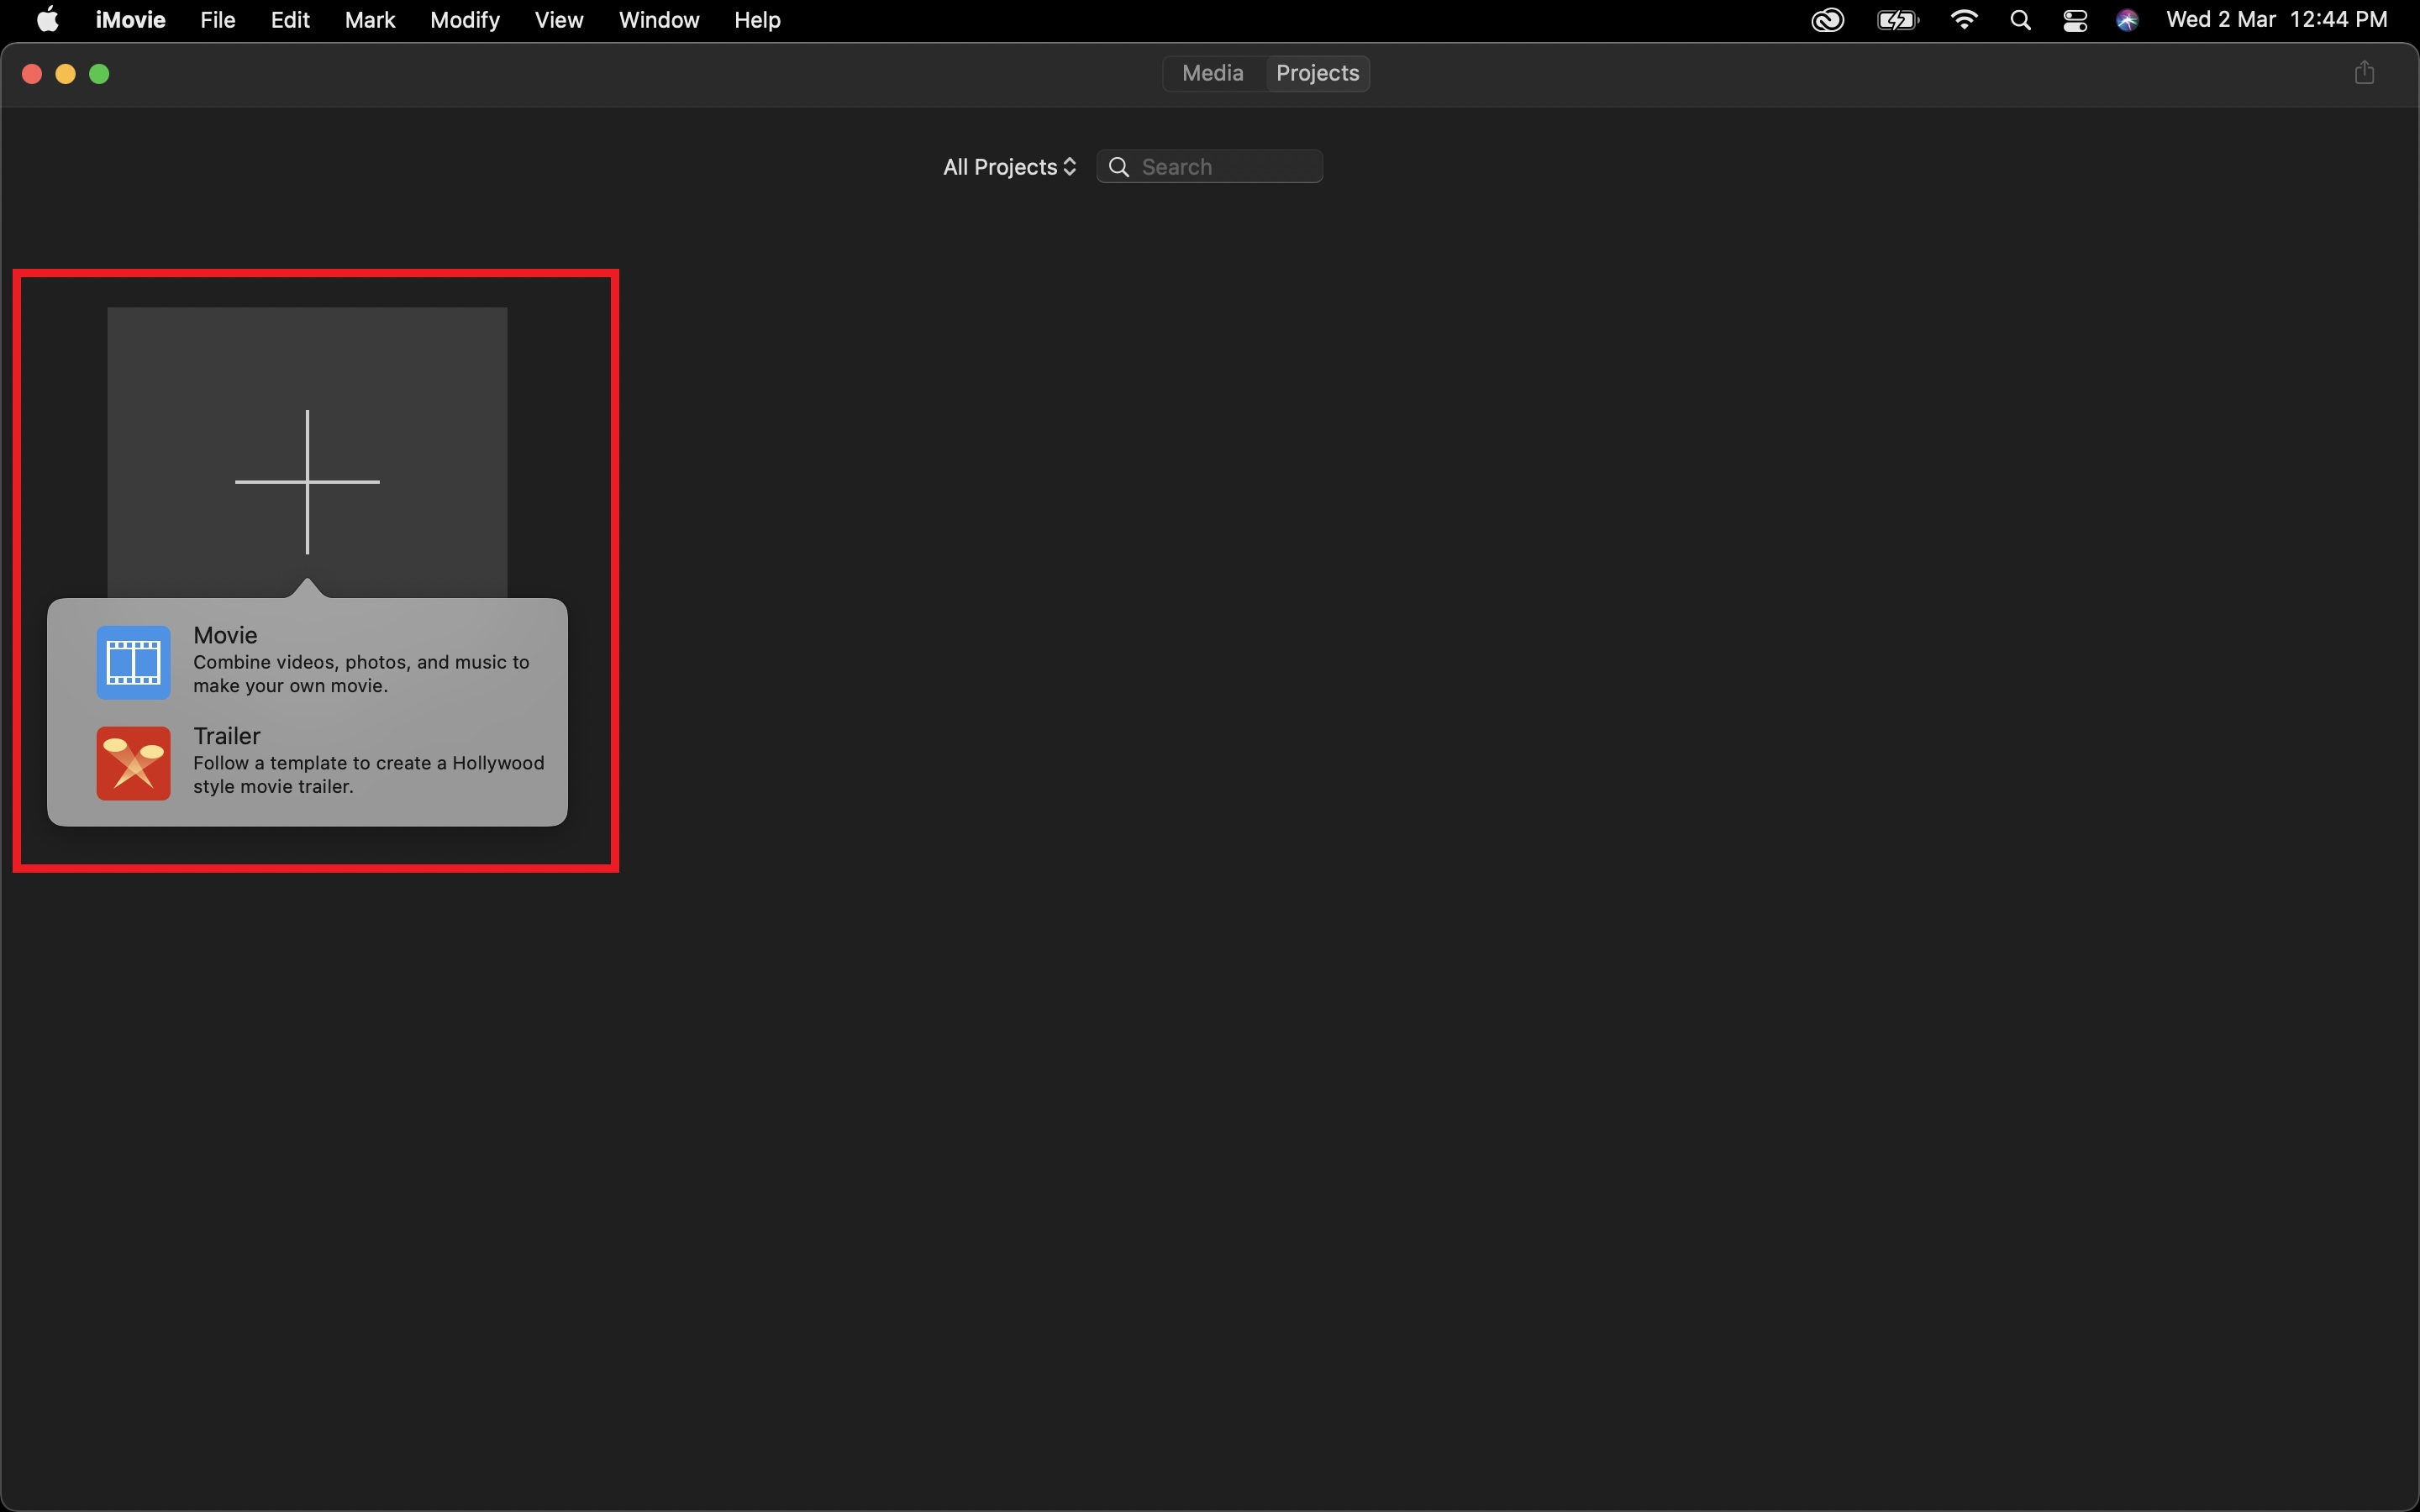
Step 1: Choose the Movie option to create a new long format project.
Step 2: Import your video clip and drop it onto the Timeline
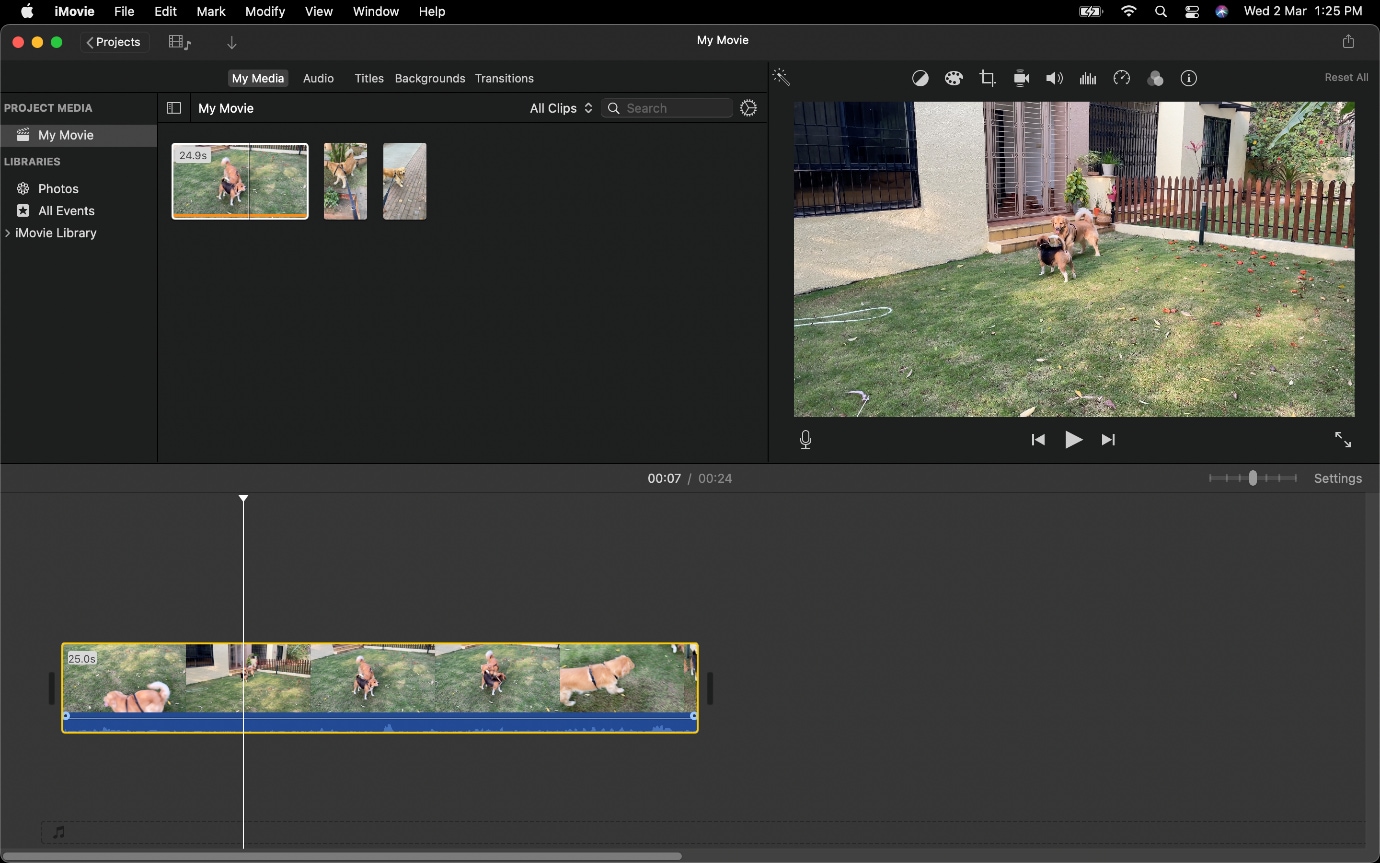
Step 3: Split your video clip with Command + B, and then create a second clip at the point where you want the clip to end.

Note: You can also create a split with the context menu. (Right Click or Two-Finger tap the Trackpad to activate it.
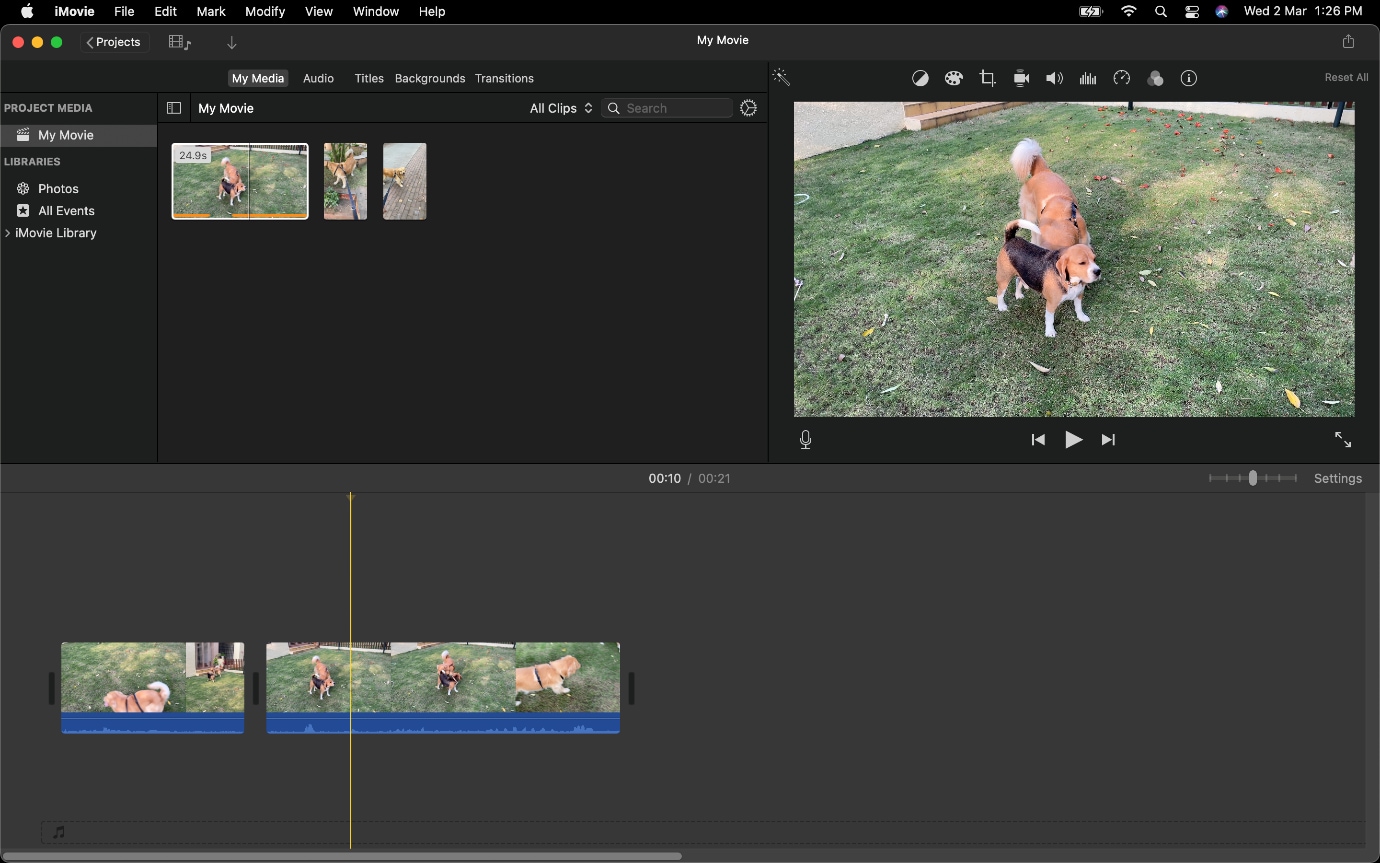
Step 4: Delete the Clips that aren't required.
This will create a Gap which you can smoothen out.
We also recommend you detach audio from your video file in the case of a jump cut, as this will help you notice the blank audio segments and possibly make a better cut that will have a more profound effect.
Best alternative to create a Jump Cut with Wondershare Filmora
Wonder share Filmora is one of the most used video editing applications. It has one of the best user interfaces and rendering speed. You can easily create a jump cut like iMovie does. Moreover, it offers a great many effect resources for advanced editing. In the end, you can export your video to your desired file with whatever resolution you want.
Open Filmora Video Editor , and once a new project is set up follow the steps listed below to create a sequence with Jump Cuts.
If you have not downloaded Wondershare Filmora, make sure to visit its official website and get the latest version, which is available for free on macOS and Windows.


Step 1: Import any video clips required to be part of your jump cut into the project.
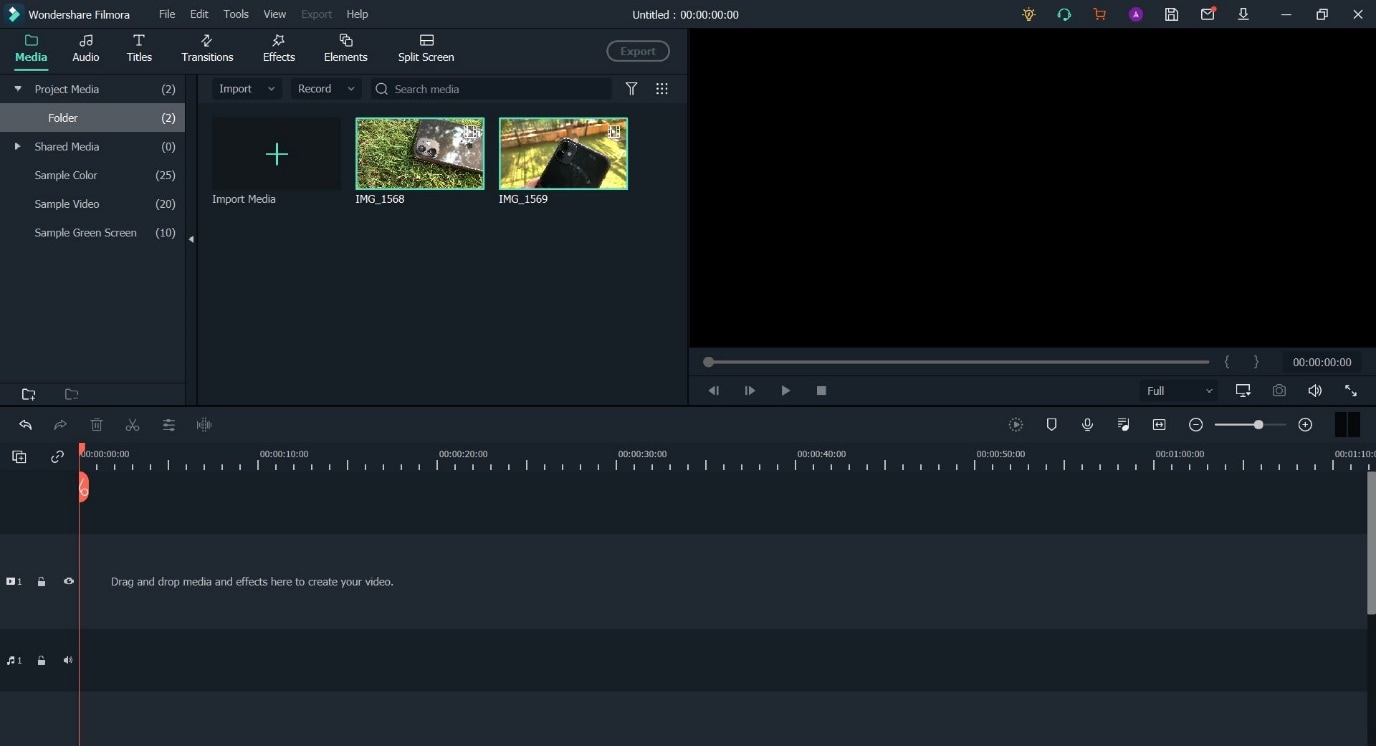
Step 2: Place the various clips onto the Timeline.
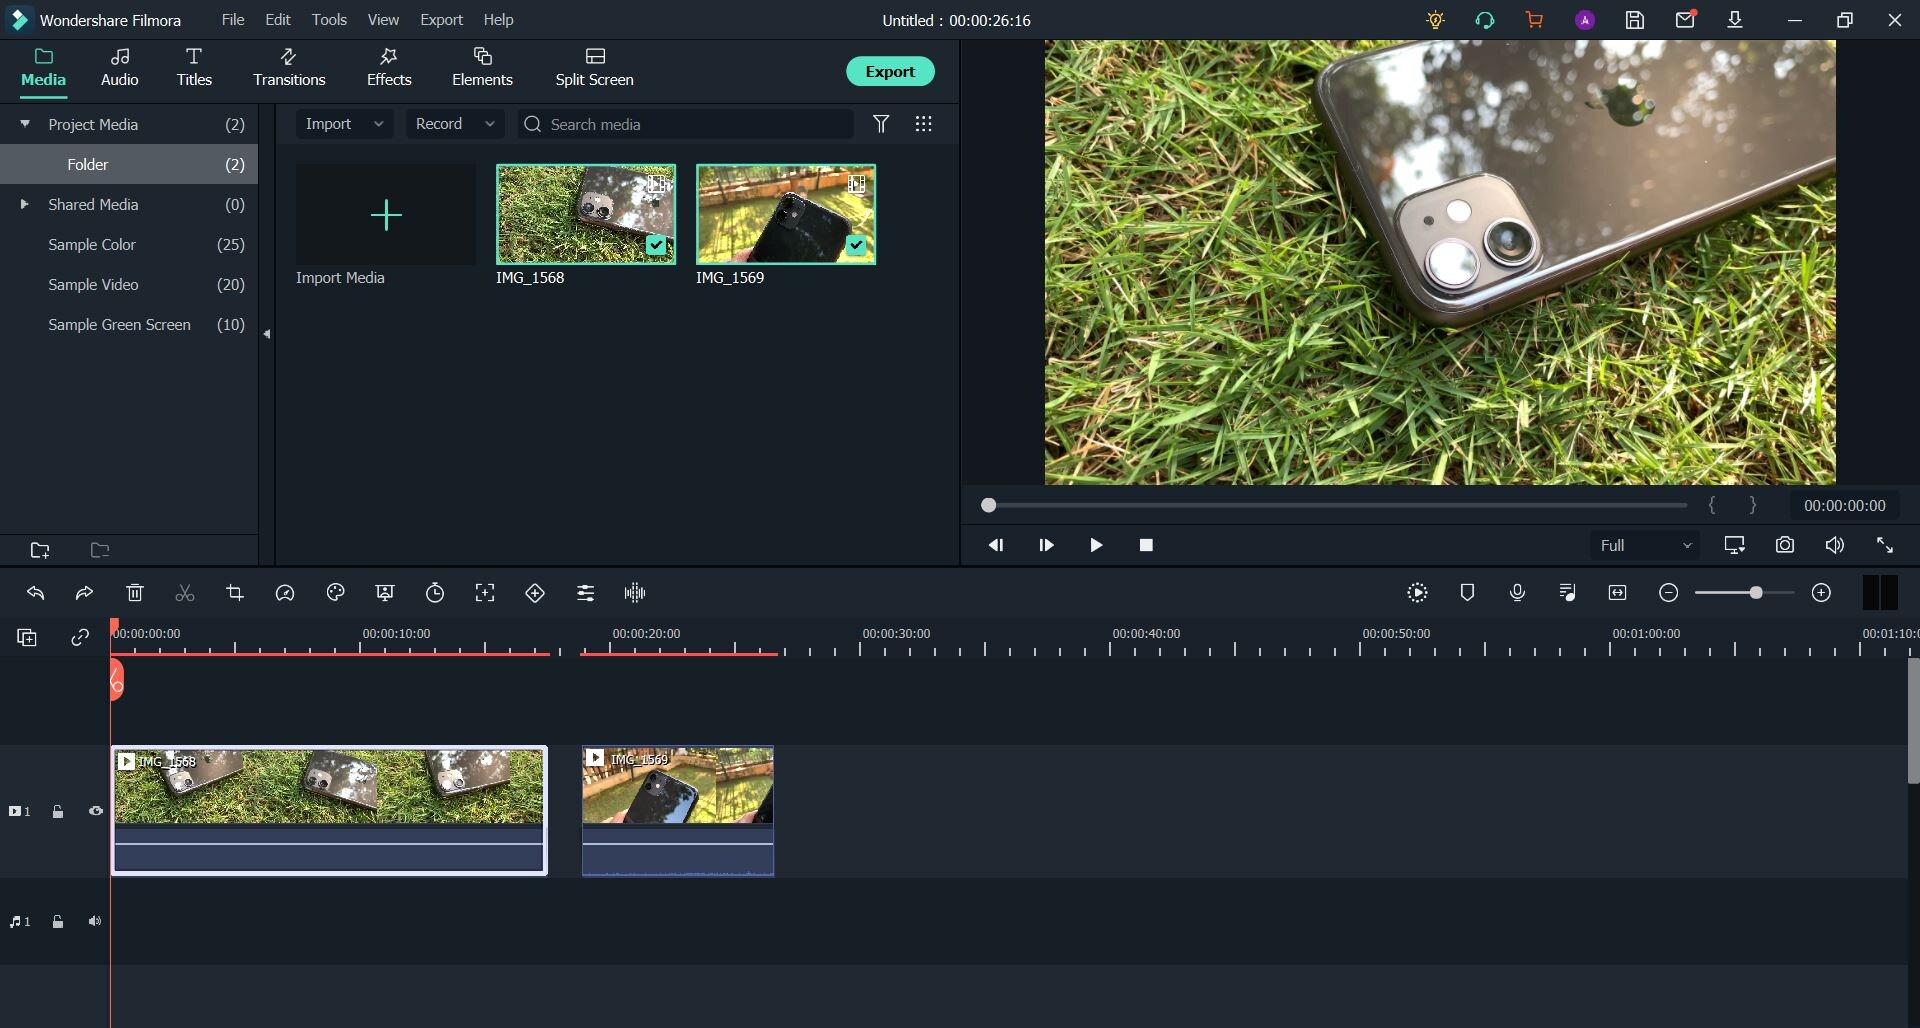
Step 3: Once the clips are on the Timeline, line them up as you desire and split the video feed into multiple parts.
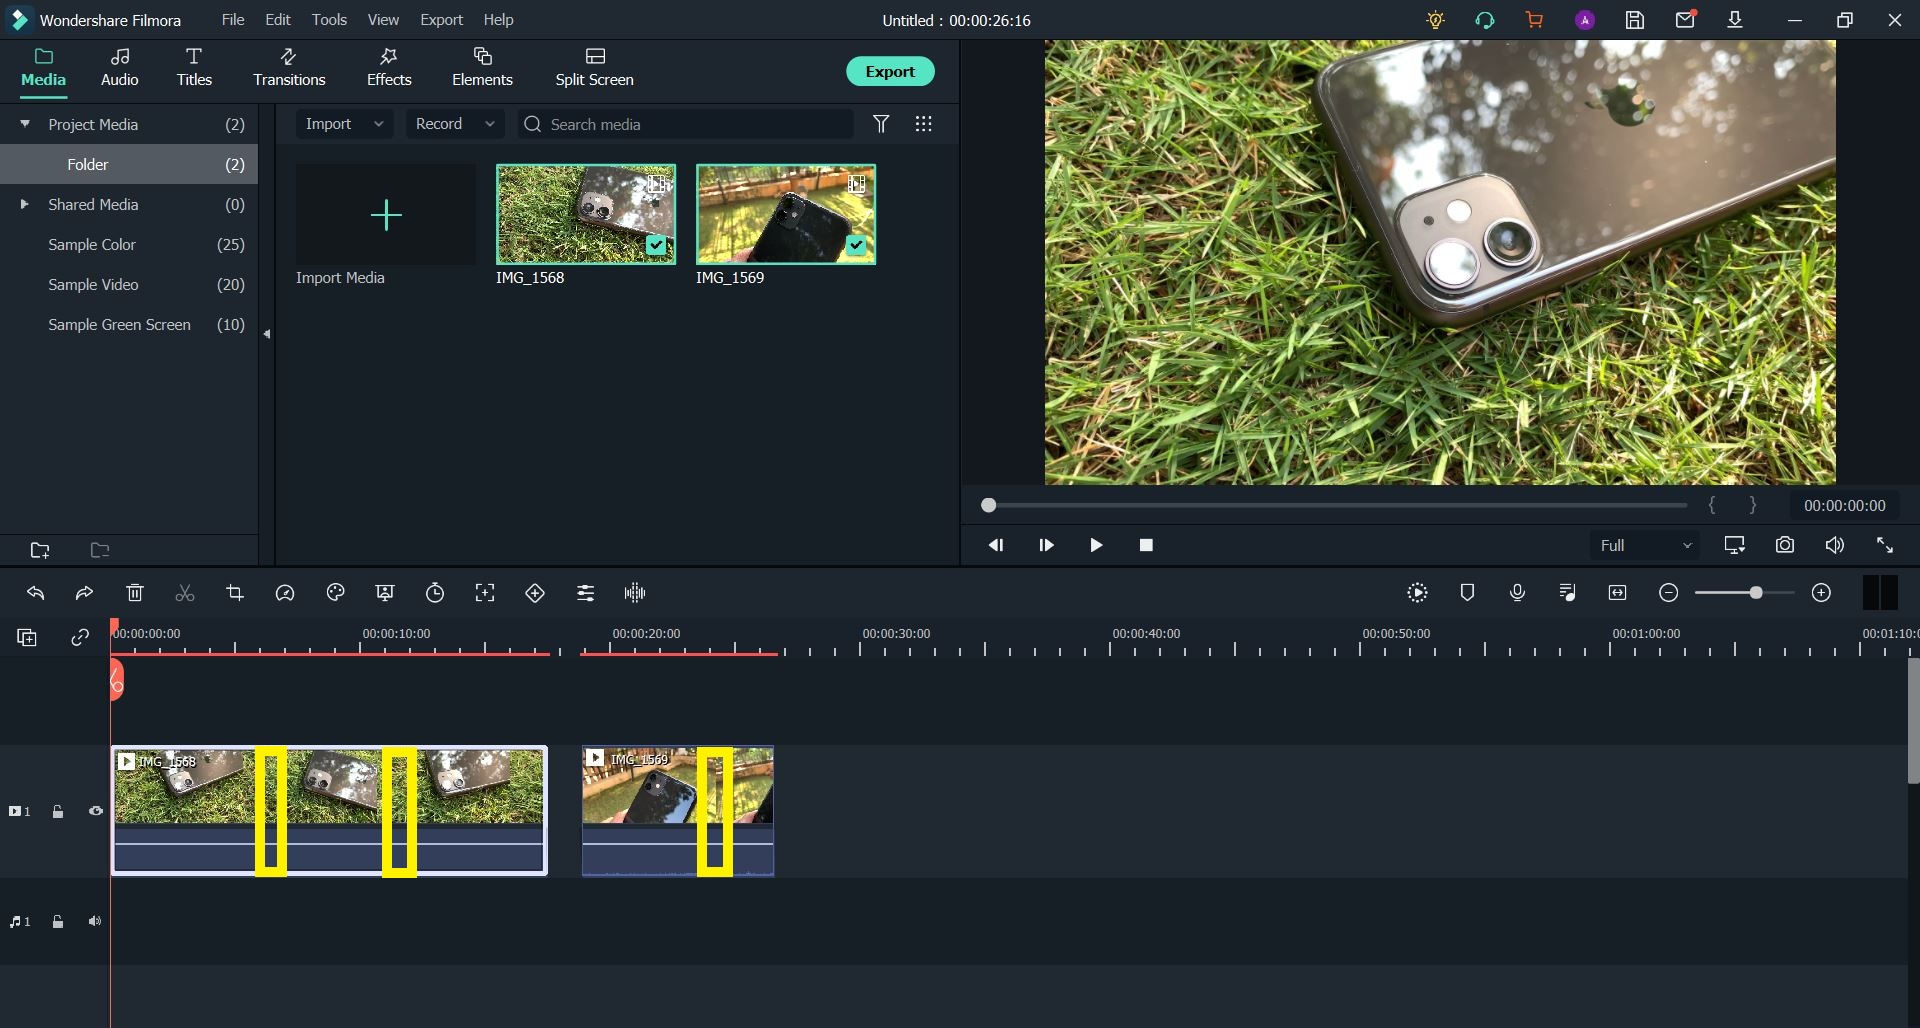
In the case of this clip, we would cut out the portions marked in Yellow to get shots that show the smartphone in various angles.
If you do not know how to cut or split a video on your Timeline, make sure to check out our guide detailing the same.
Step 4: Delete any gaps that may exist between the separated video clips to remove any delay present.
This process will result in the creation of a Jump Cut. But we recommend planning the entire sequence of your shots, either on paper or in a document, to ensure you are able to create the effect or impact you desired.
The Bottom Line
After having read this article, you may have come to understand that creating a Jump Cut is easy — in both iMovie and Wondershare Filmora. Although, both software have their unique advantages. Regardless, the key to getting an ideal end product (or film) is going to be the fact that you need to be aware of what you're aiming to capture and how the editing process will help you get there.
As Jump Cuts, when done well, can go a long way in leaving an impact on the viewer, but if done in an unprofessional manner, they will leave your video work looking shoddy and amateur. We believe if you keep some of these common principles in mind, you will be able to master this form of editing.
Want to help others unlock all achievements in Black Myth: Wukong? Let's try to make a game video!
by Liza Brown Aug 23, 2024 11:30 AM
Liza Brown
chief Editor