Transcript
What is going on, guys? You're joining with the second tutorial in our course series. In this tutorial, I'm going to be showing you guys how to create this cool 3D shiny text animation inside Filmora 13. This animation is straightforward to make. Let's jump into Filmora and get started.
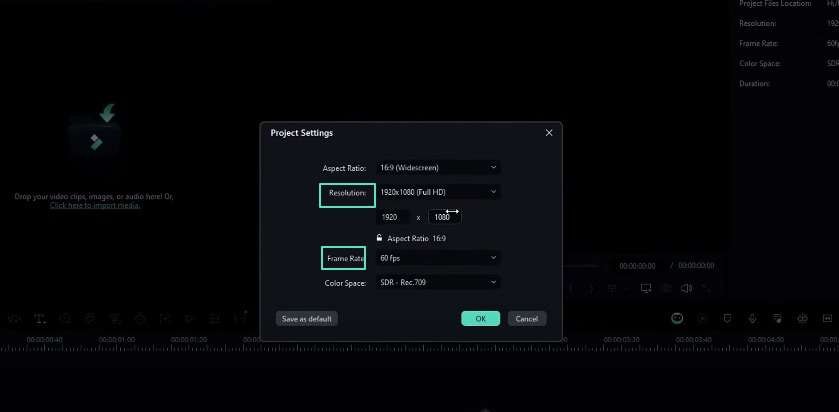
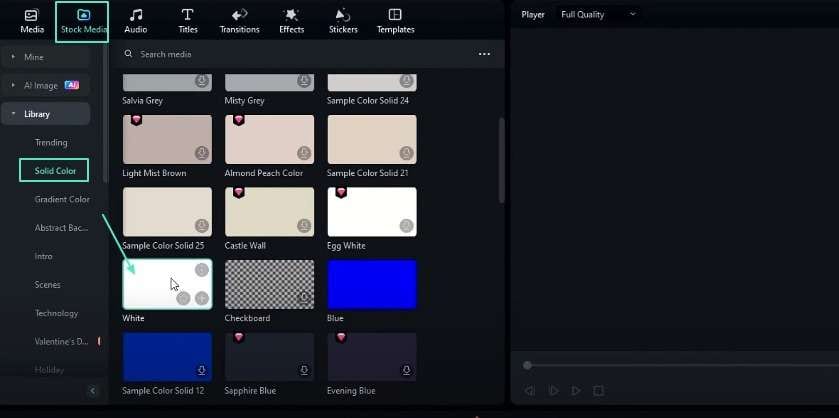
Here, I use 1920 by 1080 resolution with 60 FPS. You can use any resolution you want here. First, we need to add a background. Go to the stock media and pick any light color you like. I selected this white color and added it to the timeline.
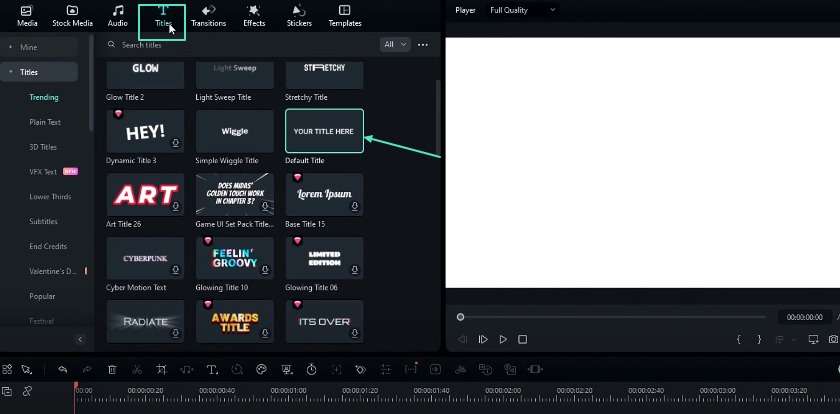
We need to add text. Go to the text and add the default title to the timeline. Go to the text settings, and I change the text color to Black. After that, you can type whatever you want here.
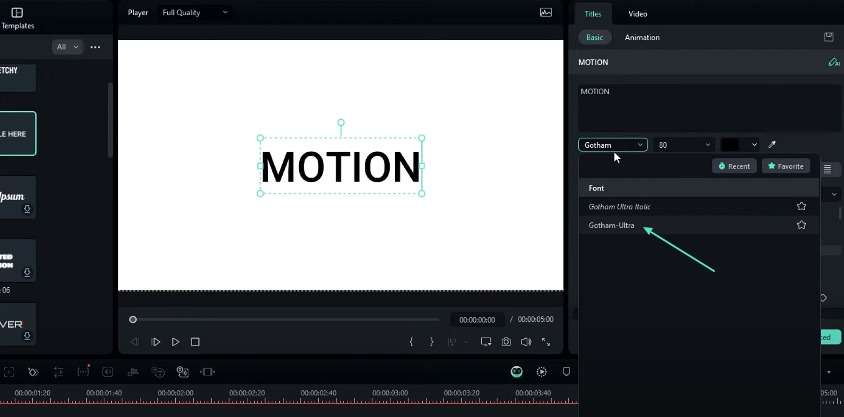
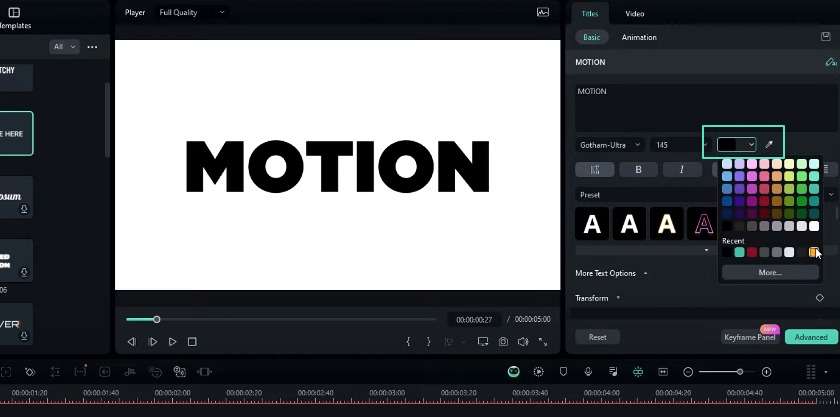
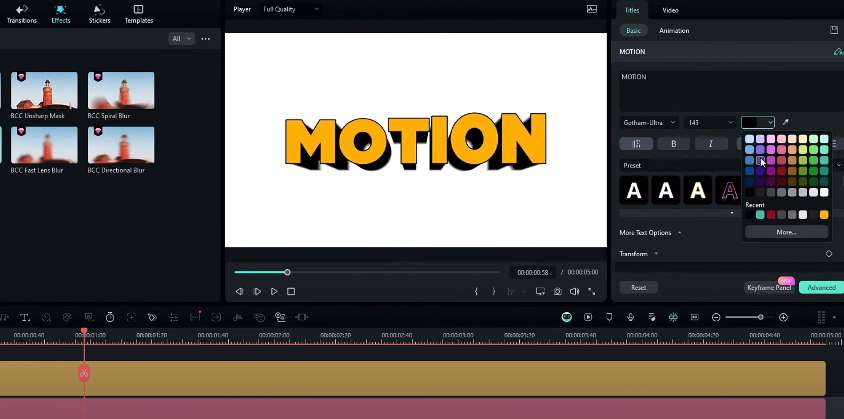
Here, I type motion, and I use the Gotham Ultra font style for this. I go to the transform and increase the scale like this. Our first text layer is complete, and we are going to use this one to create the 3D look, but we need another one. I take a copy of this and paste it right here. You can customize this whatever you like. I changed the color to yellow.
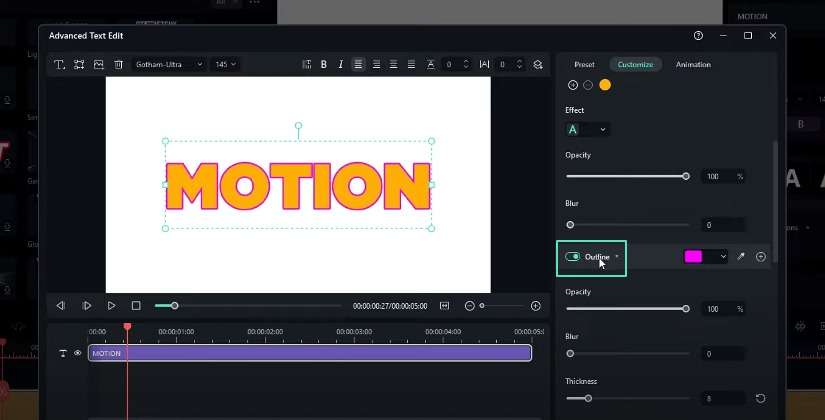
After that, I would like to add a stroke line to this text. Go to the advanced settings and enable the outline. Add any color you want, and I will change the outline thickness to 4, then press the apply button. Here, we have both our text layers.
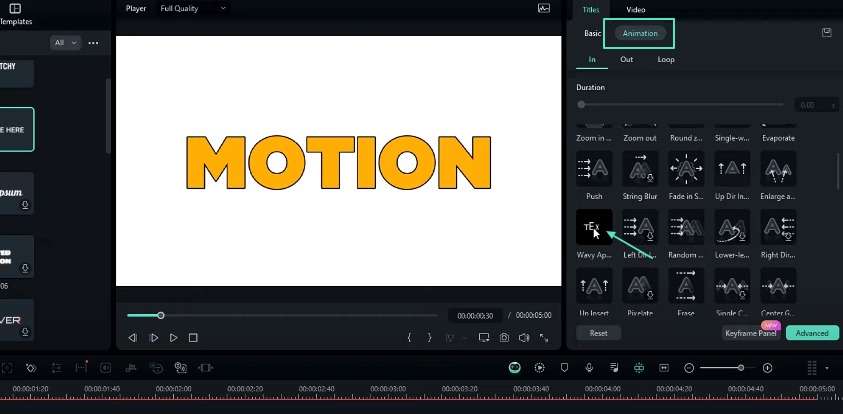
Let's add an animation to our text layer. First, I select this layer and go to the animation, then select in and add this wavy appearance in animation to this. Change the duration to something like 1.5 seconds. After that, I add the same animation to our second text layer. Now, we have nice bouncy animation like this.
Now, we need to add the 3D look to this text. Let's see how to create that. First, I drag this top text layer to the fourth layer. We need to add an adjustment layer to add our effect. I add it like this. Let's add our effect.
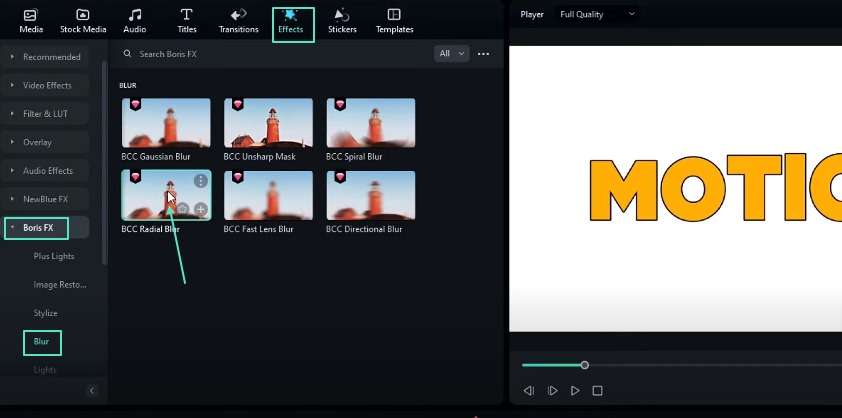
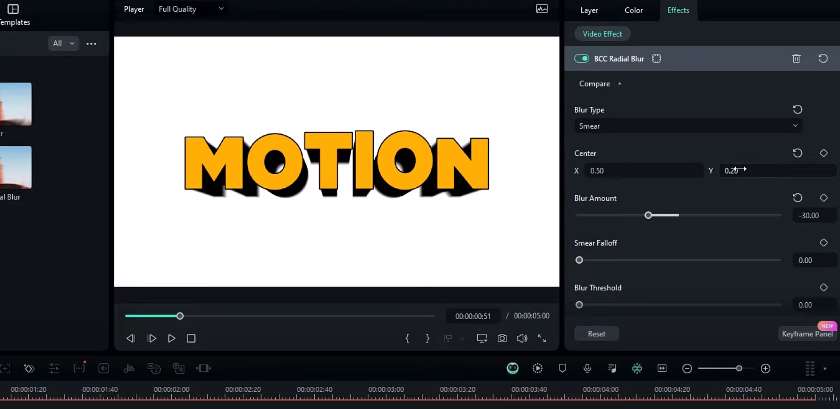
Go to the effects tab, select Boris FX, select blur, then select this BCC radial blur and add it to this adjustment layer. Go to the effect settings and first change the blur type to smear. You can see it gives this kind of look.
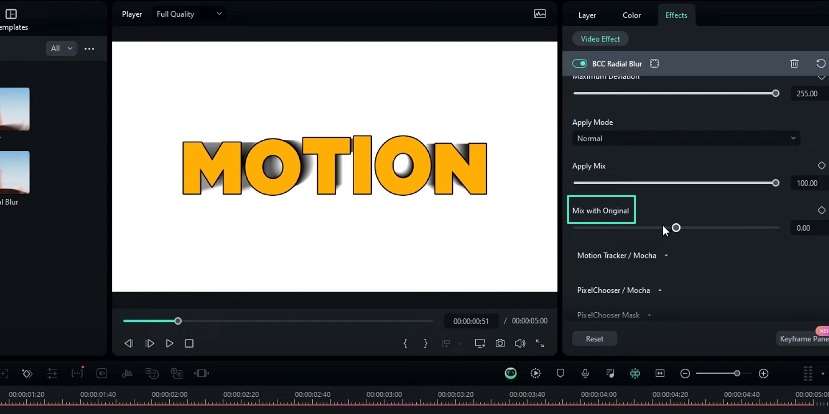
We need to put this blur effect behind this text. You can change this blur amount to a minus value. I change it to something like -30. After that, go to the "mix with the original" setting, and you can adjust the sharp look using this setting. I bring it to -300.
We need to adjust the direction of this 3D look. Go to the center setting, and you can adjust the values you like. Here, I change X to 0.5 and Y to 0.2 like this. Here, we created our 3D text animation. Here's what it looks like.
If you need to change the color of this 3D look, select your second text layer, and you can change the text color to whatever you like. That's how we can change the color of this 3D look.
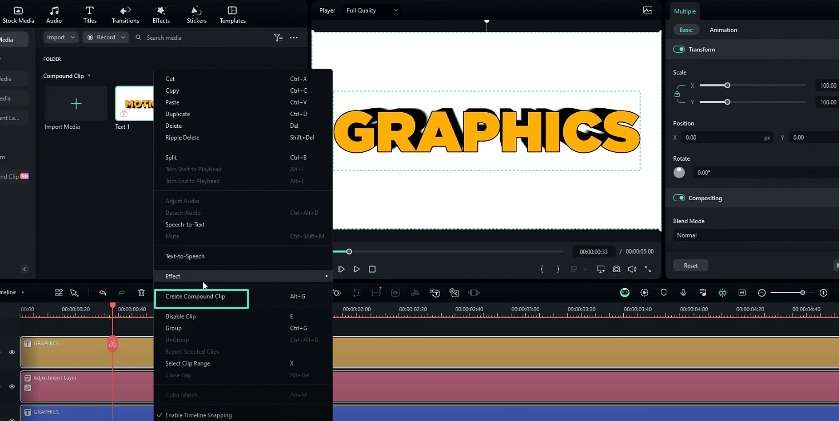
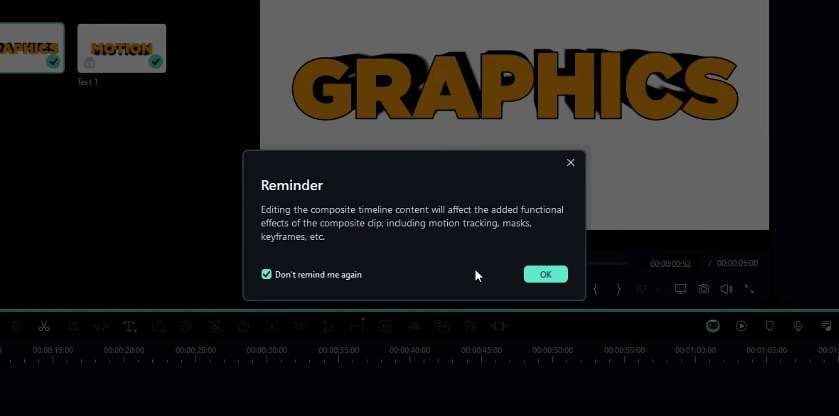
Next, I would like to add another 3D text layer to this animation. First, select all these layers and take a copy by pressing Ctrl + C. We need to convert these to a compound clip. You can press alt+ G to create a compound clip. I named it Text 1 and hit okay. Now, we have our first 3D text.
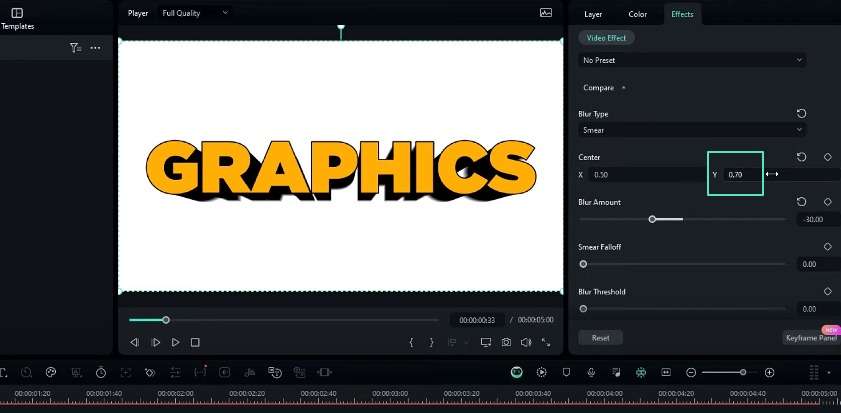
Select this second layer and paste it here to our copied layers. After that, customize both your text layers like this. I select this adjustment layer and go to the blur settings to adjust this 3D look Direction. I change this "Y" value to something like 0.7 like this. Select all these layers and change them to a compound clip. I named it Text 2 and hit okay. Now, we have a second 3D text layer like this.
Now, we need to remove this white background for our second text layer. You can double-click this to go inside the compound clip, and then you can hide your background layer like this. I do the same thing for my other text layer. Go to the main timeline, and now you can see we have both text layers like this. You can adjust the position of these texts. I adjust them like this.
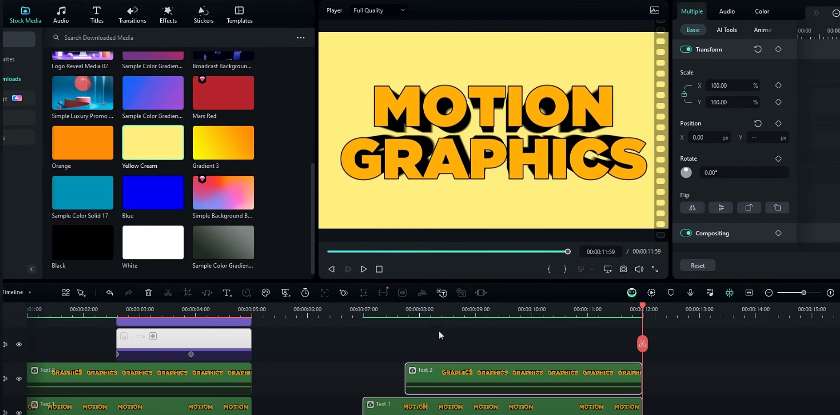
After that, we need to add background. First, I drag these layers to the upper layer, then go to the stock media, and you can add any color to your background. I use this yellow color as my background. Now, it looks like this, but you can see both text animations happen at the same time. I drag this text layer forward like this. Now, our 3D text animation looks like this. It looks perfect.
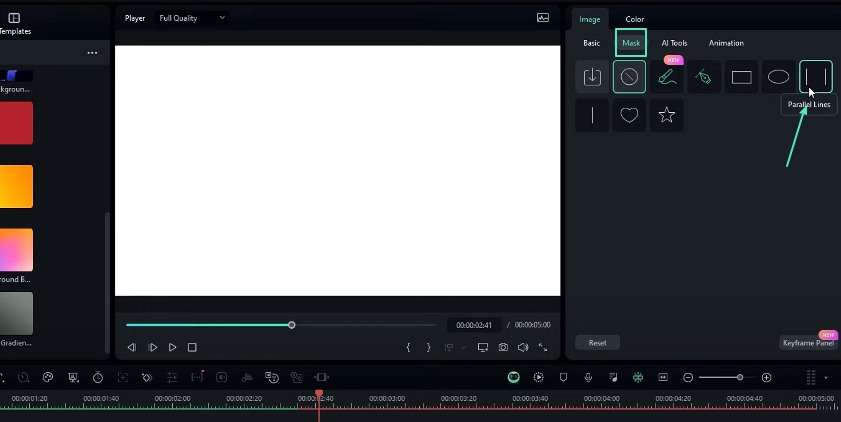
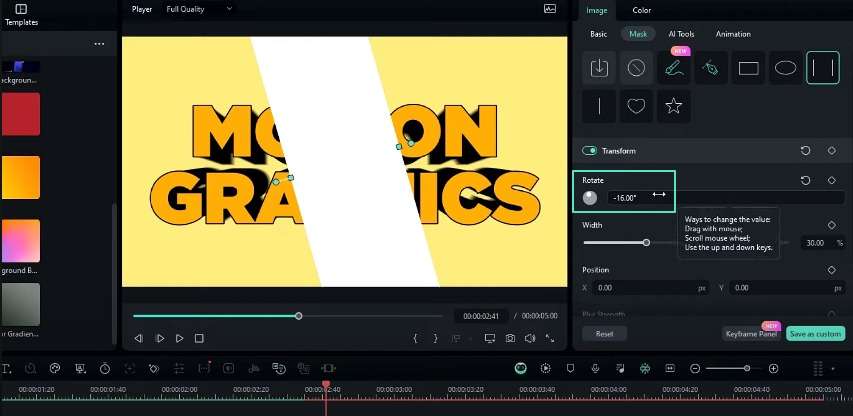
Now, we need to add the light sweep animation to this. Let's see how to create that. First, we need to add this white color layer. I add it to the timeline like this. Select this white layer and go to the mask, then I apply these parallel lines mask to this. I change the rotation to something like -6 and the line width to 12. After that, go to the compositing and change the blend mode to Overlay. Now, it looks like this.
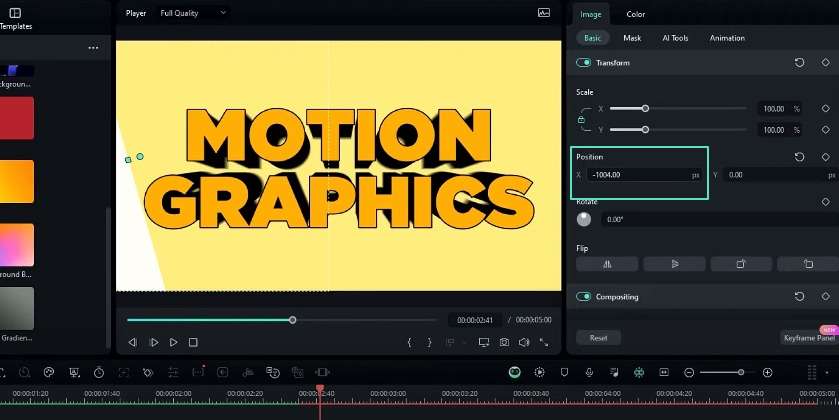
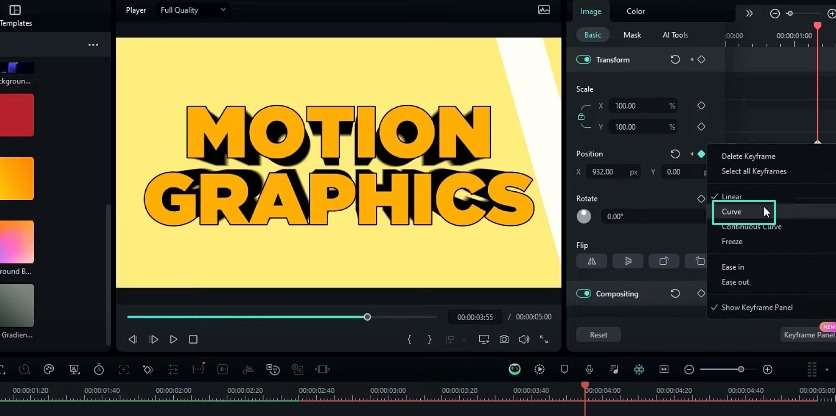
We need to animate our light sweep layer. Go to the position, select the X position, and drag this layer to here. Go to the start of this layer and create the keyframe of position then go a few seconds forward and bring this to here like this. Open the keyframe panel and select this last keyframe, then right-click and add the curve preset to this. Now, it has this kind of curve. Let's see how it looks.
Now, it looks perfect, but we need to hide this unwanted area on this light sweep effect. We can hide that area by creating a text mask and putting it on top of our animation. Let's see how to make that text mask. First, add the exact color you added for your background, then take a copy of these layers and paste it right here.
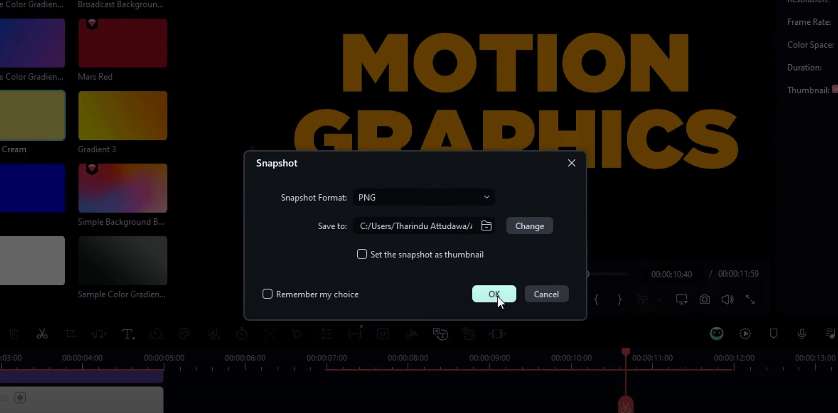
Go to the end of the text animation. Go inside this compound clip and hide this text in the adjustment layer. Do the same thing for your second text layer. After that, our text layers look like this. Remove this background layer and take a snapshot like this. After that, delete these layers, as we don't need them again, and make sure to unhide them.
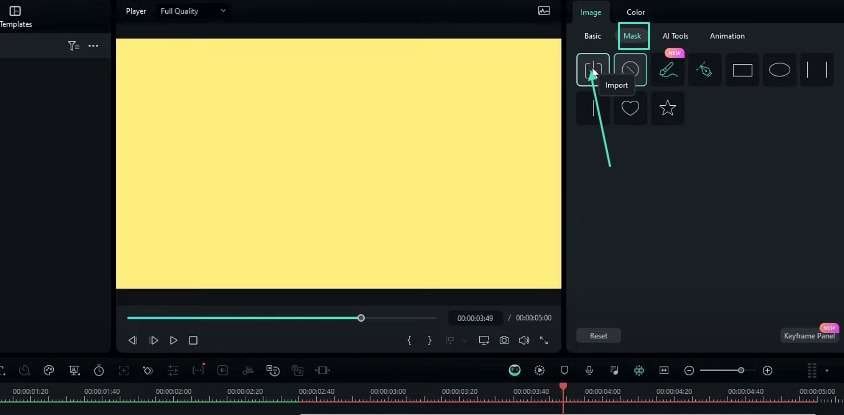
After that, select the color layer you added, go to the mask, and then click this import button to import our custom mask. Go to the Filmora snapshot folder and select the snapshot we took before. You can add a name to your mask. I keep it default. Here, we have our text mask. I select this mask.
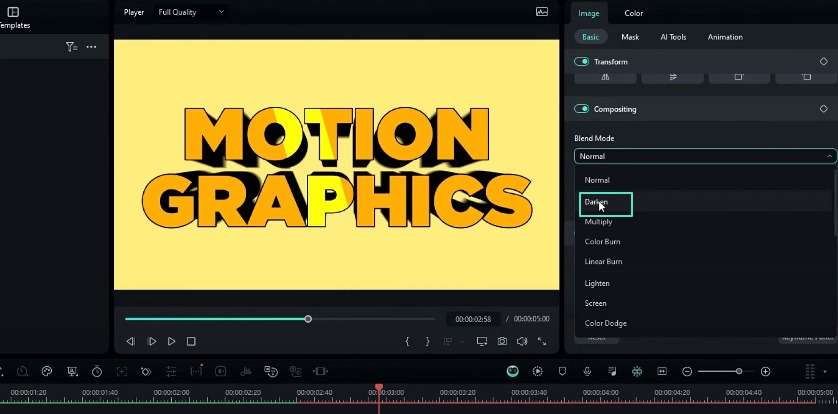
We need to invert this mask. You can click this invert mask button. Now, you can see it is only visible inside of the text, but we lost our 3D look in our animation. Don't worry! You can fix that by simply changing the blend mode to darken. Our 3D shiny text animation is done. Here's the result.
That's how we can make awesome 3D shiny text animation inside of Filmora 13. You can see it's straightforward to create, and also, if you need to learn more about Filmora tutorials, you can check my Filmora tutorial playlist, or you can visit the Filmora Creator Hub to access more awesome tutorials. You can follow the links below to access the Filmora Creator Hub.
That's it, guys. Thanks for watching this tutorial! I hope you enjoy this. Also, please leave a like on this video, and be sure to subscribe to my channel and leave a comment about it. And what tutorial you like next? Let's meet up in the next video. Take care and peace!
Tips to Create 3D Shiny Text Animation with Light Sweep
What you need to prepare:
- A computer (Windows or macOS)
- Your video materials.
- Filmora video editor
Setting up the Project Environment
You should open Filmora on your device. It is recommended that the project resolution be set to 1920 by 1080 pixels. Besides, select a frame rate of 60 frames per second. However, you can choose any resolution and frame rate that suits your preferences.
Adding a Solid Color Background
The next step is to add a solid color background to the project timeline. Head over to the stock media library within Filmora and select a light color of your choice. Once selected, you should add this color to the project timeline.
Creating the First Text Layer
You should then proceed to add text to the project. You can do this by going to the text menu and adding the default title to the timeline. In the text settings, you can change the text color to black.
At this point, you can type in your desired text, such as "motion," and choose a font style like Gotham Ultra. You can also make the text more prominent. For this, access the transform settings and increase the scale slightly.
Duplicating and Customizing the Second Text Layer
After the first text layer, you should duplicate it by copying and pasting it on the timeline. This second text layer can be customized by changing the text color to a different shade, such as yellow.
Adding a Stroke Outline to the Second Text Layer
Ensure you make the second text layer more visually striking. Thus, you should enable the outline feature in the advanced settings. You can pick any color for the outline. Adjust the outline thickness to 4 before applying the changes.
Animating the Text Layers
Now, you can start the main task of adding animation to the text layers. You should select the first layer and jump to the animation menu. You can choose the "in" option and apply the "wavy appearance in" animation with a duration of around 1.5 seconds. You should repeat the same process for the second text layer. It will result in a bouncy animation effect for both layers.
Creating the 3D Effect
You can also achieve the 3D shiny text effect. First, you should drag the second text layer to the fourth layer in the timeline. Then, you should add an adjustment layer to the project. In the effects tab, you should select "Boris FX," then "blur," and finally, "BCC radial blur." Remember to add this effect to the adjustment layer.
Adjusting the 3D Effect Settings
In the effect settings, you should change the blur type to "smear." You can adjust the blur amount to a negative value, such as -30. Next, you should adjust the "mix with the original" setting to a value like -300 to achieve the desired sharp 3D look.
Adjusting the Direction of the 3D Effect
You can also control the direction of the 3D effect. It is pretty easy to do in the "center" settings. You can adjust the X and Y values to your preferred positions, such as X = 0.5 and Y = 0.2.
Changing the Color of the 3D Effect
You can change the color of the 3D effect. So, you should select the second text layer and modify the text color to your desired shade.
Adding an Extra 3D Text Layer (Optional)
You can create an extra 3D text layer. You should select all the existing layers and copy them (Ctrl + C). Then, you should convert these layers into a compound clip by pressing Alt + G and naming it "text 1."

Next, you should select the second layer in the timeline and paste the copied layers there. You can customize the text layers as desired. We recommend adjusting the 3D effect direction by modifying the "Y" value in the blur settings.
You should select all these extra layers and convert them into a new compound clip. This time, you can name it text 2.
Ensure you remove the white background from the second text layer. Double-click the compound clip and hide the background layer. You can repeat this process for the other text layer. Finally, you can adjust the position of the two 3D text layers on the main timeline. Add a solid color background behind them.
Animating the Light Sweep Layer
To create a light sweep animation, you should add a white solid color layer to the timeline. You should then apply a parallel lines mask to this layer.
Adjust the rotation to around -6 degrees and the line width to 12. In the compositing settings, you should change the blend mode to "Overlay."
Animating the Light Sweep Layer
To animate the light sweep layer, you should go to the position settings and select the X position. You can drag the layer to the preferred start position. Create a keyframe at the beginning and move a few seconds forward on the timeline. At this new position, you should adjust the X position to the desired end position. Also, create another keyframe at that point.
In the keyframe panel, you should select the last keyframe. Right-click and add a curve preset to achieve a smooth animation.
Creating a Text Mask for the Light Sweep Effect
To hide any unwanted areas of the light sweep effect, you should create a text mask. You can do this by adding a solid color layer (same as the background color) to the timeline and copying the existing text layers. You should then paste these copied layers at the end of the text animation.
Now, you must hide the text and adjustment layers. You can do it inside the compound clips of the copied layers. This means that only the background layer will be visible. You should remove the background layer and take a snapshot of the remaining layers.
Next, you should delete the copied layers and unhide the original text layers. On the solid color layer added earlier, you should go to the mask settings. Click "import" and select the snapshot you took previously.
To make the text mask visible, you should invert the mask and change the blend mode to "darken."
These steps can help you create a 3D shiny text animation with a light sweep effect in Filmora. This effect not only adds visual aspects to your video but also demonstrates your skills. Moreover, it is so easy that even a beginner-level editor can learn it with practice. You can also discover other methods to use in your video editing tasks. Check out Filmora Creator Hub! This forum can improve your video production skills.
Bonus: How to create a 3D motion poster, click and learn.


