Guide on How to Create 3D Motion Poster
In this tutorial, you will easily learn how to make your 3D motion poster. This tutorial will provide detailed steps to create 3D motion poster in Filmroa and help you enhance your charm of your work.
Key Steps of This Video Tutorial To Follow
Guide to using Filmora AI Tools
To start making your 3D motion poster, let’s begin with imaging a player. Now, suppose that you have a player image. You need to separate the entire image into different parts, which can be used for creating a motion. For example, you can cut out its hands and legs, which can be used to create a motion in the poster.
With these parts, import the original photo in Wondershare Filmora. After importing the files, drop the background clip on the timeline and the object image on the other track.

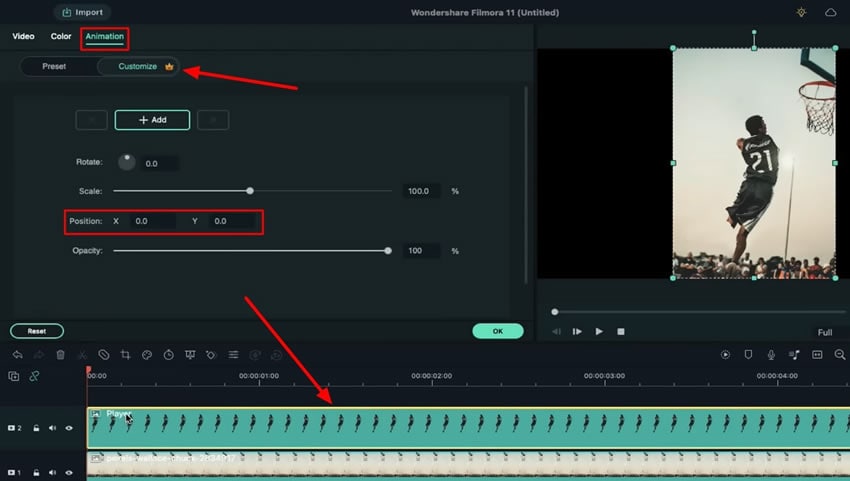
As you double-click on the object image, which is the player in this instance, this opens the video settings adjacent to the preview screen. Navigate into the “Animation” tab from the top and guide yourselves into the “Customize” section. You can look for the options "Position," "Rotate," and "Scale" in the settings that open in the process.
Using these options, you can change the "Y-axis" and "X-axis" for your object according to your need. You can start by using the negative "Y-axis” in the beginning and end by changing it to the positive “Y-axis."
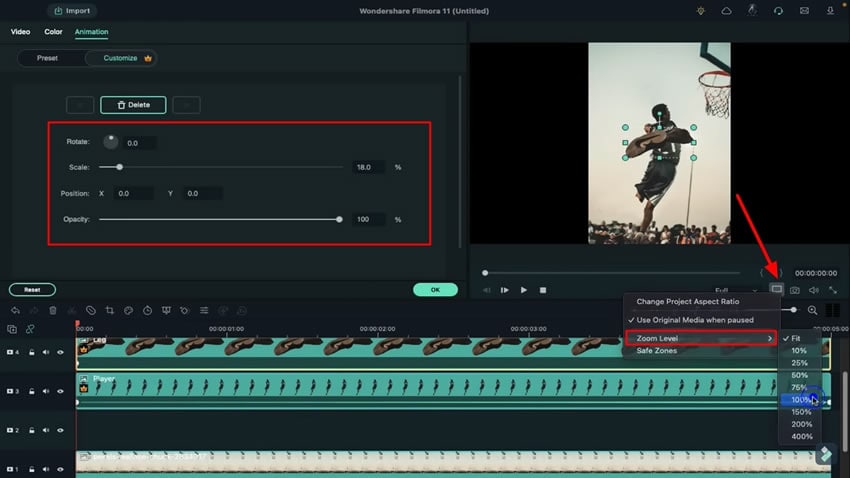
Now, drop another clip with a portion of the original image on another track. Double-click on it, access the “Animation” tab from the top, and manage the “Scale” option to adjust the object according to your requirements.
For a better view, you can also change the “Zoom Level” by clicking on the “Preview Quality and display settings” below the preview screen. By zooming in, you can easily adjust the scale of your object. You can also utilize the options of "Position" and "Rotate" according to your requirements for the 3D motion poster.
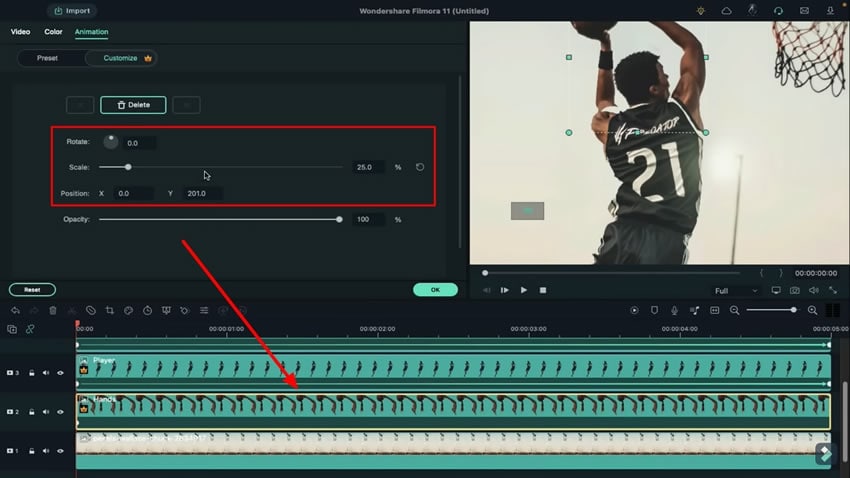
Once your previous clip is adjusted, you can drop the final clip of your object on the remaining track and adjust its “Scale” in degrees. Use the “Rotate” option to make the object rotate. With the help of the "Position" option, you can adjust it in perfect alignment. This way, you can add motion effects to your poster.
When you finish the alignments and changings, click on the “Render Preview" button on the bar above the timeline for smooth playback. Preview the final result of the 3D motion poster and export the final video on your device.

Creating a movie motion poster can help you improve your artwork. This simple step-by-step tutorial lets you put life into your posters and engage a larger audience. Moreover, you can create unique content to help you stand out from the crowd and look more professional. Using the directions provided, you can easily create the perfect 3D motion poster on Wondershare Filmora.


