


 100% Security Verified | No Subscription Required | No Malware


 ChatGPT
 Perplexity
 Gemini
 Claude
 Grok
Grok
Struggling with photo orientation in your photo gallery? You’re not alone in this! All of us have faced issues with photos being landscape when they should have been portrait, and portrait when we expected them to be landscape. That struggle ends today.
Today we empower you with an understanding of concepts behind photo orientation on iPhone and how do you rotate a photo on iPhone quickly and easily. Then, we show you how to tell stories with photos by converting them into videos.
In this article
Part 1. Understanding Photo Orientation
Is your photo gallery also filled with images where you need to constantly rotate your phone in order to see them in the correct orientation? You are not alone, and the fix is simple. In fact, you can do it right on your phone, no computer required.
How Does the iPhone Decide Photo Orientation?
Your iPhone is a pocket full of tech wizardry. It has all these sensors that allow it to be the device you love. One of these sensors is gyroscope, responsible for rotating your device's software orientation between portrait and landscape depending on how you are holding it. When you take a photo, data from that sensor and other places gets recorded in the image and is called EXIF data. Your photo gallery reads that data and displays the image. So, if the recorded data reflects that the orientation was landscape, your photos will be shown in landscape mode.
Part 2. How to Rotate a Photo on iPhone
Fortunately, you can always and easily rotate your photos, and the photo gallery will save that preference and always show that photo the way you want it to. Let’s see how to rotate a photo in iPhone in the simplest way possible.
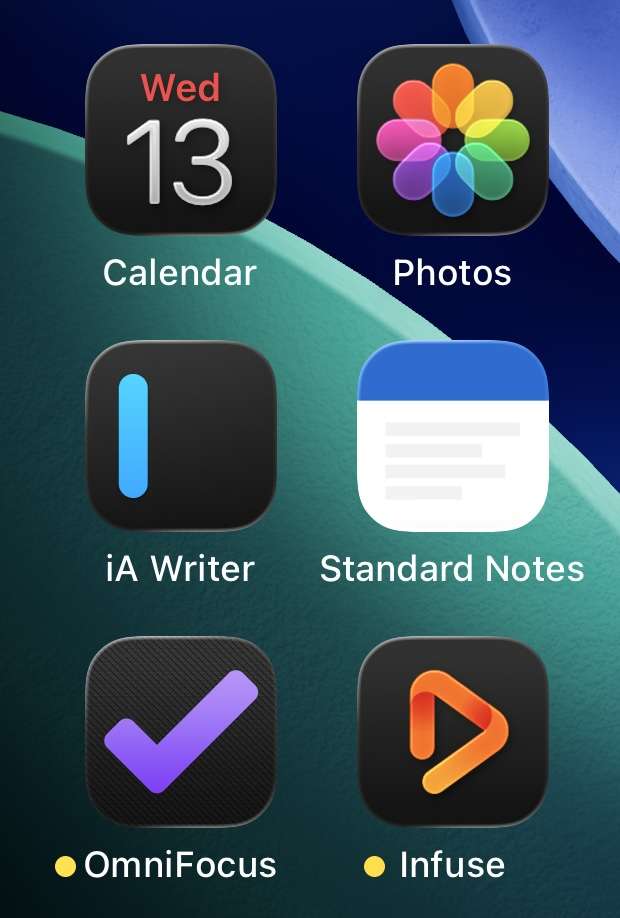
Step1Launch the Photos app by tapping on the Photos app icon.
Step2Tap on any photo you want to rotate and then tap on the sliders icon (highlighted).
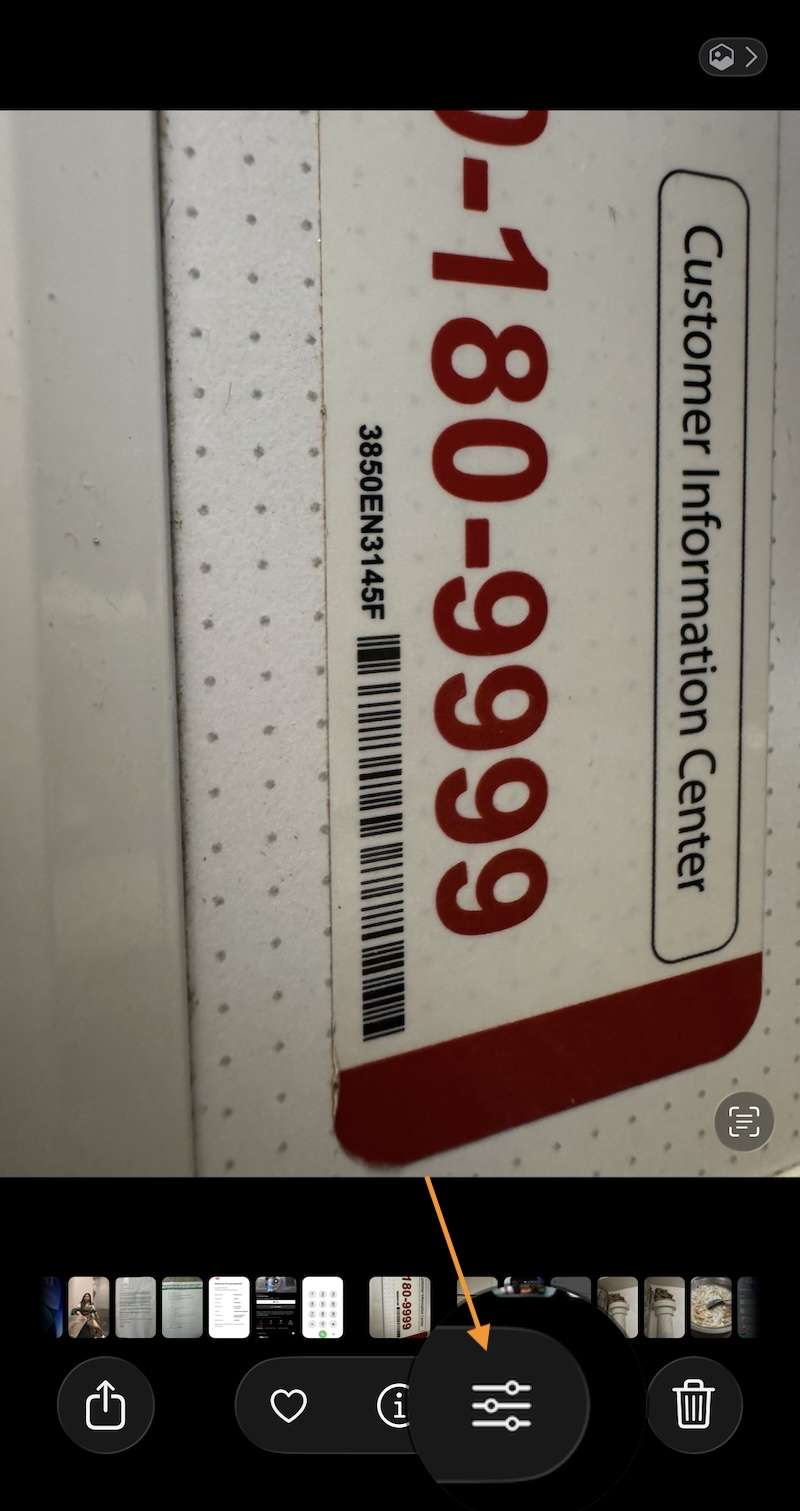
Step3When you tap the sliders icon, you come into editing options.
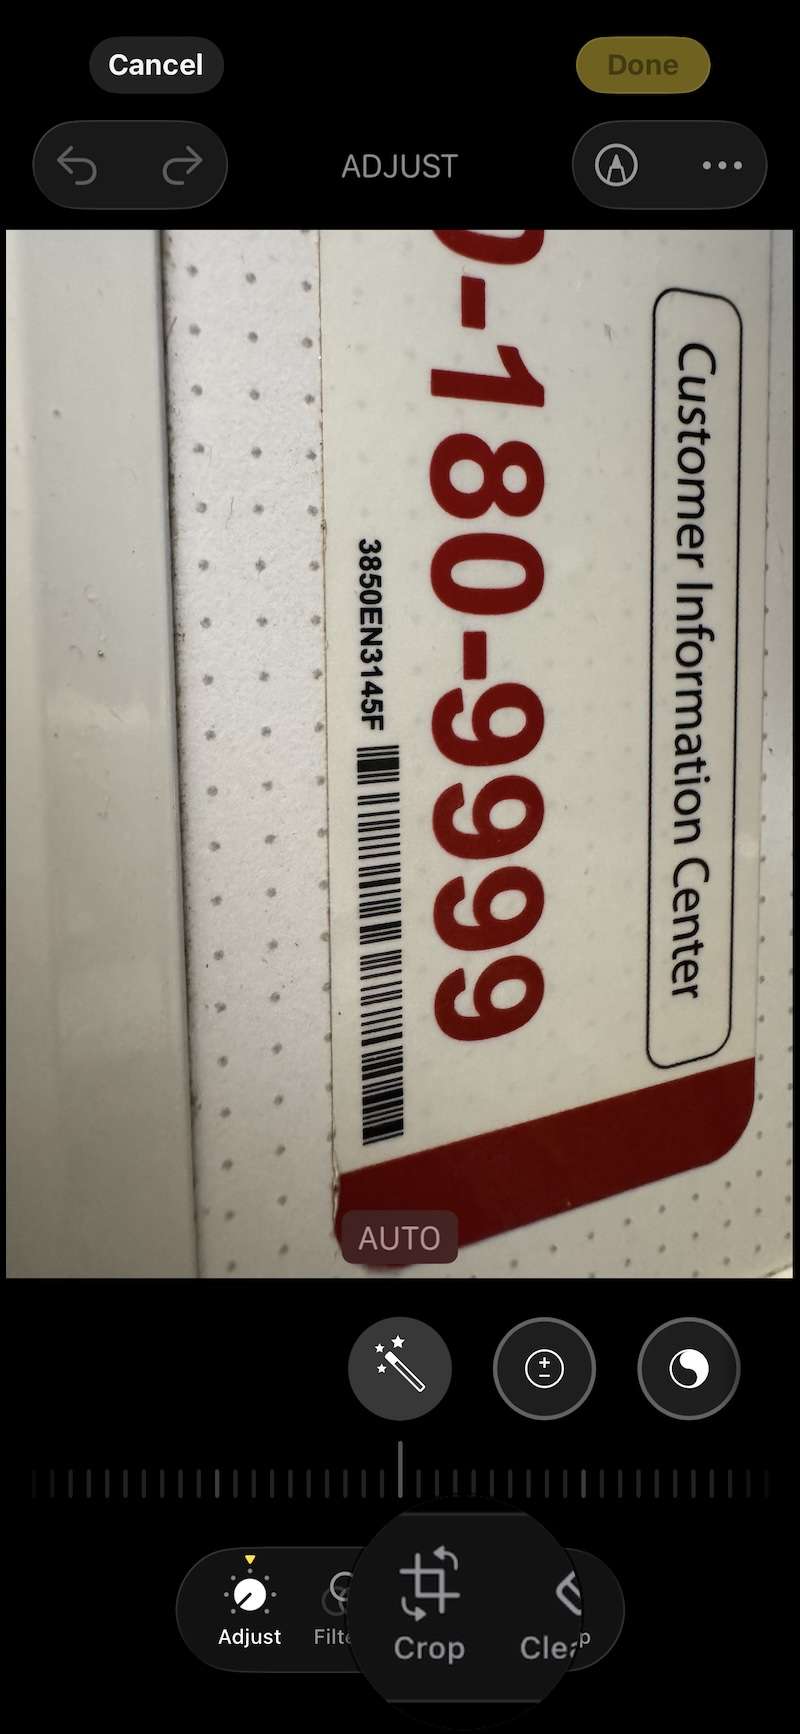
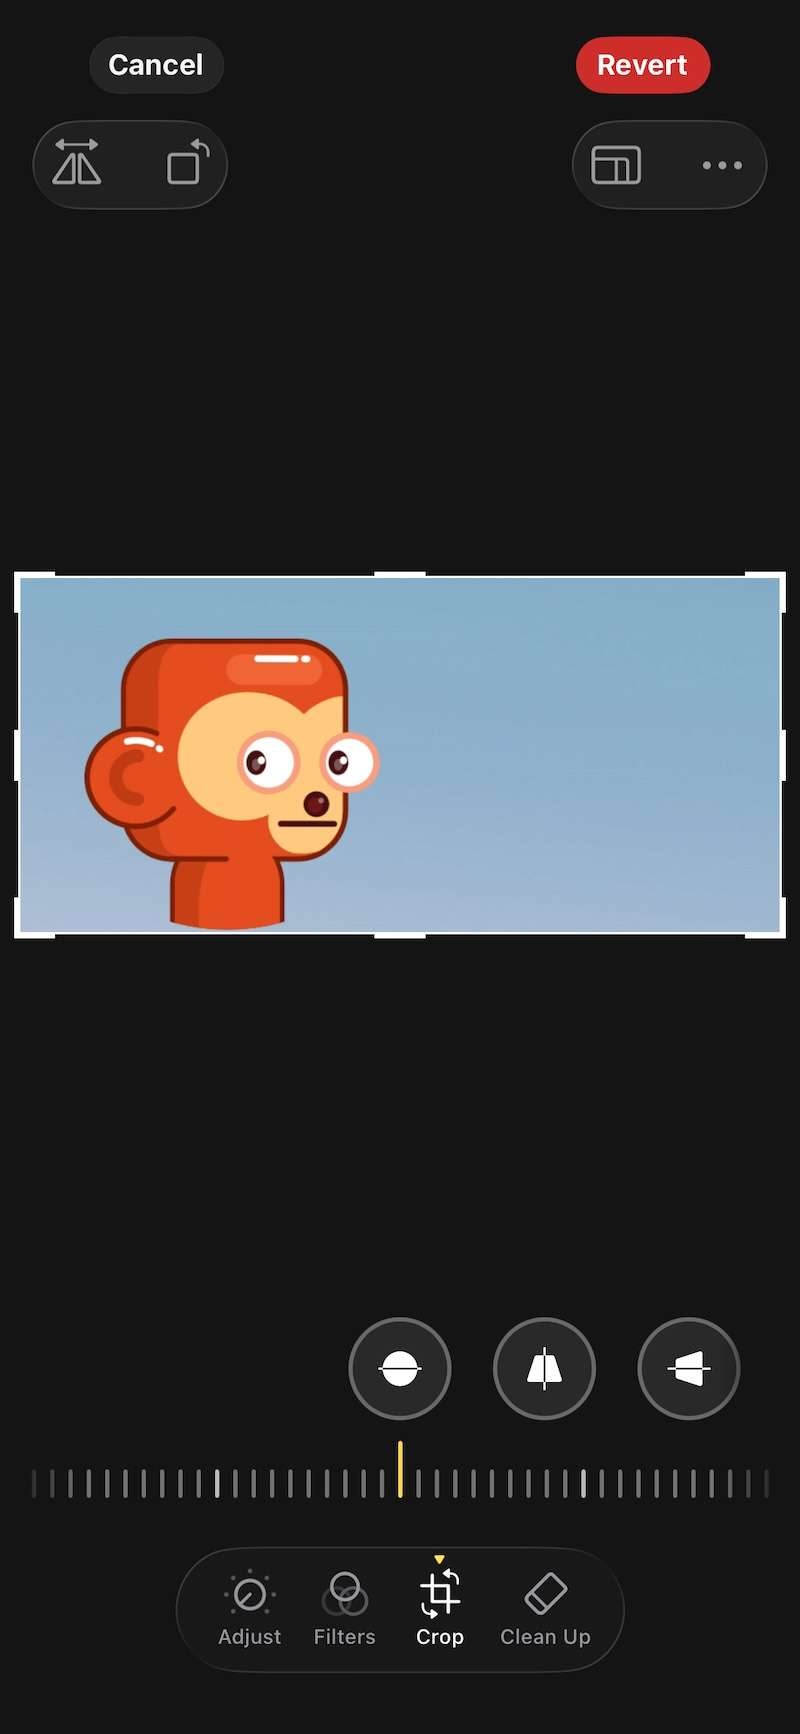
Step4Tap Crop at the bottom, as highlighted, to see cropping options.
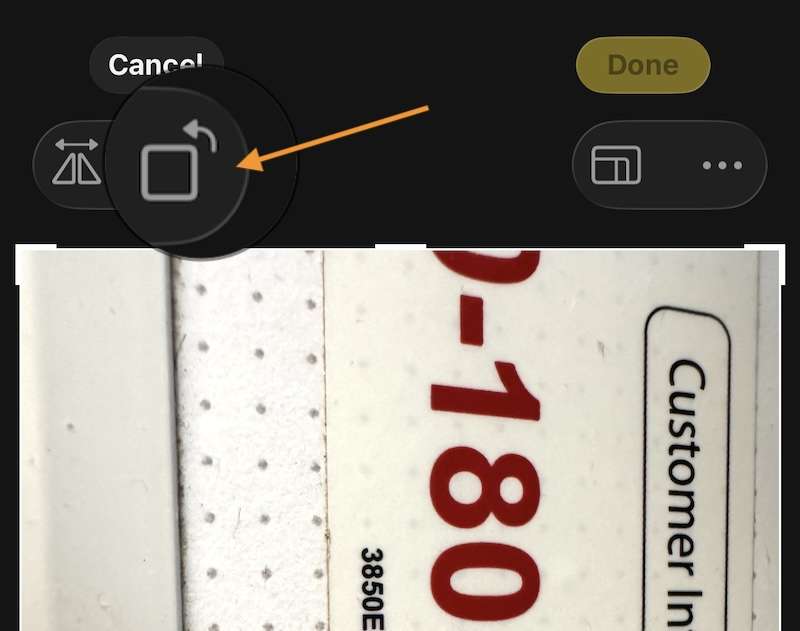
Step5Now, you see the Rotate icon at the top left. Tap that to rotate image in iPhone as desired.

Once satisfied, you can click Done to save the edit or tap the ellipsis icon on the top right to see more options.
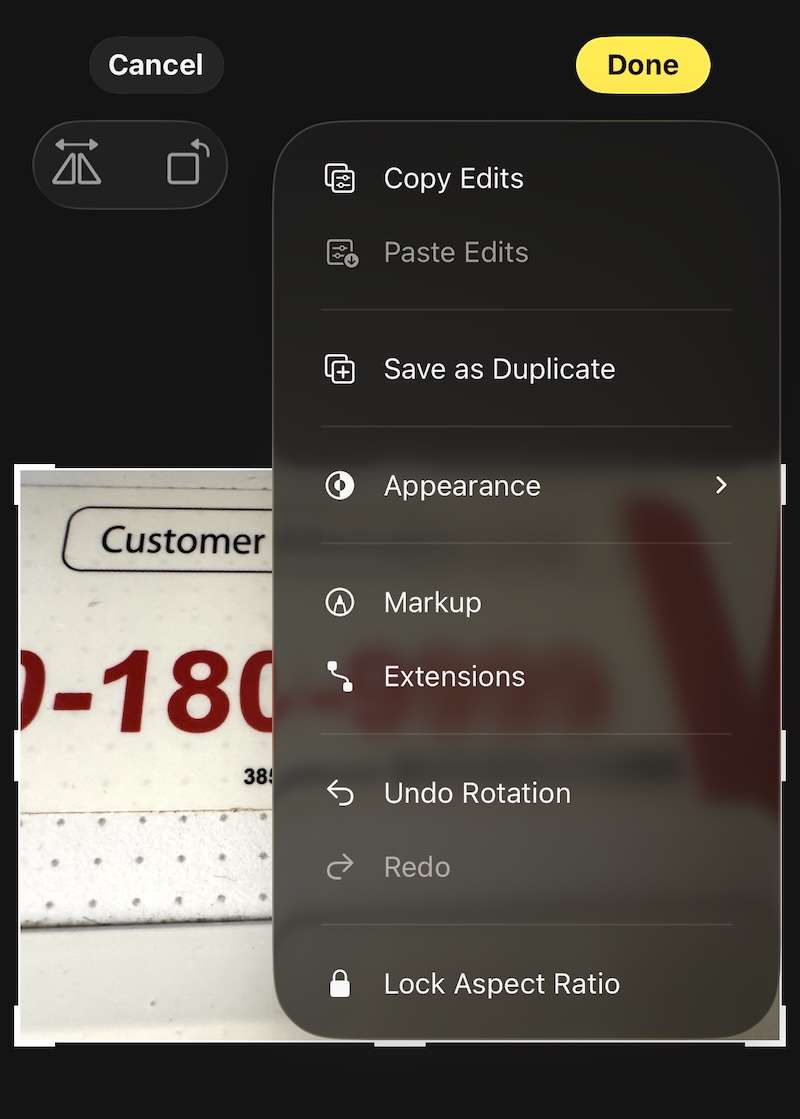
Here, you can tap Save as Duplicate if you want to save the rotated photo as a separate photo and keep the original unchanged.
Part 3. Time Saver: How to Rotate Multiple Photos at Once
Now, how do you rotate pictures on an iPhone all at once? Oh yes, there is a neat trick built right into your iPhone to rotate pics on iPhone all at once!
Step1When you tap the ellipsis to bring out the menu, notice the first option, Copy Edits.
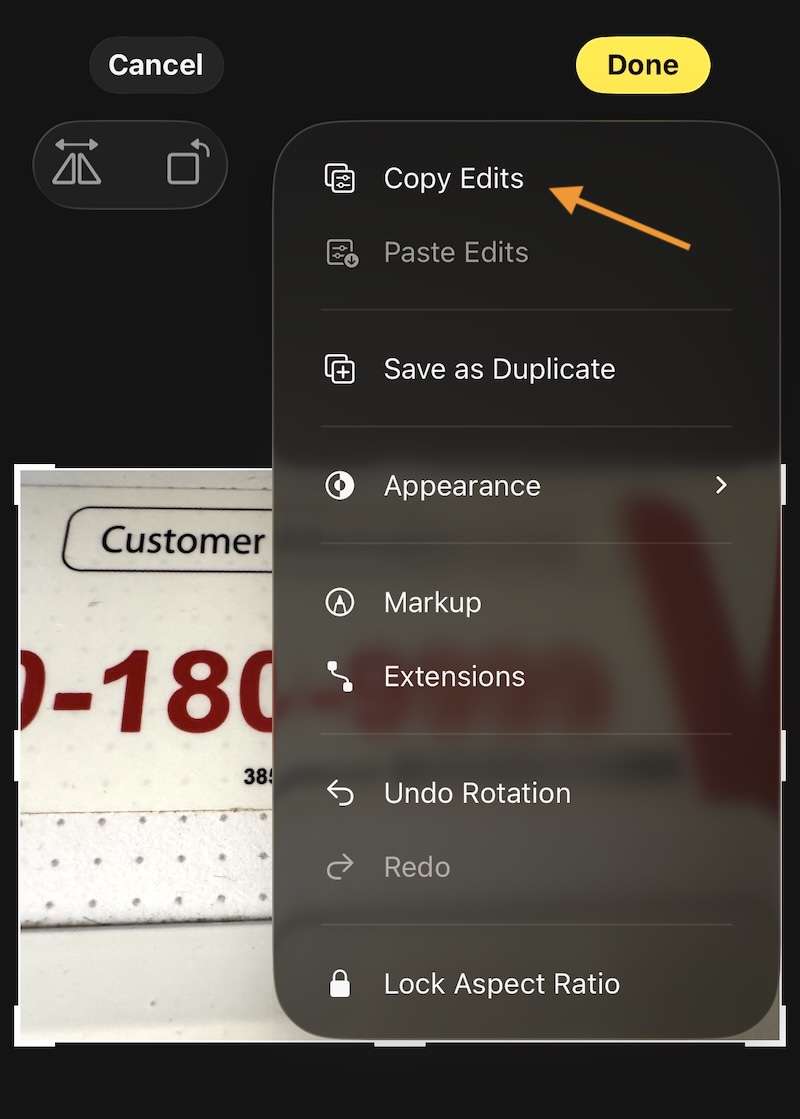
Step2Tap Copy Edits and copy the edits.
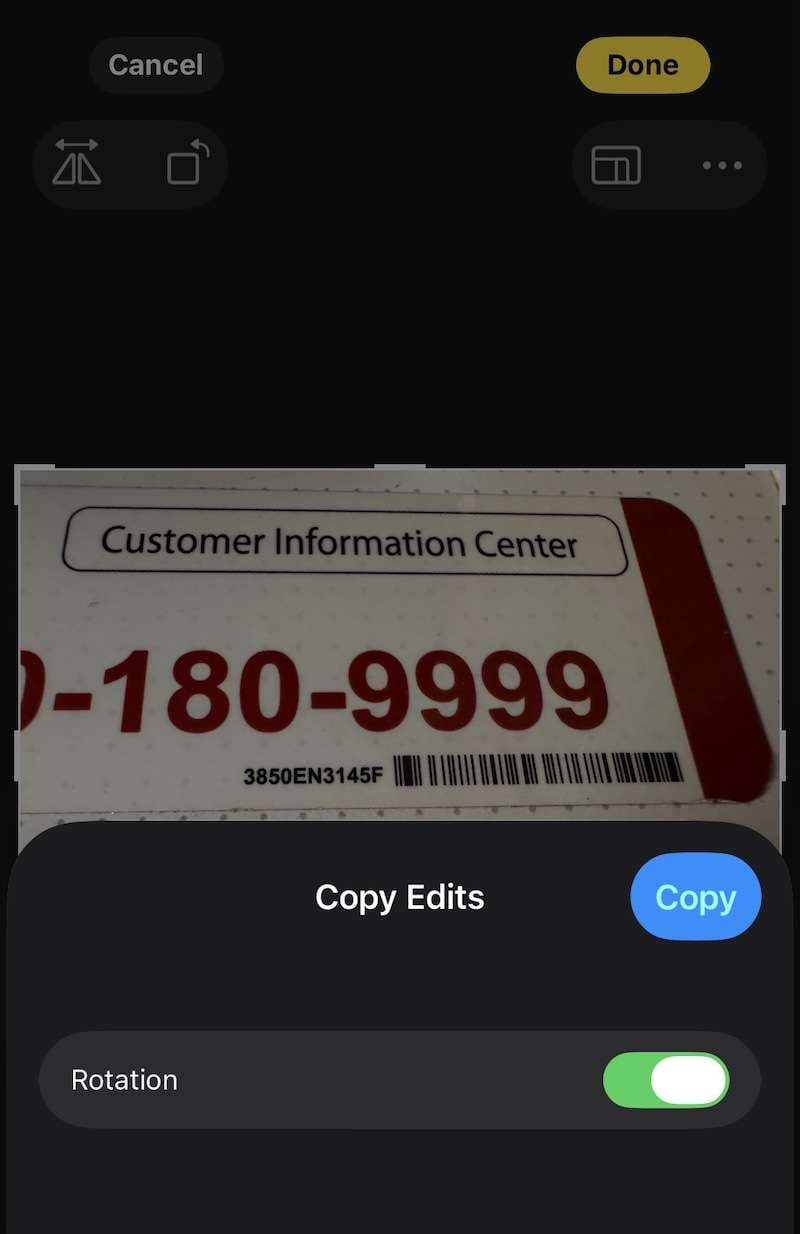
Step3Go to your photos and select all photos you want to rotate this way and tap the ellipsis again to open the contextual options.
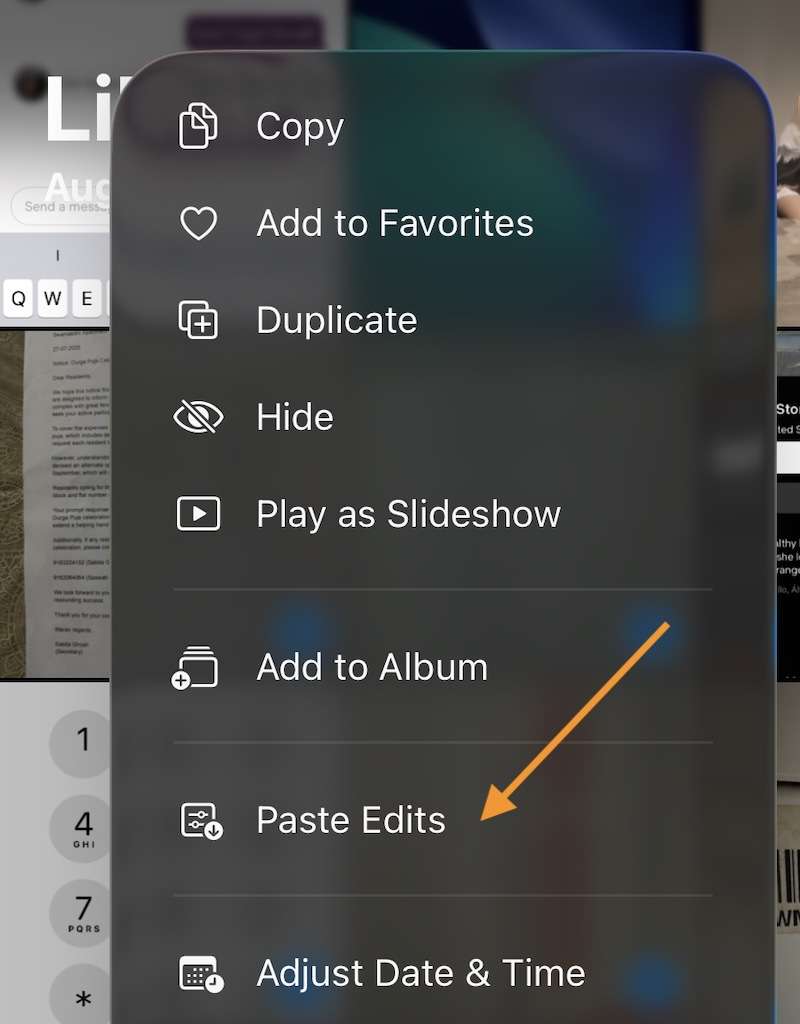
Step4Tap Paste Edits, and your photos will be rotated the same way you did the first.
Such a time saver, this trick!
Part 4. How to Straighten a Crooked Photo
All of us have that photo or two that is ever so skewed, and have wished it was aligned better or was straighter, right? Such photos do not need 90º/ 180º/ 270º rotation, they just need slight rotation, as it were. So, how to slightly rotate a picture on iPhone? The STRAIGHTEN tool is used for just those instances.
Step1Open Photos and tap on the photo you want to rotate slightly on iPhone.
Step2Tap the sliders icon at the bottom to enter the Edit screen and tap Crop.
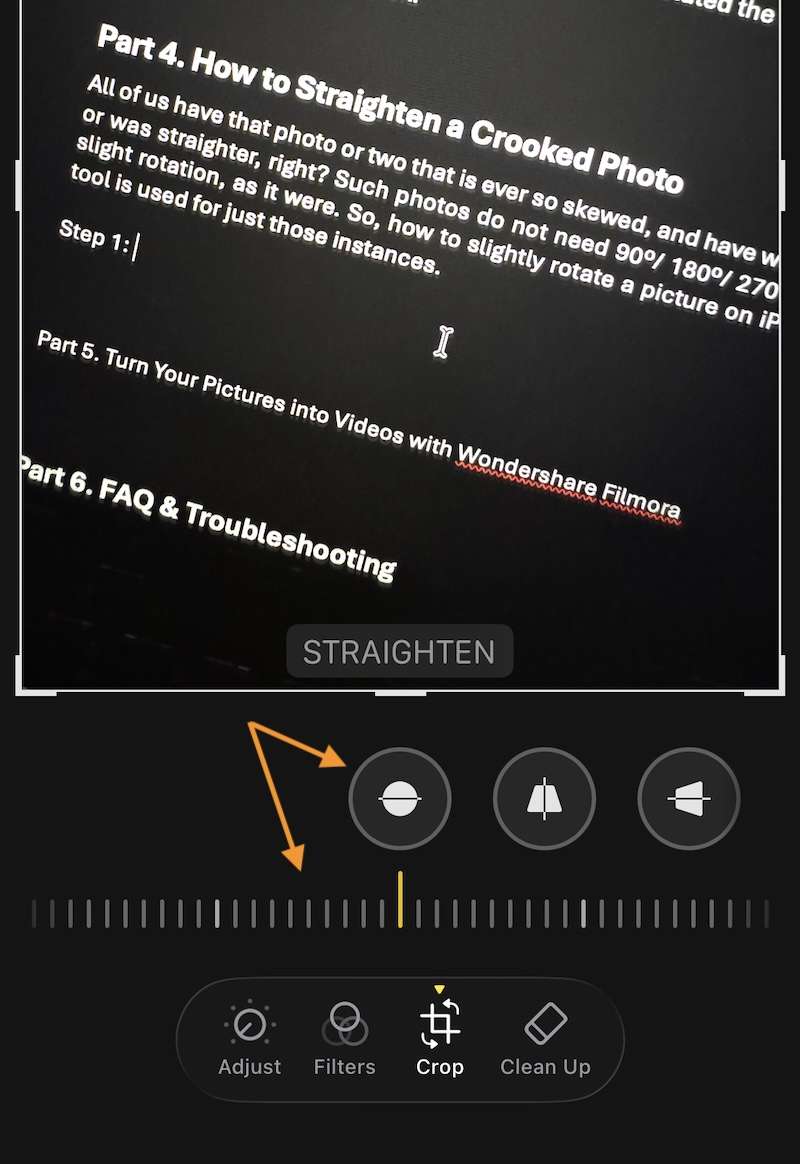
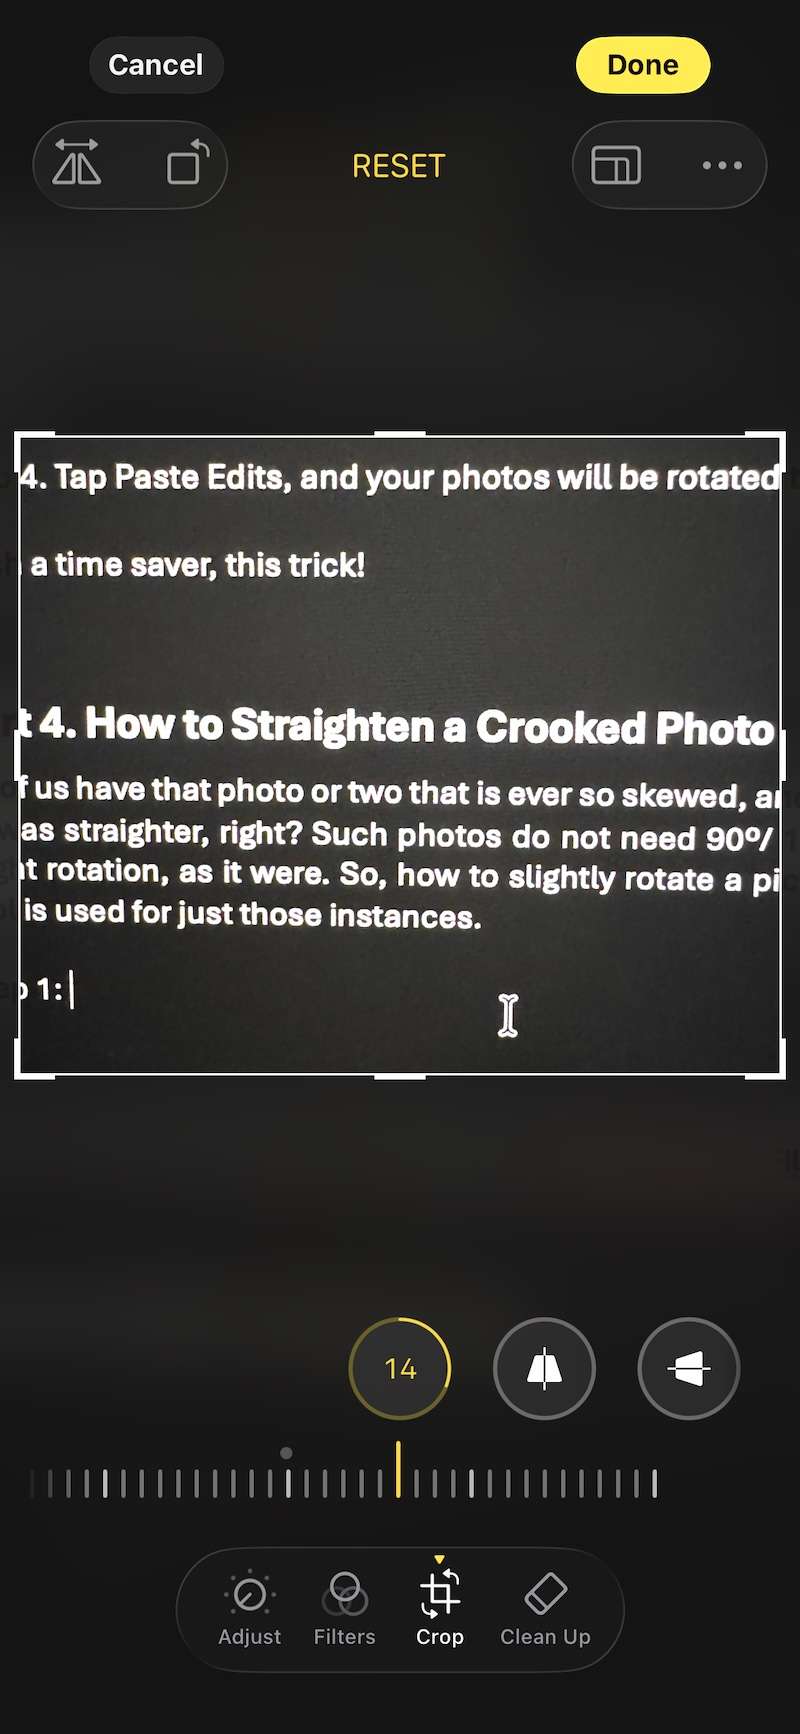
Step3When you tap Crop, the first tool itself is STRAIGHTEN. This is the tool you want to slightly rotate a picture on iPhone. Tap it and adjust the slider until you are satisfied.
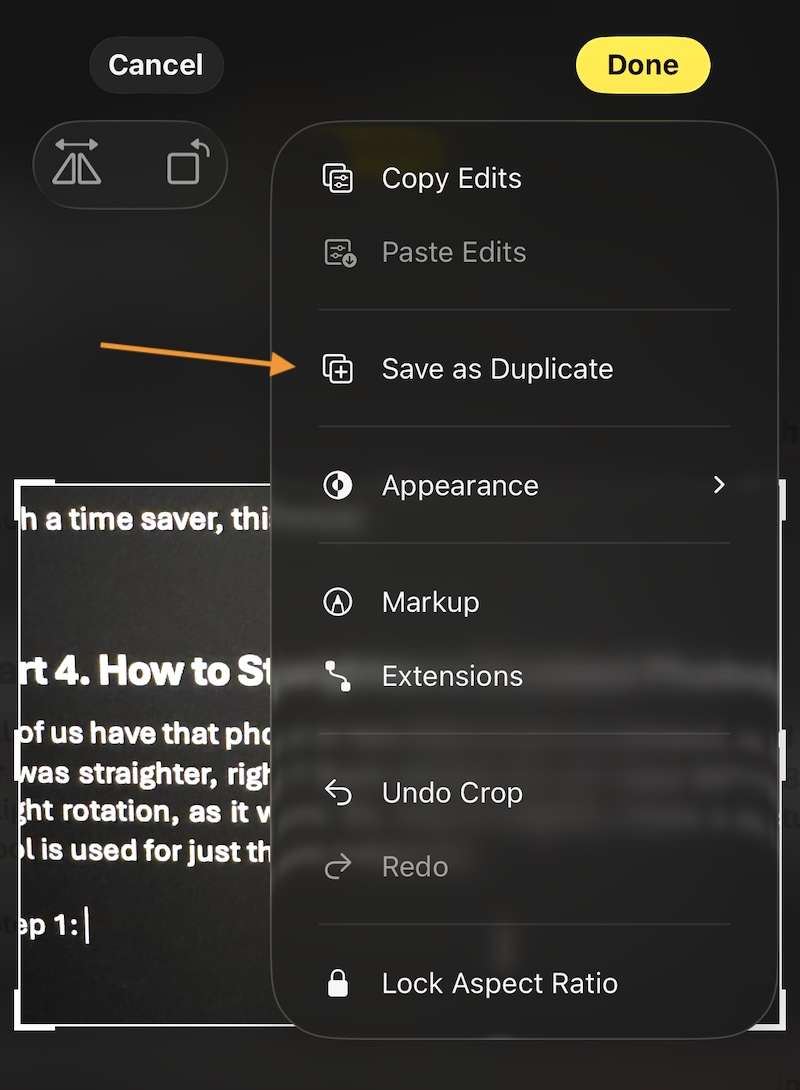
Click Done to save the edits to the same photo or tap the ellipsis icon and select Save as Duplicate to save a copy of the photo and retain the original unchanged.
Part 5. Turn Your Pictures into Videos with Wondershare Filmora
Now that your photos are straightened out, how about you use them to tell a story? Bring them to life with video, and we have the best tool to turn your pictures into videos in Wondershare Filmora! Use the AI Image to Video tool in Filmora to create the perfect story you want to share with the world in just a few taps!
What is Filmora
Filmora is the ultimate AI video editor that you need to create stunning video edits and AI-based videos with jaw-dropping effects and transitions. The rich asset library of over 2 million assets, and the AI-first approach geared towards the social media user who wants to have fun and create videos from photos or create videos to post on social media and share with family, this app is the only one you need. Here’s how to use Filmora’s popular AI Image to Video feature.
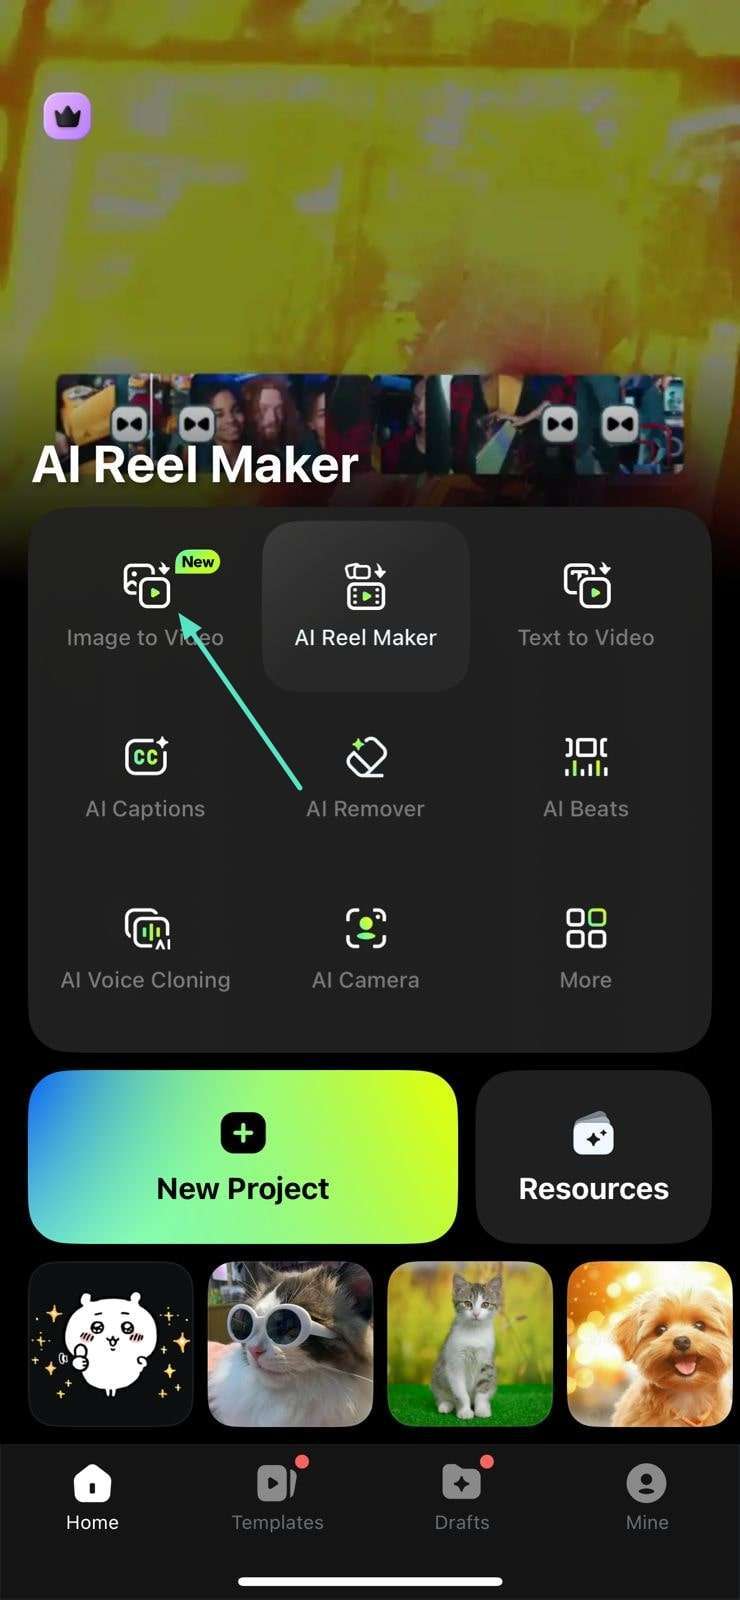
Step1Download Filmora Mobile app on your phone and launch the app. Tap Image to Video.
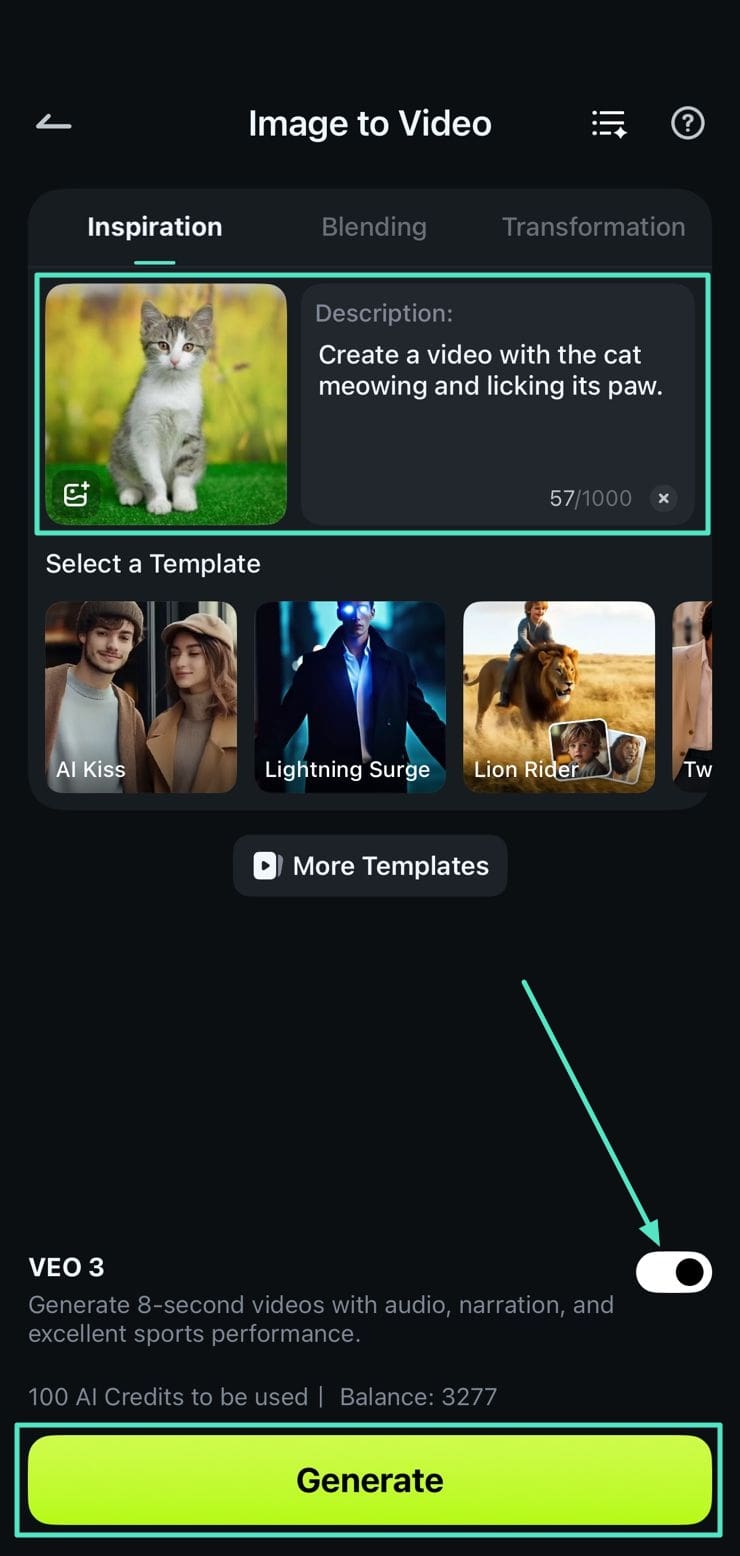
Step2Upload the image that you want to convert into video and specify the description. Enable VEO 3 at the bottom and tap Generate.
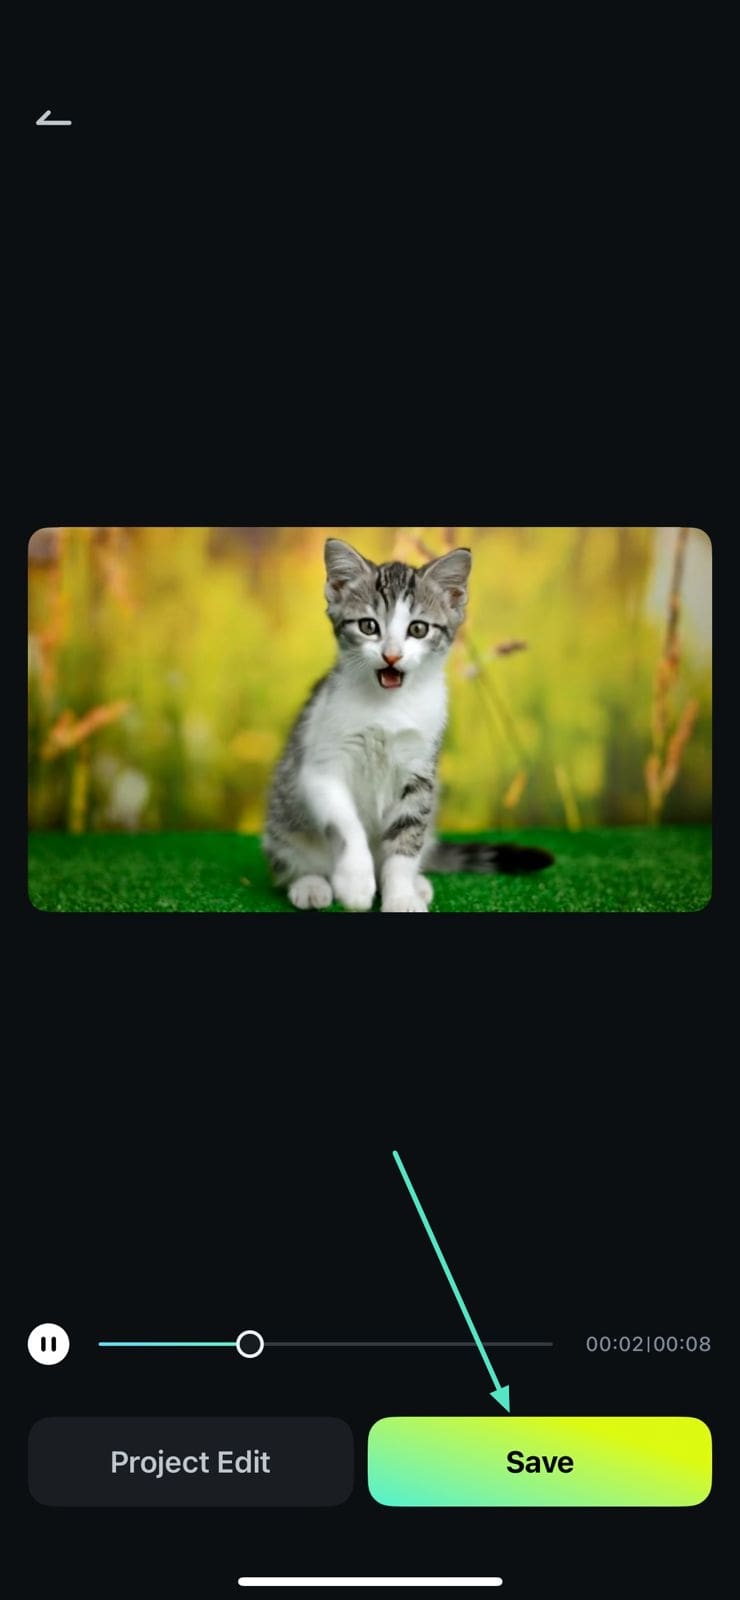
Play your video to see if it is to your satisfaction, and then export it to your phone by using the Save button.
Excited to explore this further? There are so many ways and modes to create AI videos with Filmora’s AI Image to Video feature, you will be busy for a long time! Get your hands on Filmora from the Google Play Store or Apple App Store today! Filmora also works and syncs with desktops, working with both Windows and macOS, so wherever you are and whichever device you have, Filmora is right there by your side to help you be your most creative self!
Conclusion
Stop getting frustrated with oddly rotated images on the iPhone and take matters into your own hands today with help from this guide right here! Learn how to rotate a picture on iPhone, and if you want to rotate several photos on iPhone together, how to rotate photos on iPhone all at once, and save time with the Copy Edits feature.
Also, take your photos to the next level and create videos from photos using Wondershare Filmora, the perfect AI video editor for beginners and advanced users looking to create videos for social sharing or having fun with friends and family! Download the app from the Apple App Store/ Google Play Store today and let your creativity shine!
FAQ & Troubleshooting
If you still have questions, we have all the answers!
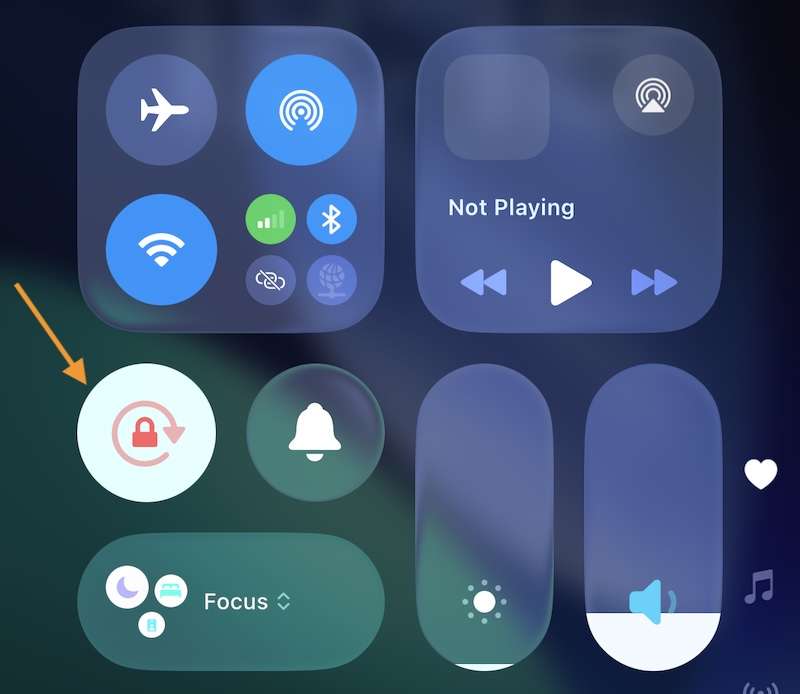
1. Why won't my iPhone screen rotate my photos when I turn my phone?
This is due to Orientation Lock being enabled in Control Centre on your iPhone. Access the Control Centre on your iPhone and tap Portrait Orientation Lock to switch it off.
2. How do I flip a photo on my iPhone, aka, create a mirror image?
Here’s how:
Step1Go to Photos app, select an image, tap the slider icon to enter editing controls and tap Crop.
Step2Then, tap the mirroring icon to flip the image.
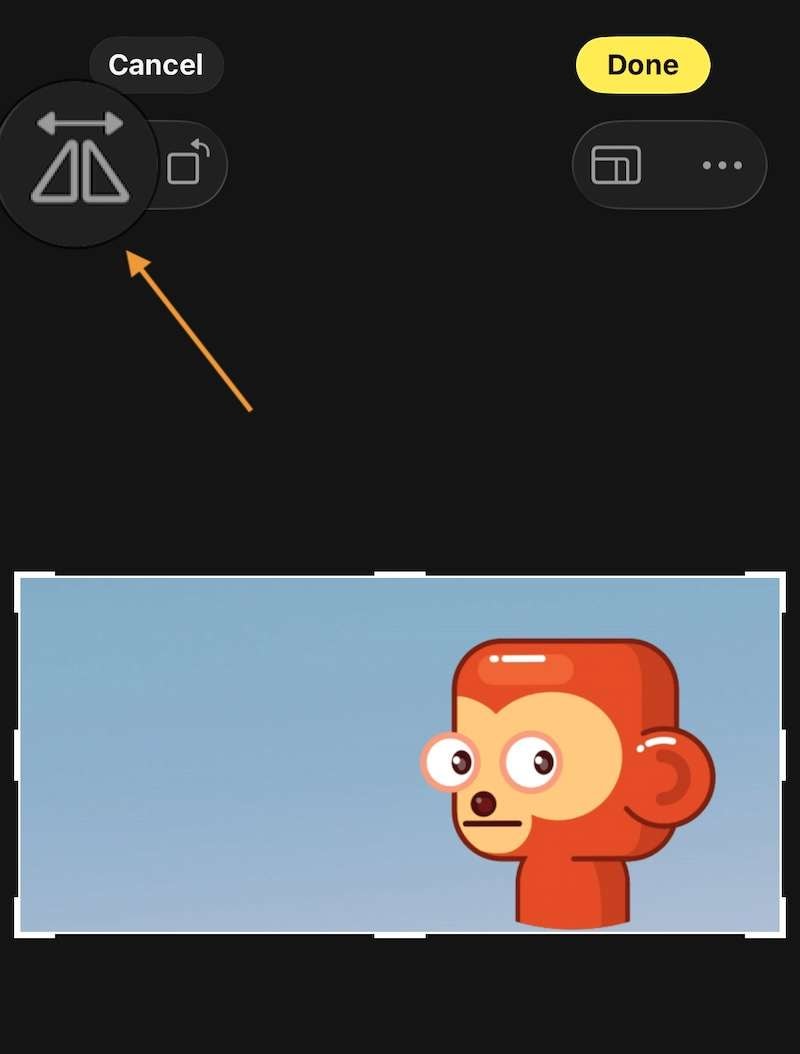
Step3Click Done.
3. Does rotating a photo on iPhone reduce its quality?
Rotating a photo does not reduce its quality. When you rotate a photo, the file is simply adjusted to reflect the new orientation without any loss of data or degradation in quality. Therefore, you can rotate your photos without worrying about compromising their quality.
4. How can I undo a rotation?
There is a REVERT feature in the Photos app that you can use.
Step1For every modified image, there is a red REVERT button at the top right. Tap it.
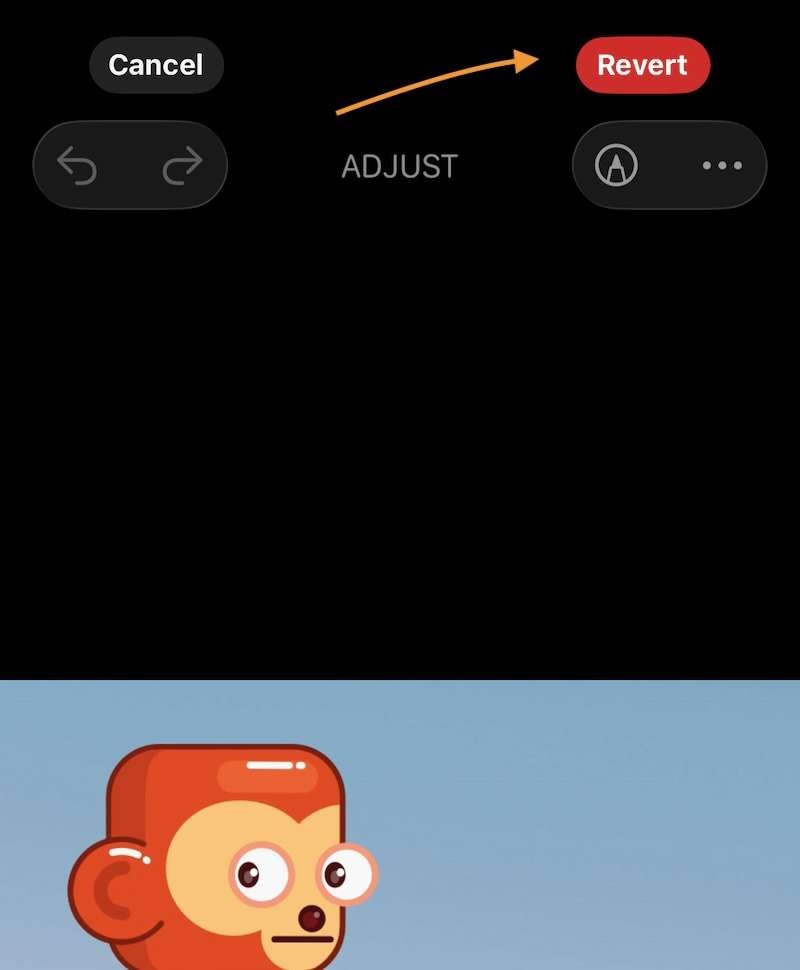
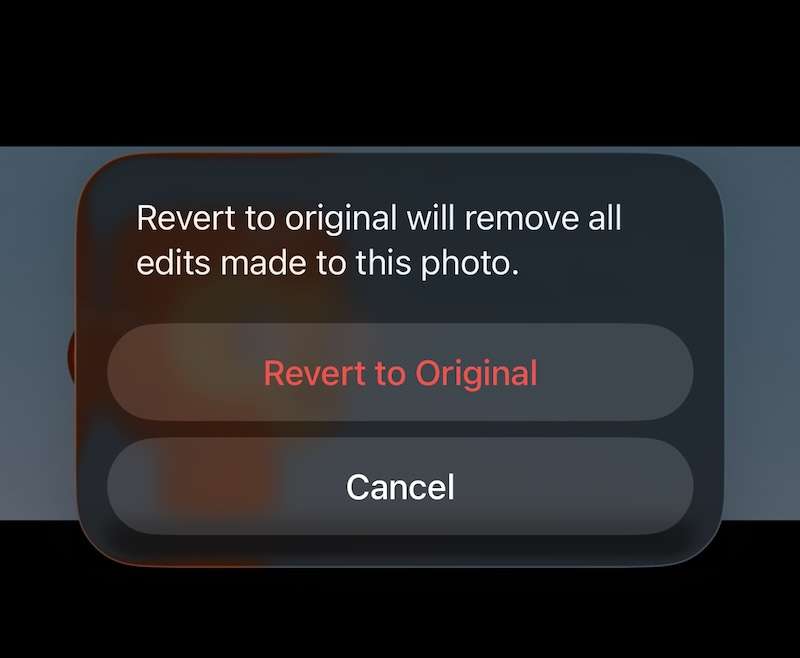
Step2Confirm Revert to Original, and you’re back to the original image!
5. How do I fix a photo that is upside down?
This is easy, too. Use the Rotate button to rotate the image back to its natural position and tap Done.
