AI-Powered 
Lyric Video Maker


AI-Powered Lyric Video Generation Made Simple
Our lyric video maker uses advanced AI speech-to-text technology to automatically detect and transcribe song lyrics, saving you time and effort. Customize your lyrics with stunning animations and effects to make your music video with lyrics stand out.
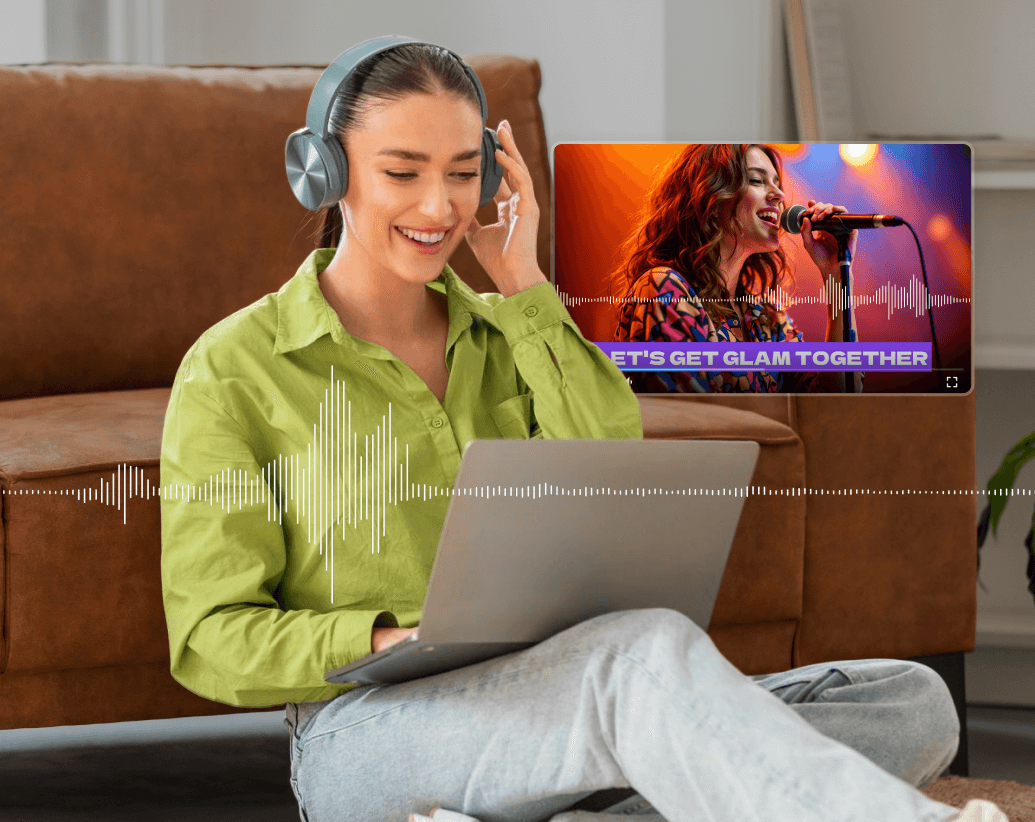
AI Song Lyric Transcription
Automatically add lyrics to videos with our AI-powered speech-to-text technology. Create accurate, synchronized lyric videos in minutes. Plus, animate your lyrics on screen to make the words move in perfect sync with your music! Choose from a library of text animation templates available in our AI lyric video generator.
Customizable Lyric Animations
Prefer to make a lyric video from scratch? No problem! Manually transcribe and add lyric text, then customize the font, color, size, and background to match your song's vibe. You can even add animation effects to manually added lyrics for a personalized touch.
Discover More Solutions.
Turn Your Music into a Visual Masterpiece
Enhance your music video with lyrics using dynamic music visualizers and music beat text animation effects. Our lyric video creator offers a wide range of effects to make your lyric videos visually captivating.
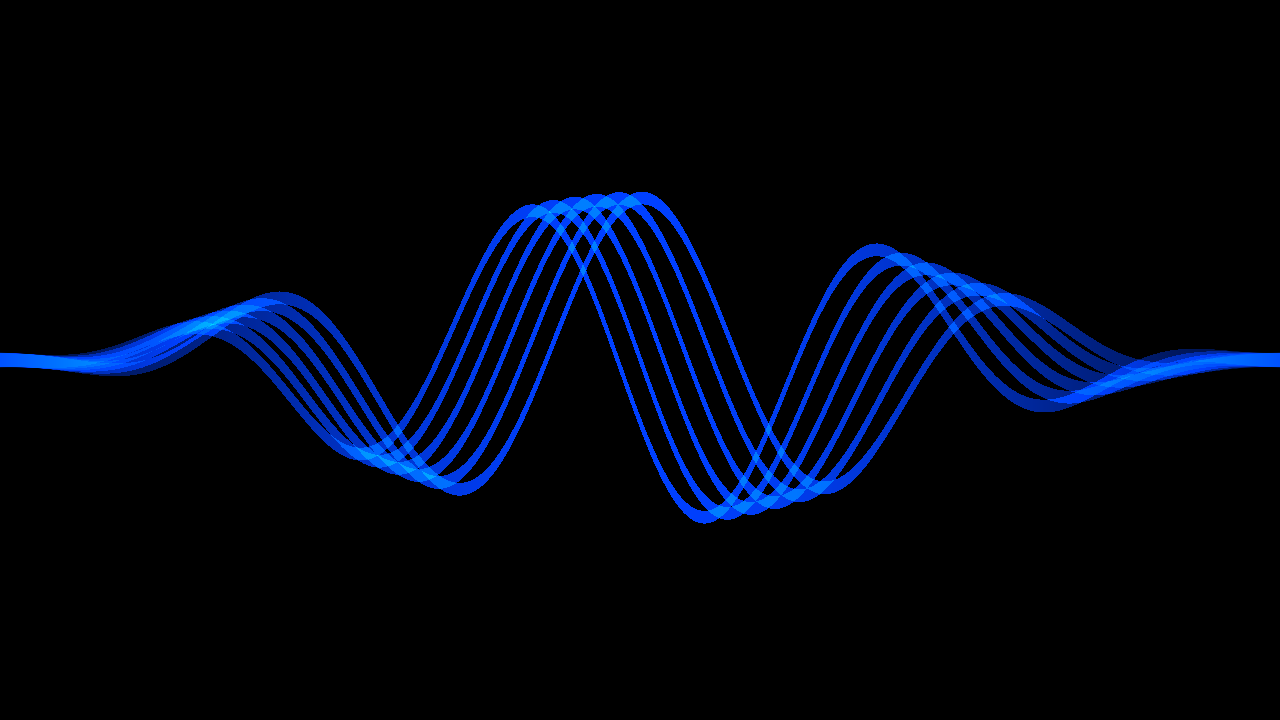
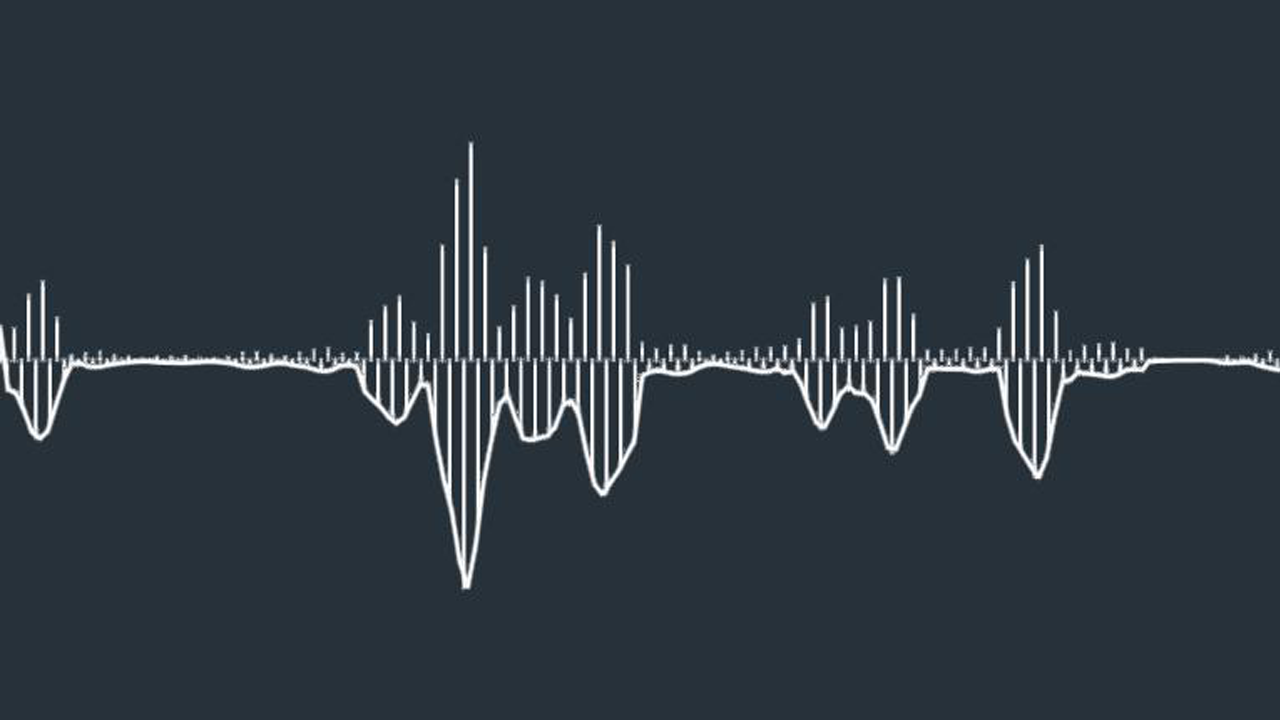
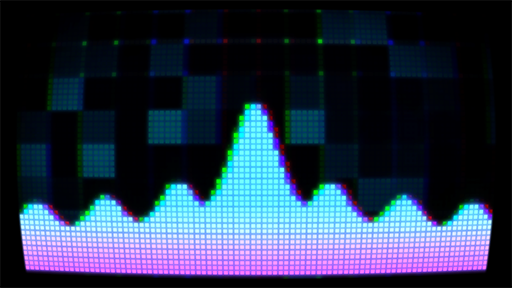
Audio Visualizer Effects
Create stunning audiograms and waveforms that sync with your music. Choose from 60+ effects to visualize beats, melodies, and rhythms.


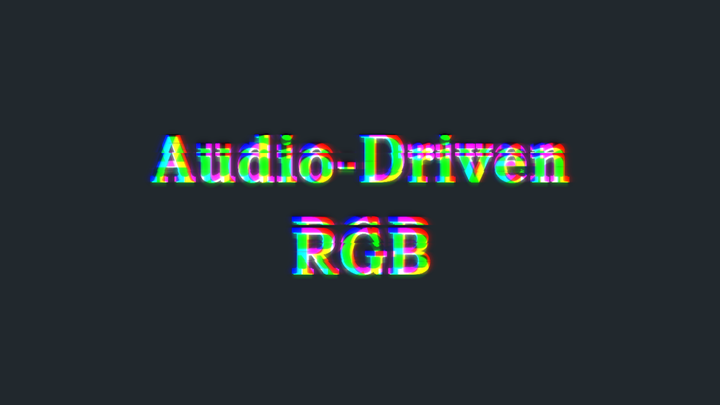
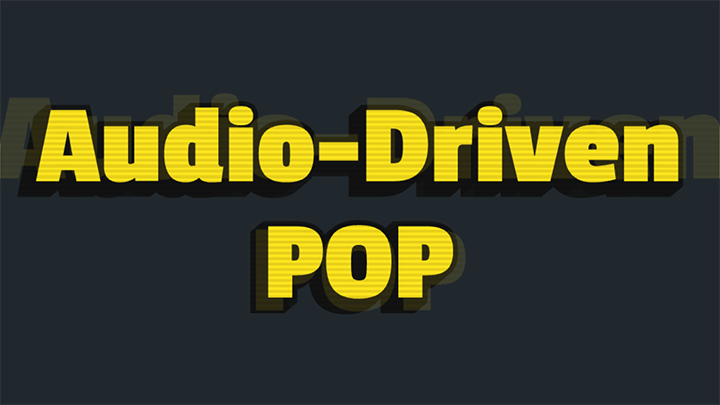
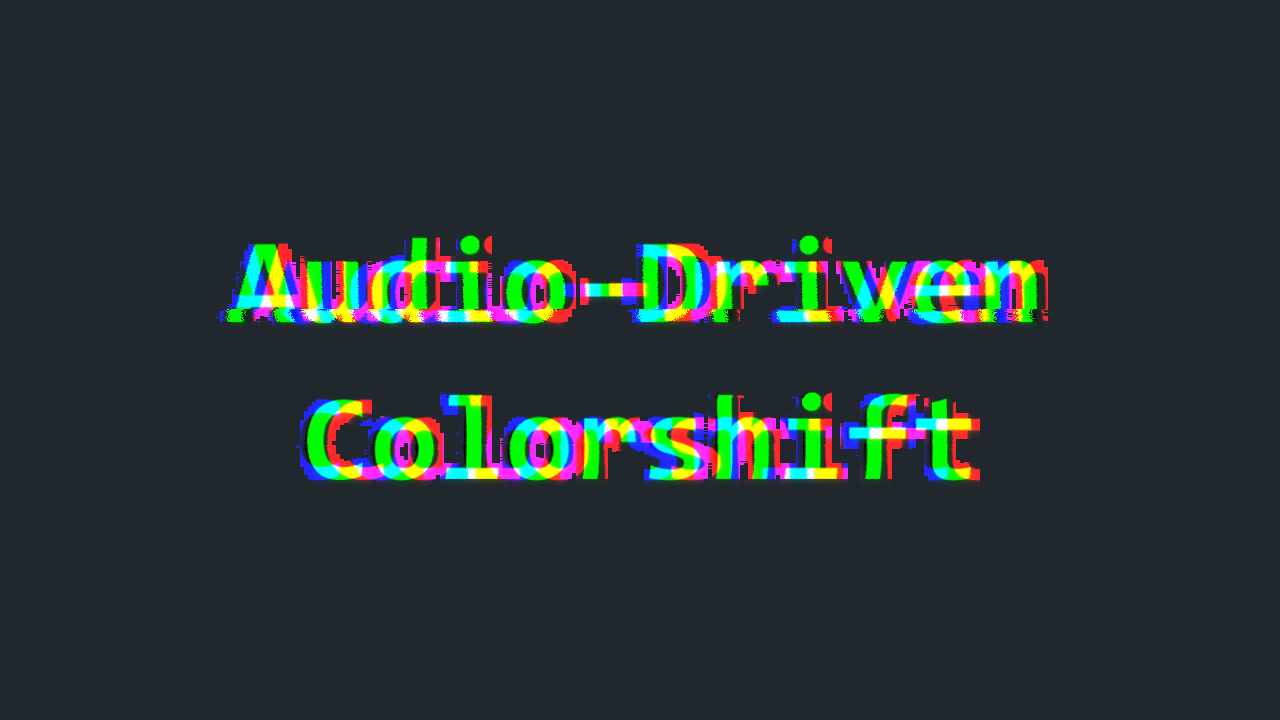
Music Beats Text Animation
Make your lyrics dance to the beat with 15+ audio-driven text animation effects. Perfect for adding energy and rhythm to your music video with lyrics.

Particles Rhythm Effects
Add a touch of magic with 17 particle rhythm effects that react to your music. Customize colors, speed, and intensity for a mesmerizing experience.


Access 1.5M+ Royalty-Free Media & Templates
Don't have footage that matches your song's mood? No problem! Our lyric video maker offers a library of over 1.5 million royalty-free videos, images, and lyric video templates to help you create lyric videos instantly. Plus, use AI text-to-image and text-to-video tools to generate custom visuals for your lyric video projects.
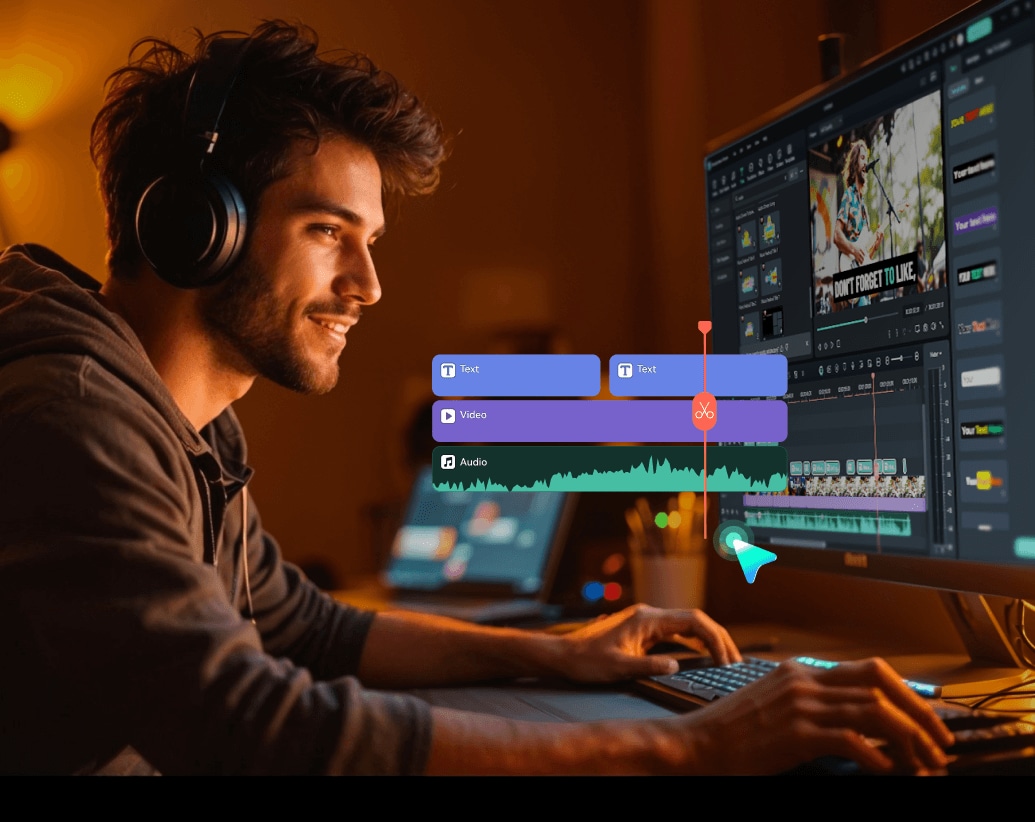
Effortlessly Edit Lyric Videos with Intuitive Editing Features
Create and perfect your lyric videos with a full suite of editing tools. From basic trimming to advanced keyframing, you'll find everything you need to make a professional-quality lyric video.


How To Make a Lyric Video in 5 Easy Steps
Ready to create a lyric video? Our lyric video maker makes it simple! Here's how to make a lyric video with Filmora:
Why Filmora Is the Best Video Editor for Lyric Video
AI-Powered Simplicity
AI-Powered Simplicity
Advanced Video Editing Tools
Advanced Video Editing Tools
Edit Across All Devices
Edit Across All Devices

Frequently Asked Questions
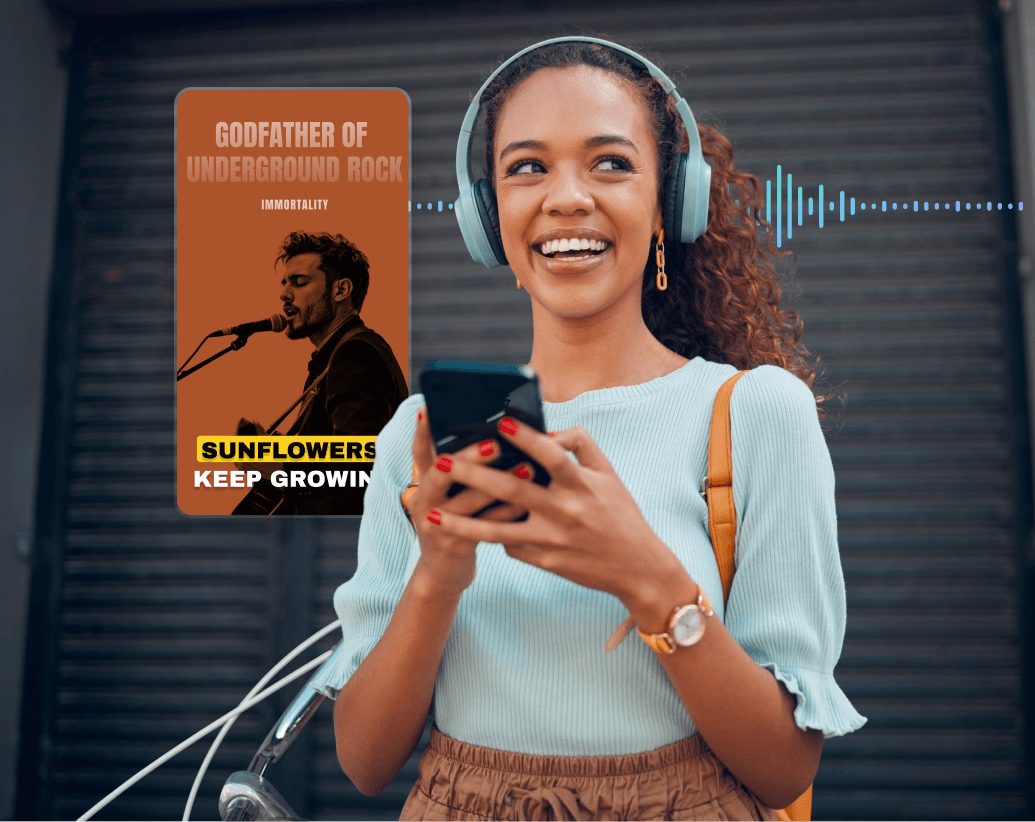
· Boost social media engagement: Lyric videos are highly shareable and perfect for platforms like YouTube, Instagram, and TikTok.
· Promote your music: Lyric videos are a great way to showcase your talent and attract new fans.
2. Customize text styles, animations, and visuals.
3. Export your video in YouTube's recommended resolution (1080p).
Ready to Create Your
Lyric Video?
Turn your songs into captivating visual stories with our lyric video creator. From AI-generated lyrics to dynamic animations, producing professional-grade lyric videos has never been easier.


Loved by Creators Worldwide
See why millions of creators trust Filmora for making lyric videos. Below are some video tutorials from YouTube influencers using our lyric video maker.