Timelapse Video EditorMake Time-Lapse Videos in 3 Simple Ways


What Is Time-Lapse Video?
Everything You Need to Know Shooting a Time-lapse Video
Achieve Perfect Time-Lapse Shots: A Guide to the Right Tools to Record Detailed Time-Lapses
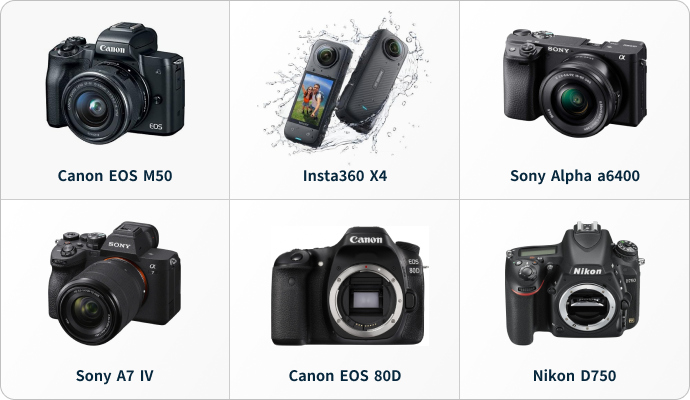
• Take full control of your shot by adjusting exposure, focus, and ISO to suit your vision.
• Capture incredible detail with interchangeable lenses.
• Keep your ISO low to reduce noise and produce cleaner images, especially in low light.
• Set your focus manually to maintain consistent focus throughout the sequence.
• Buy an intervalometer for precise timing between shots, ensuring a smooth final video.
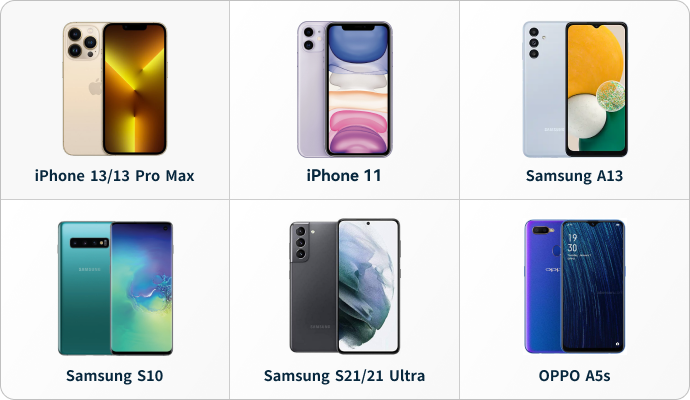
• Always on hand, ideal for quick, spontaneous shots.
• Probably don't need to buy a device.
• If you're using an iPhone, you can edit video directly in the Photos app (which is handy because it's already on your phone).
• Keep your phone charged with a portable battery or outlet.
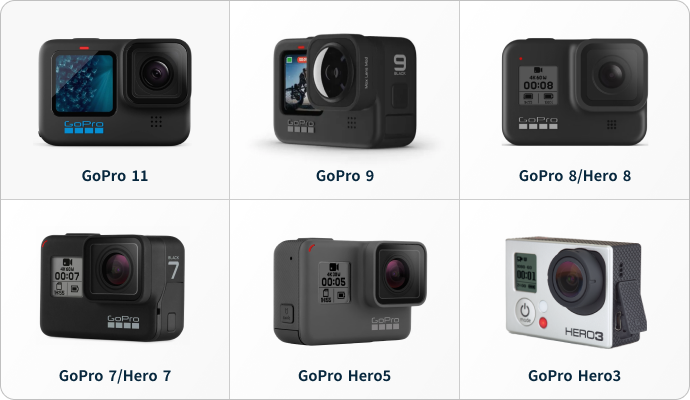
• Using GoPro with time lapse is compact and convenient.
• Waterproof.
• Great for extreme conditions like outdoor or underwater time-lapses.
• Reduce the resolution to 7 megapixels (to save space).
• Attach it to a tripod, suction mount, or other GoPro accessories for stability.
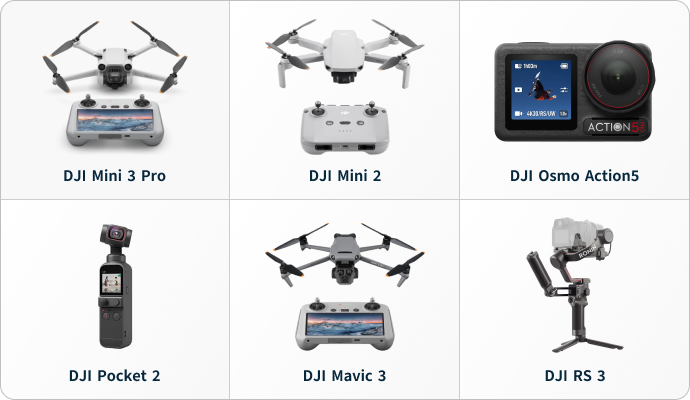
• Ability to move and capture timelapses in motion (hyperlapse).
• Drones have limited flight time, so plan shorter time-lapse or bring extra batteries.
• Wind and weather changes can ruin footage or cause damage to your equipment. Be cautious.
Choose Your Subject, and Refine Time-Lapse Settings
Some subjects commonly chosen for shooting a time-lapse video include sunrises, sunsets, storms, and other natural phenomena. Yet, don't let these popular time-lapse topics deter you from being creative.
| Shooting Occasion | Interval | Shutter Speed | Notes |
|---|---|---|---|
| Sunrise or Sunset | 5–10 seconds | Adjust based on light changes (wide aperture) | Gradual lighting changes; shorter intervals work better. |
| Day to Night (Cityscape, Street Scenes) | 10–30 seconds | Adjust for light dimming (manual exposure compensation) | Focus on smooth transitions from day to night. |
| Clouds Moving / Weather Changes | 10–30 seconds | Adjust for cloud speed and brightness | Shorter intervals for faster-moving clouds. |
| Traffic (Cars, People) | 1–5 seconds | 1/250s to freeze motion (adjust for night) | Short intervals capture fast-moving traffic smoothly. |
| Flower Blooming / Plant Growth | 30 minutes to 1 hour | Slower, adjust for lighting changes | Long intervals for capturing slow growth; plan for long duration. |
| Ocean / Waves | 3–10 seconds | 1/100s to 1/250s (adjust for wave speed) | Short intervals for smoother wave transitions. |
| Star Trails (Astro Time-lapse) | 10–30 seconds | 15–30 seconds (long exposure) | Short intervals prevent star blur; long exposure for trails. |
| Urban Construction / Building Progress | 10–30 minutes | Manual adjustments for lighting changes | Slow intervals for gradual progress tracking. |
Tips Before You Start Your Time-Lapse Video Shoot and Edit
Before you dive in, here's a list of general recommendations for creating a good time-lapse video
Check Weather Before Outdoor Shooting
Use a Wide Aperture for Light Control
Use a Stable Tripod for Fixed Shots
Prepare a Slider for Moving Time-lapse
Ensure Sufficient Battery and Storage
Manual Focus for Consistent Sharpness
Edit Time-lapse Videos in Editing Software
How to Make a Time-Lapse Video: 3 Simple Methods
Filmora time-lapse editing software can easily speed up footage, turn photos into stunning time-lapses, and add AI effects - all in a few clicks, making timelapse editing simple, creative, and accessible.
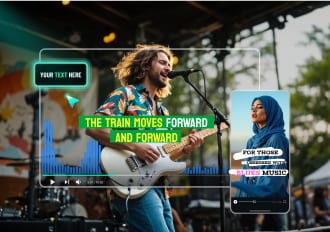
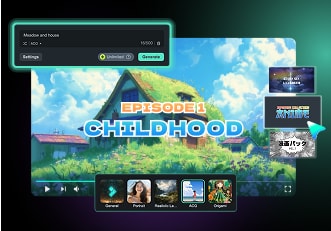
Solution 1. No Footage? No Problem: Use AI to Generate Creative Time-Lapse Effects
Filmora's AI Image-to-Video feature provides a fast solution when you lack visuals or prefer not to shoot. You can generate day-to-night time-lapse videos, plant growing time-lapse or apply various custom AI-powered time-lapse video effects effortlessly. For example:
Access to Filmora's AI Image to Video
Import Images into Filmora
Generate Time-Lapse Videos
Time-lapse Video Generation Prompts for You To Try:
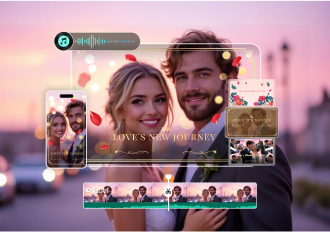
Solution 2. Transform Image Sequences into Cinematic Time-Lapse Videos
With Filmora's Image Sequence to Video feature, you can easily transform a series of static images into a captivating time-lapse video, showcasing the passage of time. Perfect for landscapes and cities, it helps achieve professional video effects effortlessly.
Import Your Image Sequence
Adjust Playback Speed
Customize and Export Your Time-Lapse Video
Tips for Turning a Series of Still Images Into a Time-lapse Video:
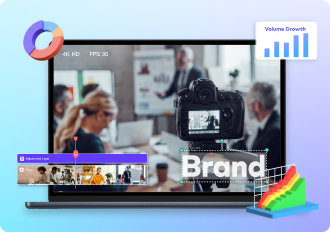
Solution 3. Shoot a Video and Speed It Up
Simply record your video, open it in Filmora editing software, and accelerate the footage by 3x or more. Adjust the speed to set the perfect rhythm or video length. With the right speed-up and masking features, you can help to reduce the impact of flickering in areas that are less affected.
Steps to Change the Speed in Your Time-Lapse Intervals
Benefits of Making a Time-Lapse Video
Turn hours into seconds. Experience the beauty of time in motion. Explore the magic of time-lapse and how it elevates your story.

Highlight Progress
and Changes

Showcase Natural
Phenomena

Add Creative Appeal
and Engage Audiences
Enrich Your Time-lapse Video with AI Tools and Creative Assets
Want to get your work perfectly done in clicks? Filmora brings all the powerful AI tools and creative assets to the table.
- AI Text-To-Video
- AI Speech-to-Text
- AI Portrait Cutout
- AI Object Remover
- AI Music Generator


FAQs on a Time Lapse Video Editing
- Brinno BCC200/BCC2000 Plus – Weatherproof, long battery life, ideal for long-term outdoor use.
- GoPro HERO12 Black – Rugged, versatile, with 5.3K resolution and stabilization.
- DJI Osmo Action 3 – 4K, durable, compact, excellent for extreme conditions.
- Canon EOS Rebel T7 – High-quality DSLR, great for detailed shots, but needs weatherproof housing.
- Afidus ATL-200S – Full HD, waterproof, long battery life, perfect for remote monitoring.
- CamDo UpBlink for GoPro – Adapts GoPro for long-term time-lapse with solar/battery options.
- Open the Photos app and select the slow-motion video you want to convert.
- Tap "Edit" in the upper-right corner of the screen.
- In the editor, you can adjust the speed sliders to reduce the slow-motion effect. However, you cannot directly change it to a time-lapse from here.
- For a true time-lapse effect, export the video to a third-party app, like Filmora app, where you can speed up the video significantly.
- In the app, apply the time-lapse or fast-forward effect by adjusting the speed of the video.
On iPhone or Android phone:
- Download and open the Filmora app on your iPhone or Android phone.
- Create a new project and import the time-lapse video you want to edit.
- Once the video is imported, tap the video clip on the timeline to select it.
- Tap on the Speed option (usually represented by a speedometer icon).
- Adjust the speed by dragging the slider towards the slower speed to bring it closer to normal speed (1x is normal speed).
- Preview the changes to ensure the video is playing at the desired speed.
- Once you're happy with the changes, tap Export to save your video at normal speed.
- Import the time-lapse video into your video editing software.
- Drag the video into the timeline.
- Right-click the video and select Speed/Duration.
- Adjust the speed percentage to 100% for normal speed playback.
- Export the video in your desired format.