

 TL;DR:
Adobe Premiere Rush lacks a built-in reverse feature, requiring users to import their projects into Adobe Premiere Pro to reverse clips, whereas Wondershare Filmora offers native reversal tools across its desktop and mobile applications.
● Reversing footage tied to Adobe Rush requires the $52.99 per month Creative Cloud subscription to utilize Premiere Pro, and the software strictly requires macOS 10.13 or later, or Windows 10 (v1709) or later.
● On Filmora for Windows or Mac, you can instantly reverse a video by selecting the clip on your timeline, clicking the Speed icon located on the editor toolbar, and choosing the Reverse function.
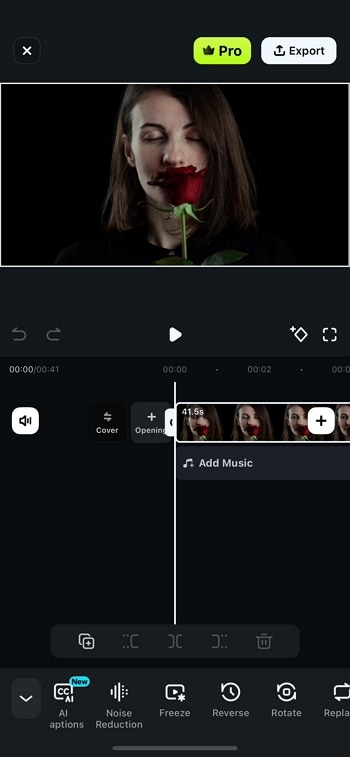
● Filmora Mobile allows users to reverse videos directly on both Android and iPhone devices by importing the media, accessing the Trim tool, and tapping the Reverse option.
Ask AI for a summary
 ChatGPT
 Perplexity
 Gemini
 Claude
 Grok
Grok
Social media video producers often have to find creative ways of sparking the viewer's curiosity to get their full attention. Reversing a video clip is one of the most creative ways because it is a simple yet effective video editing technique making your videos more entertaining.
Mastering this technique shouldn't take a lot of your time, because most consumer-level and professional video editors enable you to perform this action in just a few clicks. If you'd like to learn how to reverse video clips, you've come to the right place because, in the article, we're going to show you how to accomplish this task effortlessly.
Part 1: How to Reverse Videos in Adobe Rush?
Adobe Rush is $9.99 per month as a single app or as a part of the Creative Cloud subscription. If you choose to purchase Adobe Rush as a separate app, you won't be able to reverse videos since the feature is not included. But all projects you create in Adobe Rush can be imported into Adobe Pro, where you can easily reverse any video clips. That's why choosing the Creative Cloud subscription that costs $52.99 per month is currently a better option than opting to get only the Adobe Rush app.
What's more, the app is compatible with both macOS 10.13 or later and Windows 10 (v1709) or later, and you'll have to update your OS in case you're using an older version, in order to be able to install Adobe Rush to your computer. You can also use the app to edit videos from your iPhone, but the Android version of the app is still not available.
The following video is about how to reverse footage both spatially and with respect to time in Adobe Premiere Pro CC.
Alternatively, you can download and have a free trial for Wondershare Filmora. This is a very easy-to-use while powerful video editing software that offers a lot more than the reverse video option. It can help you make a slow-mo (timelapse) video, green screen video, fade in/out audio files, and zoom in/out videos.
Part 2: How to Reverse Videos in Filmora?
Reverse Video Using Filmora [On Win or Mac]
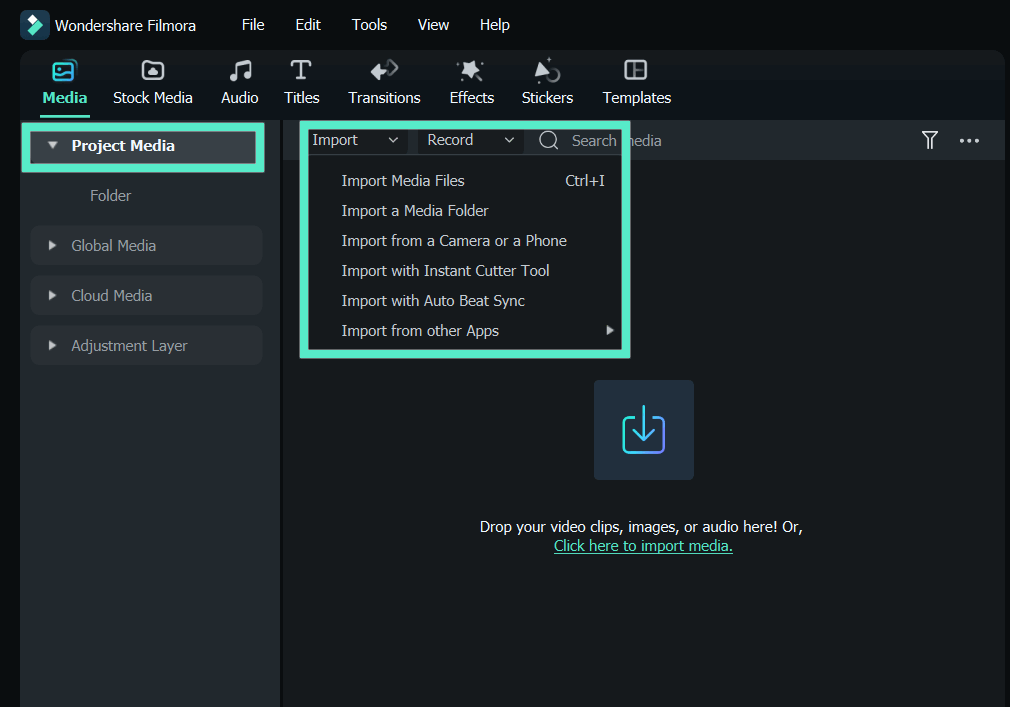
Click on the Import Media Files Here icon in Filmora's media panel. The Import drop-down menu lets you choose between importing a folder or a single file.
Drag and drop the imported video clip to the timeline or click the + icon that appears when hovering over the asset in the media panel.

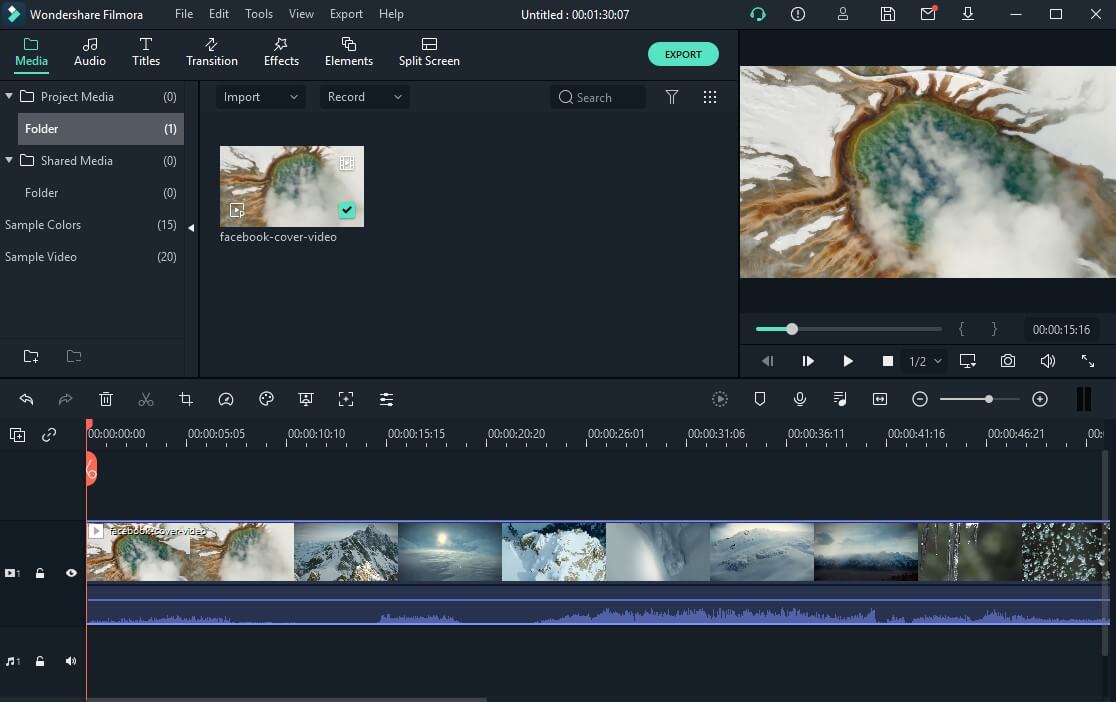
You can also change playback speed anytime by using the Speed icon and selecting Custom Speed or presets like Fast, Slow, and Normal.


Still have no ideas of reversing videos in Filmora? Just check this video below to see a complete tutorial:
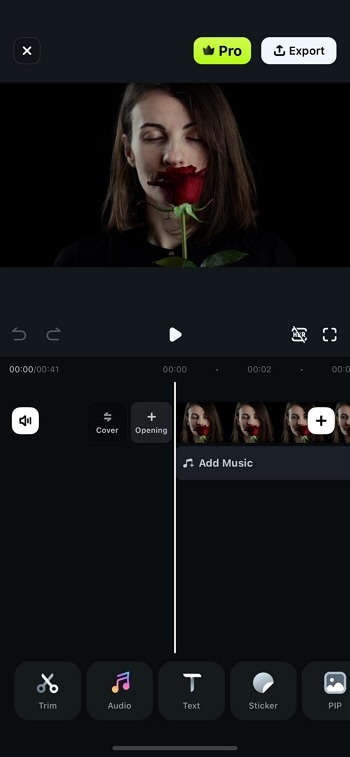
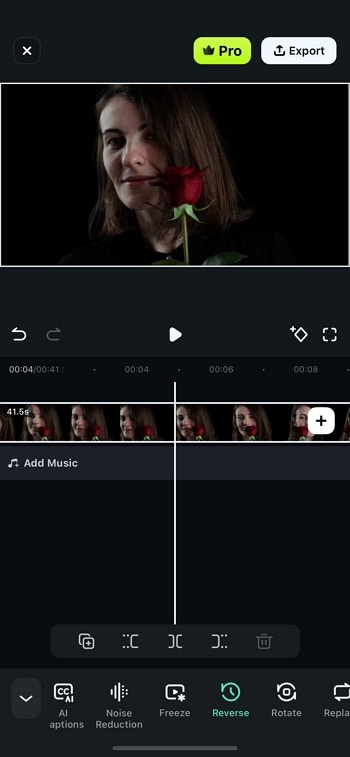
Reverse Videos in Filmora Mobile
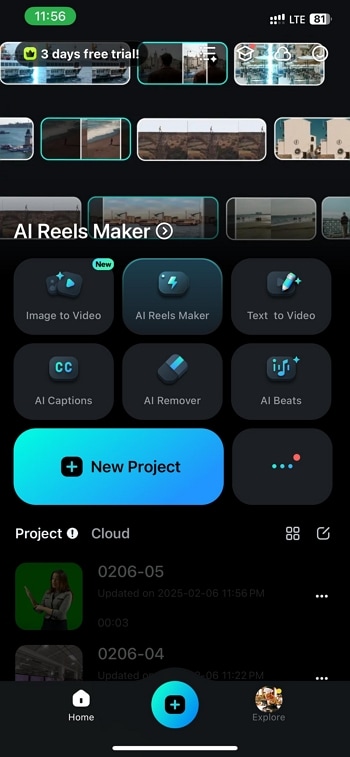
Reverse a video to add an entertaining and creative touch to your content by making time run in reverse, providing an intriguing turn to your story, or simply getting the rewind effect. Reversing a video is now simplified with Filmora Mobile, where no complicated editing process is needed. Follow this simple guide to reverse videos on your Android or iPhone in three clicks.
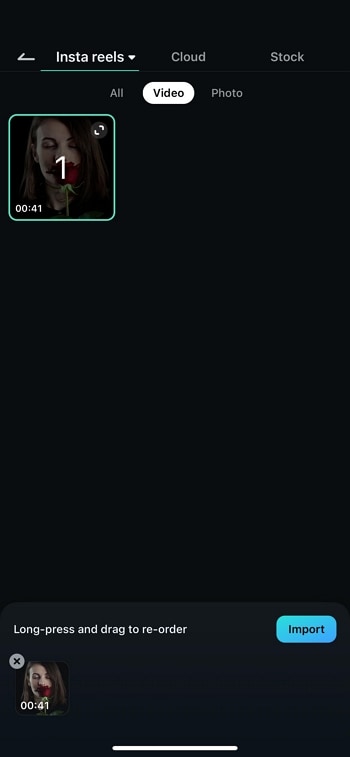
Select the video you want to reverse from your phone's gallery and tap "Import". This will load the video onto the timeline.
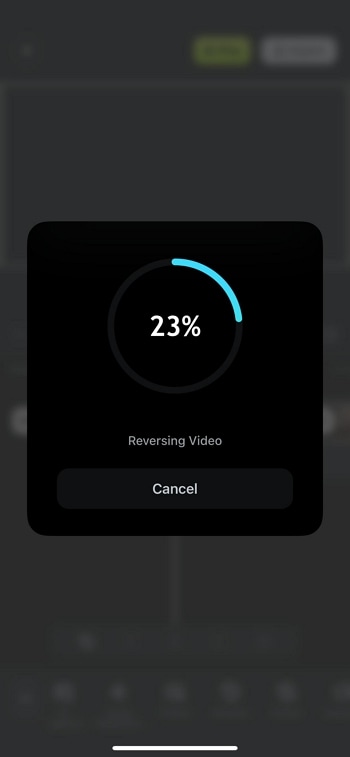
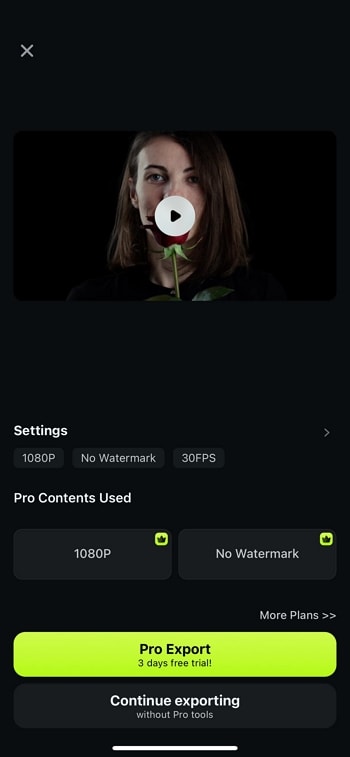
A processing percentage counter will appear, indicating the progress of the reversal process. Depending on the video length, this may take a few seconds.
Once finished, your video will play backward automatically, and you can preview the effect before saving.
Your video now plays in reverse in an eye-catching and attractive way. With Filmora Mobile, video editing is simplified—you can achieve professional results effortlessly. Try it now!
Conclusion
The Adobe Rush's recent addition to the Creative Cloud package attempts to make the video editing process easier for social media video creators, but it still lacks some important tools that YouTubers frequently use in their videos. At the moment, Filmora is a much more affordable and powerful option if you're looking for a video editor that lets you reverse videos in a few simple steps. What is your favorite method of reversing videos? Leave a comment below and let us know.
