A Guide to Record ASMR Video on iPhone Like a Pro
Autonomous sensory meridian response (ASMR) can well be described as a pleasant tingling response that begins at the scalps and travels down the neck and spine. This is in reaction to certain low-frequency sounds that are very relaxing.
Some find the ASMR so relaxing and sedative that it helps them to be lulled to sleep. Each individual response varies depending on the sounds recorded. The latest is the whispering speech so close to the ears that it soothes the frayed nerves.
Evidently, ASMR is giving room to an unimagined amount of creativity. The number of people recording their own ASMR bit to share it on YouTube is increasing by the hour. They are the ASMRtists.
If you are curious enough to jump onto that wagon but are unsure if you want to make the investment for ASMR recordings yet, then read on…
There is always that choice between skills and gadgets when achieving an end goal. So is it with ASMR? If you own an iPhone then you need to look no further to record your first ASMR. Your iPhone can render amazing and cost-effective ASMR recordings worth sharing.
- Part1. Take it easy, a professional camera is not necessary, here's how to make ASMR videos with iPhone
- Part2. Wired headphones are more suitable for recording ASMR than Airpods
- Part3. Use Filmora for iPhone (formerly FilmoraGo) to edit your first ASMR video
Part1. Take it easy, a professional camera is not necessary, here’s how to make ASMR videos with iPhone
Create as many ASMR videos as you wish and upload them to YouTube. Wait before you invest in tools and accessories as yet. What you need at this stage is to know your iPhone capabilities and some workaround techniques that can substitute for expensive gadgets.
These essential steps listed below will help you achieve the desired results with minimal gadgets.
Let’s start off with some basics you need to know:
Step1. Choose the recording method on the iPhone
There is no ideal method for recording ASMR video footage using an iPhone. It all depends on your priorities for your ASMR recording.
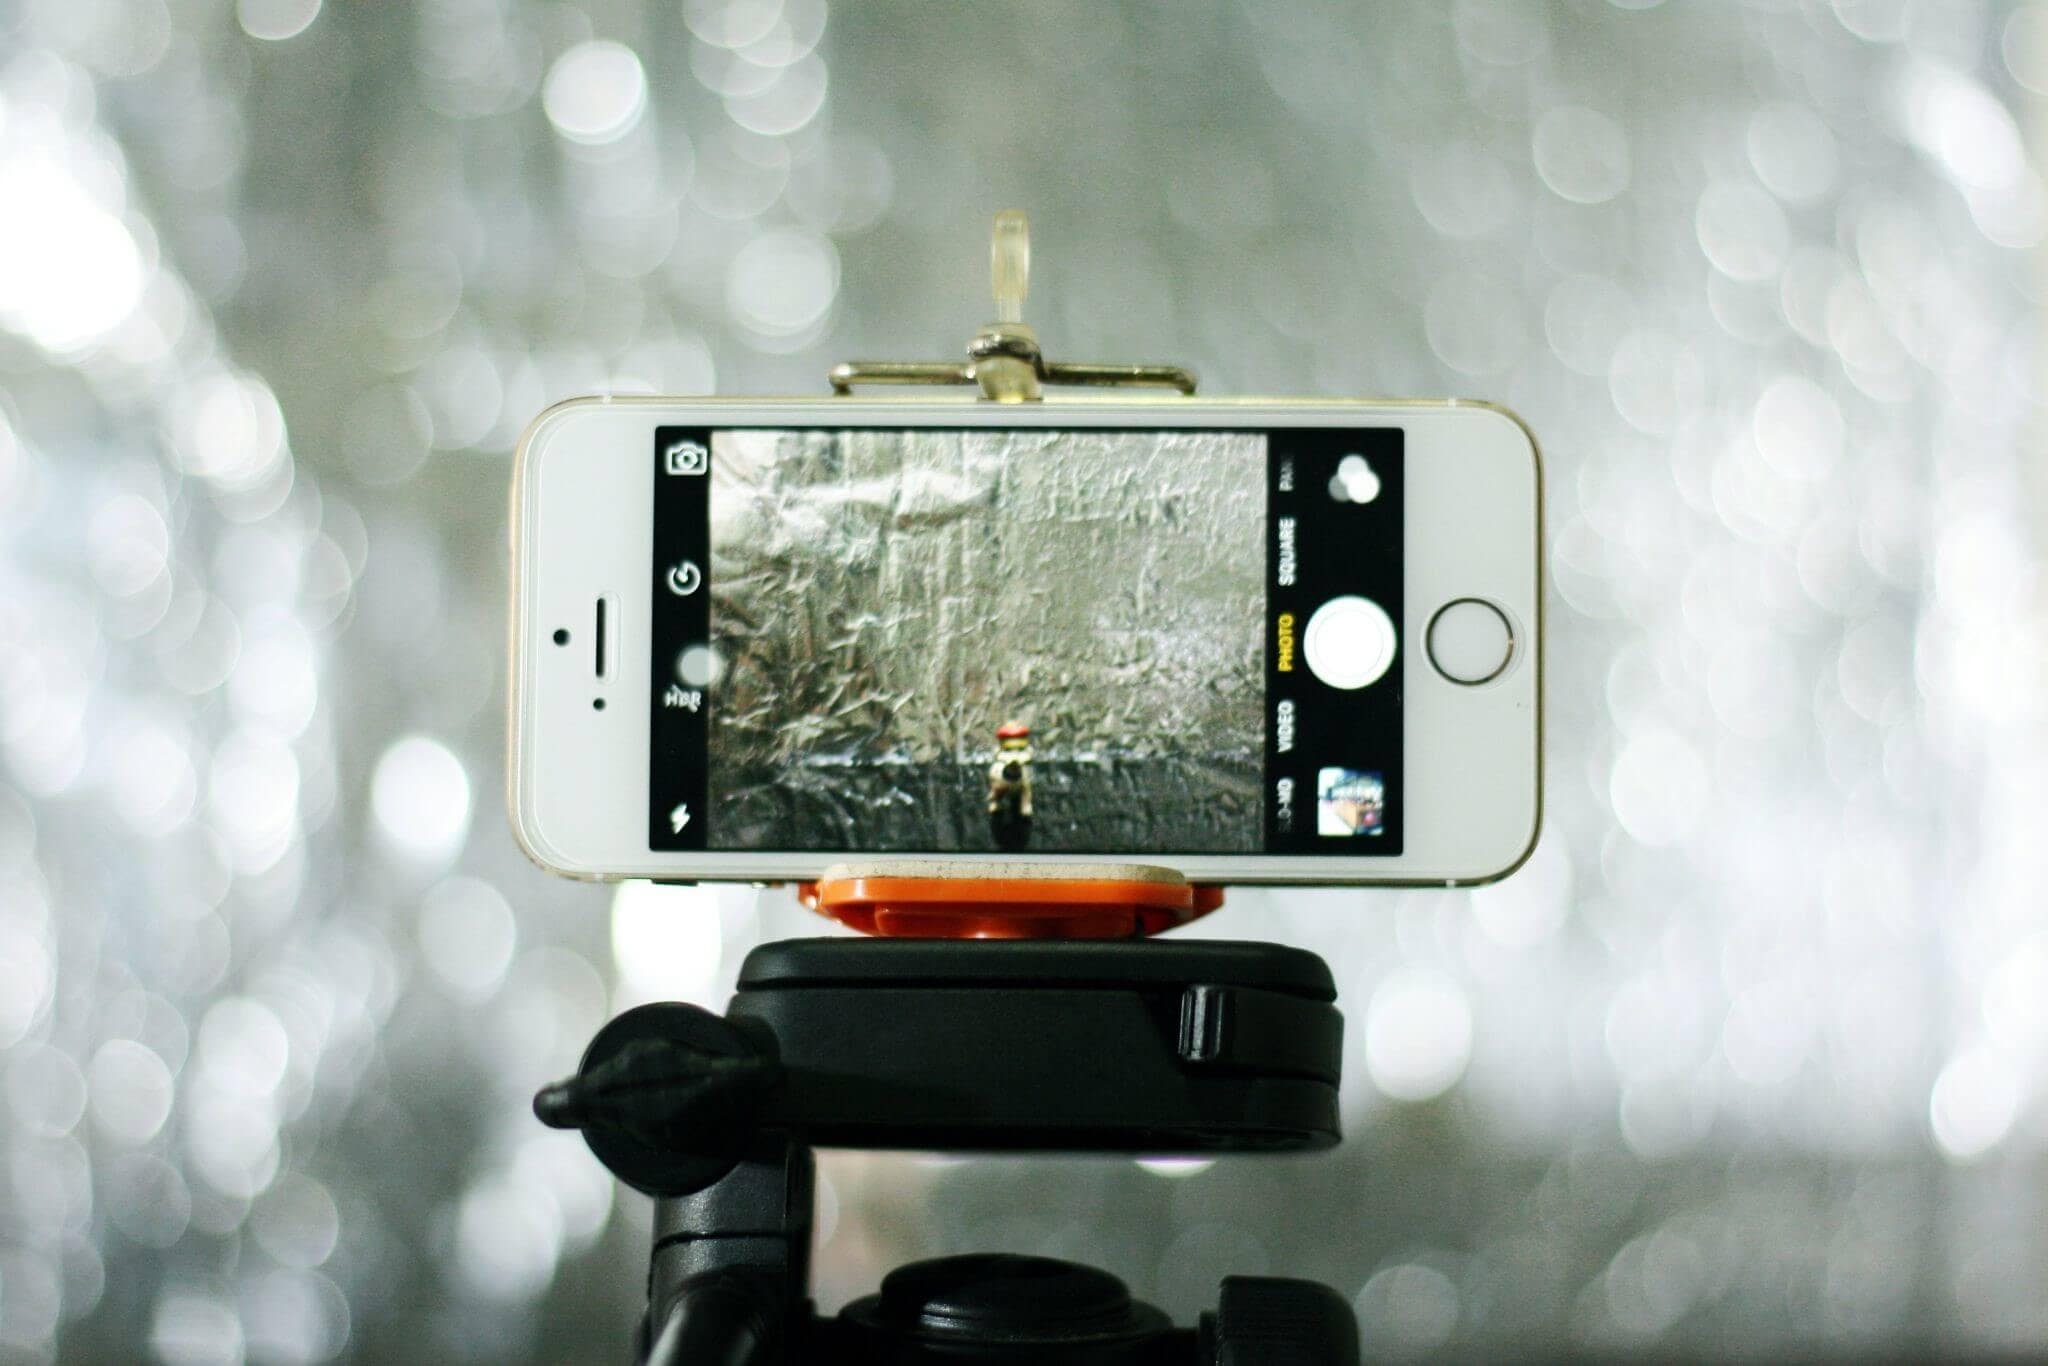
Do you wish to be seen in your recording? If yes, create separate video footage for your video and a separate recording for the audio using a microphone. Ensure you have a grip on the image stability if you are moving the iPhone with your hands for the ASMR recording. Best to use a tripod and fix the iPhone to it.
If you do not wish to be seen, then just use the microphone for your recording and create an ‘Audio-only’ recording.

Step2. Adjust the 4K video setting on iPhone
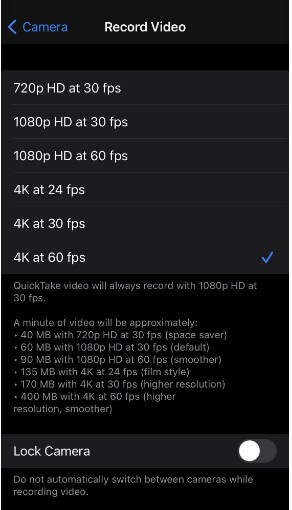
The resolution of your ASMR recording rates is high on the priority list. If you intend to upload your ASMR recording to YouTube, understand that YouTube supports the 4k video format which overrides the HD resolution by far.
Incidentally, iPhone also supports the 4k video which makes it so simple to record your ASMR on the iPhone.
To enable the 4k video settings, just tap on the ‘camera’ option of your iPhone and then tap on the ‘record video’ option.
Here, choose the camera settings as 120 frames per second at 1080p resolution. This will ensure your iPhone switches to 4K mode without you having to do anything.

However, if you are using the front camera, you can choose the 4k mode, only if you are using the iPhone 11 or the iPhone 12.
In lesser versions of the iPhone, you may have to choose the best setting possible for your iPhone version here.
Step3. Adjust iPhone microphone
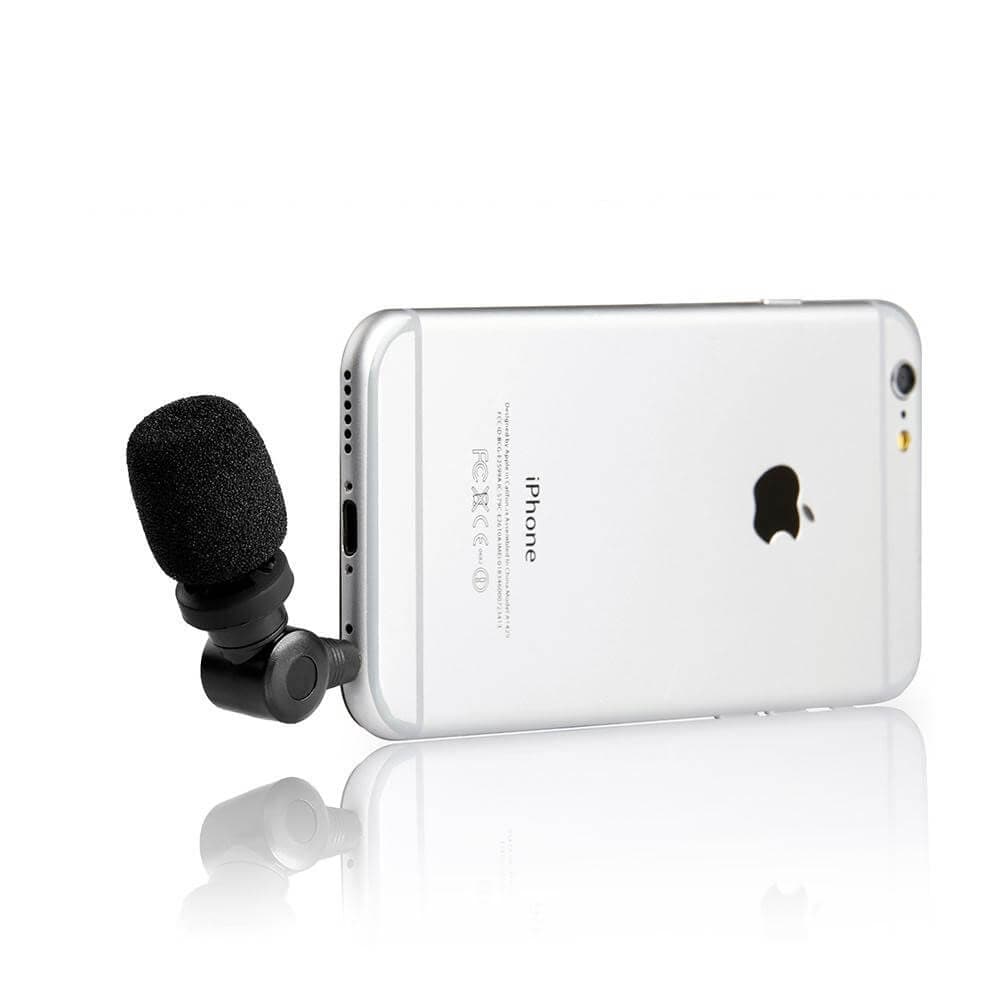
While recording sounds you could choose between recording with an earphone or directly with the inbuilt microphone. Either way, do ensure there is a gap between your audio source and the microphone

The interesting part of ASMR is the binaural sounds.
The whoosh of the winds from one side to the other, the tapering noise of footsteps on rustling leaves that denote the footsteps have moved away, and so on. These sounds are categorized as 3D audio and cannot be recorded using an earphone jack that caters to only 2D sounds.
For this, you will need an audio interface that captures these sounds and use a lightning adapter to connect your iPhone to the audio interface.

Step4. Choose a video editing software suitable for iPhone:
You will definitely need an editing software. Remember the ASMR needs to be pleasing to the eyes and ears as it is meant for relaxation anywhere, anytime.
If the video is jerky or unstable and the audio gets on the nerves, you probably will have no takers for your ASMR recording in spite of all your efforts.
To avoid disappointment, you could use Wondershare Filmora to edit your ASMR recording and give it a finishing touch.
You are now good to GO!
Part2.Wired headphones are more suitable for recording ASMR than AirPods
Why is it better to use wired headphones rather than AirPods for ASMR?
ASMR is all about low-frequency sounds that help the mind relax. Air pods produce stronger bass sounds (low and deep sounds) than wired headphones. This means it would amplify low sounds with excellent clarity while replaying audio.
This feature of air pods could create an unpleasant effect with plosive sounds (pronunciation of words beginning with alphabets such as P, B, T, and G) or some scratching or grating noises that you would have recorded in your ASMR.

Part3. Use Filmora for iPhone to edit your first ASMR video!
Since we are simplifying the process of creating ASMR with iPhone, Filmora for iPhone would be the ideal choice for editing the video you just created. It is a simple yet powerful way of making music videos, ASMR videos, and your own movies. Go ahead and share your creativity with your friends.
You can download Filmora for iPhone here:
Final Word
Let’s summarize the entire process of creating ASMR using an iPhone:
Your ASMR videos are meant to relax someone who needs a stress break. Hence the video and audio output should be very pleasant. Keep in mind the resolution and stability of the video. You could record your audio and your video footage separately, depending on what you want for your ASMR recording.
It is always best to replay the recorded ASMR on the wired headphones rather than the air pods. The air pods can amplify the low-frequency noises and give it a jarring effect. This could be contrary to your goal of recording the ASMR in the first place.
Edit your recording using Filmora for iPhone. This is an excellent editing tool for your ASMR recording as it is simple to use and a powerful tool as well.


