Transcript
What is going on, guys? Welcome back to another video. In this tutorial, I will show you guys how to create this cool scaling text reveal animation inside of Filmora 13. This text animation is straightforward, and we don't need extra plugins to create it. Let's jump into Filmora and get started.
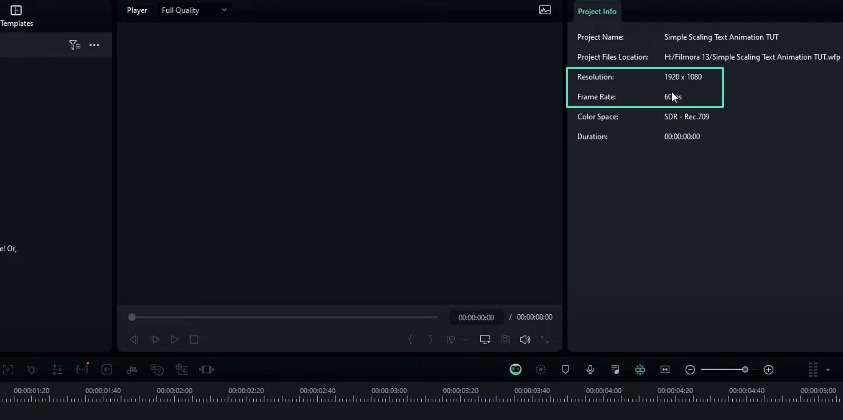
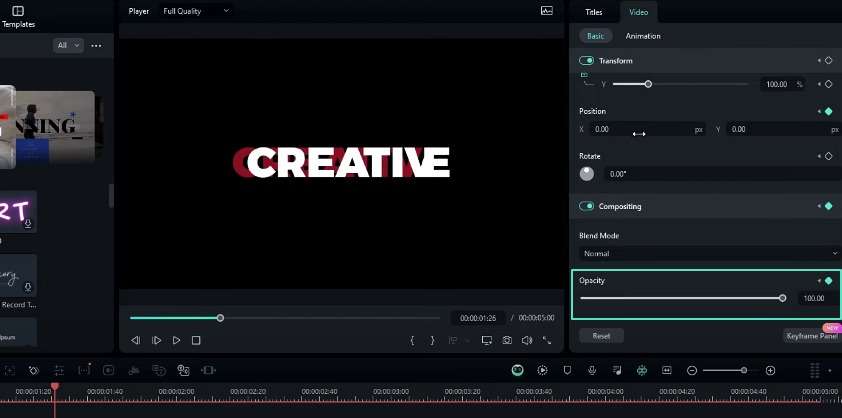
Here, I use 1920 by 1080 resolution with 60 FPS. You can use any resolution you want here. First, we need to add a text. I go to the text and add the default title to the timeline like this.
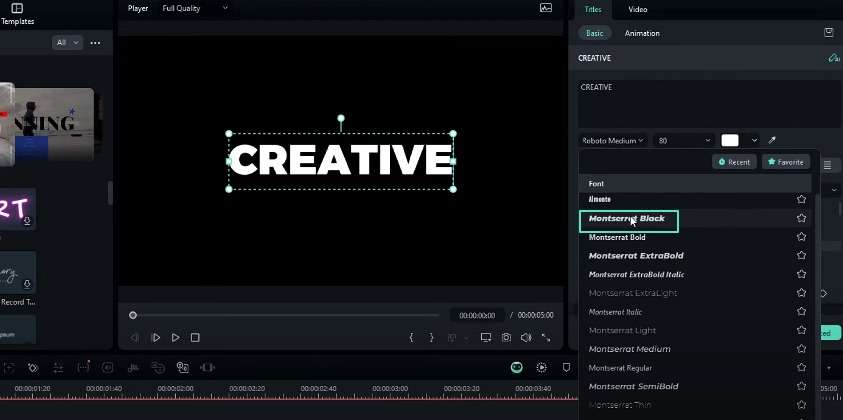
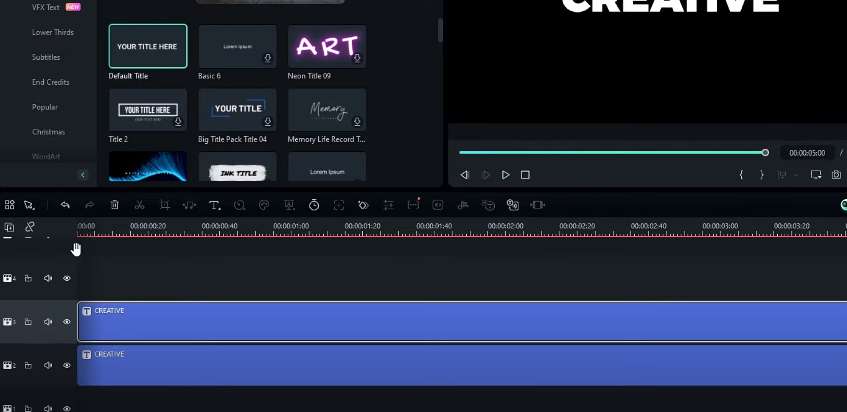
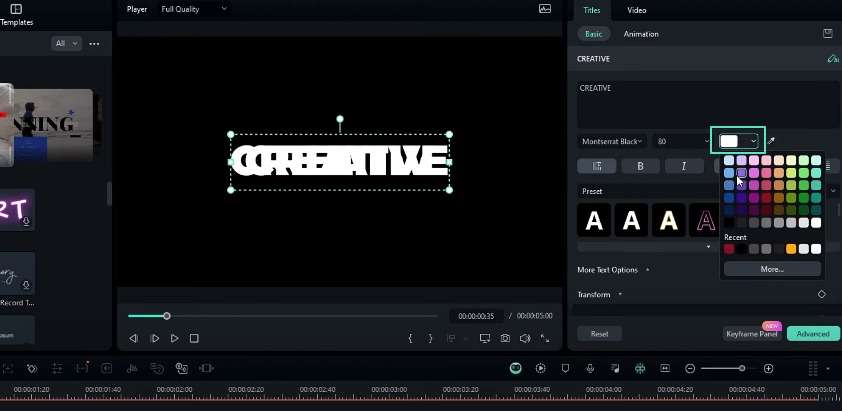
After that, you can customize your text to what you like. Here, I type creative and use the "Montserrat black" font style. After that, we need to add two duplicates of this text layer. I took a copy of this layer and pasted it two times.
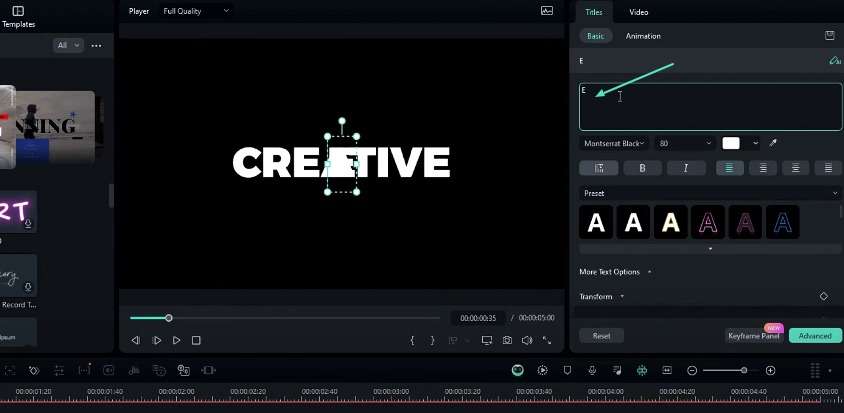
I change these layer's colors, then select this layer, and we need to remove these letters except for the last letter. So, I delete the unwanted letters like this. Select the second layer; we must remove our previous letter this time. I removed my last letter, E, like this. Select our original text and change the text color to whatever you like. I change it to this red color.
After that, we need to animate our last letter E. First, I hide my middle layer for now and then select the letter E layer. Go to the start, and click this keyframe button to add a keyframe. Go to the layer settings, and first, I will change the rotation to something - 180 and scale to zero.
I will go to the first second and reset the scale for now. I changed the rotation to - 90 and increased the scale to this. Also, I adjusted the position a little bit. Then, a few seconds later, I changed the rotation to zero, scaled it to 100, and reset the position.
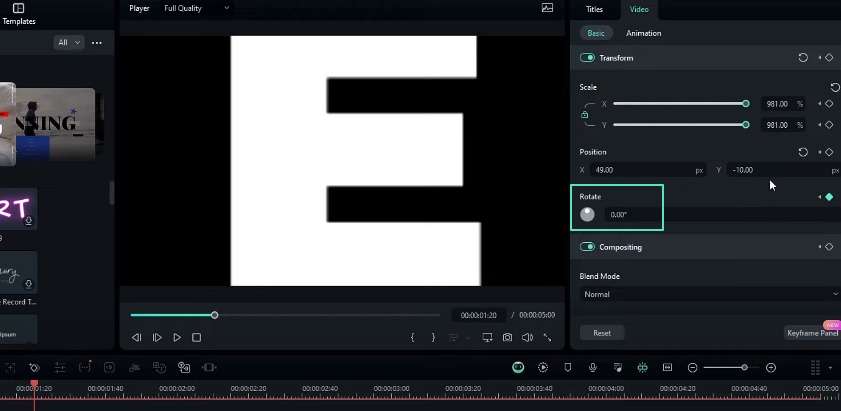
Then, we need to place the letter e on our original text. If you find it hard to place correctly, you can Zoom this preview area by clicking the preview window and scrolling the mouse wheel. We can place our letter like this.
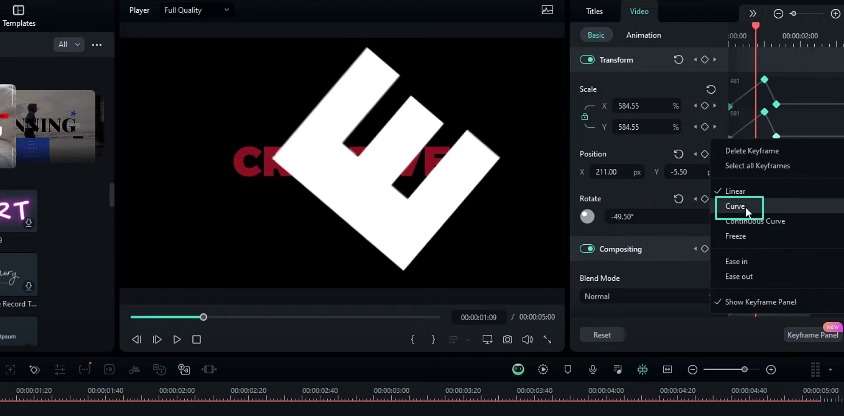
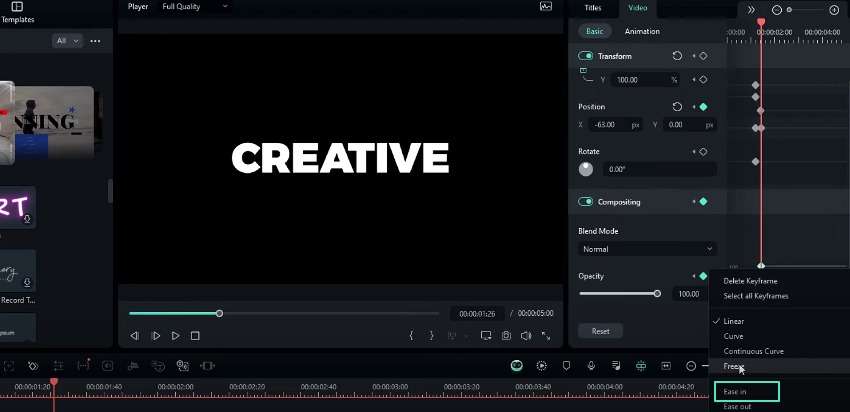
Now, we have this kind of Animation, but it doesn't have a smooth look. So, let's adjust the key graph. Open the keyframe panel, select only these scale keyframes, and add this "Curve" graph preset to this. Now it looks like this.
We need to animate our other text part, so I unhide my second layer. I select it here on the timeline. After that, choose this layer and add the keyframe as we added before. Then, go to the position, bring this text layer here, and change the opacity to zero. Go a few seconds forward, and I reset the position and change the opacity back to 100. We need to place these letters on top of our original text, so I adjust it like this.
Now, our animation looks like this. Let's adjust the key graph. Go to the keyframe panel, select this last position keyframe, and I will add this Curve graph preset. Select this previous opacity keyframe, and I add the "Ease in" preset. After that, you can delete or hide our main text layer, and we will have our complete text animation.
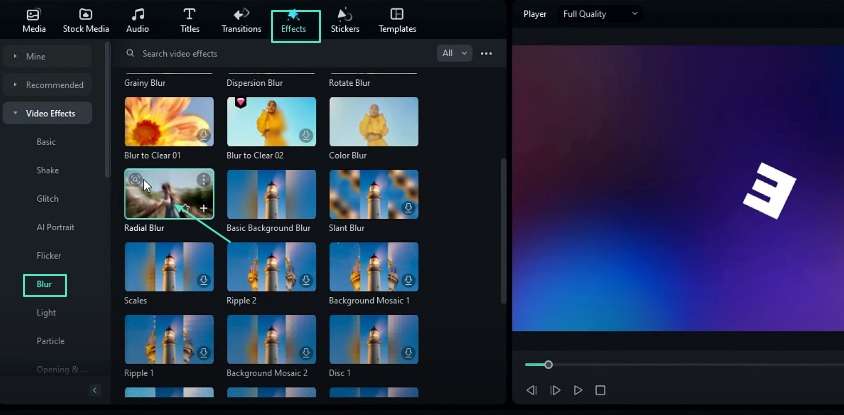
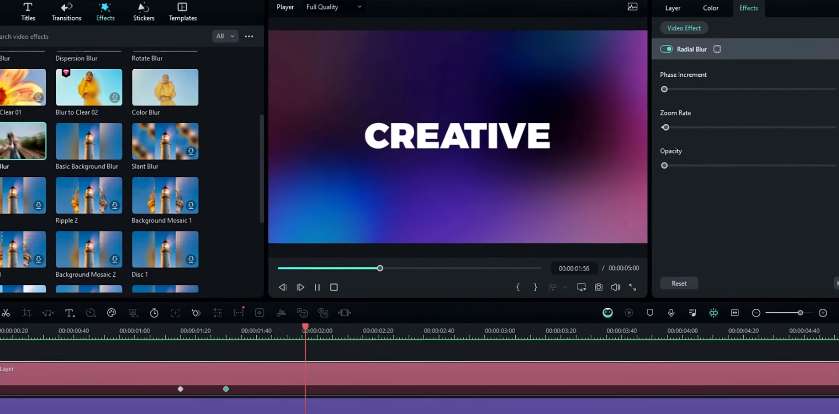
So, let's see how to add this Trail effect to this animation. First, we need to add the background. I go to the stock media. I use this video for my background. We need to add an adjustment layer to add our effect. I add it like this. Go to the effect tab, select this "Radial Blur" effect in the video effects, and add it to our adjustment layer.
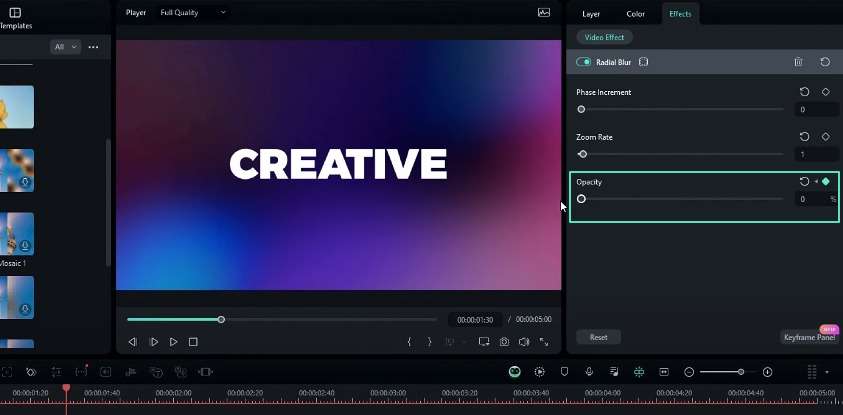
Go to the effects settings. I changed the phase increment value to 0 and the Zoom rate to 1. Then, I select here on the timeline and create a keyframe on this opacity. Go to the end of the animation and change it to zero. Our scaling text animation is complete. Here's the result.
That's how we can make awesome scaling text animation inside of Filmora 13. You can see it's very simple to create, and we created this animation without any paid effects. I hope this tutorial helps you. Also, if you need to learn more about Filmora tutorials, you can check my Filmora tutorial playlist. You can visit the Filmora Creator Hub to access more awesome tutorials.
You can follow the links below to access the Filmora Creator Hub. That's pretty much it, guys. Thanks for watching this tutorial. I hope you enjoy this. Also, please leave a like on this video, and be sure to subscribe to my channel and leave a comment about it. And what tutorial would you like next? Let's meet up for the next video. Take care and peace!
Tips to Enhance Your Videos with Scaling Text Reveal Animation
What you need to prepare:
- A computer (Windows or macOS)
- Your video materials.
- Filmora video editor
Set Up the Project
Open Filmora on your device. Create a new project with the desired resolution and frame rate. You can set the resolution to 1920 by 1080 pixels and the frame rate to 60 FPS. However, you can choose any resolution that suits your project needs.
Add and Customize the Text
Go to the text tool and add the default title to the timeline. You can also customize the text by typing your desired content. So, type something like "creative" and select a font style of your choice. In this case, we will use the "Montserrat black" font style.
Duplicate the Text Layer
Duplicate the text layer twice by copying and pasting it. It will create three identical text layers in the timeline.
Modify the Duplicated Text Layers
Change the colors of the duplicated text layers to differentiate them. Select the first duplicated layer and remove all the letters except the last one. For the second duplicated layer, remove the previous letter.
Customize the Original Text Layer
Change the color of the original text layer to your desired color. In this tutorial, we will change the color to red.
Animate the Last Letter
Hide the middle layer temporarily and select the layer containing the last letter. At the start, you can add a keyframe and adjust the rotation to -180 degrees and the scale to zero. Move forward to the first second and reset the scale. You should also modify the rotation to -90 degrees and increase the scale.
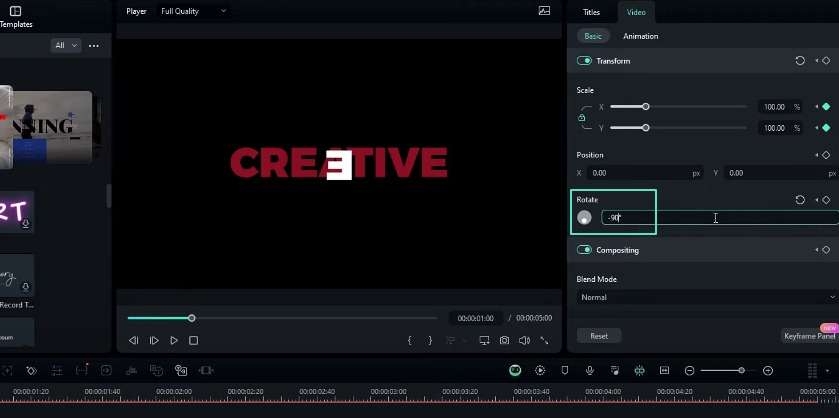
A few seconds later, change the rotation to zero, set the scale to 100%, and reset the position. Place the last letter on top of the original text layer by adjusting its position.
Adjust the Keyframe Graph
Open the keyframe panel and select only the scale keyframes. Apply the "Curve" graph preset to these keyframes to create a smooth animation.
Animate the Other Text Part
Unhide the second duplicated layer and select it in the timeline. Add a keyframe at the start, move the text layer off-screen, and set the opacity to zero. A few seconds later, reset the position and change the opacity back to 100%. Adjust the position of this layer to place it on top of the original text.
Adjust the Keyframe Graph for the Second Layer
In the keyframe panel, select the last position keyframe and apply the "Curve" graph preset. For the previous opacity keyframe, use the "Ease in" preset. You can now delete or hide the original text layer to complete the text animation.
Add the Background and Trail Effect
Import a background video from the stock media library and add it to the project. Create an adjustment layer and apply the "Radial Blur" effect from the video effects. You should adjust the settings by changing the phase increment value to 0 and the zoom rate to around 1.
Create a keyframe on the opacity of the adjustment layer at the start. You can set the opacity to zero at the end of the animation.
Review and Finalize
Review the completed scaling text animation with the trail effect. You can now export or share the video as desired.
After Effect Fire Text>>
After Effect Floating Text>>
After Effect Text Transition >>
The scaling text reveals animation is a skill that every video editor must learn. This effect can take your video projects to new heights. With Filmora's powerful features, the possibilities for crafting unique videos are endless. Visit Filmora Creator Hub to gain valuable insights into customizing and fine-tuning animations. Your video content can attain new levels of engagement once you refine editing techniques.


