Sky Replacement in Filmora
The sky replacement option can benefit you in many ways. With the availability of this option, you don't have to worry about the weather conditions while recording a video. Moreover, this option can easily transform a day into a night. To try this cool feature, try the most reliable tool, Filmora.
Tool
Assets


Transcript
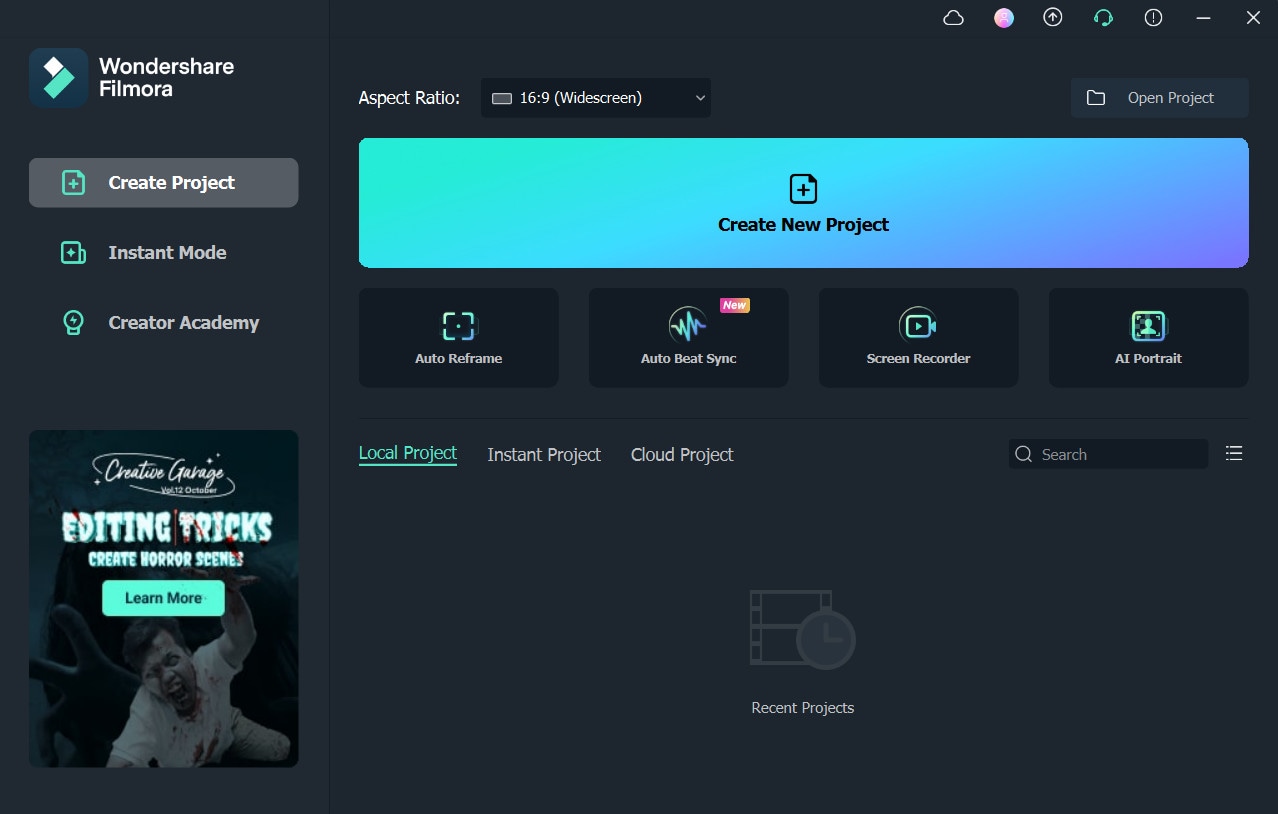
Before we start editing, click the download link in the description box and click on the free download option.
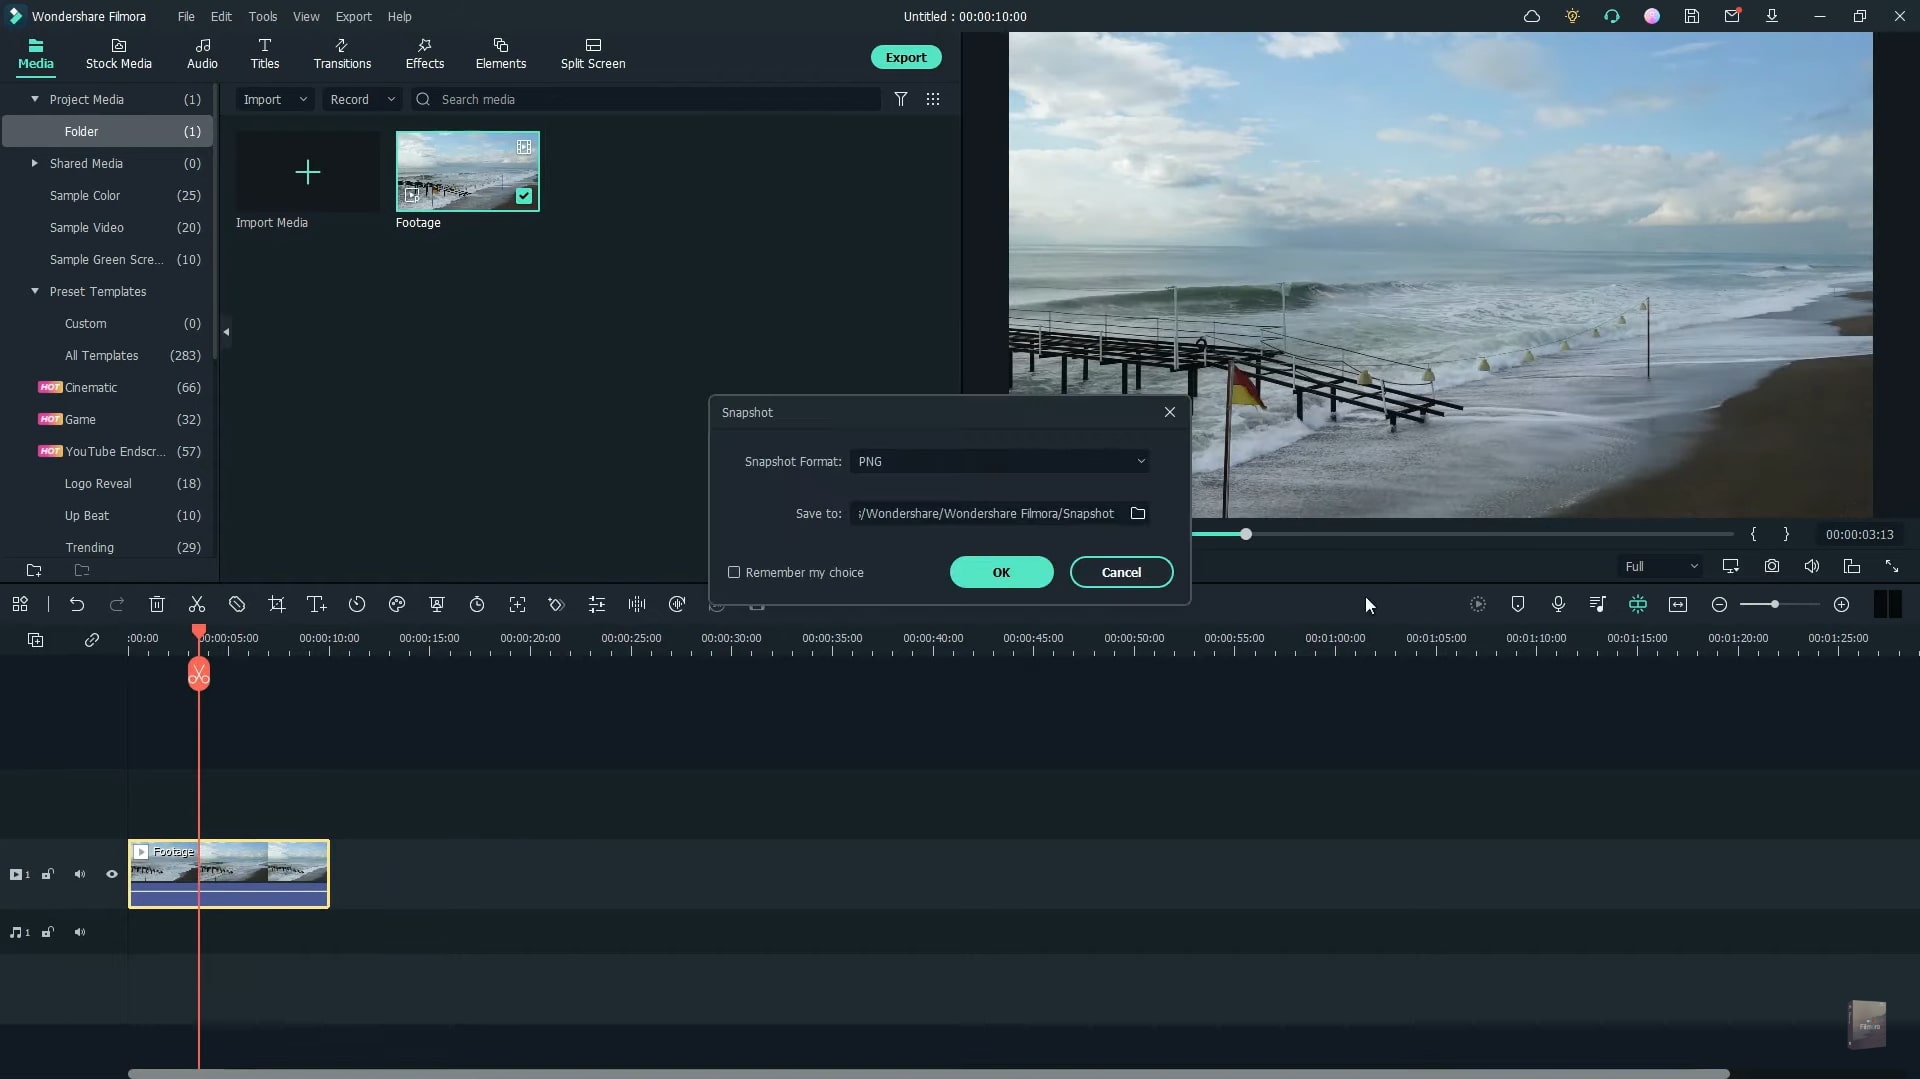
First of all, find some footage of the skyline. Import it to Media and drag the footage to the timeline. Make sure that the footage is stable. Now take a snapshot of any frame and click ok.
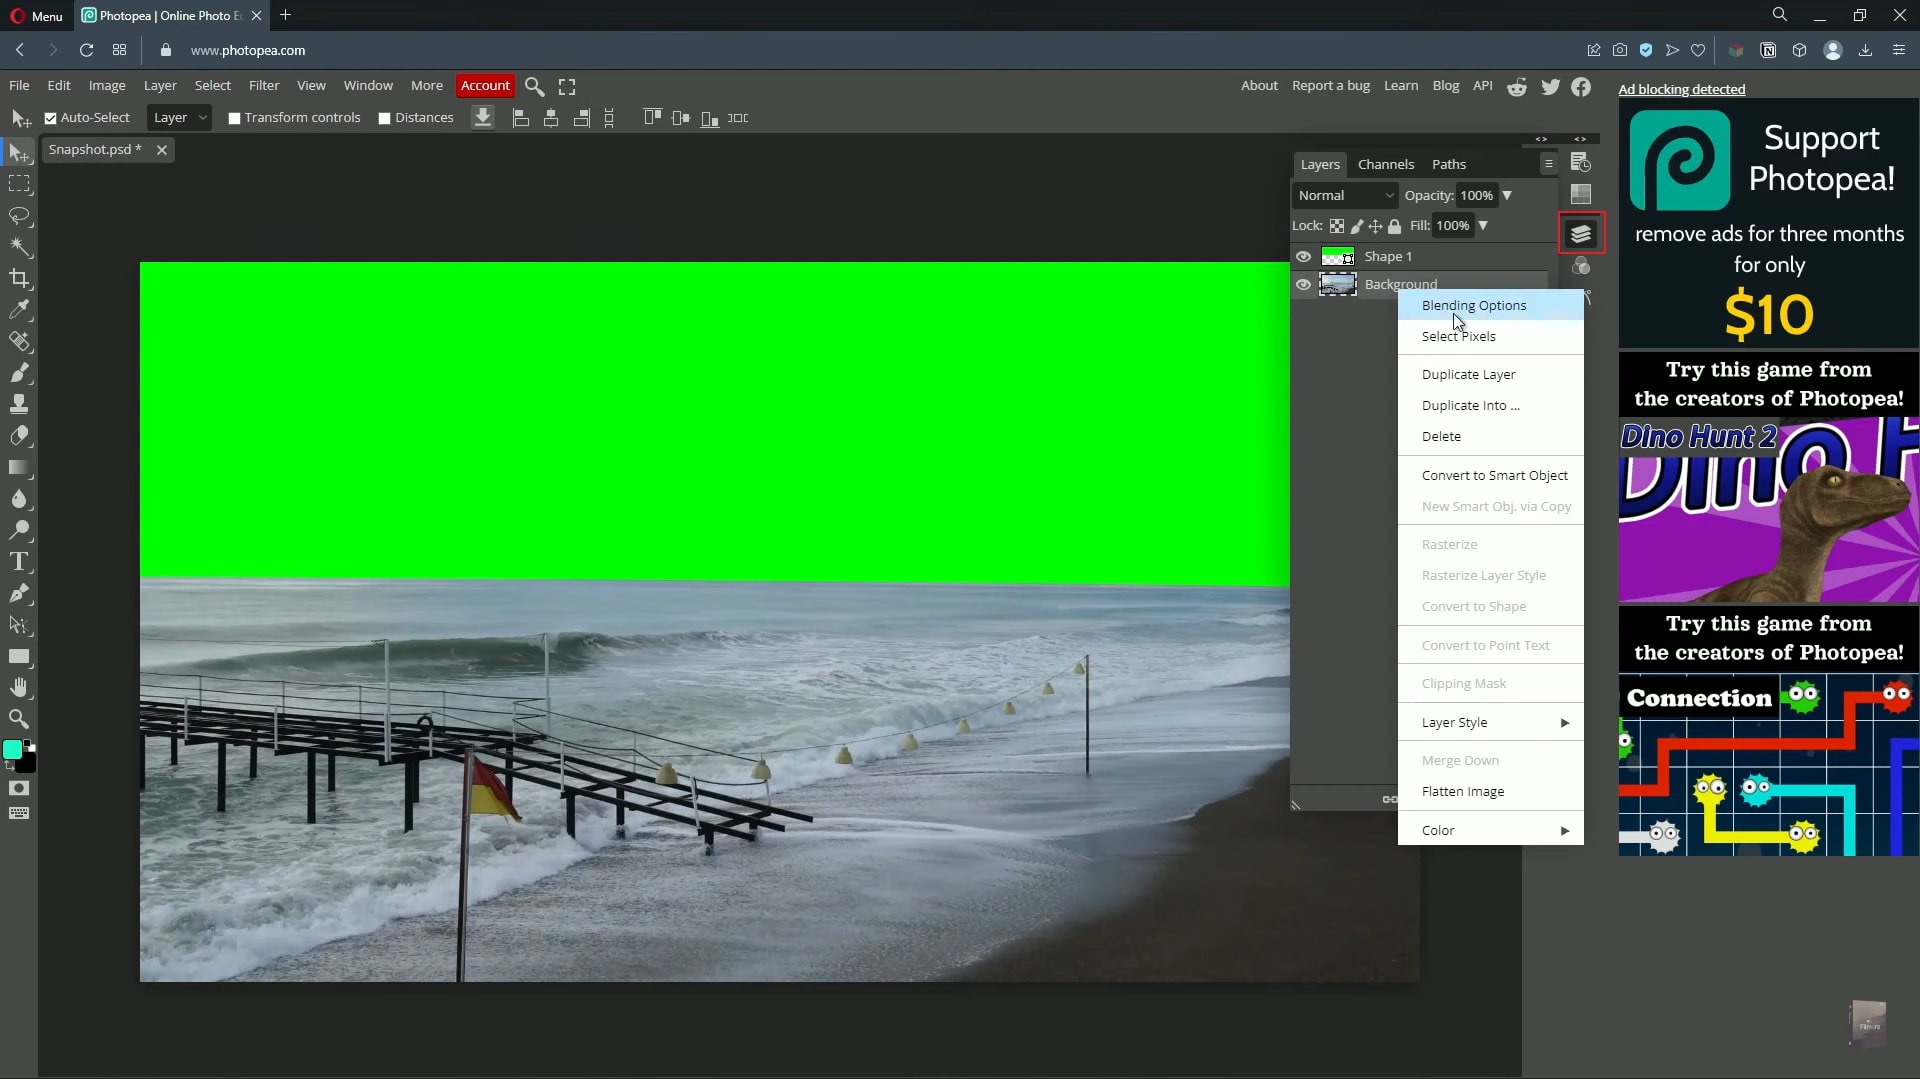
Next, we need to go to photop.com. Import the snapshot. Select the pen tool and change the fill color to green. Outline the sky with the pen tool like this.
Open the layers tag. Delete the background layer. Now export it as a PNG file. Go back to Filmora and import the PNG file. Place it above the footage layer and match the light. Export the footage and clear the timeline.
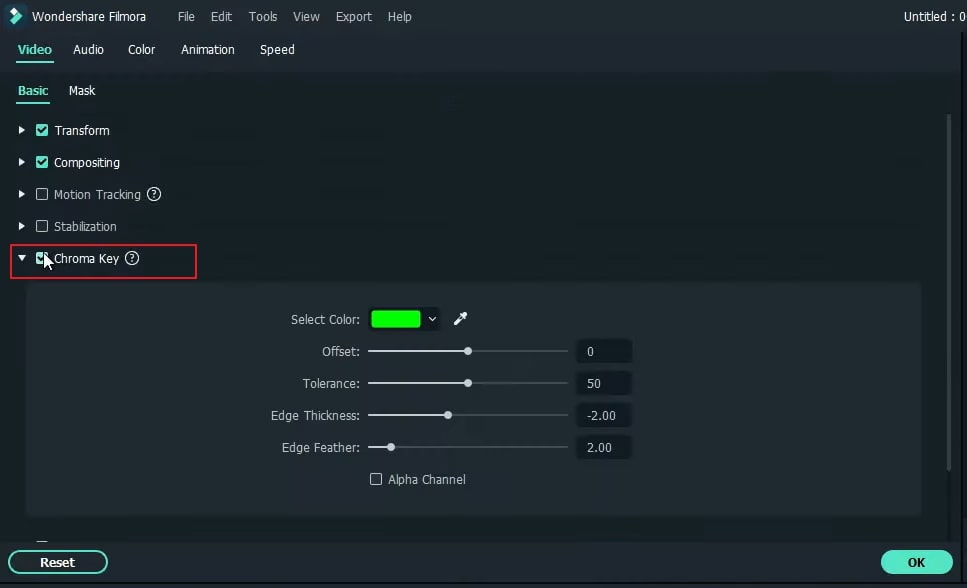
Now import the footage with a green screen. Drag it to the timeline. Right-click and go to edit properties. Enable the chroma key. Place the footage on the second layer.
Now, go to stock media. I've already downloaded the sky video. Place any Sky image or video below the footage layer.
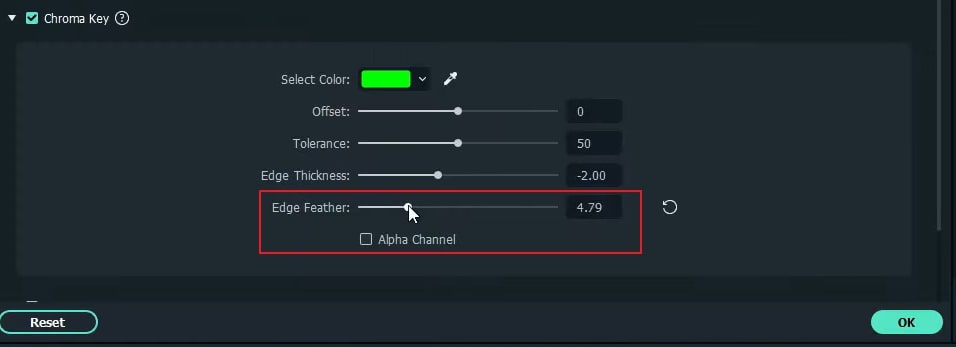
Now, we need to add some feathers on the edges. Right-click, go to edit properties, apply some feathers, and click OK. Again, go to properties.
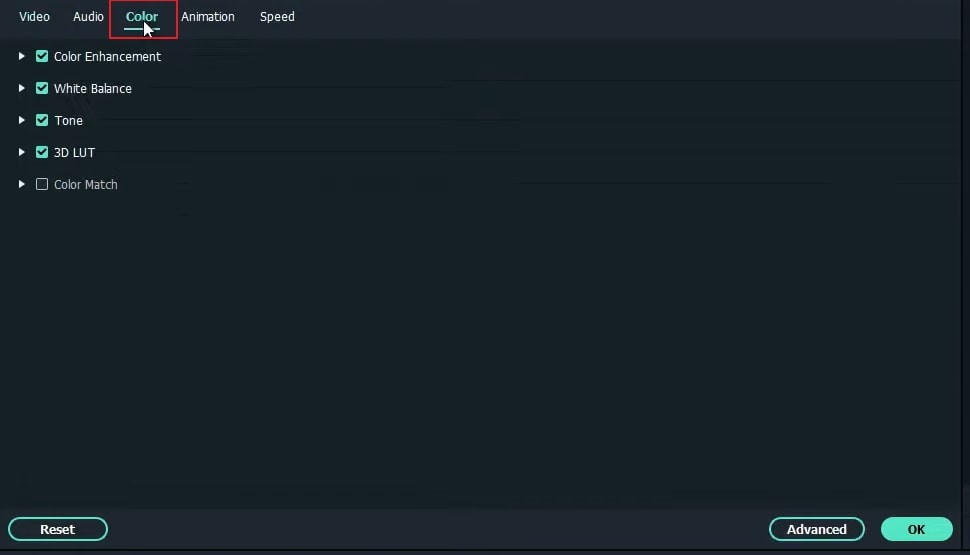
Now, we need to match the footage color with the sky color. Go to the Colors tab, and do some adjustments. Match the length of the layers and delete the rest part. Now render this. Let's see the preview.
Sky Replacement in Filmora | How to Change Sky
What you need to prepare:
- A computer (Windows or macOS)
- Your video materials.
- Filmora video editor
To initiate, download and install the Filmora on your computer. Then, it will launch automatically.
To begin, find a video showing the sky clearly. Import it to the Project Media and then drop it into the timeline. Also, make sure that the imported video is stable. To proceed, take a snapshot of any particular frame.
Head to Photopea.com and upload the recently taken snapshot on this tool. Use the Pen tool and change its color to green. Now outline the sky in the photo using this Pen tool. Once done, head to the Layers section from the right side and remove the background. Afterward, export this photo in PNG file format.
Head back to Filmora and import the PNG file in its Project Media. Drag and drop it above the video clip on the timeline. Match the time duration and export the whole footage. To move forward, import this recently exported video clip to Filmora. Drop it into the timeline and right-click on it. From the pop-up menu, select Properties and then activate the option Chroma Key.
Now, move the video clip from the timeline to the second layer. Head to Stock Media and download any sky image or video. Then, drag and drop your favorite sky image or video below the video clip into the timeline. Once done, right-click on it and select Edit Properties. From the available options, increase Edge Feather. Press OK and then again open the Edit Properties.
From Edit Properties, go to the Colors section and make adjustments to match the color of the sky. Match both layers and erase the rest parts. After rendering the video, you will be able to smoothly check the final results.
What you've learned:
- You can change any background in video with green screen.
- Use transitions in video to make it more smoothly.
- Filmora comes with many types of background, including social, busiess, sports and more.
