- Home
- DIY Special Effects
- Repeated Text Animation Tutorial in Filmora
Transcript
First, let's edit the titles. Double-click on the default title on the timeline and change the font to any bold font.
Next, double-click to bring out the advanced panel, turn off Text Fill, turn on the Outline option, change the outline color to white color, and change thickness to one.
Next, click on the crop tool, shift the crop section downward, and press OK.
Now import the background image. Drag it to the timeline, click on it to change the scale, and make it cover the whole screen.
Now drop the upward outline snapshot at the 15th frame. Double-click on it and go to the animation.
Add a keyframe at a minute and five-second position. Then, go five frames forward and change the zoom level preview screen to 25%.
Drop the downward snapshot clip on Track 4 and repeat the same process. Until now, we have finished the first outline animation.
The next step is to create one more layer on the outline. Drop the topside snapshot clip on Track Three at the 17th frame.
Add a keyframe at one minute and five seconds. Then, go to five frames forward, double-click on your clip, and stretch it in the preview.
Unhide the background clip, unlock the central pin, split it at the the15th frame, and add a keyframe at the beginning.
Go to the effect, select Glitch, apply Glitch Dispersion and Glitch Stripe 2 on the split clip and do the same with the end part.
Repeated Text Animation Tutorial
What you need to prepare:
- A computer (Windows or macOS)
- Your video materials.
- Filmora video editor
Download Filmora. Let it install and wait for it to run. Then, click on “New Project”. Now, you’re ready to edit!
First, go to Titles and drag the Default Title to the Timeline.

Now, double-click on the Default Title clip. Here, change its font to any bold font. Increase the text size to 120. Type in your text in the box. Scroll a bit down and change the Text Spacing to 8. Click OK.

Take a Snapshot of this Default Title.

Double-click on the Default Title clip once again. This time, click on its Advanced settings. Here, turn OFF Text Fill → turn ON Outline → change the Outline color to White → reduce Thickness to 1. Click OK. Now, take another Snapshot.

Delete the Default Title clip from the Timeline. Now, drag the Outline snapshot that we just created to the Timeline. Open the Crop tool → change the Ratio to Custom → replace “1080” with “540”. Lastly, move the highlighted crop section to the top. Click OK.

Double-click on the Snapshot to open its settings panel. Go to the Animation tab. Here, change the value of the Y-axis to “275”. Click OK. Now, take a Snapshot.

Next, click on the Crop tool again and simply move the highlighted crop section to the bottom part of the screen. Click OK. Then, double-click on the snapshot clip in the Timeline and change the value of the Y-axis from “275” to “-275”. Click OK. Take a Snapshot again.
Import a background image to My Media. Drag the background image to the Timeline. Double-click on it and drag the Scale bar until the background image covers the whole screen. Click OK. You should cut the background clip to make it 3 seconds long as well.

Lock this track in the Timeline by pressing the highlighted button on the left. Then, go to “Track Manager” and add 6 new Tracks to the Timeline. Click OK.

Drag the first Snapshot we made before to Track 6. Cut it so it's 3 seconds long. Then, Lock the Track.

Set the Playhead at the 15th frame on the Timeline. Then, drag the Upward Outline snapshot to this point. Double-click on it and change the Y-axis value to “-4%”. Then, reduce the Opacity to 0%. Now, move the Playhead 5 frames further. Next, increase the Opacity to 100% and increase the Y-axis value to around “105”. Don’t click OK yet.
Move the Playhead to 1 minute and 5 seconds on the Timeline. Add a keyframe by clicking on the “+Add” button. Then, move the Playhead 5 frames forward. Here, change the Zoom Level to 25%.

Double-click on the clip in Track 5. Drag the text like in the image below. Then, delete the part of the clip on the right side after 1 minute and 15 seconds.

Hide the clips on Track 6 and Track 1 by clicking the “eye” icons next to them. Then, take a Snapshot. Now, drag this Snapshot right next to the clip on Track 5.
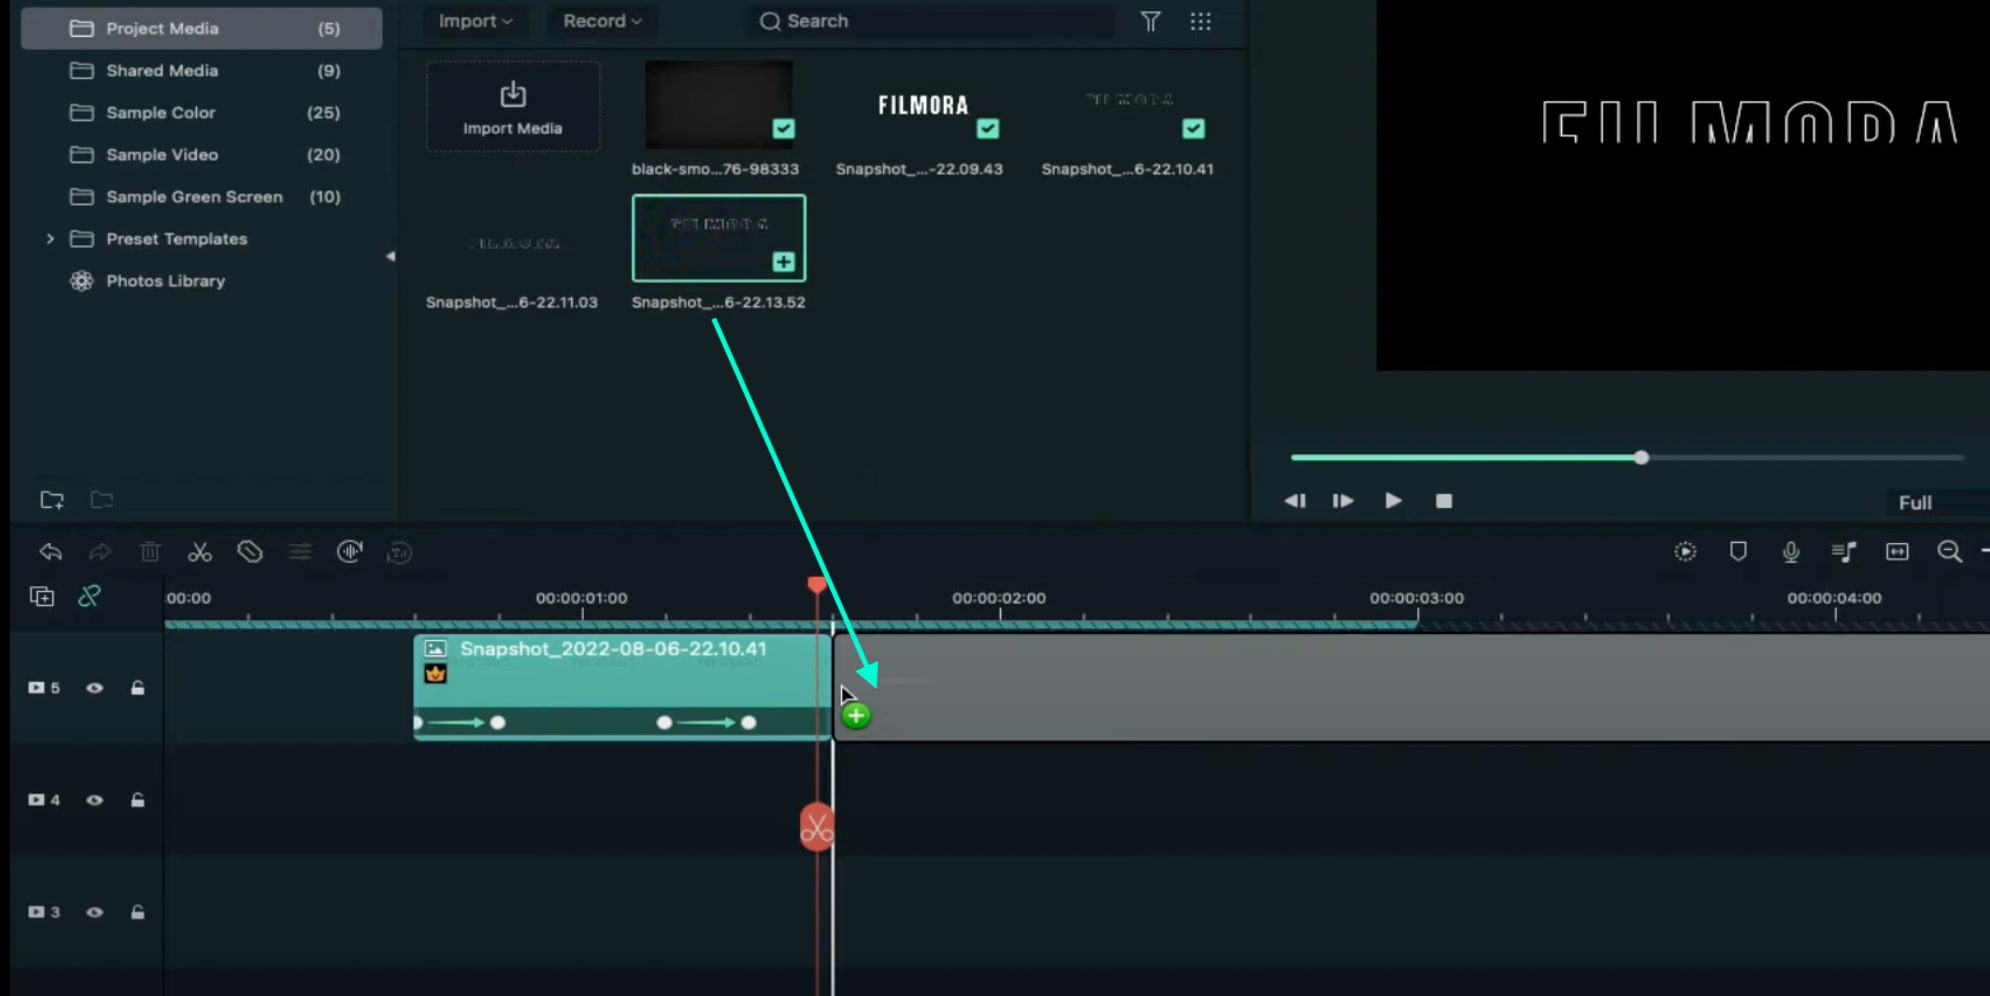
Move the Playhead 3 frames forward from the starting point of the clip you just added. Unhide Track 6. Double-click on the clip on the right side of Track 5 and click on “+Add”. Move the Playhead 5 seconds forward and adjust the Upward Outline to fit the text.

Move the Playhead 5 frames forward again. Drag the Y-axis value to the left until the outline clip overlaps the main text. Then, reduce the Opacity to 0%. Move the Playhead to 2 minutes and 10 seconds. Cut the Track and delete the clip on the right side. Lastly, Lock Track 5.
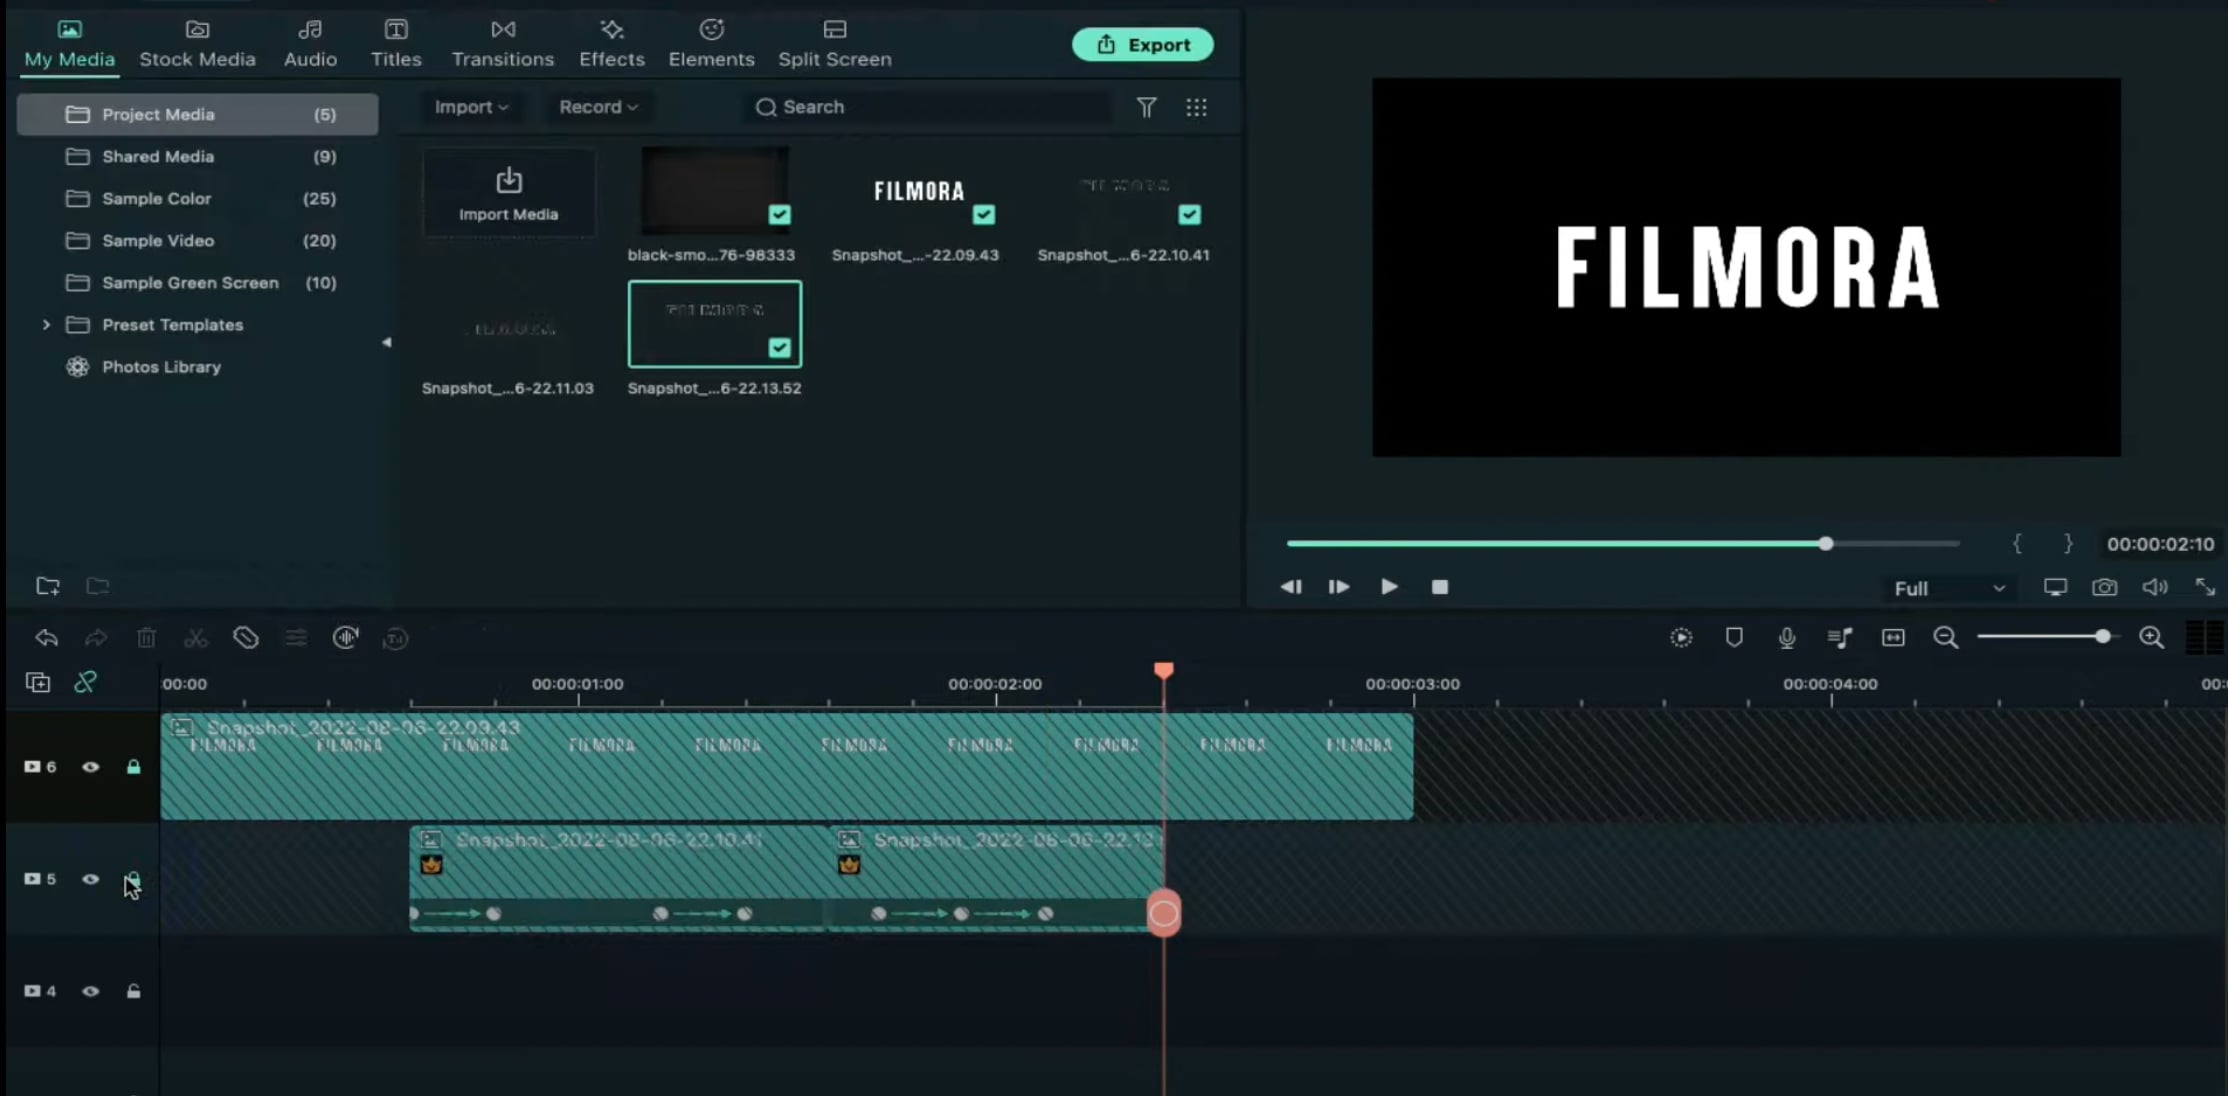
Drag the Downward Outline snapshot to Track 4. Then, repeat the same process as in Step 16 and Step 17.
Drag the Upward Outline snapshot to Track 3 at the 17th frame. Double-click on it and change the Opacity to 0%.
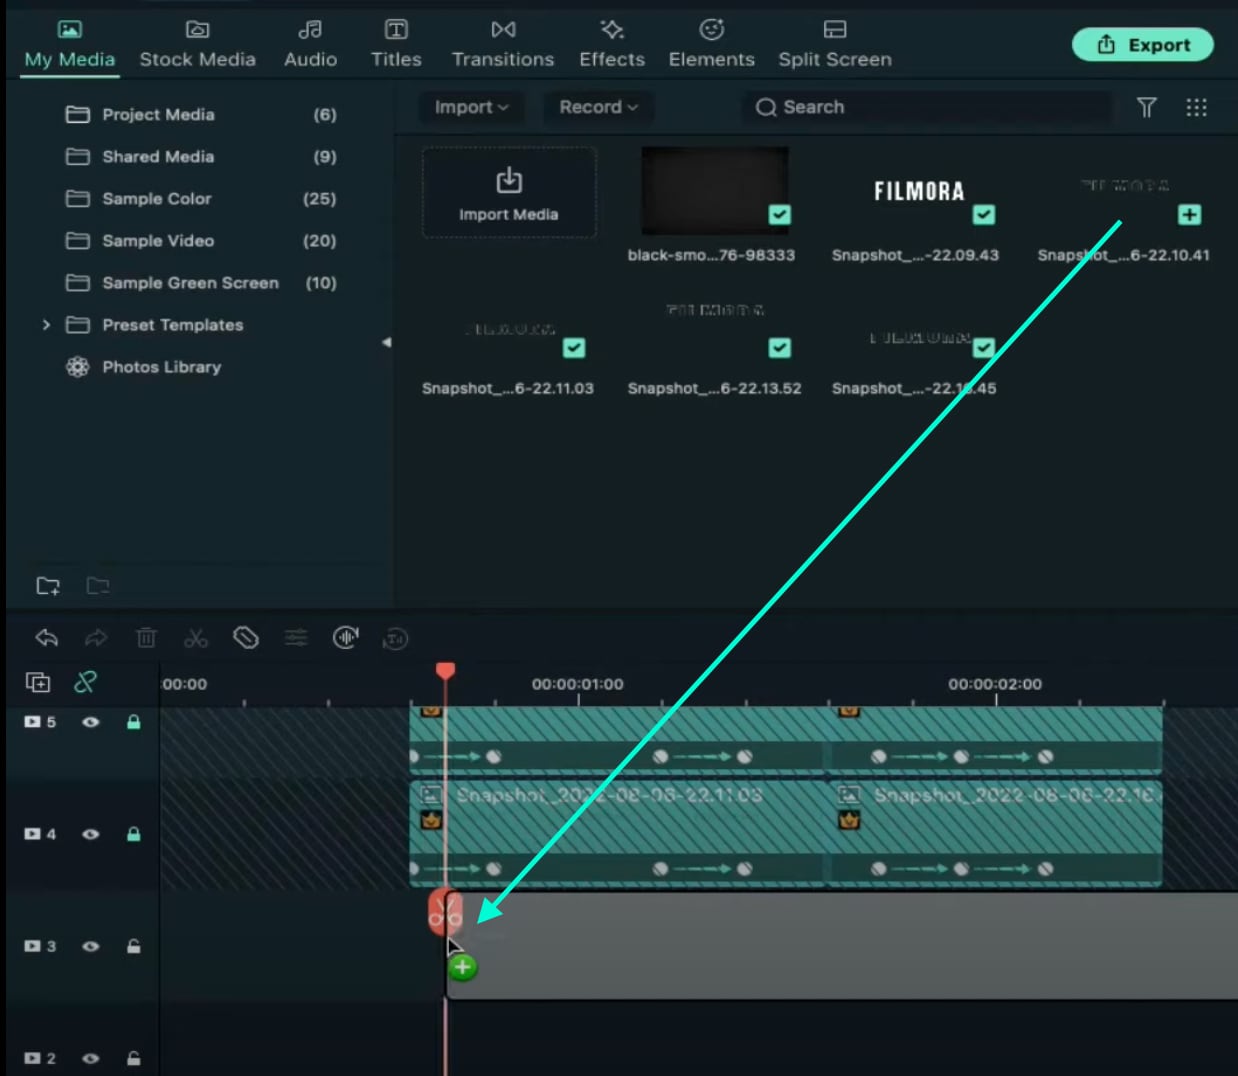
Now, move 5 frames forward and increase the Opacity back to 100%. Then, drag the Y-axis value to the right until the screen looks like this.

Move the Playhead to 1 minute and 5 seconds. Click on “+Add” to add a keyframe. Then, move the Playhead 5 frames forward. Double-click on the clip and stretch it from side to side to match something like this.

Move the Playhead to 1 minute and 16 seconds. Split the clip and delete the part on the right side. Hide Track 4, 5, and 6. Then, take a Snapshot. Drag this Snapshot next to the clip on Track 3. Place the Playhead on 1 minute and 18 seconds. Then, unhide Track 4, 5, and 6.
Double-click on the clip on the right side of Track 3. Add a keyframe by pressing “+Add”. Move the Playhead to 1 minute and 23 seconds. Now, resize the clip back to its original size by moving the rectangle left and right. Right now, it should look like this.

Move the Playhead 5 frames forward. Drag the Y-axis value to the left until the screen looks like this.

Move the Playhead 5 frames forward again. Drag the value of the Y-axis to the left until the screen looks like this. Then, change the Opacity to 0%. Finally, split the clip at 2 minutes and 10 seconds. Delete the part on the right side. Lock Track 3.
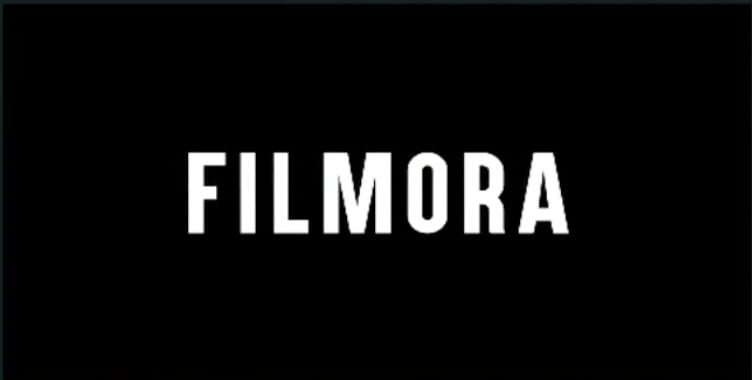
Next, drag the Downward Snapshot on Track 2 and follow the same process as in Steps 19 through 25.
Unhide the Background clip at the bottom of the Timeline. Then, Unlock Track 6. Split the clip on Track 6 at the 15th frame.

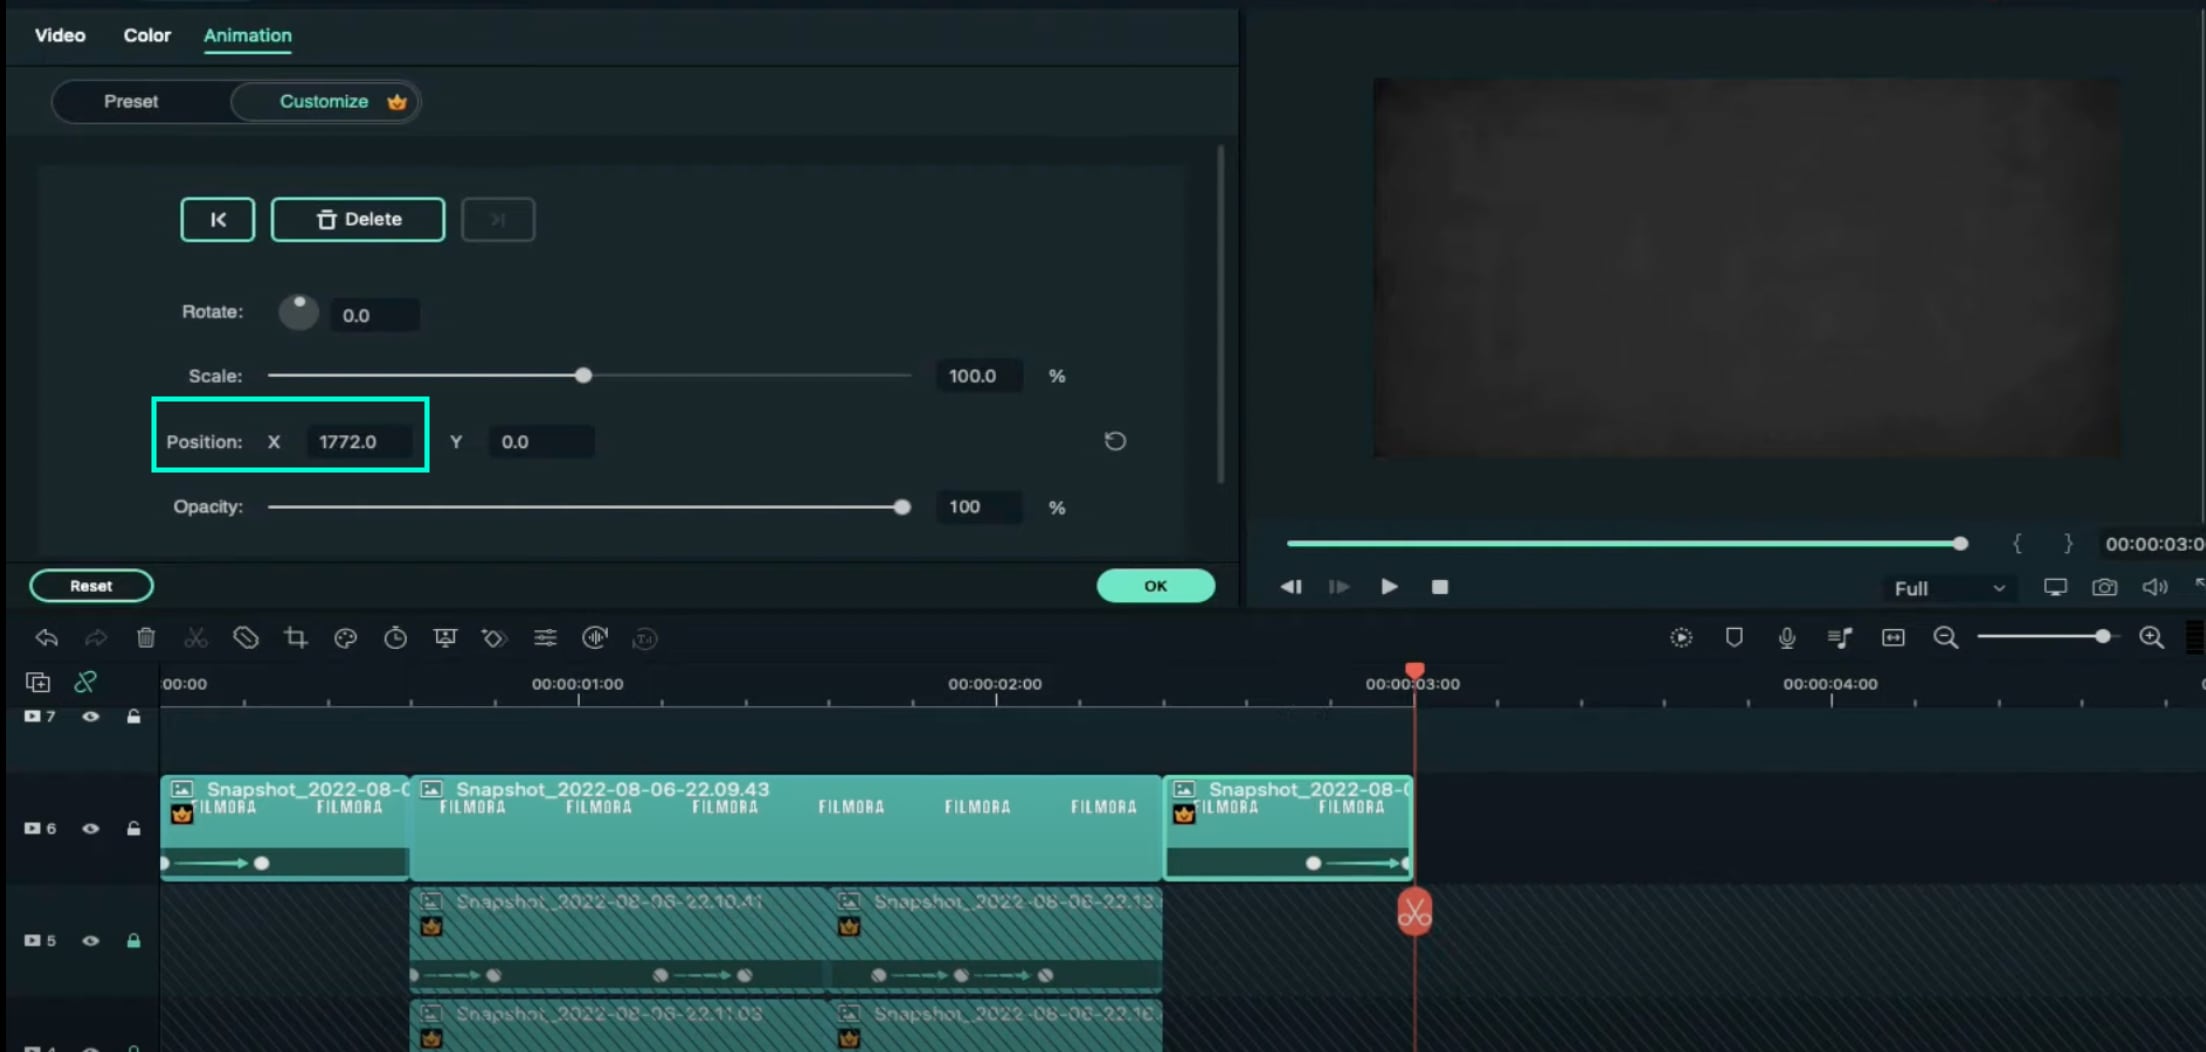
Move the Playhead at the beginning of the Timeline. Click on the first part of the clip on Track 6. Add a keyframe. Drag the X-axis value to the right until the word disappears out of the screen. Like this. 👇Then, move the Playhead to the 6th frame and Reset the X-axis value to 0.0.

Take the Playhead to 2 minutes and 10 seconds. Split it. Now, move the Playhead to 2 minutes and 19 seconds and add a keyframe. Lastly, take the Playhead to the very end of the clip and drag the text to the right side until it's out of the screen once again.
Go to the Effects tab. Select Glitch from the panel on the left. Then, apply “Glitch Dispersion” and “Glitch Stripe 2” to the clips at the start and at the end.

Finally, Render the video to watch the final preview. And, you’re done! Congratulations on creating a repeated text animation in Filmora.

What you've learned:
- How to create text animations in Filmora
- Applying animation effects
- Make advanced edits on Titles in Filmora
- Hide and lock Tracks and Clips in Filmora


