How can you Add Text to GIFs on iPhone/Mac?
Using an animated GIF is in fad. People are adding it to social media posts, text messages, and more. Just add a GIF to your text and your friends are going to start giggling.
The idea is to find the right GIF and send it from your iPhone or Mac. In case you don’t know how to, this article is going to help you out.
First, let’s take a look at the most frequently asked questions about GIFs.
- Section1. FAQ of Making GIF
- Section2. How to Adding Text to GIF on iPhone
- Section3. How to Adding Text to GIF on Mac using Filmora for iPhone/Mac (formerly FilmoraGo)
Section 1. FAQ of Making GIF
1. How to Send a GIF through iMessage on iPhone?
The easiest way to send GIFs on your iPhone is to use the built-in Messages app known as #images. Here are the steps you need to follow.
Step1. Launch the Messages app on your iPhone.

Step2. Open to send a new message or choose an existing message.
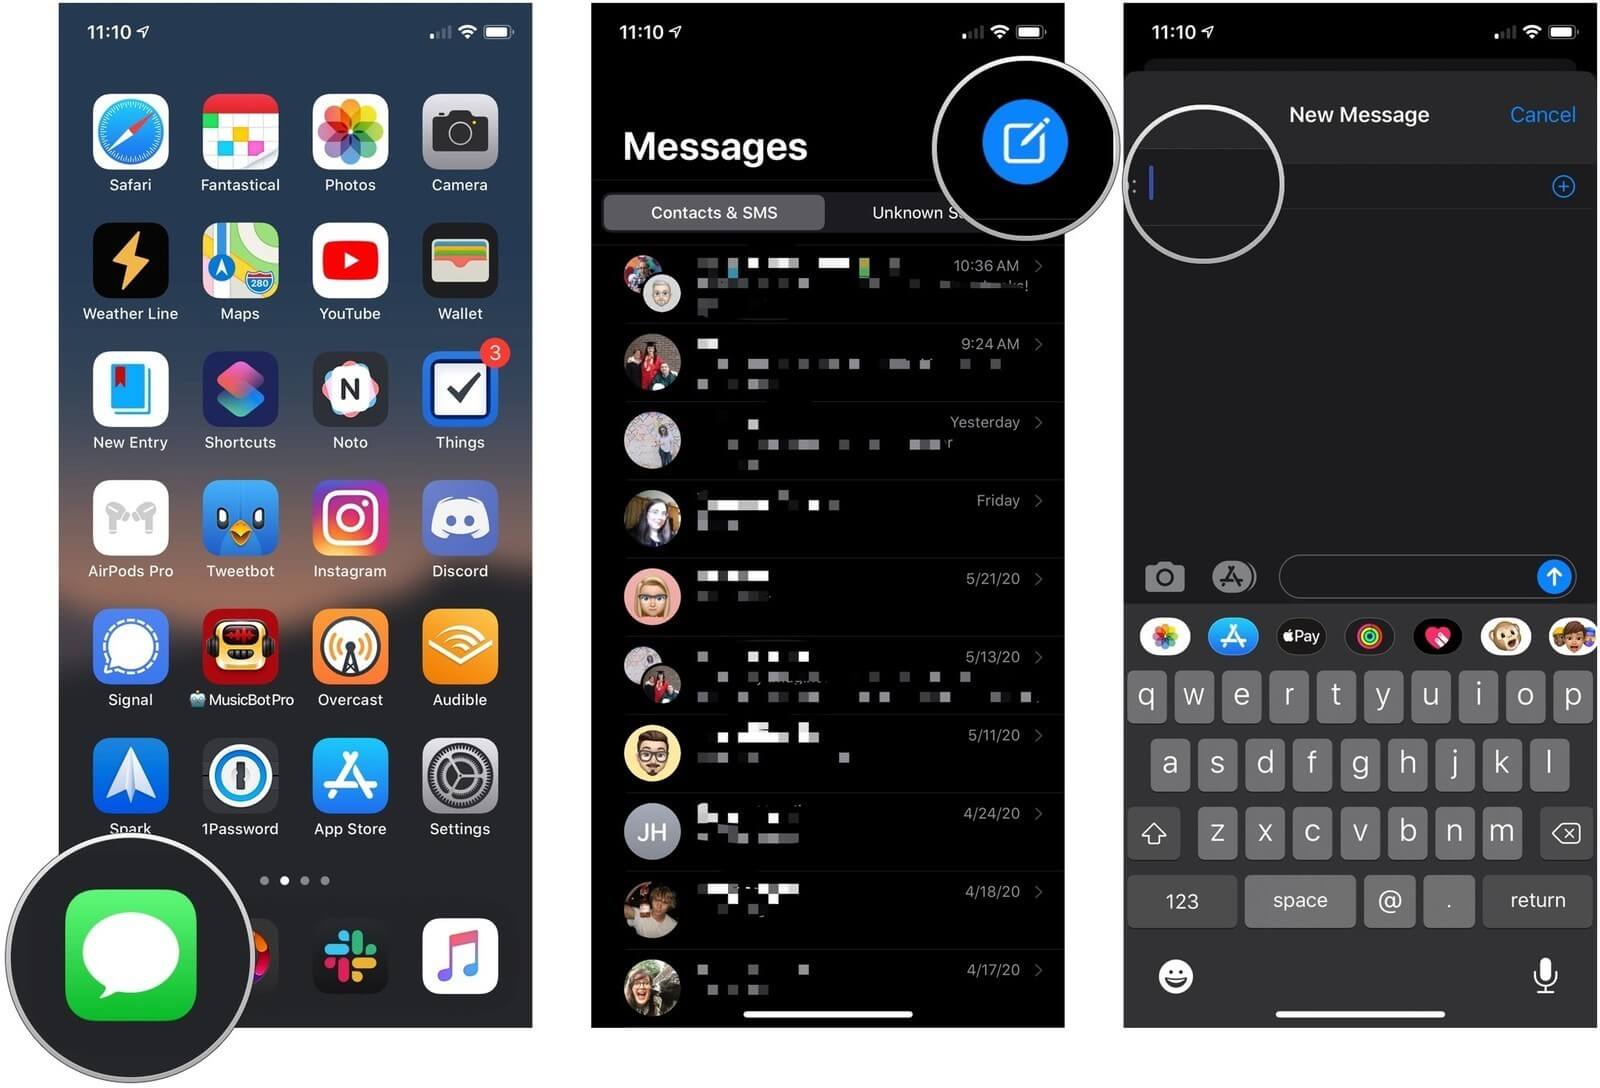
Step3. Next, go to the iMessage app toolbar and then tap on the red magnifying glass button. (The GIF that is displayed below the search are the ones that you have recently used or are popular)
Step4. Go to ‘Find Images’ for searching a GIF and enter a keyword.
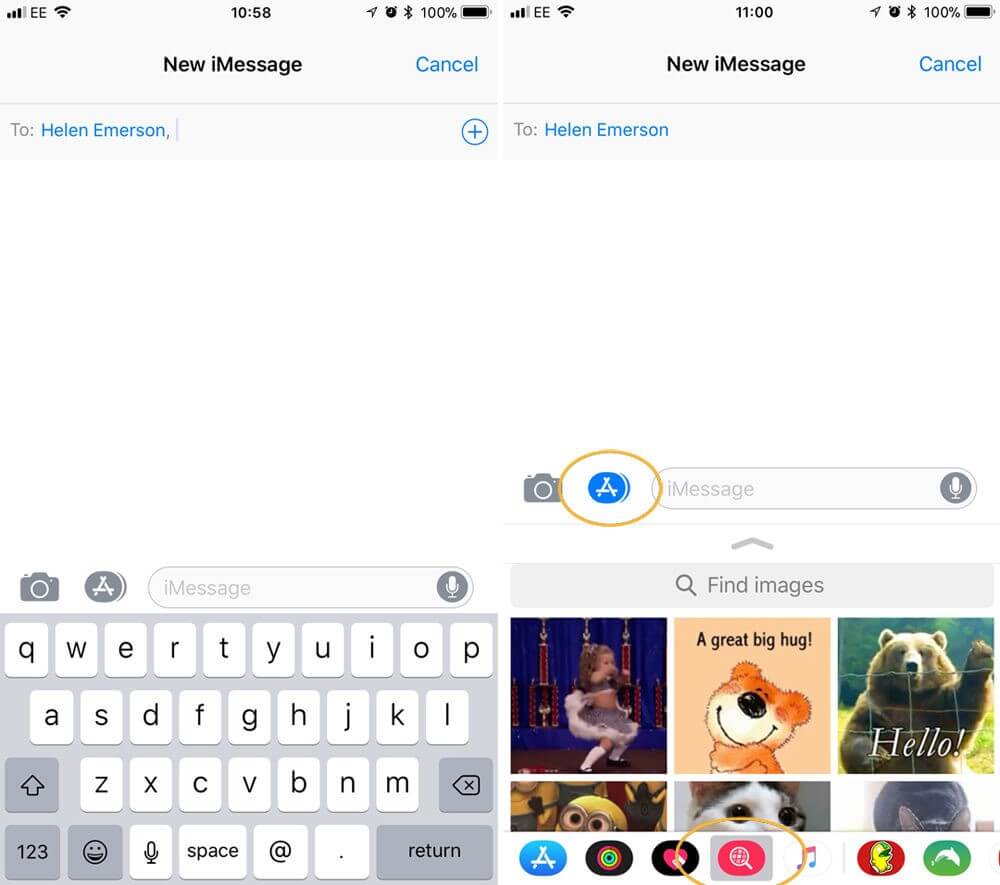
Step5. When you find the right GIF, tap on it to add it to your message.
Step6. Enter the text and send your message.
2. Why Can’t I Save GIFs on My iPhone?
You can save moving pictures on the PC as you do with the non-moving images. However, it is not easy to save GIFs on the iPhone. This is because it doesn’t support moving images. In case you just save it to Camera Roll as you always do, it is going to be static and not move.
To avoid this, you should save the GIF in Email or iMessage.
3.How to Send a GIF Saved on My iPhone?
You also have the option to save GIFs that are already saved on your iPhone.
Step1. First, go to the message where you would like to add a GIF to.
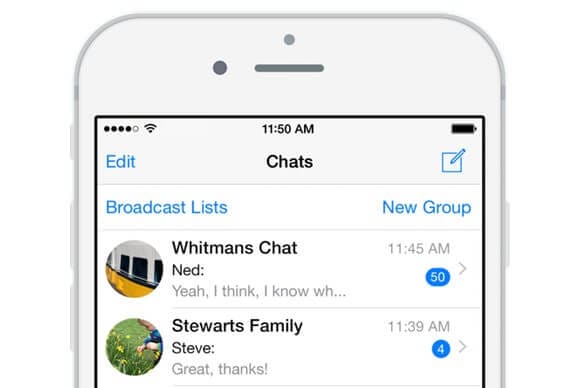
Step2. In the Message toolbar, you have to tap on the Photos app icon.
![]()
Step3. Tap on ‘All Photos’.
Step4. Now, tap on the GIF that you would like to add to the message.
Step5. Tap on ‘Choose’.
Step6. The GIF will be added to the text and you can send it.
4. How to Save a GIF on Mac?
It is easy to save a GIF on your Mac.
Step1. To save a GIF on Mac, you have to open the web browser. Remember, you can save it on any browser you want.
Step2. Now, go to the GIF that you would like to save. You have the option to search for GIFs in the search engine such as Bing or Google.
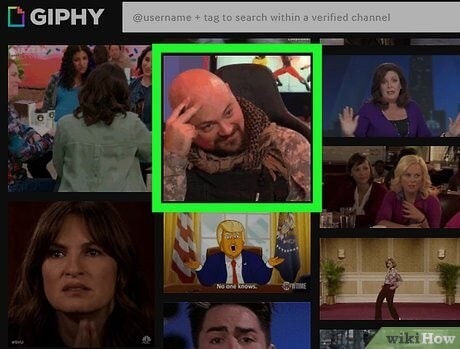
Step3. Right-click on the GIF you have chosen.
Step4. Click on the ‘Save Image’ option
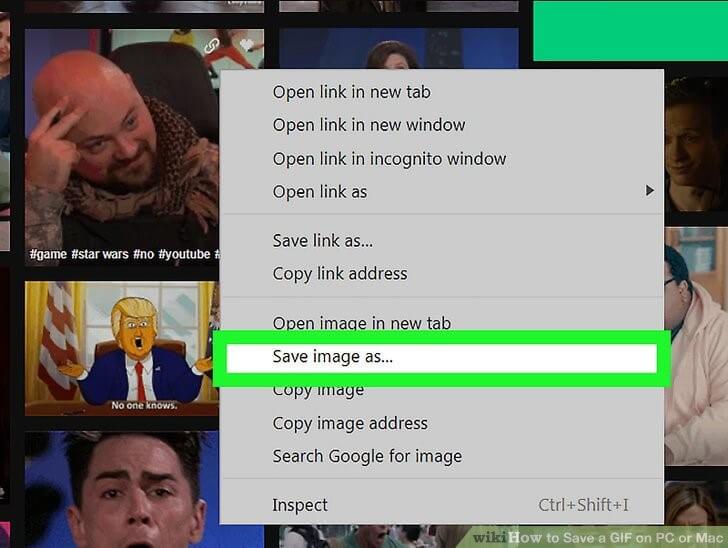
Step5. Open the folder where you would like to save the GIF.
Step6. Click on ‘Save’ and the image is going to be saved in your preferred location.
5. How to Combine GIFs on iPhone?
The good thing about GIF files is that you will be able to access them anywhere. You can even merge them. There are many apps that will help you with this. Here’s what you have to do.
Step1. Open veed.io on the Safari.
Step2. Click 'Get Started Now' (Blue button on the website)
Step3. Upload your Gifs on the Popup on the page
Step4. When you see the preview, tap on ‘+’ (At the end of the timeline) to add another GIF to the same creation.
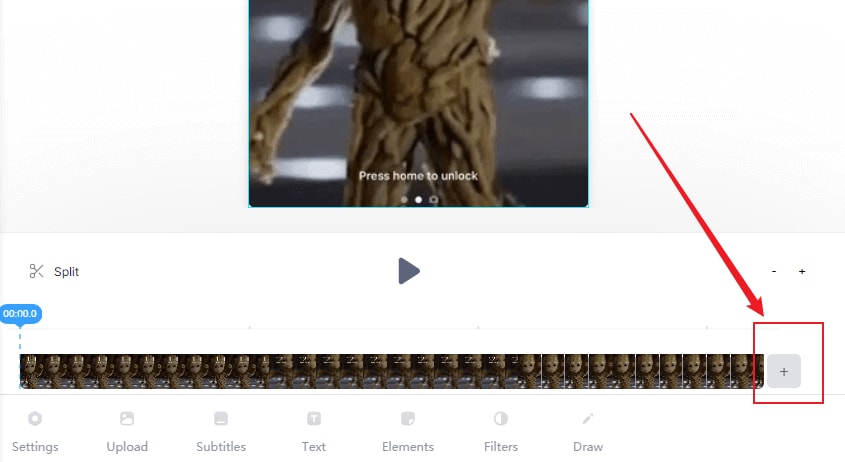
Step5. Click 'Export‘ to save the Gifs you made.
Section 2. How to Adding Text to GIF on iPhone
In case you are looking for the easiest ways to edit a GIF on an iPhone and add to your message is to use an app like GIPHY CAM. You can download it for free from the app store. With this, you can be creative with your GIF-making app.
To create and share the GIF and add it to your text, you have to follow the steps listed below:
Step1. Download and install GIPHY CAM.
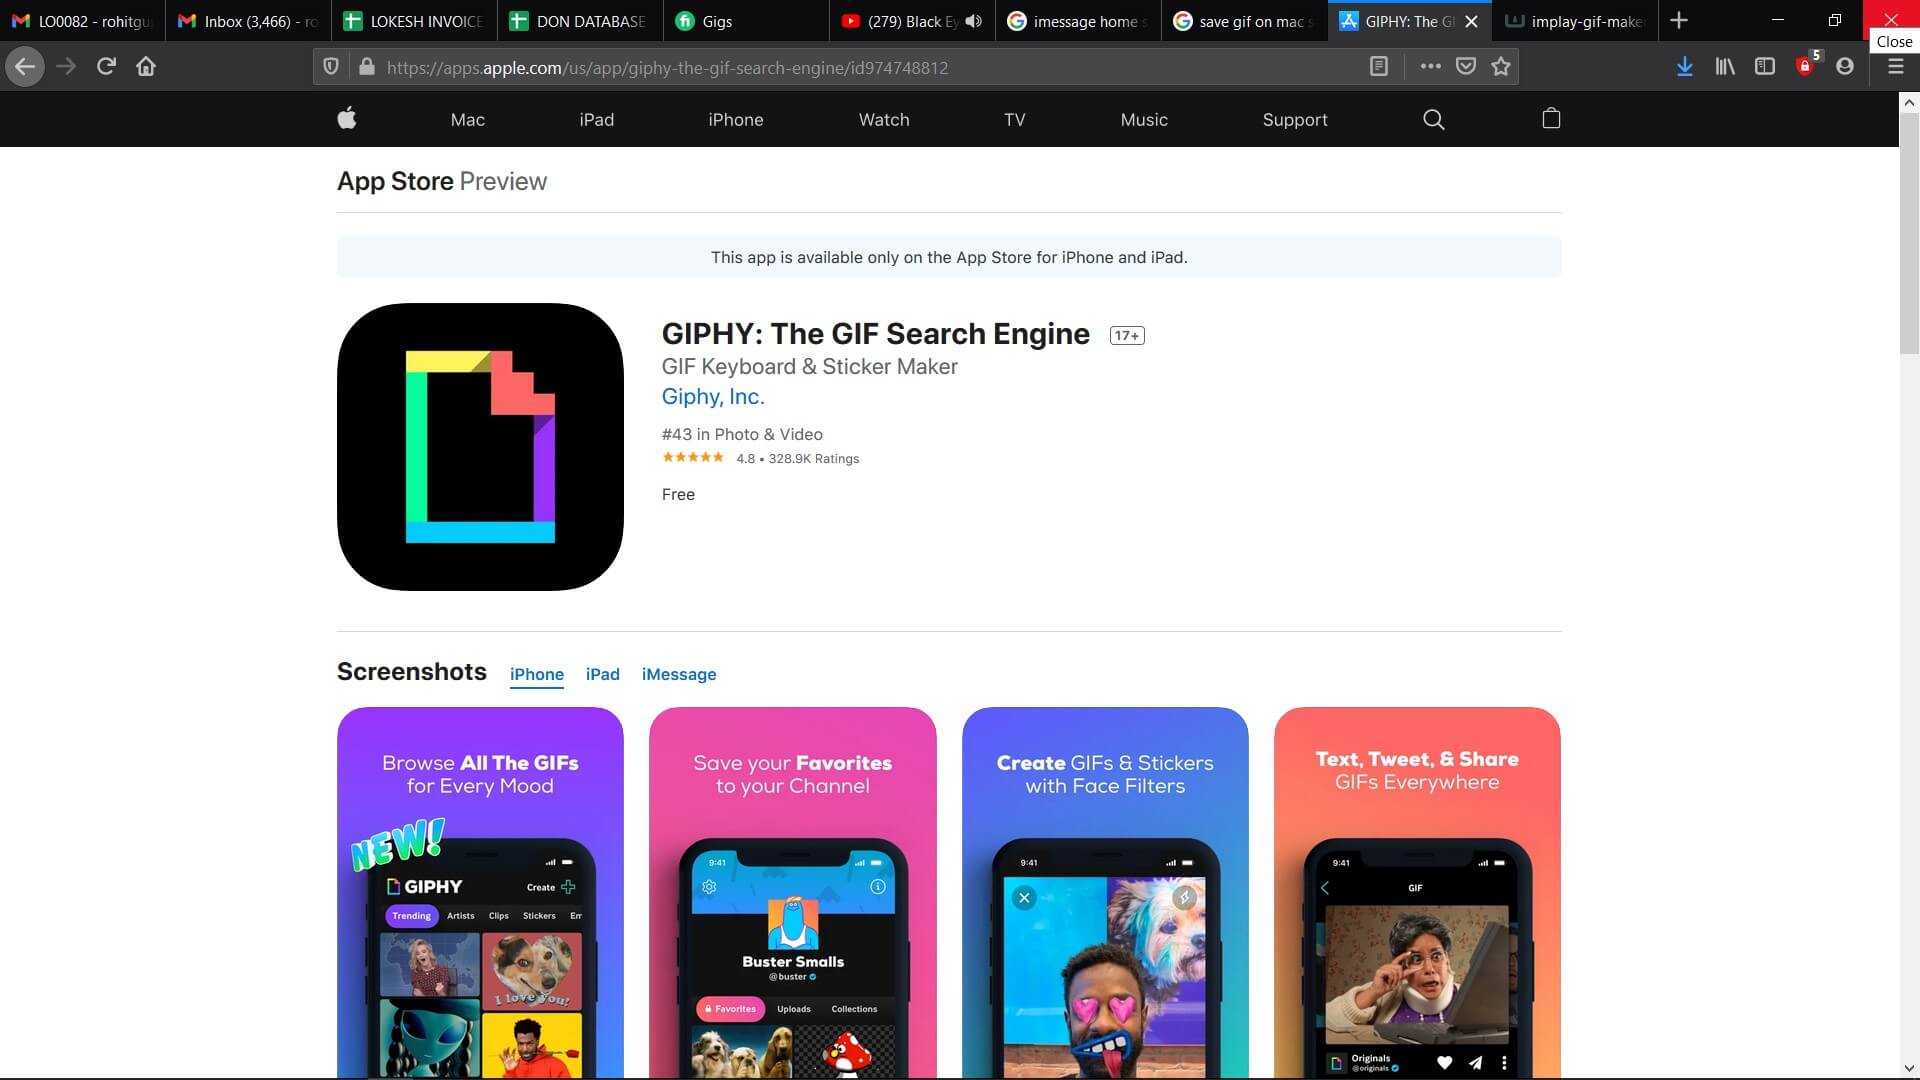
Step2. Launch it on your iPhone.
Step3. Now, upload the video from your gallery by tapping on the ‘Camera Roll’ icon towards the left of the red recording button. There is also the option to capture the video and then convert it into a GIF.
Step4. Once you have clicked and uploaded the perfect video, you will have to tap on the white arrow icon.
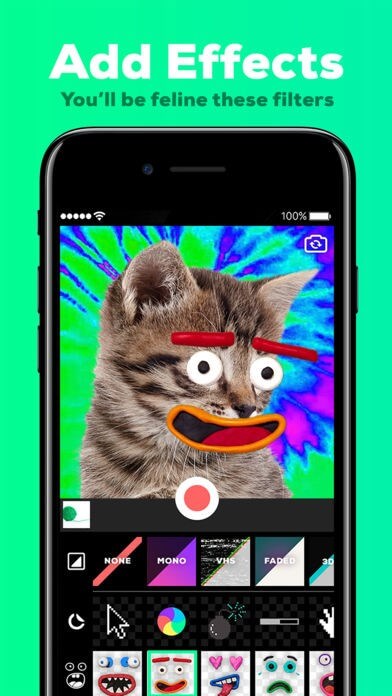
Step5. Add the effects and text you want.
Step6. Tap on ‘Next’ when you are satisfied with the GIF you have.
Step7. Next, tap on ‘Save GIF’ to save it.
Now, you can choose to reverse, edit, and loop the newly created GIF.
Section 3. Adding Text to GIF on Mac Using Filmorafor iPhone/Mac
Filmora for iPhone/Mac is an easy-to-use video editor that allows you to add filters and texts to your GIF files. In case you want, you can transfer the videos or photos to GIF with complete ease.
Filmora for iPhone/Mac comes with numerous editing features that enable you to edit GIF fast and with incredible results. The features manage to deliver good value and make the experience more immersive.

If you want to add text to a GIF using Filmora for iPhone/Mac on your iPhone, you will have to follow a few easy steps.
• Firstly, you will have to download and install the Filmora for iPhone/Mac app on your iPhone. It is available for free on the App Store.
• Now, you have to import the video or image into the media library.
• Once you are done with that, drag the video or image to the timelines.
• After placing it on the timeline, you can add different editing options. Add any effect or filter you want.
• Add your text to the image or video.
• Lastly, you can just export to GIF.
Adding text or making other changes to a GIF on the iPhone is easier than you know. All you have to do is choose the right app and you will have the desired GIF in just a few seconds.
However, if you are also looking for an easy-to-use and full-featured video editing software, then please try to download Filmora for iPhone/Mac, it will solve a lot of needs for editing videos on iPhone.


