A Comprehensive Guide to Add VFX Effects Using Keyframes

Glare and lighting effects give a cozy vibe to the videos. In this video, you will get to know more about how to create VFX effects using keyframing in Wondershare Filmora.
Key Steps of This Video Tutorial To Follow
Before starting the editing process, make sure you have recorded video footage that contains some glare or light effects. Open Wondershare Filmora and import your recorded video footage into the software.
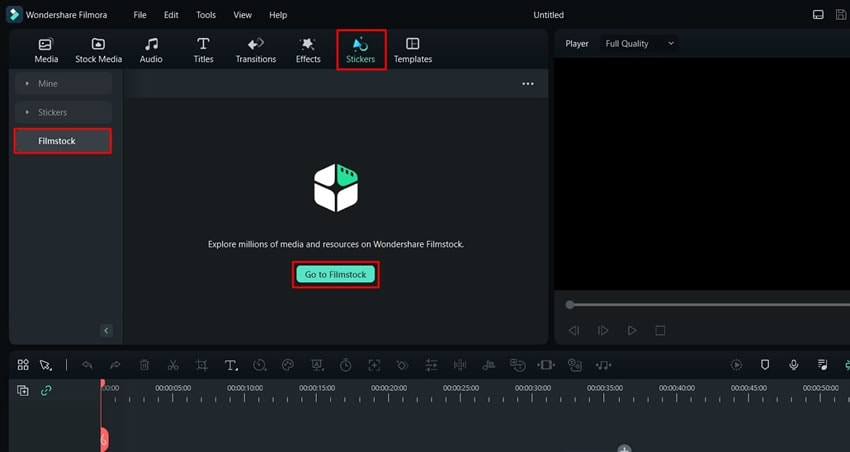
In the timeline, locate the "Stickers" tab and click on it. From the options on the left side of the screen, select "Filmstock." Click the "Go to Filmstock" button to access the library. Here, you can browse and select the anamorphic flare effect that you want to use for your video project.
Once you have chosen the desired anamorphic flare, import it into Wondershare Filmora. Drag and drop the sticker effect onto the track above the video clip. Drag the corner of the sticker effect to match the length of your video footage. Ensure that the flare effect covers the desired portion of your video.

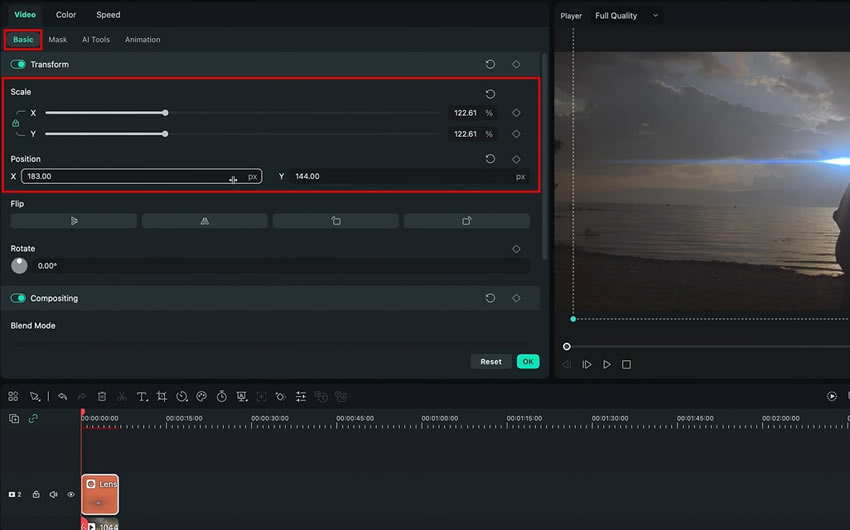
Double-clicking the added effect lead to the "Basic" section from the "Video" tab among the options available. Add a keyframe to the "Scale" and “Position” options in the list. Adjust the values of the “X” and “Y” parameters per your requirement. Move the Playhead to another point in the timeline where you want to change the "Scale" of the flare effect. Adjust the "Scale" values again if needed and add another keyframe.
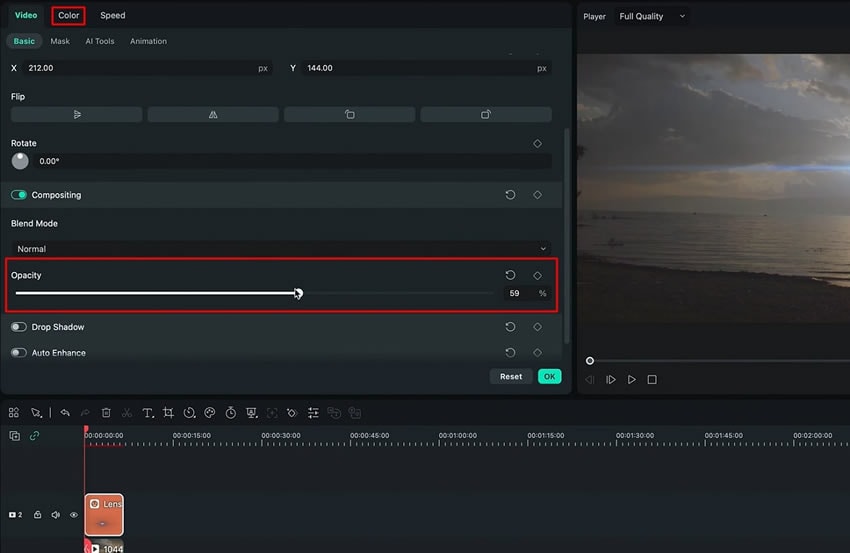
To control the opacity of the flare effect, add keyframes for the "Opacity" option at different points in the timeline. Modify the opacity values as necessary to achieve the desired effect. Eventually, the flare effect will move to different positions on the screen as per your preference. You can also adjust the colors of the effect to make it look realistic, which can be done by navigating into the “Color” tab from the top.
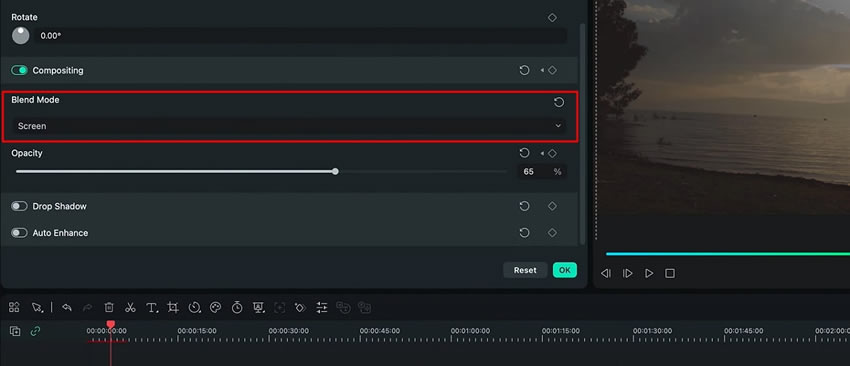
To ensure that the flare effect blends well with your video footage, change the "Blend Mode" to a setting that complements your video's style and atmosphere.
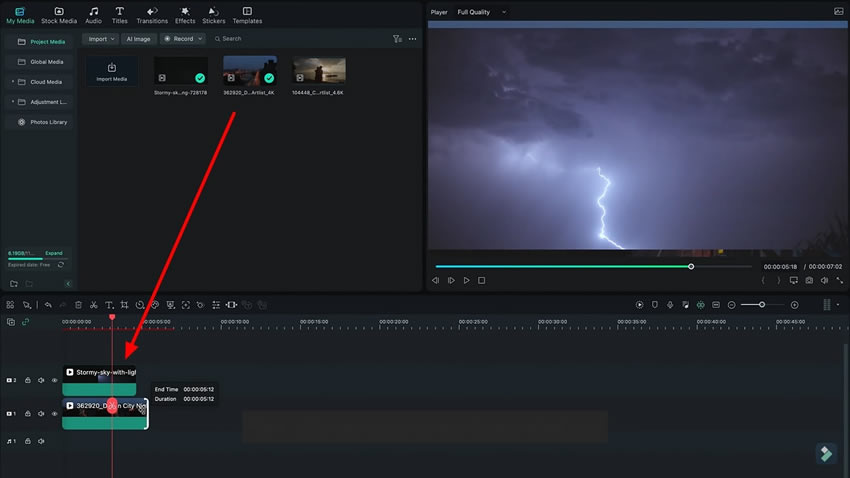
Once you are done applying the glare effect, import another video footage and place it in the first track of your timeline. After that, import the lighting video footage and position it on another track to align perfectly with the sky of your main clip.
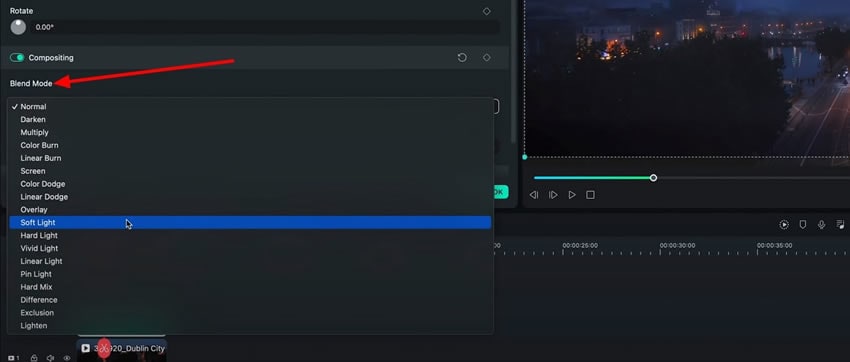
From the left panel of the screen, locate the "Opacity" setting and adjust it to your desired level. This will control the transparency of the lighting effect. Change the "Blend Mode" of the lighting video footage to match the tone of your main clip.
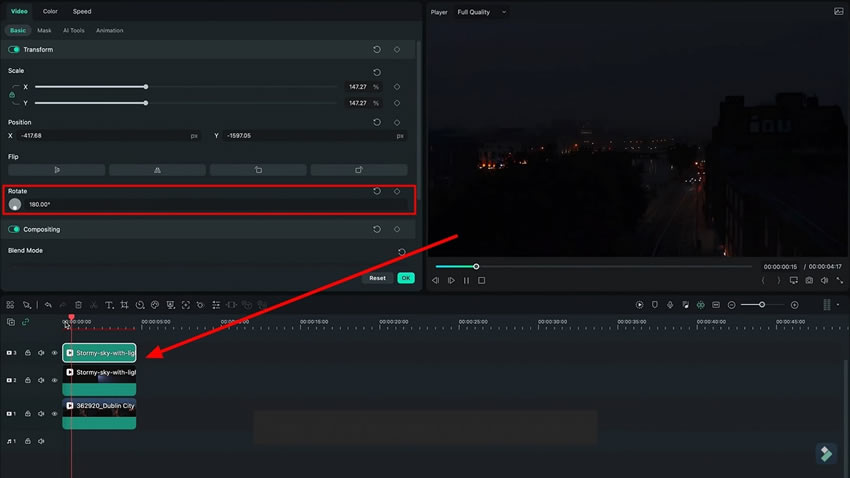
Next, click and hold the lighting video clip, press "Alt," and drag it to duplicate. Place the duplicated clip on another track. Use the "Rotate" option to rotate the duplicated clip, positioning it below where the sky ends in your main clip. It will give a consistent color toning to the entire video.
Select the duplicated clip on the 3rd track and go to the "Mask" option in the right panel. Choose "Draw Mask" and use the provided tools to create a mask that covers the desired area of the clip.
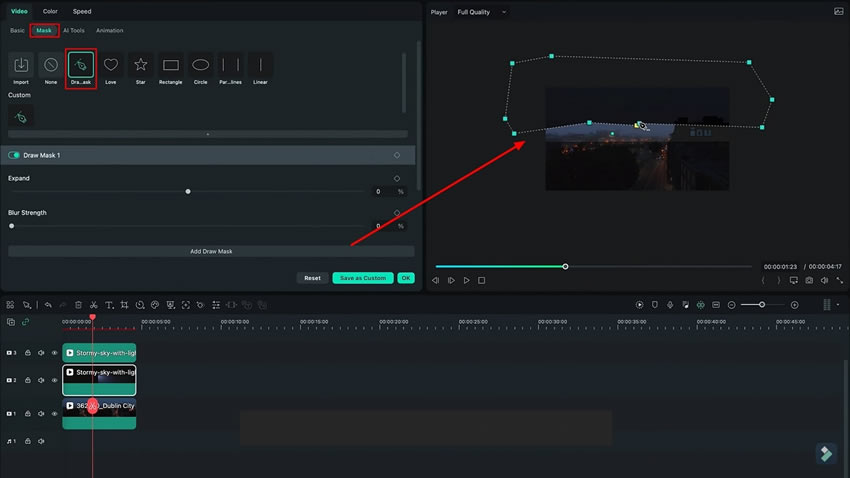
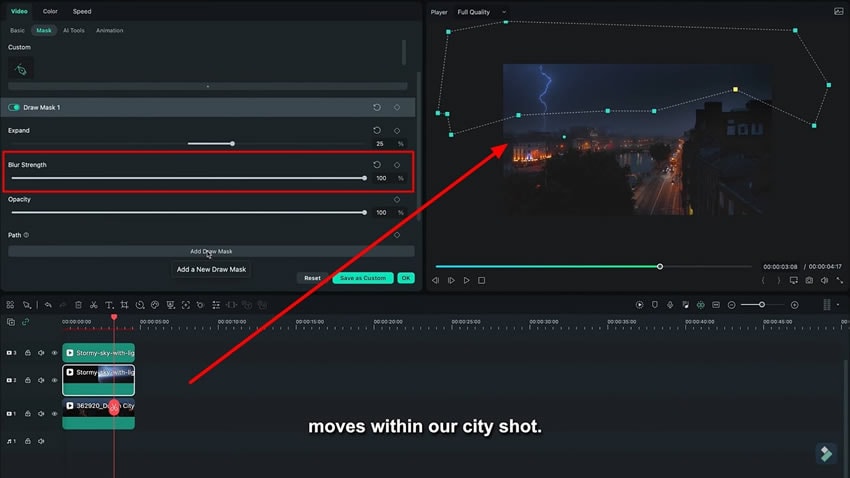
Adjust the "Blur Strength" and make other adjustments as needed to achieve a smoother look for the masked area. This will help blend the lighting effect more seamlessly with the original footage.
Repeat the process for the bottom half of your video clip. Select the original lighting video clip in the second track, draw a mask, and make the necessary adjustments to blend the effect with the lower portion of your footage. If necessary, add keyframes to the mask to adjust its shape and position over time based on the requirements of your footage.
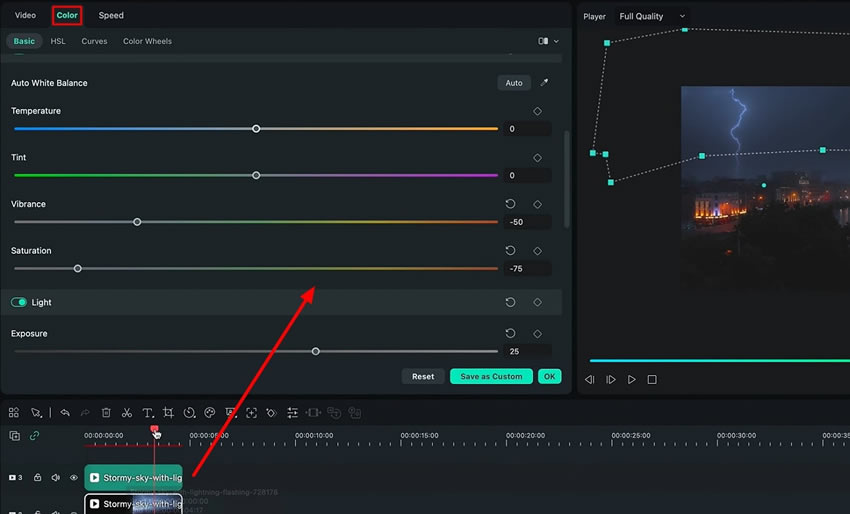
Finally, color-correct your footage to achieve the desired look. Go to the "Color" option in the right panel of the screen and make adjustments such as changing the "Tint" and "Vibrance" settings, as well as other options, to enhance the overall appearance of your video.
Wondershare Filmora lets you easily create VFX effects. There are many options to simply drag and drop or create your effect. This guide has simplified the process of adding two different VFX effects using Filmora. It also tells you to utilize keyframes and to perfectly color grade your video to maintain uniformity in your video project.
Luca's Other Filmora Master Lessons