Key Steps of This Video Tutorial To Follow
In this video tutorial, you will learn how to create transition effects in Wondershare Filmora with the help of keyframing video masks. Go through the details to learn more about masking transitions with Filmora.
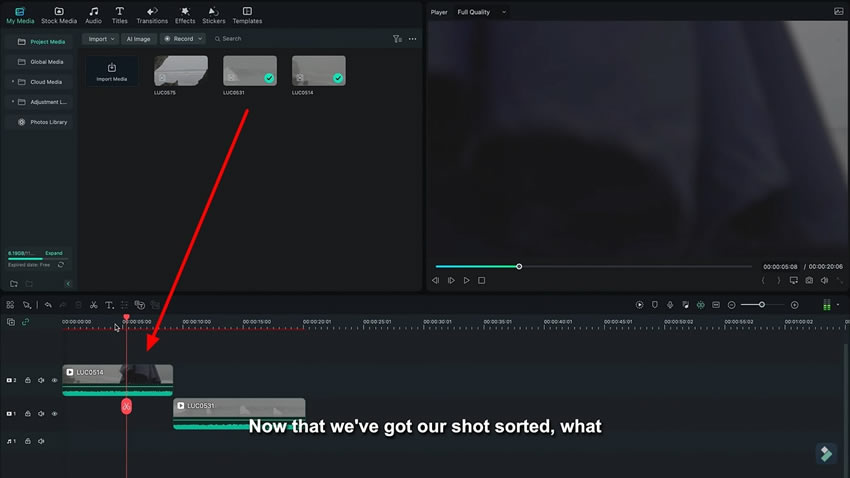
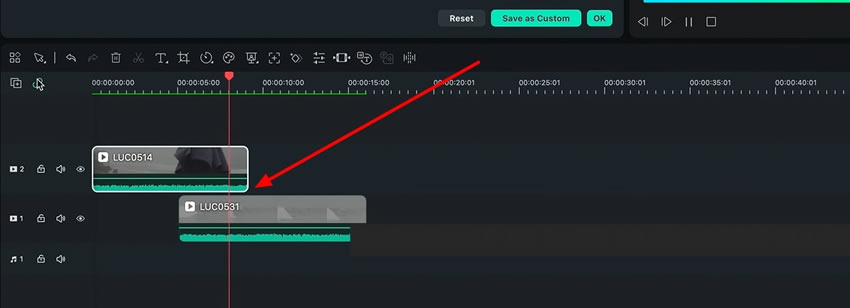
Import your videos into Filmora's timeline to create an effective transition. After that, place the first video in “Track 2” and the second video in “Track 1.”
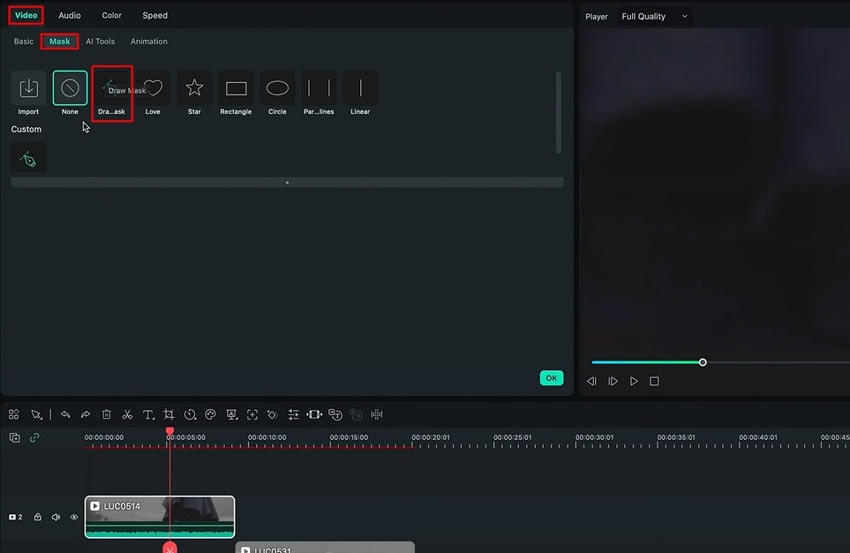
Select the video in track 2 and go to the "Video" tab in the panel that appears on the screen. Choose the “Mask" section and select the "Draw Mask" tool from the options.
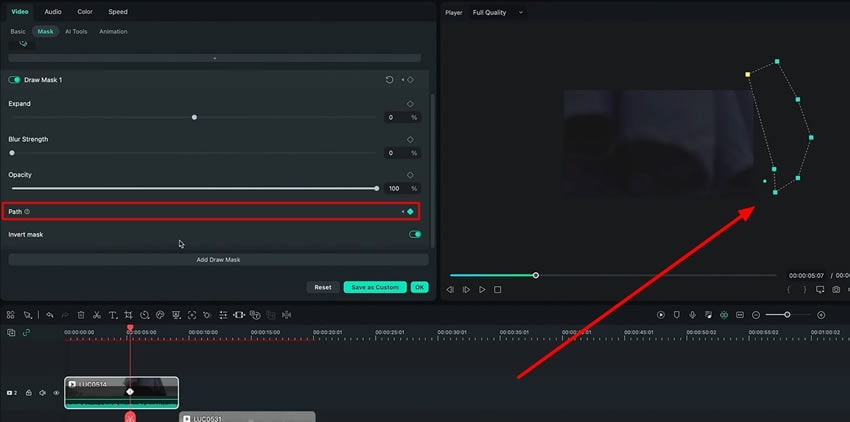
Draw a random mask of the object when it is going out of the frame to create a smooth effect. After that, keyframe the mask by clicking on the "Path" option.
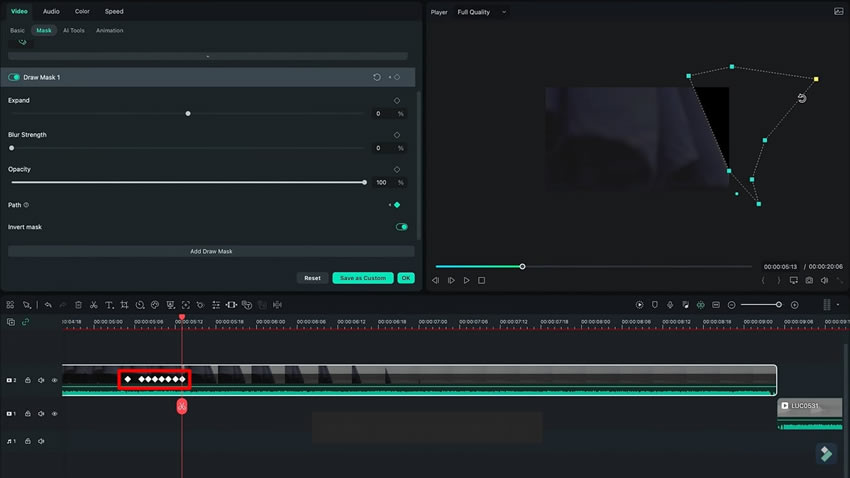
Move frame by frame and adjust the mask accordingly as the object is going out of the frame.
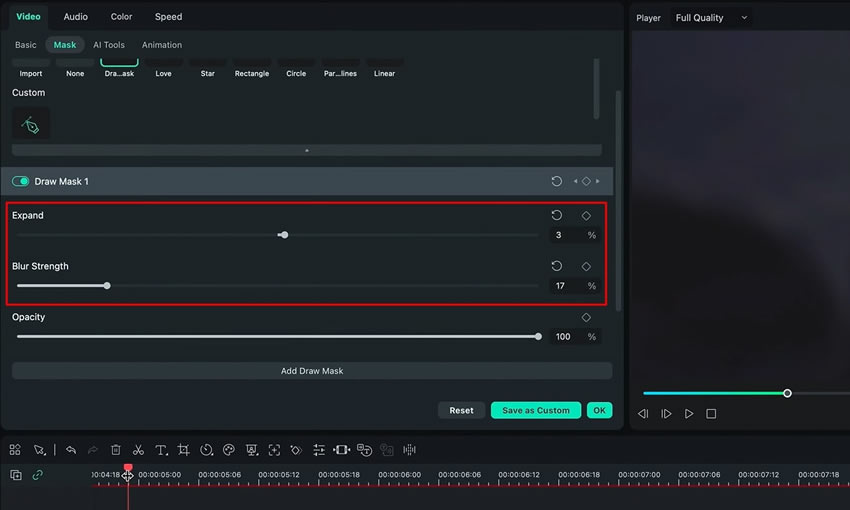
Increase the value of the "Expand" and "Blur Strength" to achieve smoother edges in the masked area.
Adjust the second video present in the first track according to the transition effects created by the keyframes and masks.
Transitions are like a portal, which can take you from one place to another without you even noticing. You can use transitions in your content to give viewers a smooth and seamless experience. Wondershare Filmora has helped editors by explaining how to add transition effects in reels. This easy-to-learn guide helps create a transition effect using masks and keyframes.
Luca's Other Filmora Master Lessons


