How to Create a Transition Effect with Match Texture – A Complete Guide
 Luca Epifani
Look through the provided material to find out how to create the perfect smooth transition having matching textures. Learn the details of using speed ramping and other speed tools to achieve this feat in Filmora.
Key Steps of This Video Tutorial To Follow
Open Wondershare Filmora on your system and select the "New Project" button to start a new project. Drag and drop your video files into the timeline to import them. Arrange the order of the videos you want them to appear in the final video and trim them accordingly.
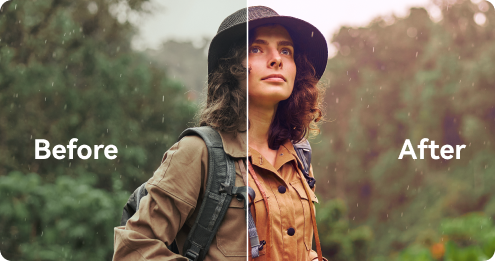
Preview your videos and identify a moment where both have similar textures or content. You need the match point to create a transition effect that the transition goes unnoticed.

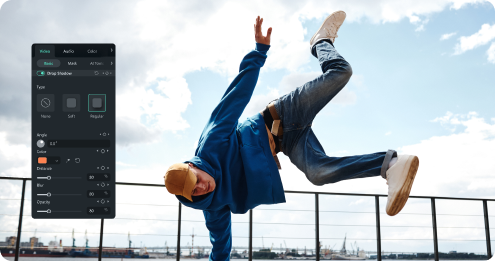
Left-click on the video in the timeline to adjust its video settings. Increase the "Scale" of the video from the panel that appears on the screen. You have to repeat this process for both clips, which will make the video slightly larger and help match the two videos' textures.

After that, navigate to the "Speed" tab from the top and select "Uniform Speed." Increase the "Speed" of both video clips from the following tab.

Then, go to the "Transitions" section in the software to add the required transition. Choose a smooth transition that suits your video and drag and drop it between the two clips. Adjust the "Duration" of the transition to a few frames, making it subtle and seamless.

If you consider going another way, import the video clip into the timeline. Locate the "Speed Ramping" option in the right panel. Choose the appropriate speed ramp option from the list that suits your desired effect. Adjust the starting and ending points of the speed ramp and set the desired speed from the settings.

Repeat the same process with your second video clip. Click the second video in the timeline, and from the "Speed Ramping" tab, choose the speed ramp option you want to use. It will maintain consistency throughout your project. Adjust the starting and ending points and set the speed to your requirement.
Preview your video to see the smooth transition and speed ramping effect. If necessary, make further adjustments to the speed ramping or transition duration until you achieve the desired result.

Creating seamless transitions with matching textures is an essential skill in video production. By analyzing and selecting suitable shots, you can create an amazing transition. Wondershare Filmora provides tools that can assist you in creating such seamless transition effects. So, experiment with matching textures in your transitions, and let your videos stand out.
Luca's Other Filmora Master Lessons