Key Steps of This Video Tutorial To Follow
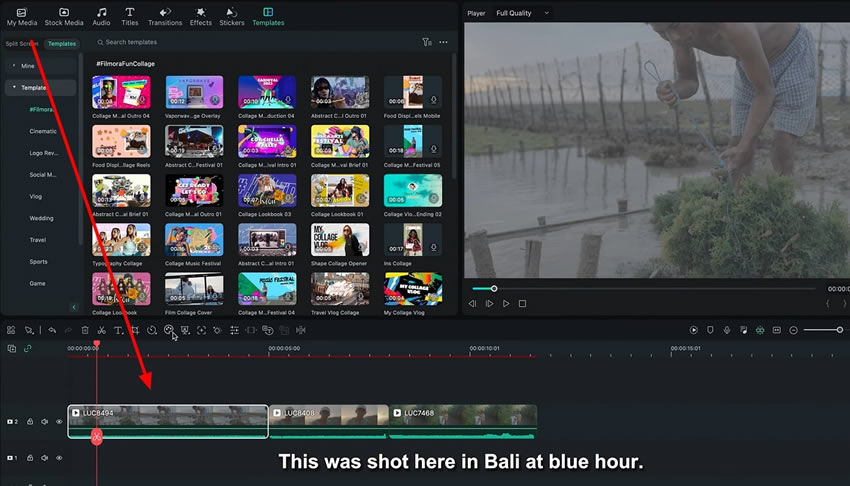
Open Wondershare Filmora and press "Ctrl + I" to import your blur or golden hour recorded video files in "Project Media." Bring your video files to the timeline by simply dragging and dropping them.
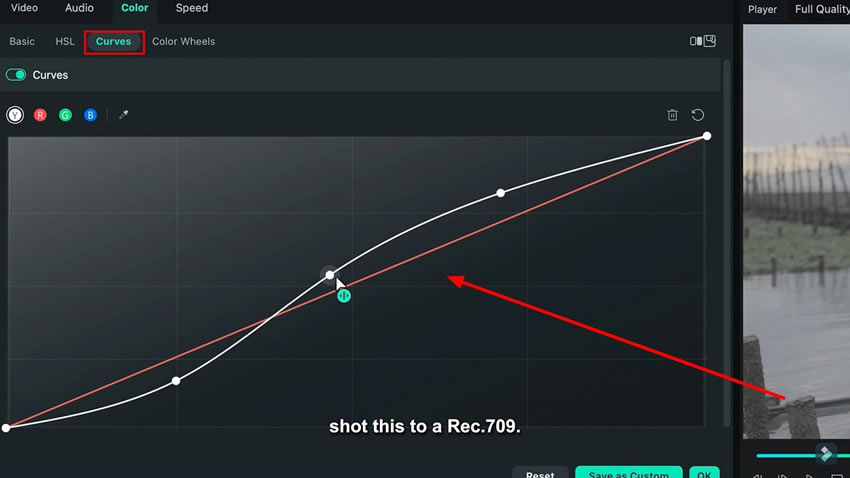
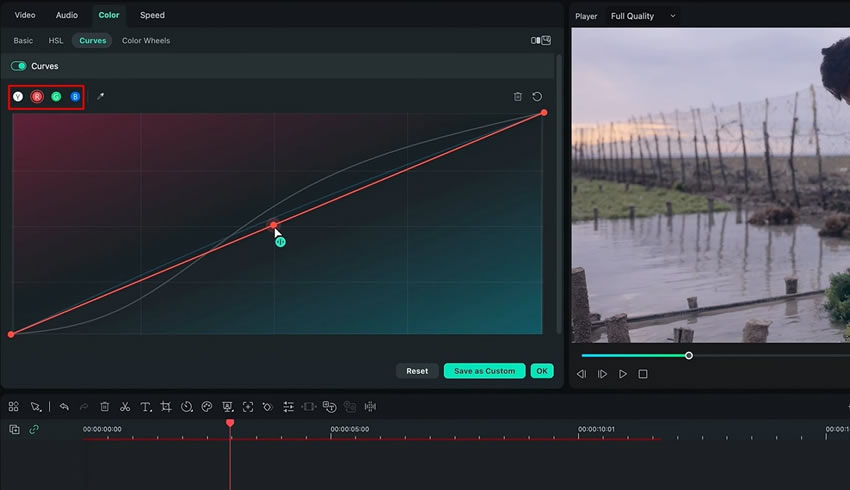
Select the video to open its settings while continuing to the "Color" section, where you need to choose "Curves." Create an S-curve using your mouse from the graph in the "Curves" section.
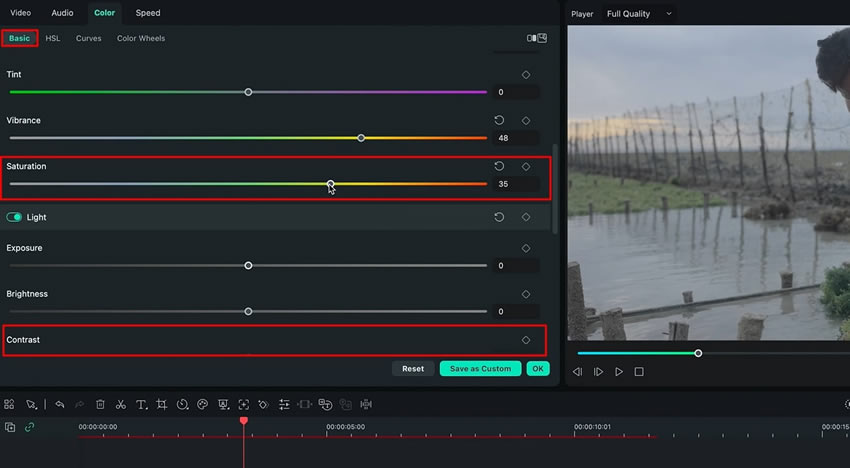
Navigate to the "Basic" tab and adjust the "Saturation" and "Contrast" using the slider. Experiment with other options like "Highlight," "Black," and "White" if desired.
Click the "Color Wheels" option and add blue to the "Highlights" and "Shadows" and a teal tone to the "Midtones."

Move back to the "Curves" section and create an S-curve for the blue and red curves.
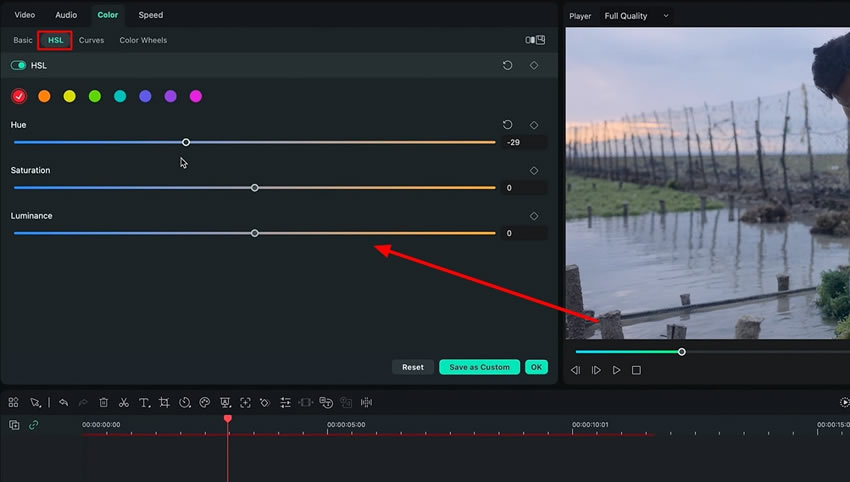
Go to "HSL" and change the settings according to your requirements to achieve a good orange and teal preset look for your video footage.
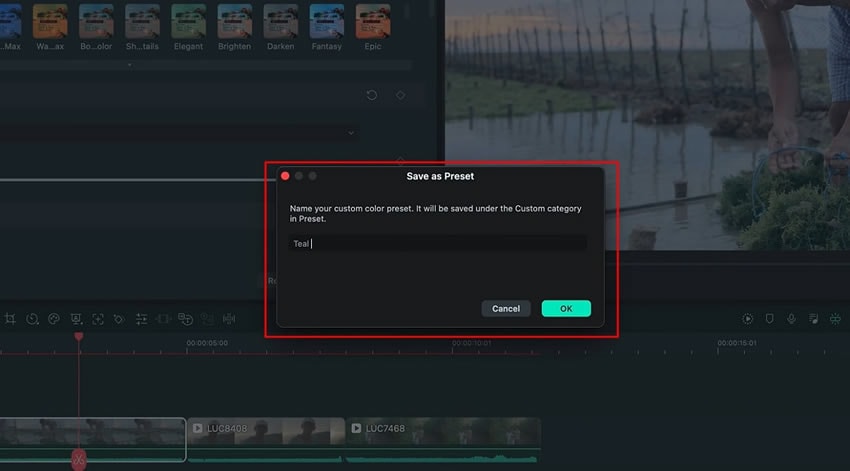
Feel free to make any additional adjustments to give your footage a perfect look using other available options and tools. Save your preset by pressing "Save as Custom" so that you can use it for further video projects. You can also make further adjustments to your preset if needed.
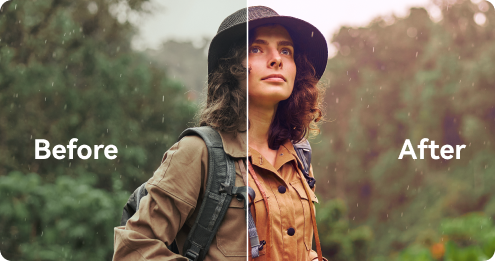
Teal and orange color grading can significantly enhance the visual appeal of your videos by creating an amazing cinematic look. You can effortlessly achieve this effect in your videos by using a Teal and Orange Color Grading Preset. The powerful color grading tools of Filmora help create customized presets for applying to videos.
Luca's Other Filmora Master Lessons
