
 100% Security Verified | No Subscription Required | No Malware

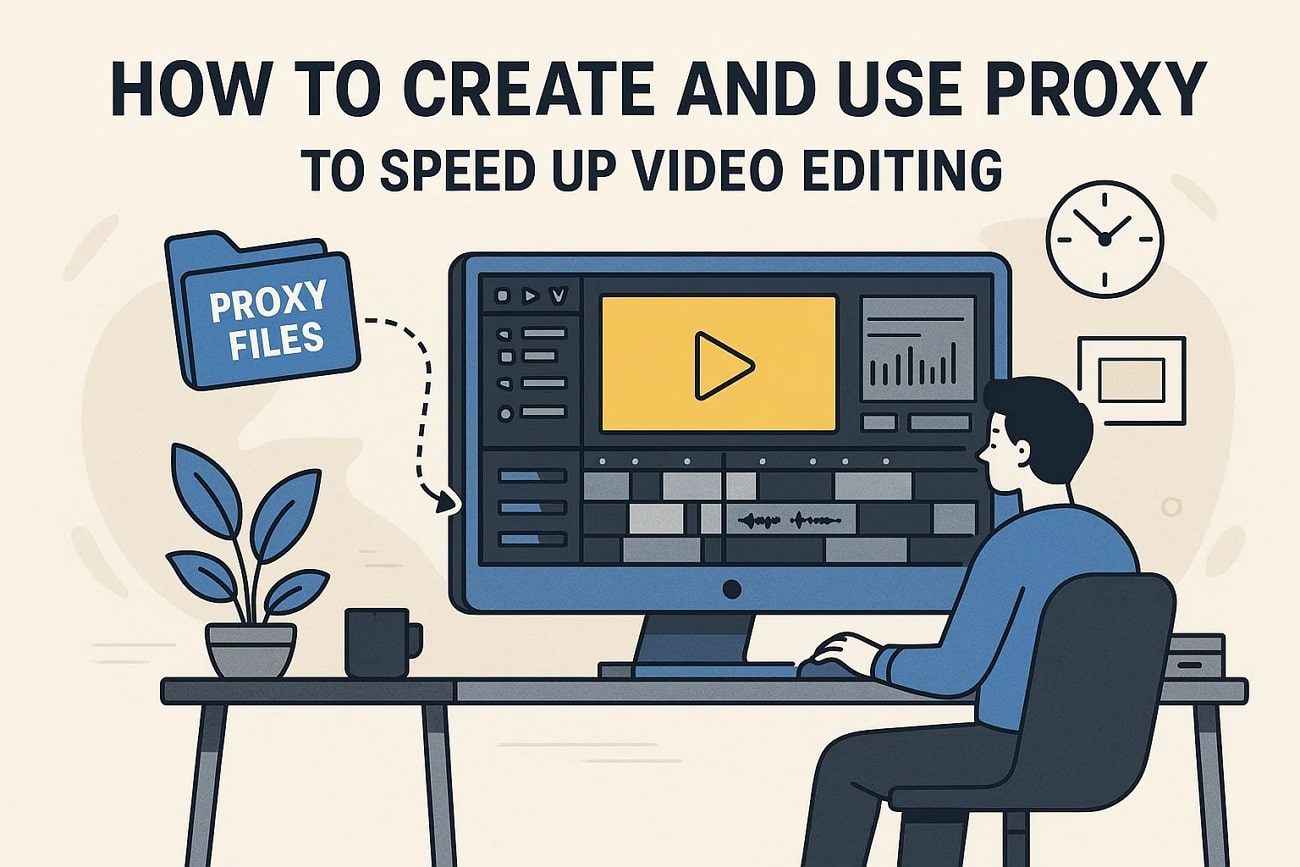
A video editor tries to cut a 4K project, but the timeline keeps lagging and slowing everything down. This situation is common when working with large, high-resolution files. Video proxy files offer a simple and effective fix. They create lighter, low-resolution copies that make editing smoother and faster.
You can work without stutters, freezes, or long preview delays. In this article, we are going to share with you everything you need to know about proxy video editing and show you how you can edit these proxy files to make videos in the video editor, Wondershare Filmora.
In this article
Part 1. What is Proxy Video Editing and How Does a Proxy Work?
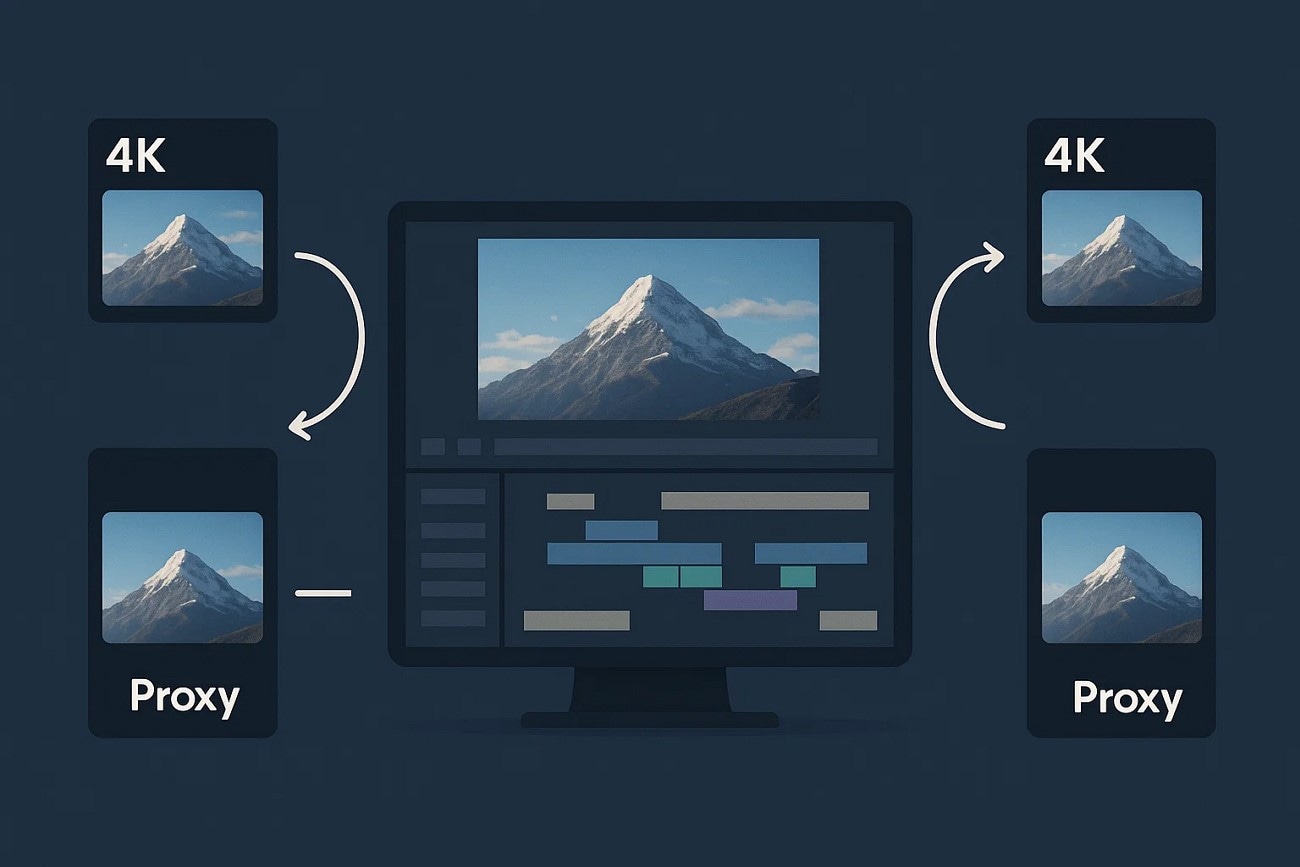
Proxy editing is a technique that uses low-resolution copies of your original footage to make the editing process faster and smoother. These proxy files reduce strain on your computer, especially when working with 4K or 8K videos. You edit using these lighter versions, which improves playback and responsiveness. When you’re done, the editor automatically reconnects your project to the high-quality originals for a clean, professional final export.
How a Proxy File Works
- The tool creates low-resolution duplicates of the original clips.
- These lightweight files replace the originals during editing.
- Timeline playback becomes smooth, with reduced lag and stuttering.
- Effects, cuts, and adjustments are applied to the proxy versions.
- During export, the software switches back to the full-resolution files.
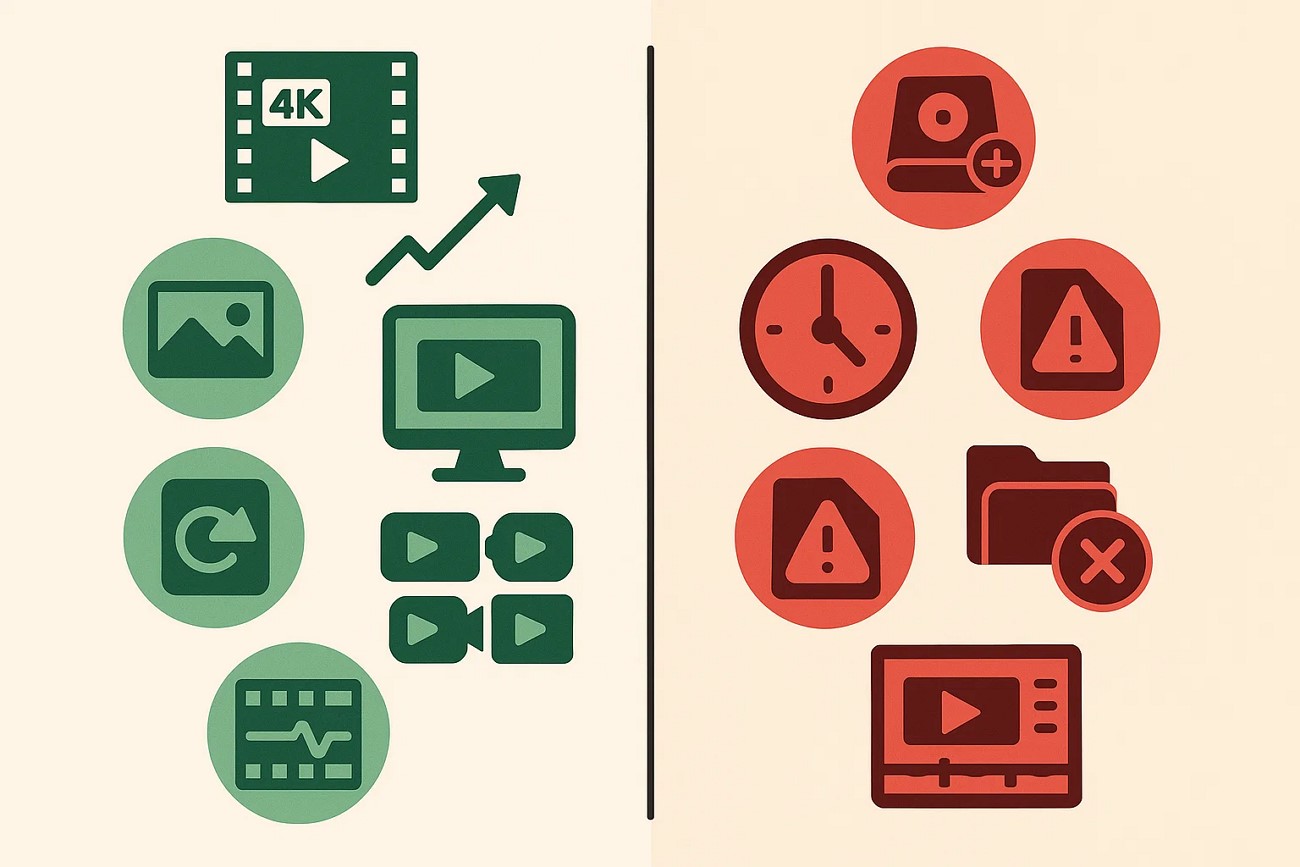
Part 2. Pros and Cons of Proxy Video Editing
After learning what proxy video editing is, let us discuss some of its pros and cons in the following section:
Part 3. When Should You Use Proxy Video Editing?
Working with high-resolution footage can be frustrating, especially on slower computers or large projects. Here are some of the situations where using video proxy files makes sense:
- 4K or Higher Resolution Projects: Editing ultra-high-definition footage can create lag, freezing, and timeline stuttering frequently. Proxy files reduce strain, allowing smooth playback and a faster editing workflow during high-resolution projects.
- Slow or Older Computers: Computers with limited RAM or weaker processors struggle with large video files constantly. Using proxy files enables these machines to handle footage without crashes or delays efficiently.
- Long or Complex Timelines: Projects with hundreds of clips or effects often become unresponsive and hard to manage. Proxy editing keeps timelines smooth, improving navigation and workflow for long sequences.
- Multicam Editing: Syncing multiple camera angles simultaneously can slow down playback and hinder editing performance. Proxy files allow real-time previewing of all angles without lag or stuttering issues.
Part 4. Working with Proxy Video Files: How to Create and Use a Proxy in Filmora
If you struggle with lag while editing hours of 4K footage on a laptop, Filmora offers an efficient solution with its proxy video editing feature. The software automatically generates low-resolution copies of original clips, allowing smooth playback and responsive timeline navigation. Editors can apply effects, transitions, and cuts without performance issues. All this is done while the final export switches back to full-resolution files for professional quality.
Additionally, Filmora also integrates AI-powered tools, built-in templates, and intuitive interface options. These features help creators save time and produce polished, high-quality videos effortlessly. Its smooth timeline performance and proxy workflow ensure lag-free editing of large 4K or 8K projects.
Comprehensive Steps to Create Proxy Files in Filmora
As discussed, Filmora offers an easy-to-use functionality to enable and create proxy files for high-resolution videos. Let us have a look at the step-by-step guide on how to create video proxy files using this extensive tool:
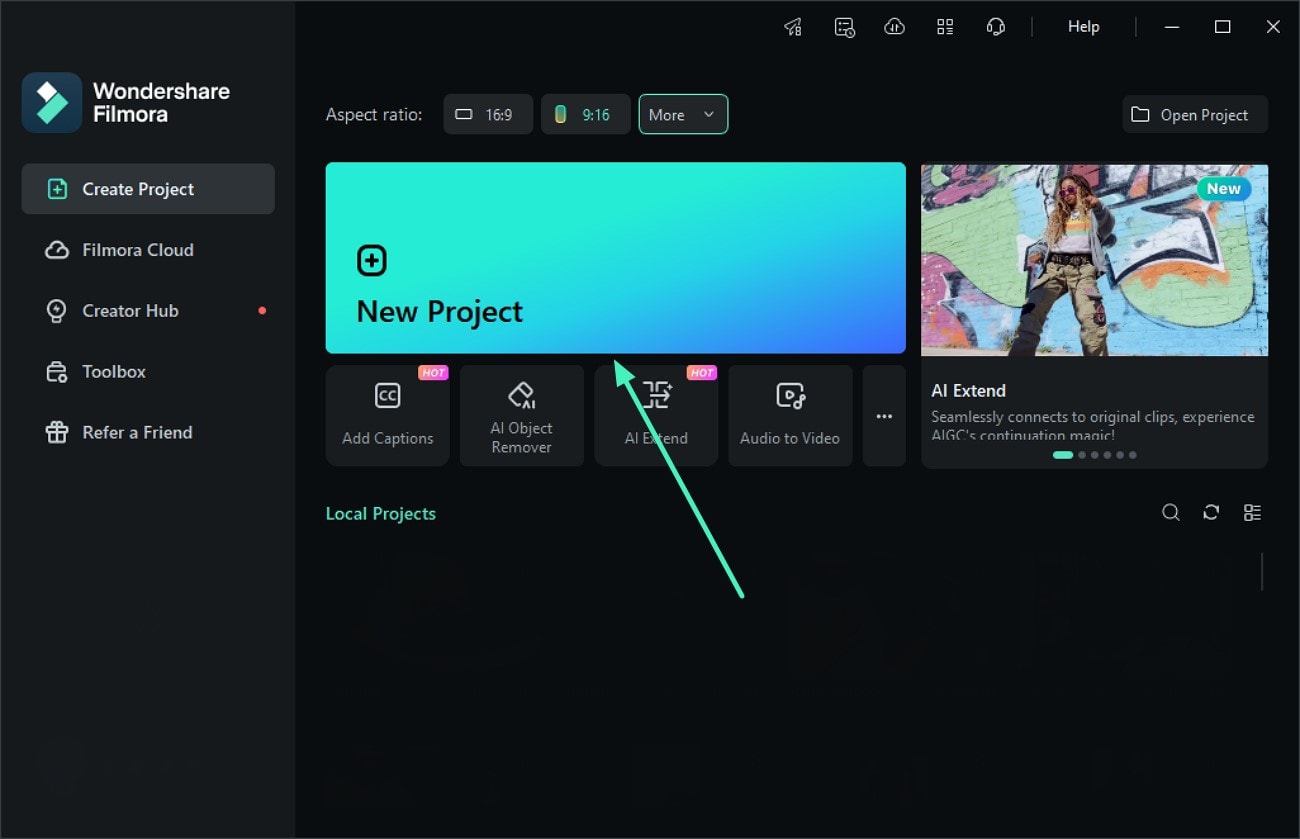
- Step 1. Launch Filmora Create Project. To begin the video proxy enabling process, launch Filmora on your device and click on the “New Project” tab located on the homepage.
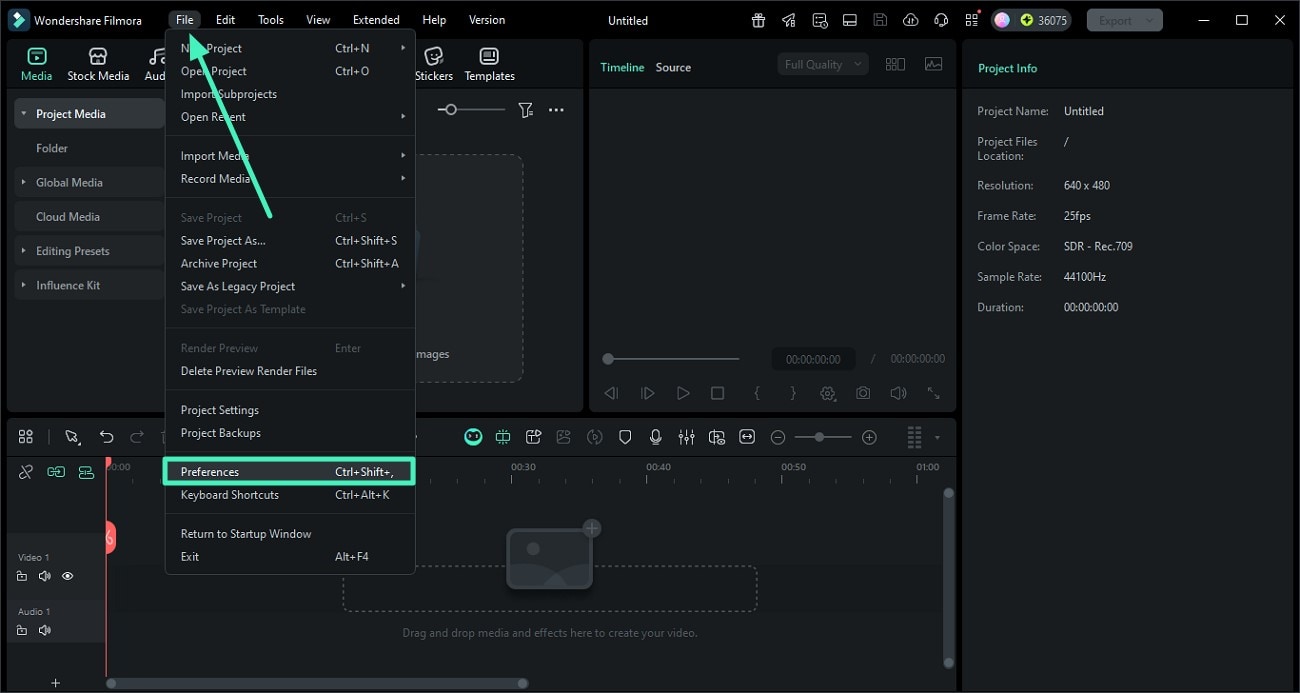
- Step 2. Access Preferences Options. In the main editing interface, head to the top-left corner and press the “Files” option on the menu bar. This will expand a list of options for you to select the “Preferences” option.
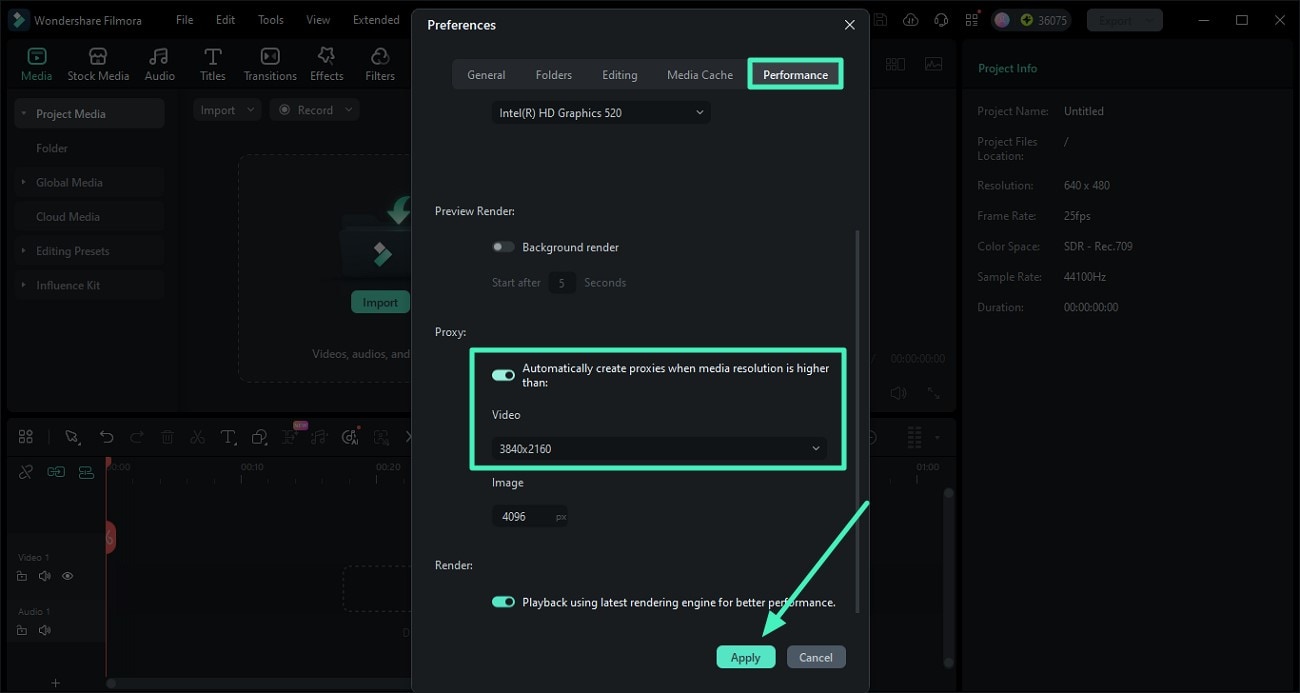
- Step 3. Turn Toggle On For Proxy Files. Moving forward, access the “Performance” tab in the following dialog box and turn the toggle on for the “Enable Hardware Acceleration for Video Rendering and Playback” option. Next, locate the “Automatically Create Proxies When Media When Media Resolution is Higher” option and turn its toggle on. Choose the video resolution and click the “Apply” button. Import media into Filmora, and it will automatically generate proxy files for editing.
Conclusion
To wrap it up, this article explained what video proxy editing is and why it’s useful. Proxy files improve workflow efficiency, making high-resolution video editing faster and smoother for creators. Filmora provides an intuitive interface with proxy support, ensuring seamless editing without lag or delays. Its built-in tools and templates further simplify the process, allowing users to produce polished, professional-quality videos efficiently.
While Filmora on desktop handles complex 4K workflows smoothly via proxies, you can also create content effortlessly on the go. The Filmora Mobile App [iOS/Android] brings professional editing power to your fingertips without the technical setup. Utilize AI-powered editing features, trendy templates, and intuitive touch controls to cut, polish, and share high-quality videos instantly—perfect for keeping your creativity flowing wherever you are.
 secure download

