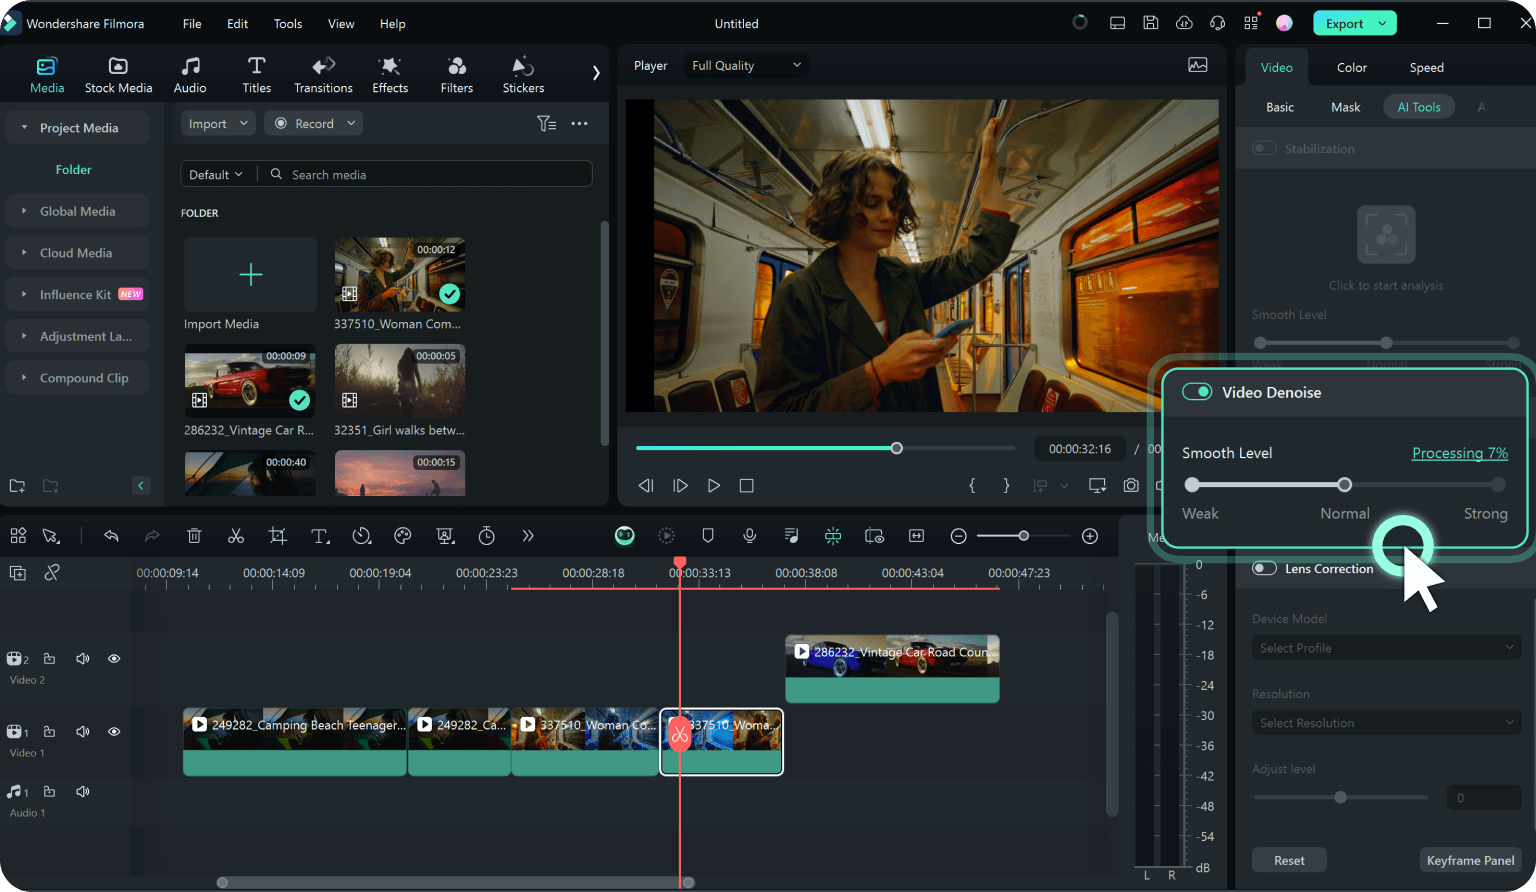
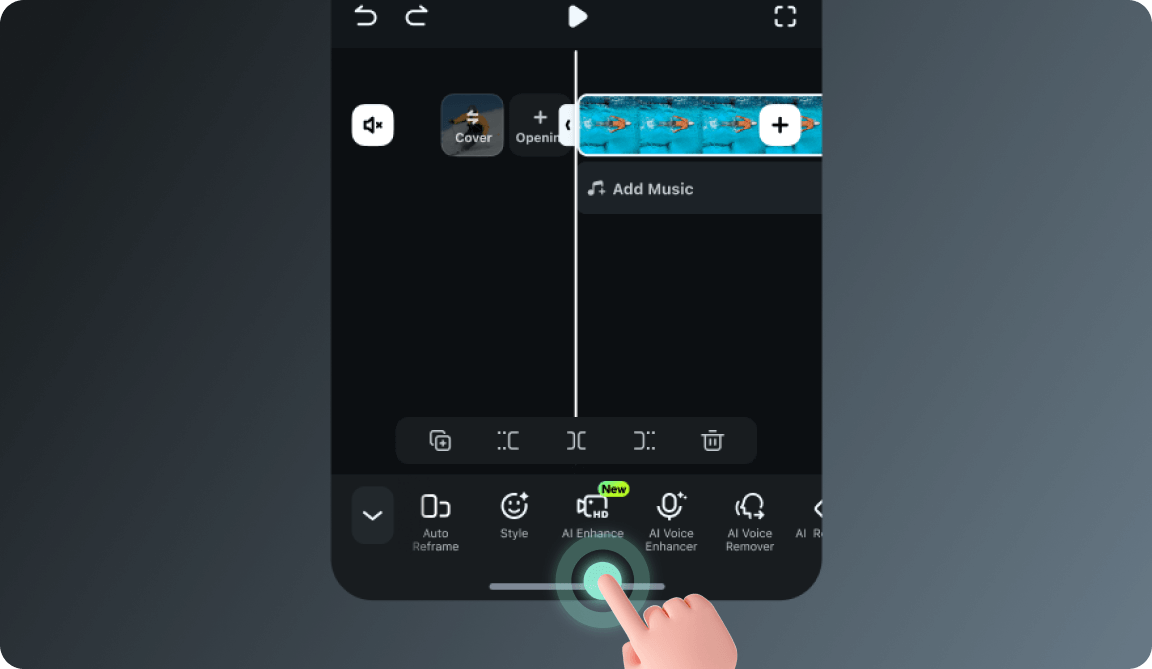
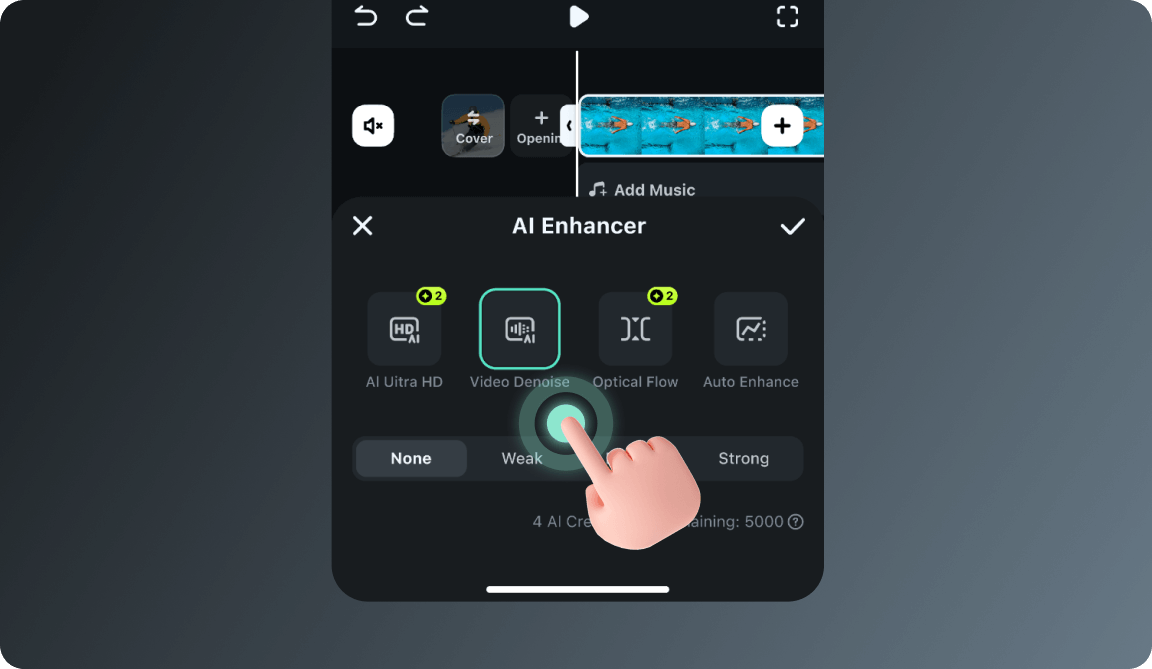
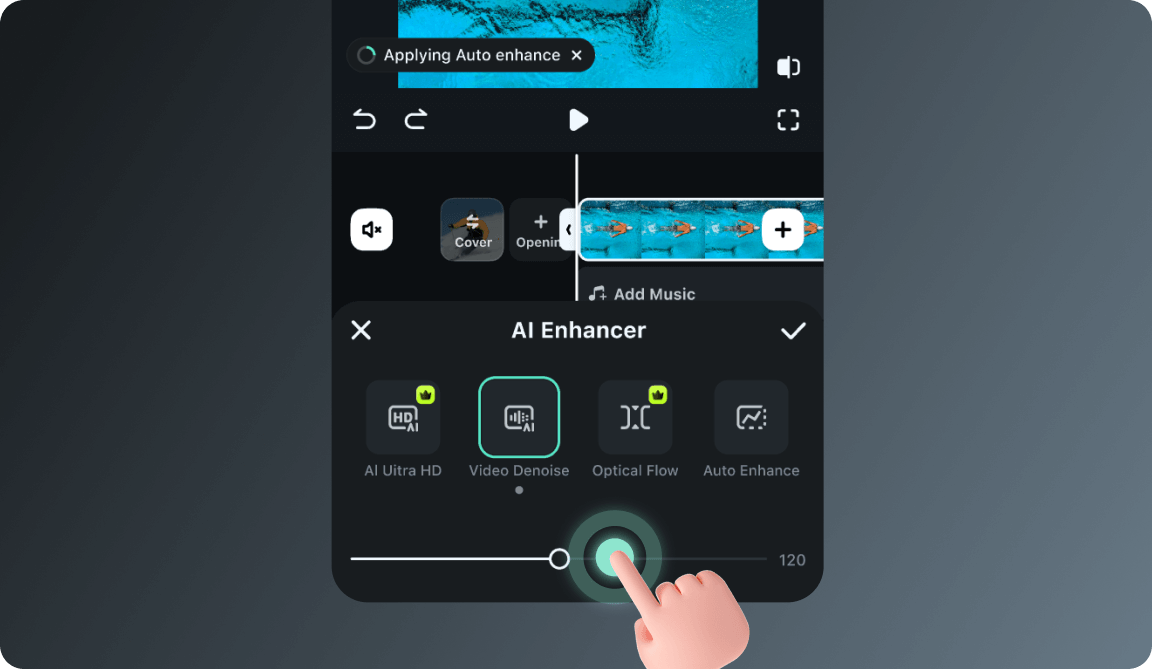
Filmora
Filmora - AI Video Editor
Edit Faster, Smarter and Easier!
OPEN
Filmora Video Editor
Effortlessly create video with AI.
  • Various AI editing tools to increase your video creation efficiency.
  • Offer popular templates and royalty-free creative resources.
  • Cross-platform functionality for editing everywhere.

5 Best Video Denoisers in 2024

Liza Brown
Liza Brown
Originally published Jun 20, 22, updated Feb 29, 24

We all know that our recorded videos are not always perfect – when we use a mobile phone or digital cameras to shoot, our clips may contain hiss, compression and particles. These are the impurities that make our videos look uncomfortable, but it’s not a final result impossible to altar – help can come in the form of several video denoise software.

Editing is the guarantor that makes sure we can do different operations and achieve our desired results – computer programs, tools, opportunities that give us a hand in this process are kind of endless.

So, sometimes it’s really difficult to choose among so many options that come into waves. And if we choose our preferred ways, some people might not agree with us. Even so that it is quite subjective, we can still explain which tools and software we like to modify our videos, and fight with the impurities they have.

It looks amateur if the video is grainy, even if it is night shooting. We can get rid of the noise when we add lights or shoot in well-lit places, but there are some situations we can just depend on the ISO. So, for these grainy videos, there is a thing called denoising – when you get rid of the grains and make your shots as clear as possible. There are different ways to do this, and that happens in different software as well. What are the 5 best video denoisers in 2024 for us to work with? That, as we have already mentioned, might be something very subjective, but here is our selection: Wondershare Filmora, Neat Video, Shotcut, Adobe Premiere Pro, and DaVinci Resolve

Wondershare Filmora X

Wondershare Filmora X offers to change our damaged scene into something more acceptable. How to operate it? - You need to go to the Effects panel and type: “Smart Denoise”. right-click on the video and choose Edit Properties.

video-denoiser

This ensures you see the Smart Denoise, where you can change opacity of the clip, threshold and radius.

video-denoiser

Reduce Opacity until you are satisfied with the result. The box next to Smart Denoise will show you the scene before and after the effect.

Bonus tip: Wondershare Filmora audio denoise

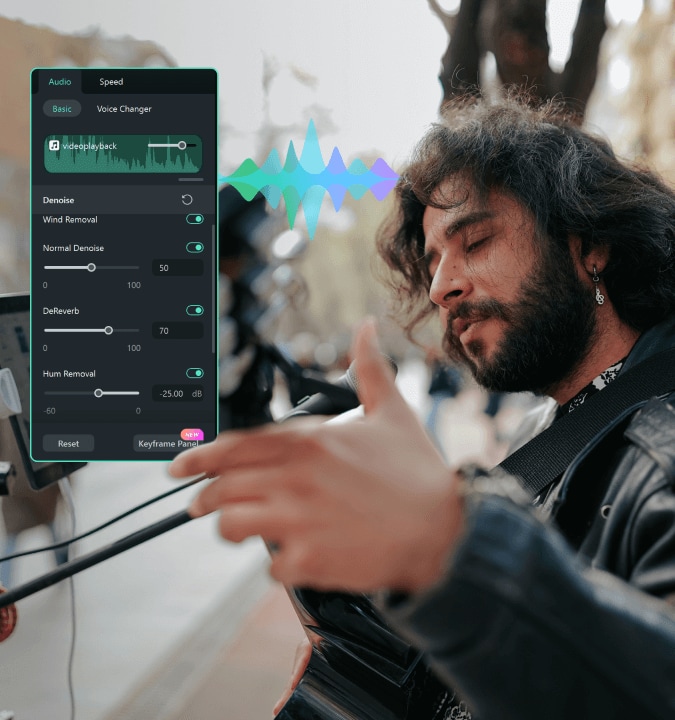
We already explained how video denoising works, and we will go on with our selection and explanatory article about the process, but, as we are on the Filmora topic, we might as well mention that denoising might mean another thing too – which, in this case, regards audio background noise. It means to remove unwanted hum from the audio in order for it to become more hearable. So, doing this in Wondershare Filmora works in a quite easy way. Use the guideline:

Drag and drop your video into the timeline. Right-click on the clip and hit Detach Audio, which will let you separate audio and video from one another and make sure you can work on them one by one.

video-denoiser

Double-click on the audio track and have access to the editing panel, where you can see Remove background noise – it is not needed to emphasize what this option does for you!

video-denoiser

That’s it – you are done, but keep in mind that there is a second way to achieve the same result as well, but this in case you don’t want to detach the audio: Double-click on the video clip in the timeline, the editing panel opens, so switch to Audio. Checking the box next to Remove background noise will show that there are three levels – weak, mid, and strong, and of course, you can choose to your liking!

If the voice recording doesn’t sound natural anymore, you can do the following: Click on Customize and Customize Equalizer window will open.

video-denoiser

On the left, you can see the low tunes, while the highs are on the right. Background noises are often on the left, so you can lower them to get rid of them, but in order to have a more natural sound, raise the middle ones a little – and you are done when you are content with the sound!

video-denoiser

So, hmm… back to the original topic – denoising a video, shall we?..

Neat video

Neat Video kind of, speaks for itself… it is a powerful video editing tool suitable for Windows, macOS and Linux. It aims to reduce the digital noise, flicker, dust, scratches and other defects in the captured videos to improve the visual quality of the videos.

It is a plug-in for Premiere Pro, that does more or less what the product noise says: it makes grainy video look neater. It’s very easy to use and 

How to do that in Neat Video? Here are the steps:

Find the clip you want to reduce the noise of and search for the neat video effect in the Effects Panel.

video-denoiser

The video editors mostly use the SR version of it, because it seems faster and has kind of a better performance.

video-denoiser

Then, you’ll have to drag the neat video plug-in to the clip to your choosing, take your attention to the Effect Controls panel on the left, and find: fx Reduce Noise v5 (SR) – press the button saying Prepare and this will open up the Build button as well, which wil open the Neat video effect window.

video-denoiser

There, you’ll need to click on the Auto Profile. Selection window will appear, which you can move around the scene and resize, in order to select the noisy area of your footage. It is recommended to find the darkest or grainiest area there and select judging by this.

video-denoiser

On the left side, you will find Filter Settings: under Spatial, you can play with the Noise Reduction Amount and Noise Level.

video-denoiser

Then, you will hit Apply and – done, you can instantly see the results!

Shotcut

What about Shotcut? It is a free, open-source and cross-platform video denoiser for Windows operating system. It is also an outstanding video editor with trimming, splitting, color correction and other tools.

In order to reduce the noise there, do the following: first off, find filters, open that window and type in: Noise. This will open the options, and several of them are for noise reduction.

video-denoiser
video-denoiser
video-denoiser

Choose Reduce Noise: Wavelet, add it to the Video and then feel free to modify the settings, such as: Decompose, Threshold, Percent. You can check and uncheck the effect in order to see the before-after difference. Then, click Apply button and it is ready to go!

Anyway, you can also try other similar effects such as Reduce Noise: HQDN3D and Reduce Noise: Smart Blur.

Adobe Premiere Pro

Even though we discussed video denoising in Adobe Premier Pro but with the help of a plug-in called Neat Video, reducing the noise in the video in this software can be achieved without the plug-in as well, through using effect which is called Median. And, Premiere Pro kind of deserves to be mentioned, so, let’s go for it!

Add the desired footage into the Timeline of Premiere Pro. Then, find the Effects Panel, where our wanted Median can be found –drag and drop the effect to the clip.

video-denoiser

The Median should modify the grainiest parts of the whole clip, so in order to do this, we need to use masks. In the Effects Control panel, select the mask shape for the clip – the options are: rectangle, circle, or pen tool. With Pen tool, you move the Mask around the screen and resize it – the covered area will be affected.

video-denoiser

If you change Feather setting to 100, the effect will lose a sharp edge and instead, there will be a smooth border.

video-denoiser

So, you might think it is needed to repeat these steps several time to create masks in different areas, in order to cover all of the grainy space of the scene.

And, at last, to reduce the noise, adjust the effect settings.

video-denoiser

Actually, Median just blurs the grainy parts, without directly taking them away. Lastly, you can get to know the Radios settings, which will help you to achieve your most desired look!

Davinci Resolve

DaVinci Resolve is also worth mentioning in this list, in a way because it is also different from other video editors. Let’s see how it works and, meanwhile, differs:

Add the footage into the timeline. Find the fusion tab underneath the timeline panel.

video-denoiser

There, MediaIn1 and MediaOut1 will appear, and first, click on MediaIn1, - the scene will be shown in the first viewer – and MediaOut1 by default is appearing in the second. So, stay on MediaIn1, hit shift+spacebar, and find Remove Noise (RN). Click Add, which adds the Remove Noise1 node. On the top right corner there is an Inspector, which opens all the properties you can modify.

video-denoiser

After going only into the second viewer, and in the top bar there is channel icons. Open it and click on red, but don’t get alarmed when your footage turns black and white – it’s just for a while. Go back to the Inspector, increase Softness Red and Detail Red.

video-denoiser

This step helps remove grain from the red channel. Then repeat the same for green and blue channels. After finishing go to the same channel button and set it to “back to color”. The clip will be colorized again and now be clearer, compared to the first viewer.

video-denoiser

So, Evrika – we hot to know 5 best video denoisers in 2024, with the addition of audio background noise removal in Wondershare Filmora – hope you enjoyed it, and hope this will help you create better videos for yourself and your viewers!

You May Also Like

Complete Guide to Make an Intro Video

An intro video describing you and your content is the first and the foremost thing which a viewer sees. Thinking of how to make an interesting intro video, this blog is surely a supportive guide for you. Learn more here.

Posted byLiza Brown|2024-03-27 11:15:45
12 Best GIF Editors to Use

If you are into GIFs and want to know a great extent of information about it then we have got you covered in this article. Here is what we have learned so far about it.

Posted byLiza Brown|2024-04-01 14:30:58
Top 22 Free Video Editing Software

The necessity of the creation of video content for social media has urged many editing software to come out on the market. We have reviewed some, free of them in this article for you.

Posted byLiza Brown|2024-04-01 14:30:57
Top 18 Video Editors for PC and Mac

Searching for the best video editor to make your video more attractive? This article introduce you everything about choosing a video editing software.

Posted byLiza Brown|2024-04-01 14:30:54
Best 31 Video Trimmers for Computer, Phone and Online

This article introduce you the best video trimmers to use on different devices, check them out and choose your favoriate one.

Posted byLiza Brown|2024-04-01 14:30:19
How to Make A Funny Vlog for TikTok?

Want to make a funny vlog on TikTok? Trying to find the right topic for it? This article presents some impressive options for making a funny vlog for TikTok.

Posted byMax Wales|2024-04-01 14:27:07
Ideas to Make A Perfect Café Vlog

Are you looking to vlog across your next stop at the café? Get aware of the significant elements that make up the café vlog.

Posted byMax Wales|2024-04-01 14:27:06