Guide to the Smoke Effect Application

What Is a Smoke Effect?
The smoke effect is a video editing technique that overlays a digital simulation of smoke onto your video footage. Depending on the style and intensity of the smoke, it can create a variety of atmospheres. It lets you add a visual of mystery or vintage aesthetics. By using the smoke effect creatively, you can add depth, mystery, and a touch of visual magic to your video projects.
Wondershare Filmora, a popular video editing software, offers a range of tools that make incorporating the smoke effect into your projects a breeze. It gives you creative freedom over the look and feel of the effect, tailoring it perfectly to your vision. You can use pre-made smoke effect clips or create your custom smoke simulations. Let’s delve further into the smoke effect application scenarios and what methods you can use.
Introduction Scene
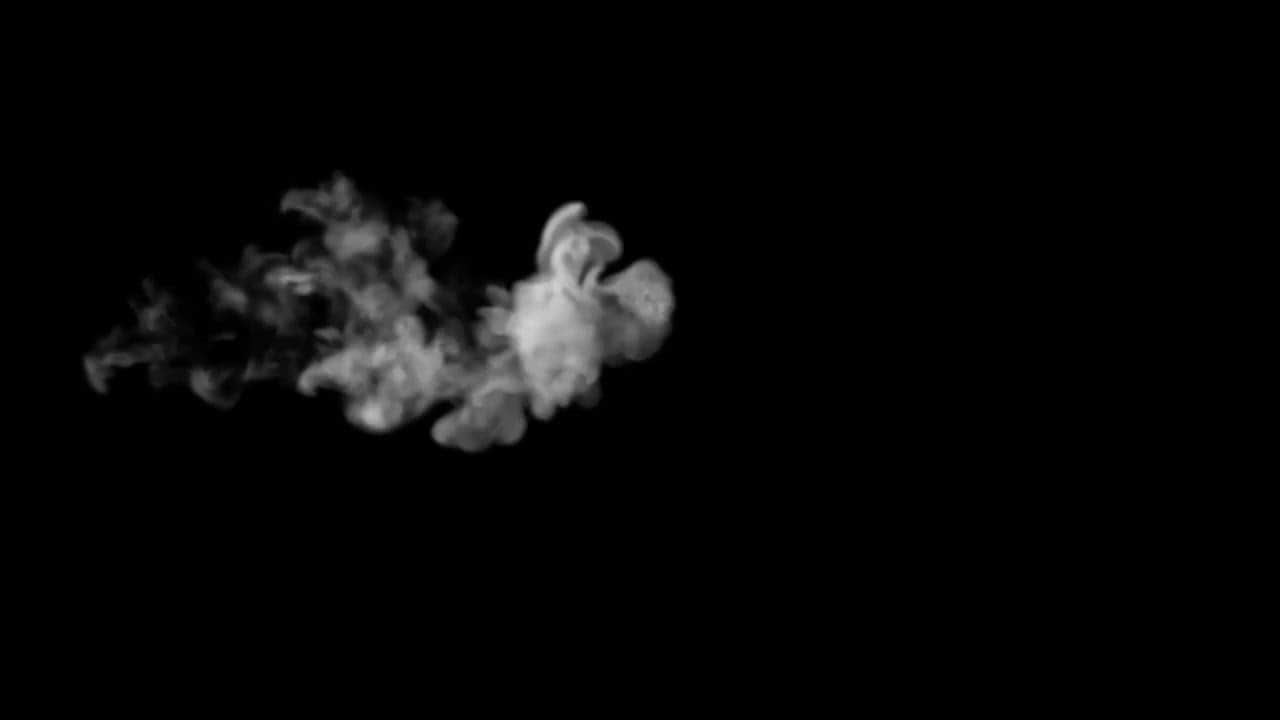
Setting the perfect stage for your video narrative starts with a captivating introduction scene. The smoke video effects can be a powerful tool in achieving this. Using the smoke effect creatively, you can introduce a sense of mystery or historical context all within the first few seconds of your video. It helps you grab the viewer's attention and set the mood for your video to unfold.
Transitions Scene
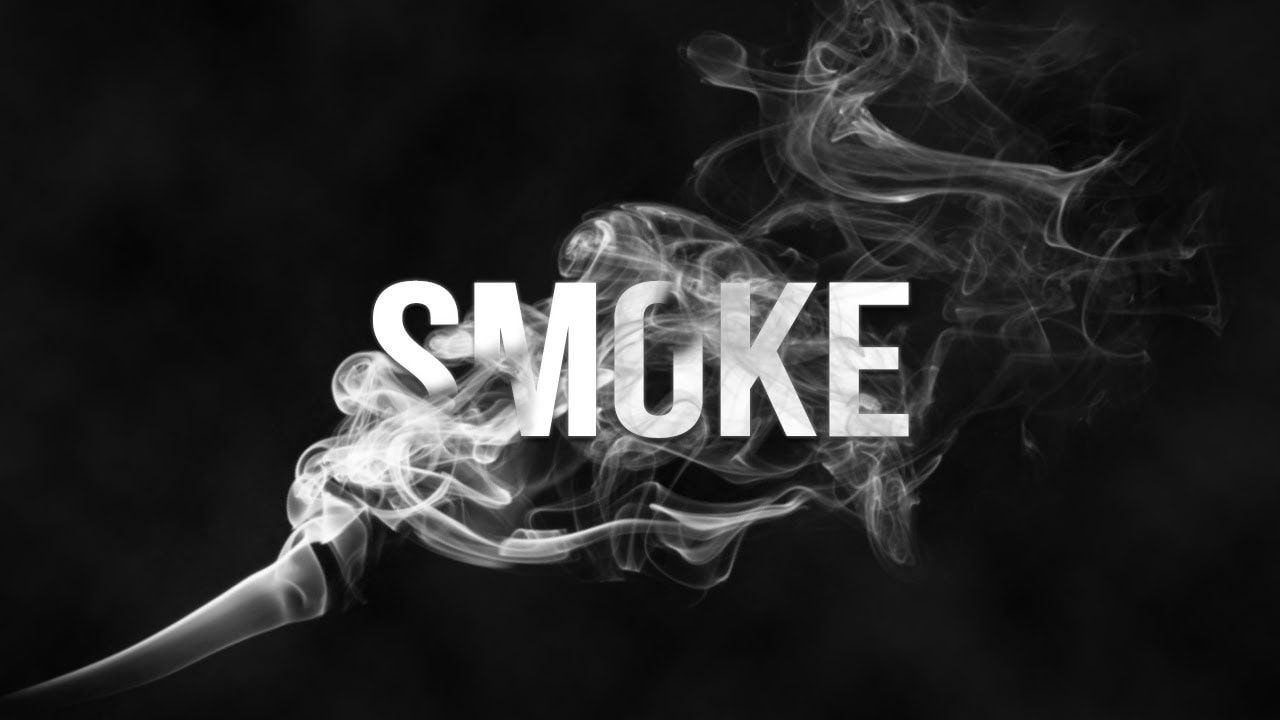
A well-placed smoke effect can create a smooth transition between two scenes. This will guide the viewers' attention from one scene to another. Smoke transition is effective when building suspense or maintaining a sense of mystery. A scene fading into a thick cloud of smoke leaves the viewer wanting more, eager to see what lies on the other side.
AI video editor takes you on a advanced smoke effect creation journey
Step-By-Step Guide To Use Smoke Effect in Filmora
Wondershare Filmora likely offers a variety of pre-made smoke effect clips that users can apply to their videos. You can opt for the best methods across Filmora, which can help you add smoke VFX to your videos and improve overall production:
Find a Smoke Effect in Filmora
Step 1. Launch Filmora and Import Video
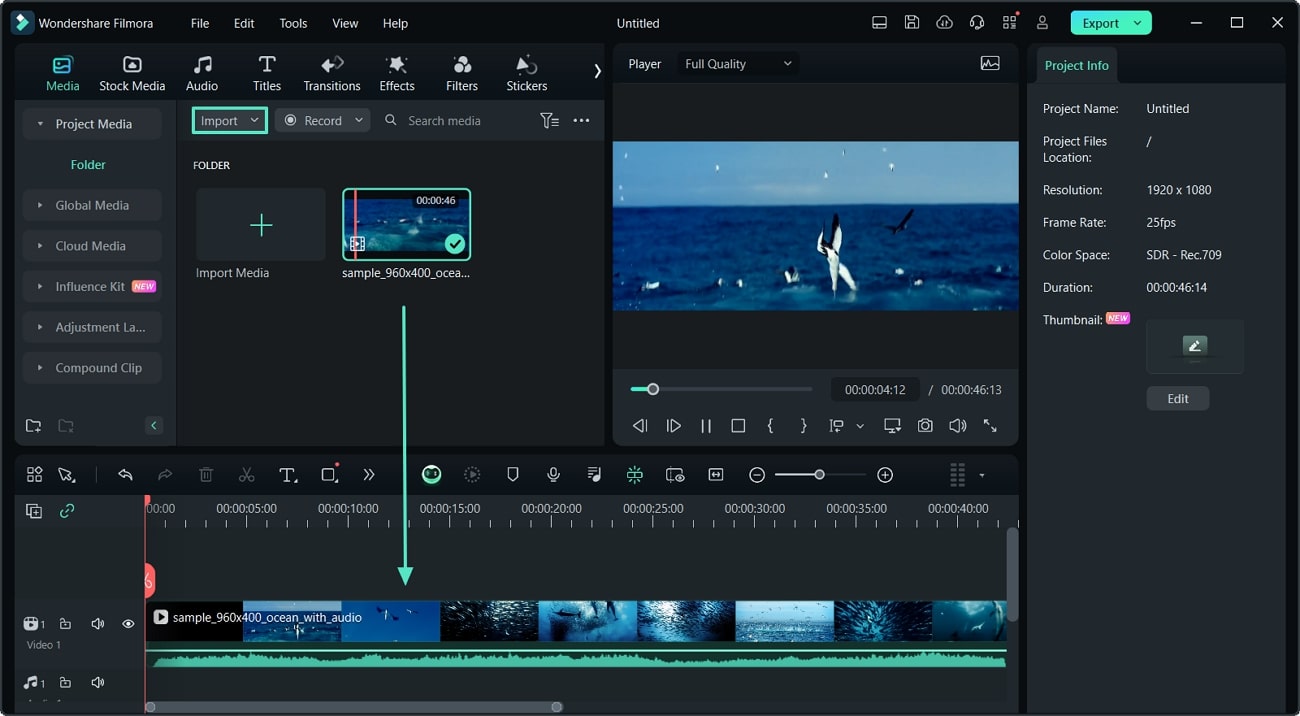
To begin introducing the smoke effect to your videos, launch the platform and select the “New Project” button. Use the "Import" button to add your video to the platform, and drag it onto the timeline for editing.
Step 2. Add Smoke Effect to Video
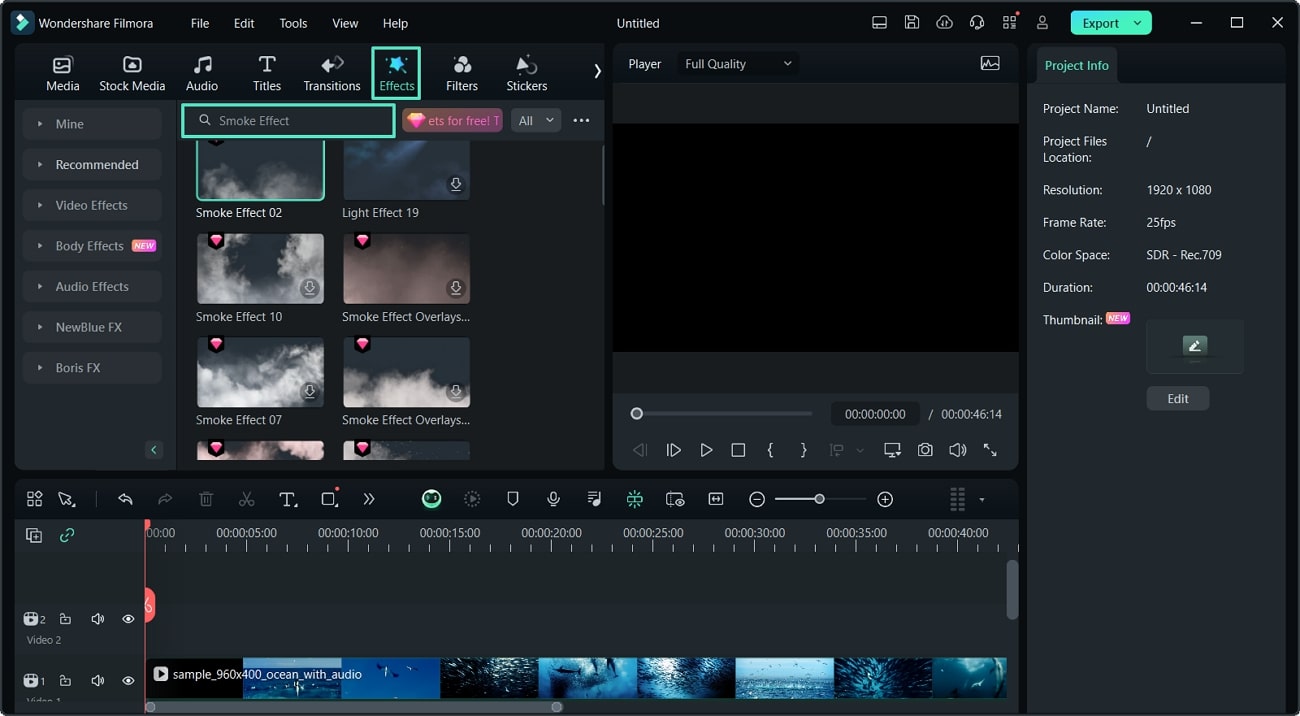
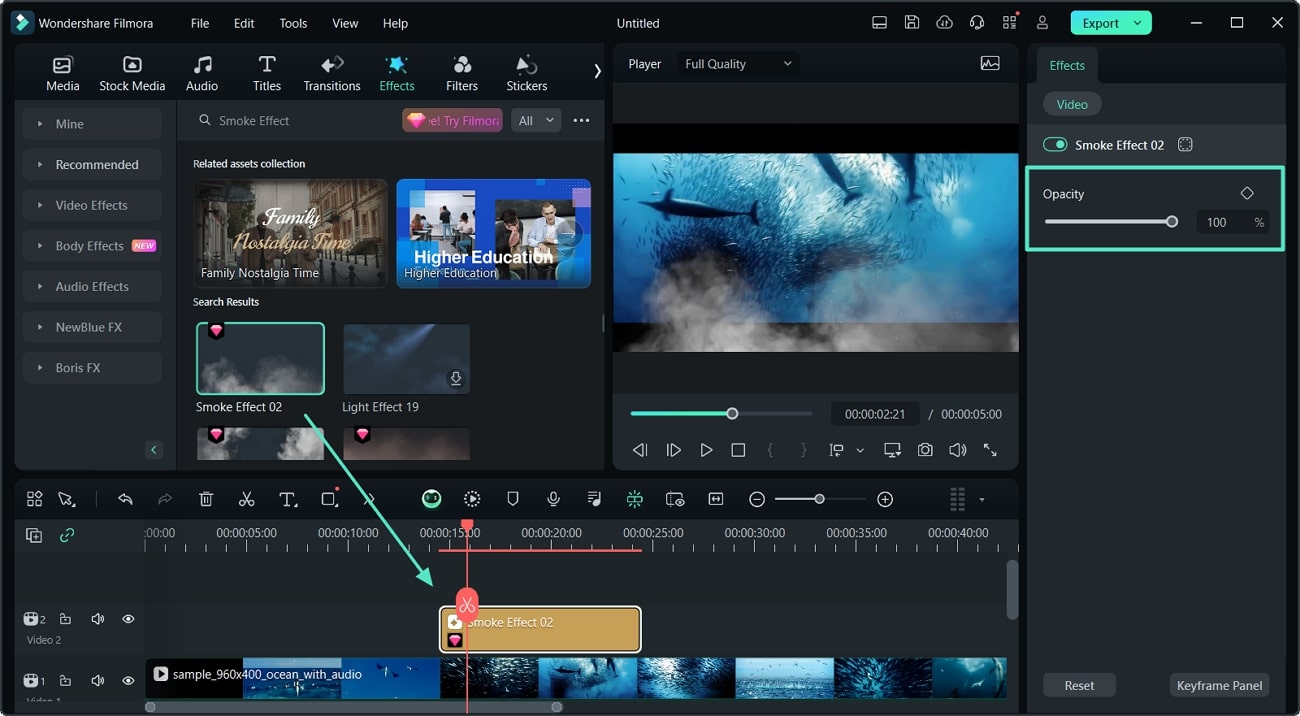
After the video is in the timeline, move to the “Effects” tab and search for the “Smoke” effect in the search bar. Scroll down to the “Smoke Effect” that best suits your video visuals.
Step 3. Move Smoke Effect to Timeline
When you select the effect that you want to add to your video, drag it to the timeline where your video already is. Adjust it to the section where you want to add the smoke effect and manage its “Opacity” with the slider.
Step 4. Finalize the Smoke Effect Video and Export
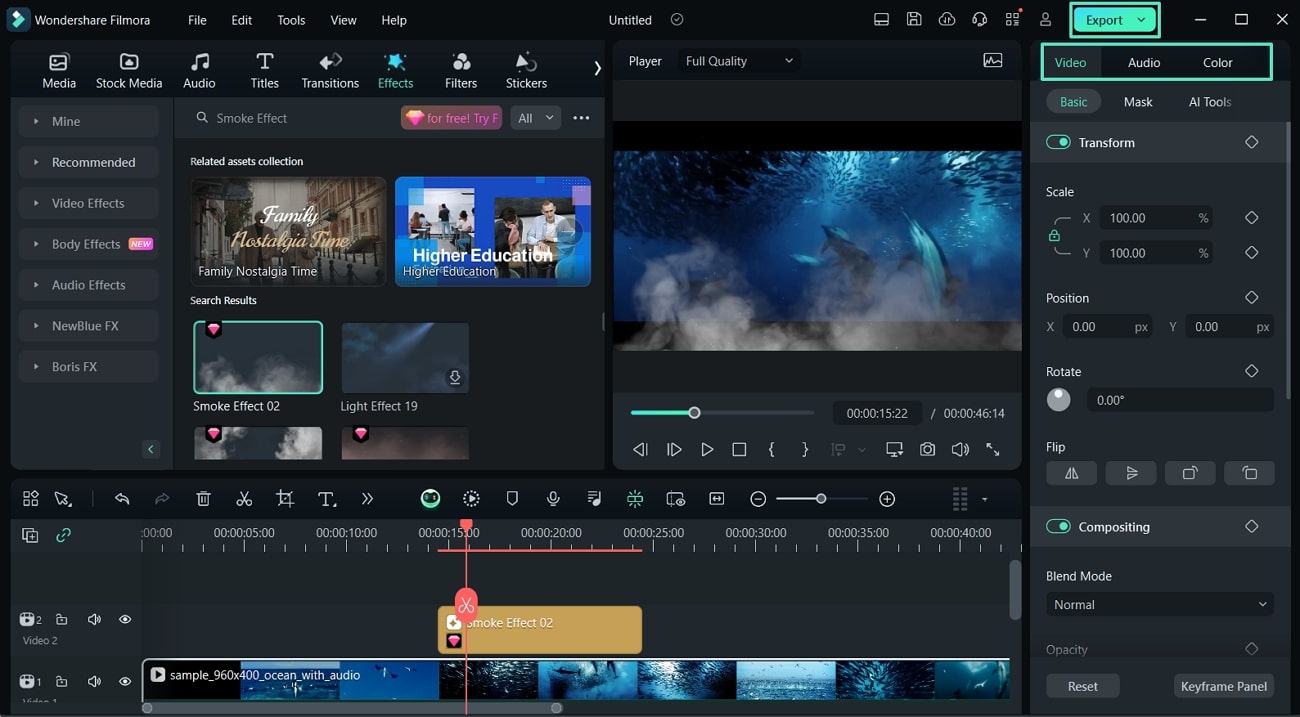
You can utilize extra features provided by Filmora to further enhance your video, audio, color, and speed. Once you are satisfied with your finalized content, tap on the "Export" button in the top right corner and save the video to your files.
Find a Smoke Effect in Filmstock
Step 1. Open Filmstock and Search for the Smoke Effect
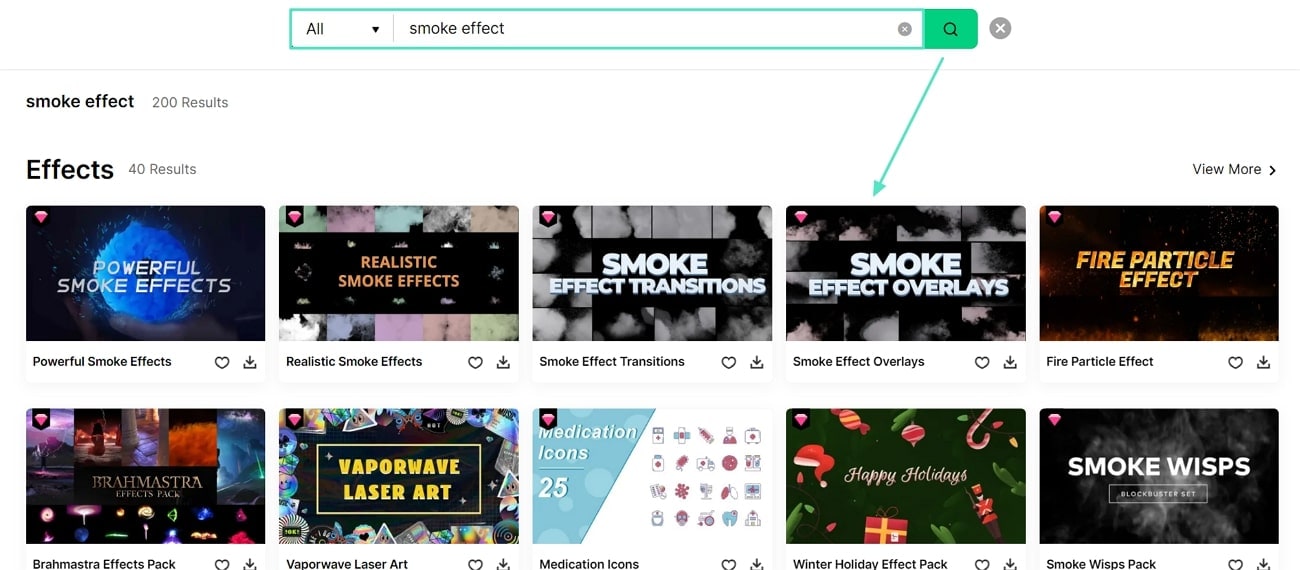
Discover a vast list of effects collections across the Filmstock library. You can go to their official website and use the “Search” bar to look for the smoke effect from their collections.
Step 2. Choose and Download the Smoke Effect to Filmora
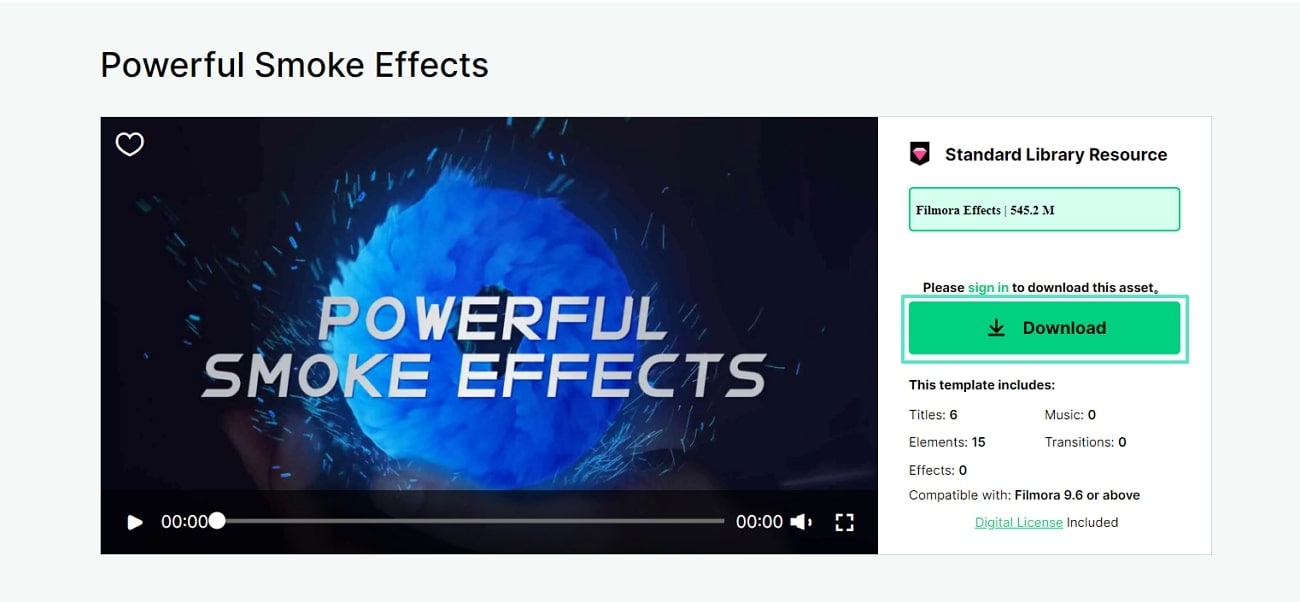
After you select the option that best fits your video content, you will be redirected to a new window where you can "Download” your choice and add it to your Filmora effects.
Conclusion
To summarize this article, the use of the smoke effect improves your video audience engagement. The mystical thick cloud effect will leave viewers eager to see the transition. In this article, we discussed the best scenes you could apply smoke effects to and the best methods you could use. The recommended method is to opt for Filmora, an all-in-one video editing tool where you can edit your video further.
