Make Highlight Text Animation Effect
Video editing tools are now capable of producing unique effects on video clips to enhance the significance and relevance of your content. The highlight text animation effect is a popular technique to highlight important quotes, historical events, or factual data in a video clip. By using Wondershare Filmora, you can effectively generate this special effect by utilizing its distinct features.
Tool
Assets


Transcript
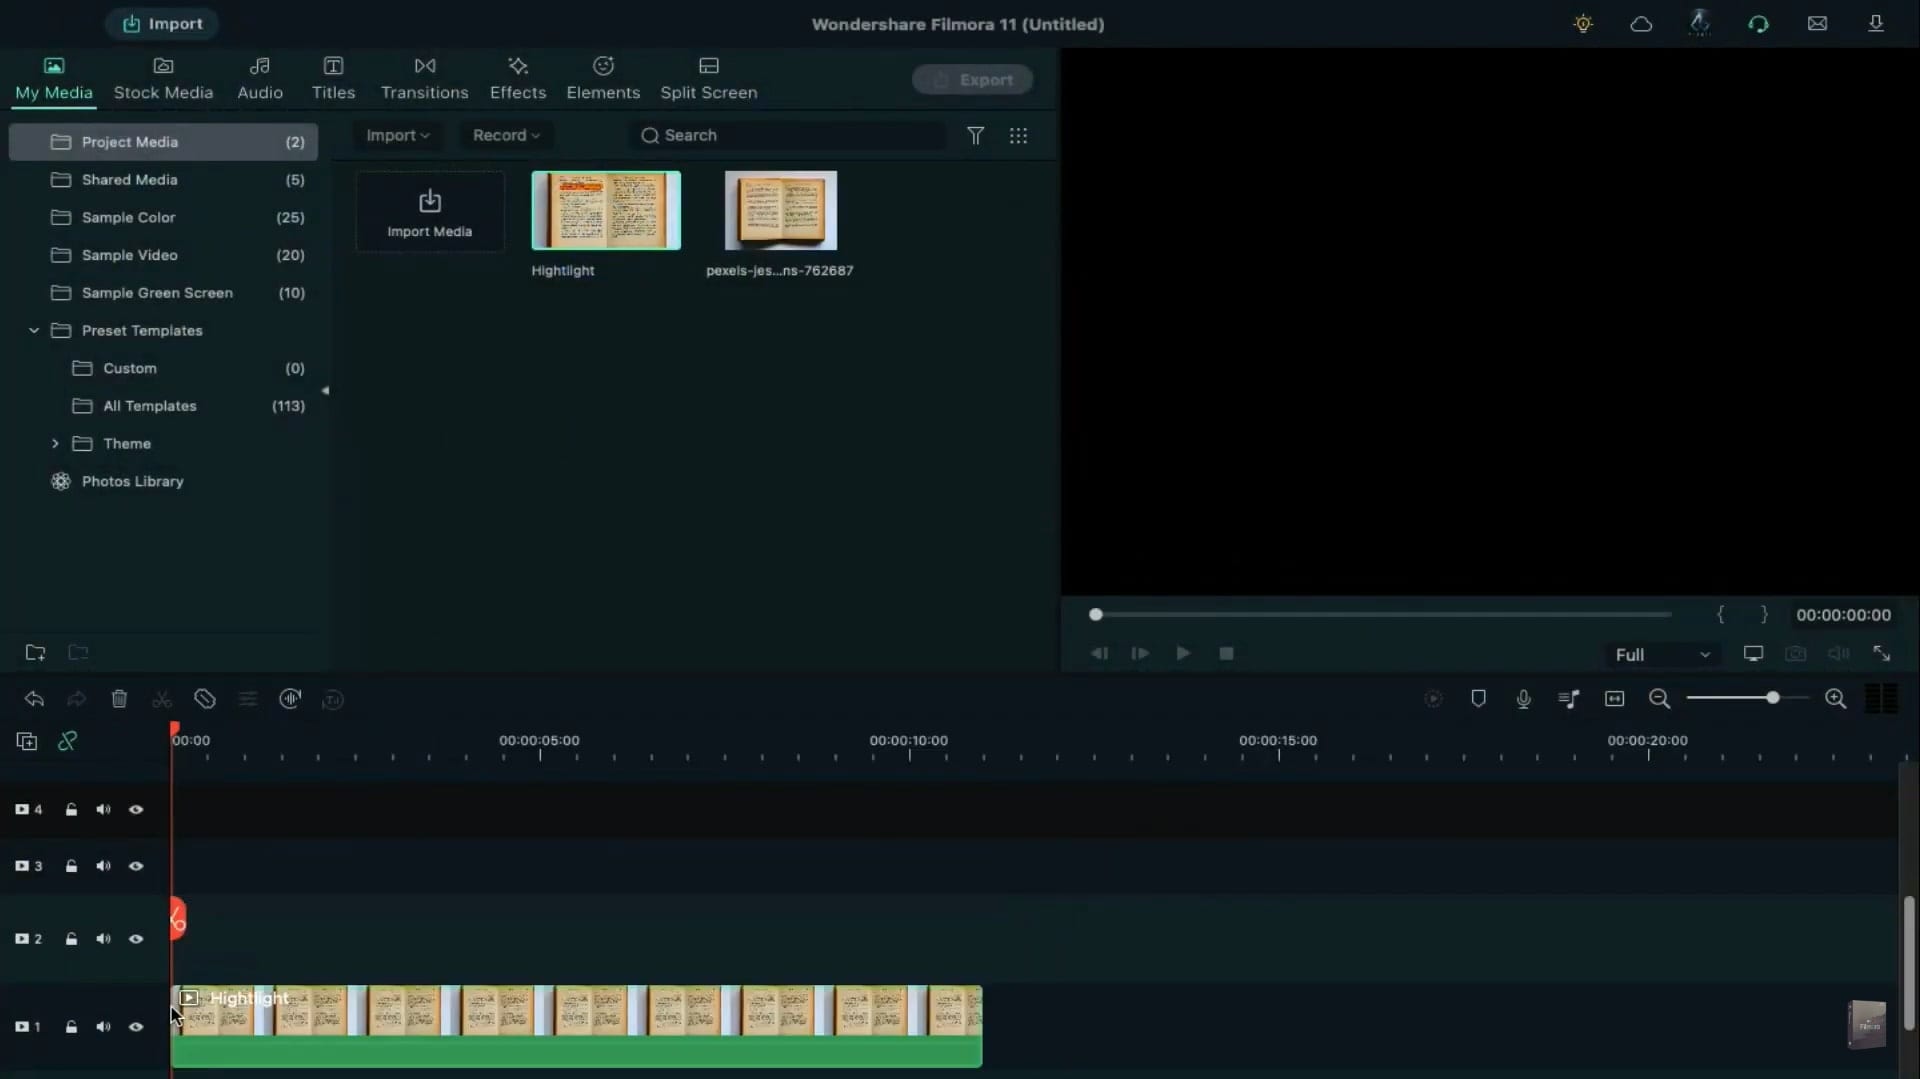
First, drop your image on the timeline. Right-click on it and change the duration to 11 seconds. Double-click on it and change the Scale to fit the screen.
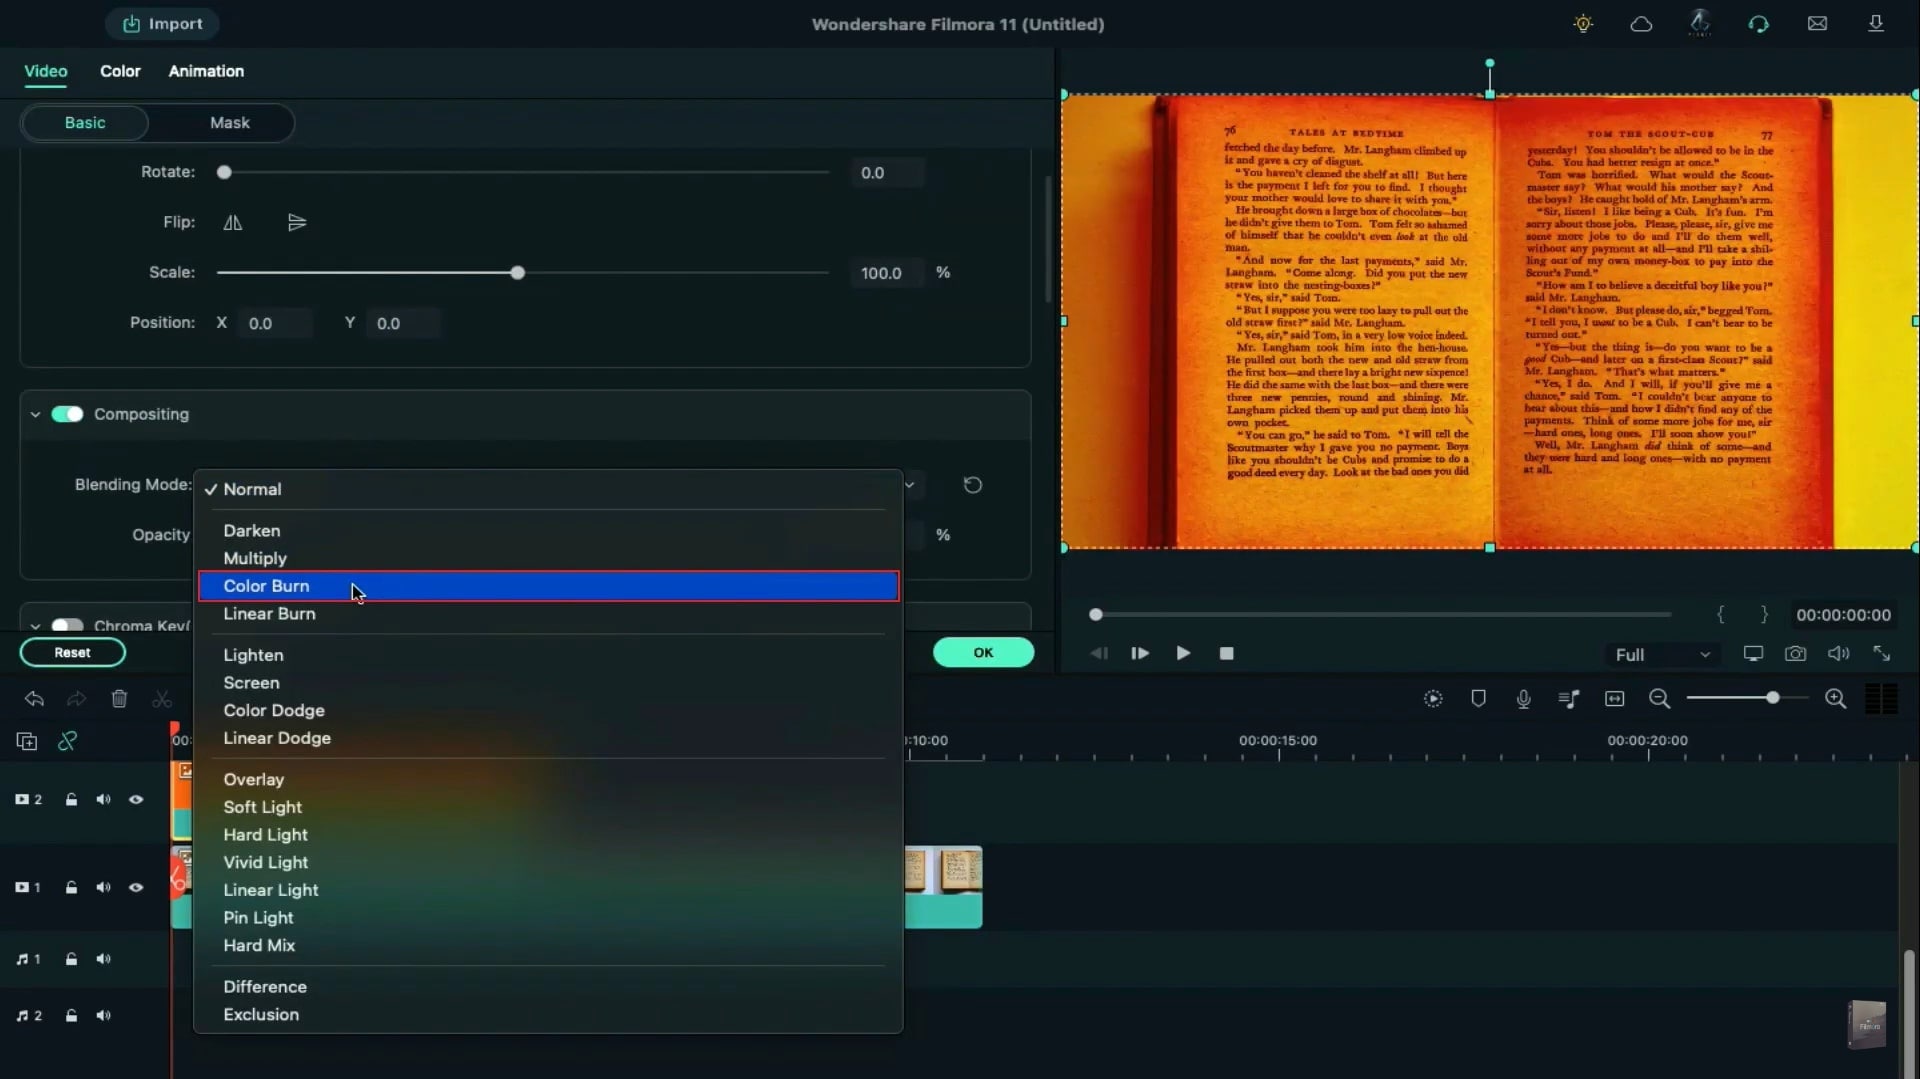
Now go to the sample color and drop any color of your choice on track 2, which will be your highlight mark color. Double-click on color and change the blending mode to color burn.
Move it right behind a bit. Then, shrink the color in the preview screen until it can cover one line of space. For a better view, change the zoom level to 75%.
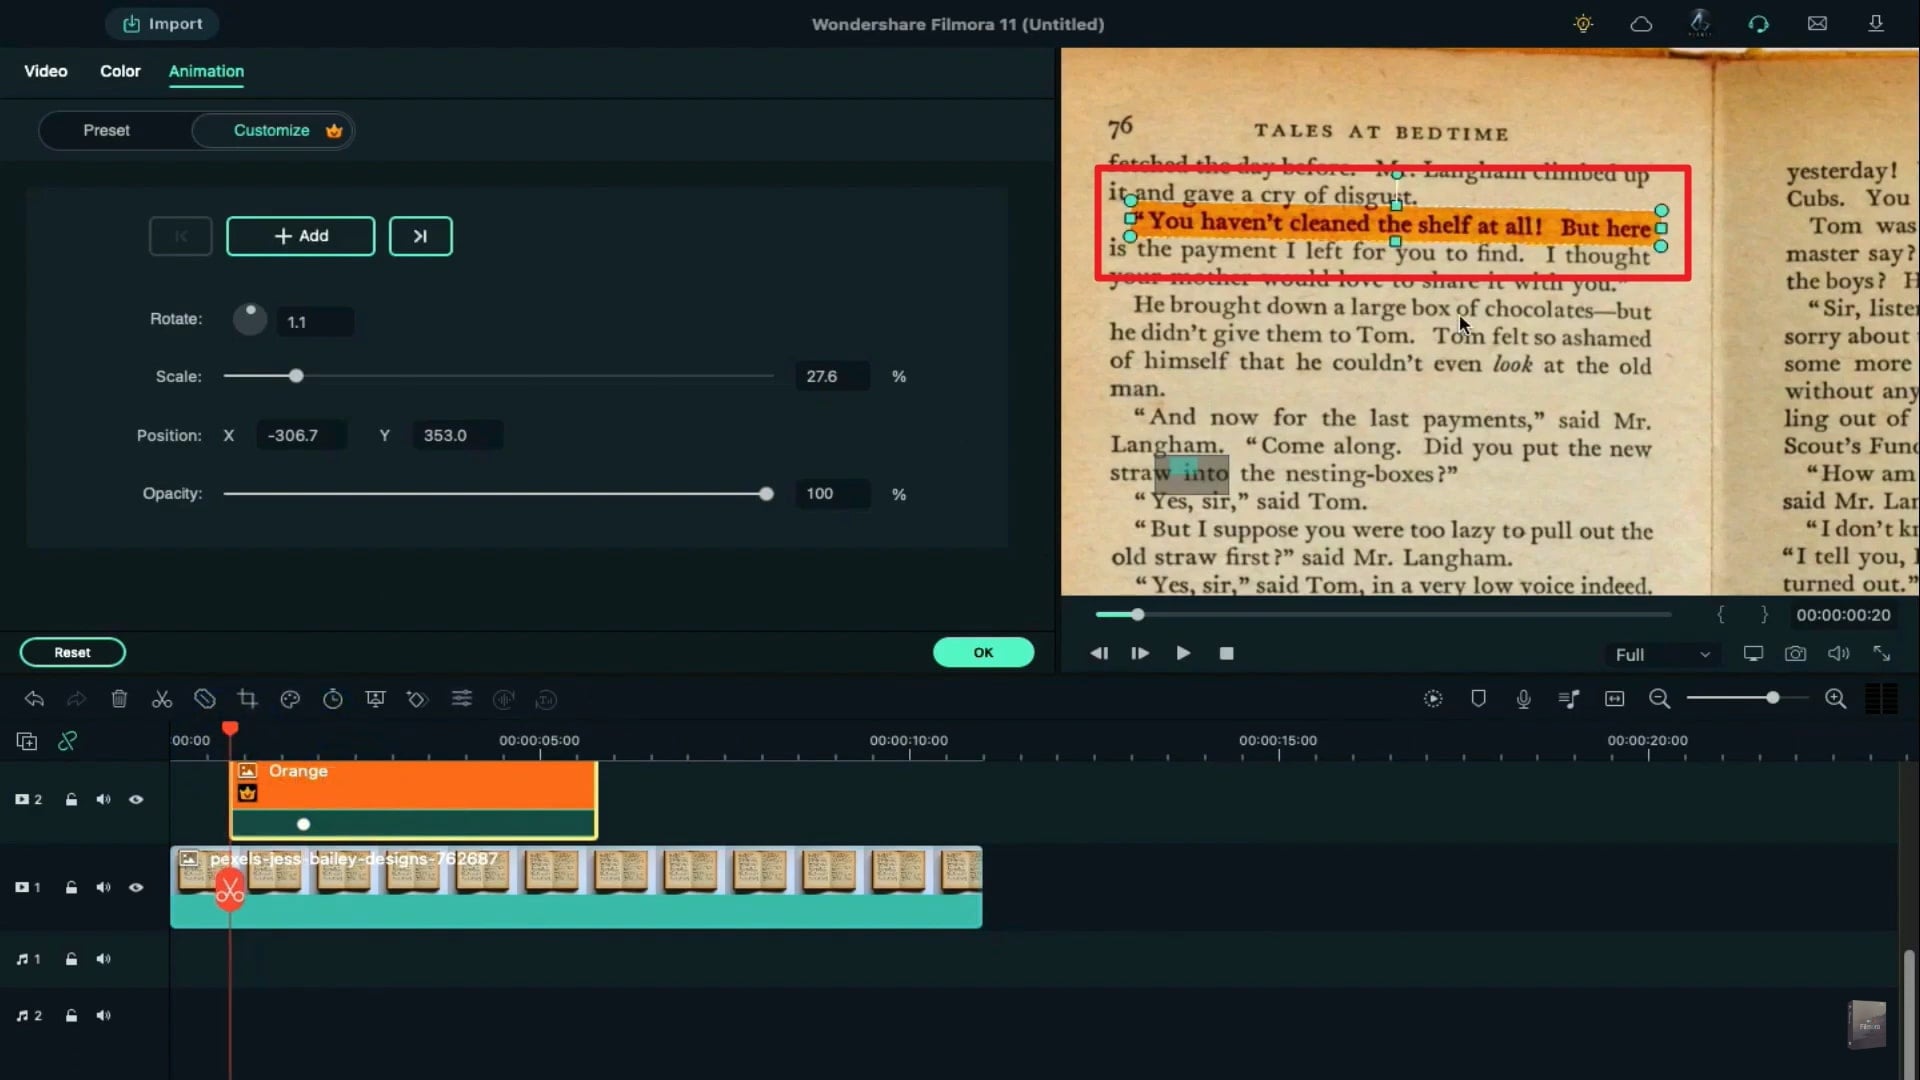
Place the color over the sentence which you want to highlight and adjust the color height, width, and rotation.
Then move to one second further and add a keyframe here. Go to the starting point of the color, double-click on it, and shrink the color until the color eliminate.
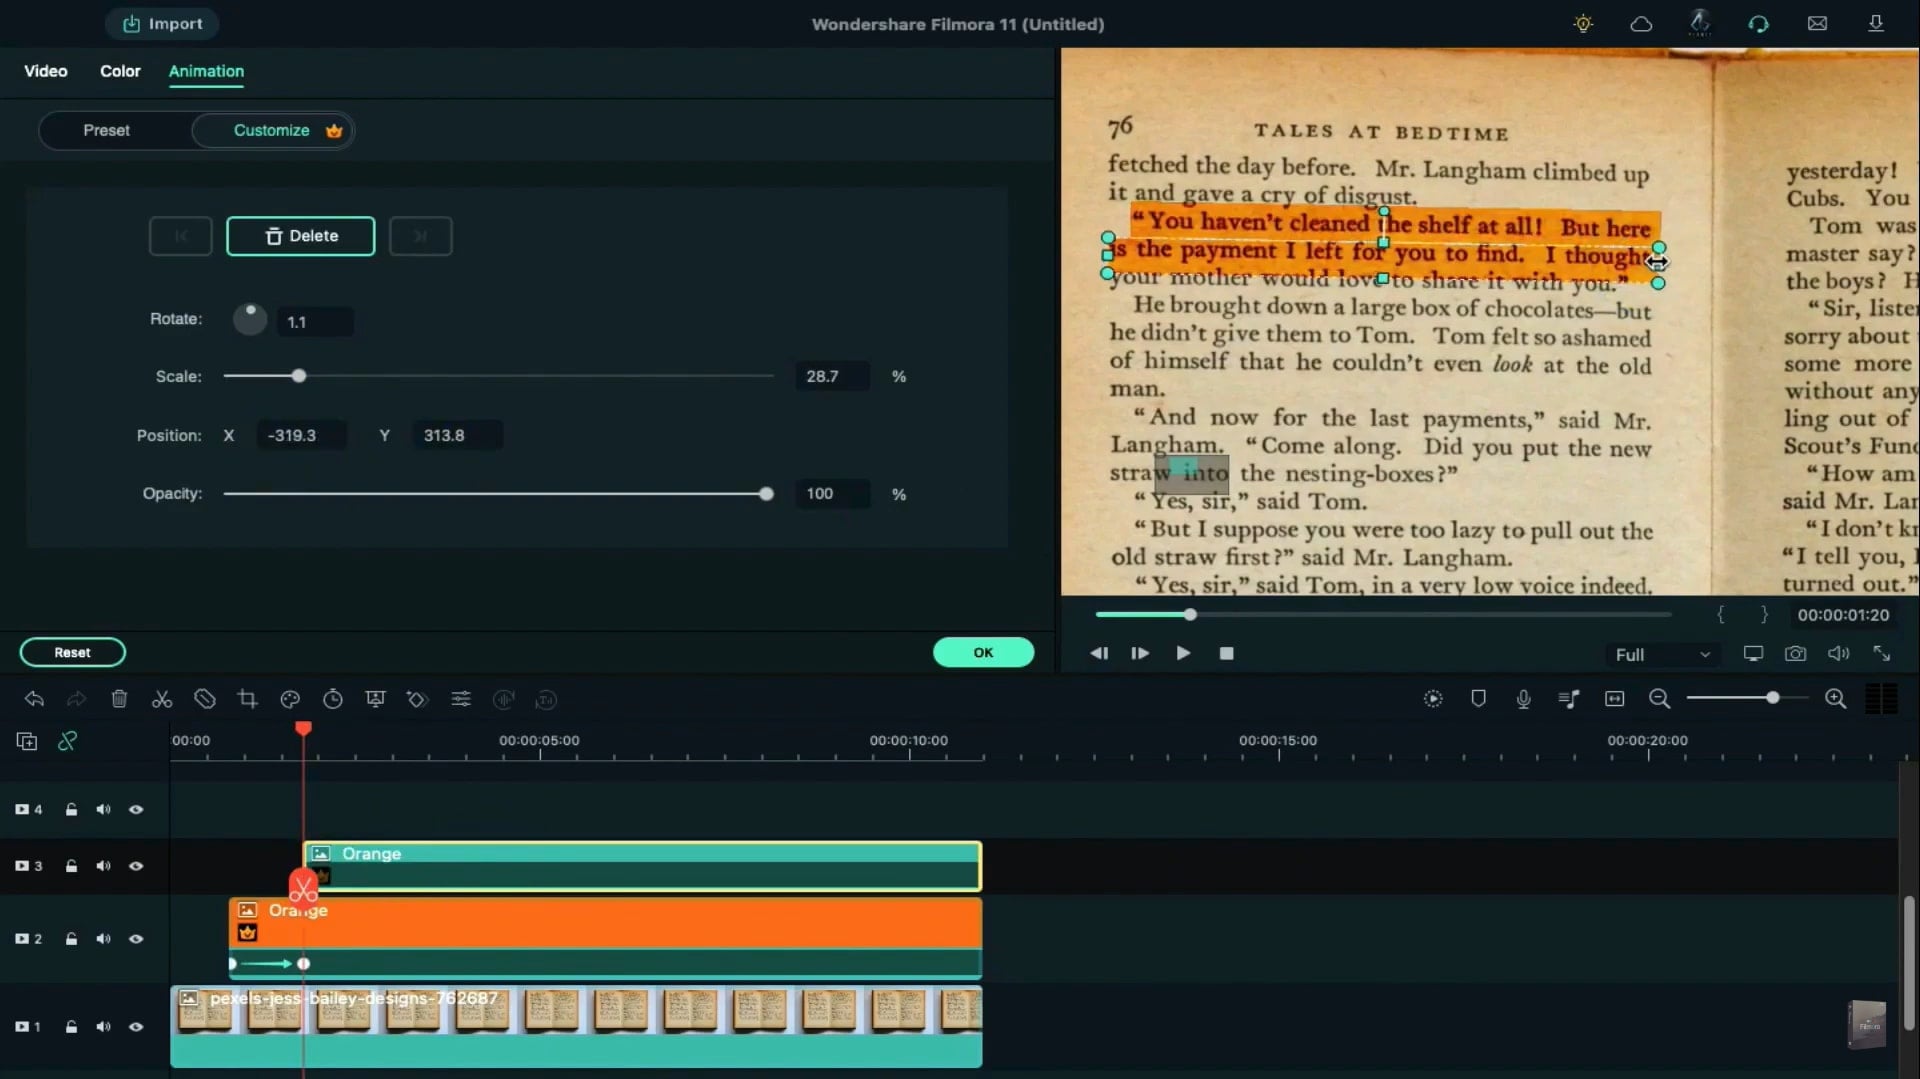
Now, extend the duration of color as long as our background clip. Copy the color from track 2 and paste it on track 3 at the second keyframe position. Delete the keyframe and adjust the color position to cover the next sentence.
Then, place the playhead one second forward and add a keyframe. Then, go back to the starting point and shrink the color in the preview screen.
Now export this clip at a Highlight. Then, import the clip which we have created to the project media.
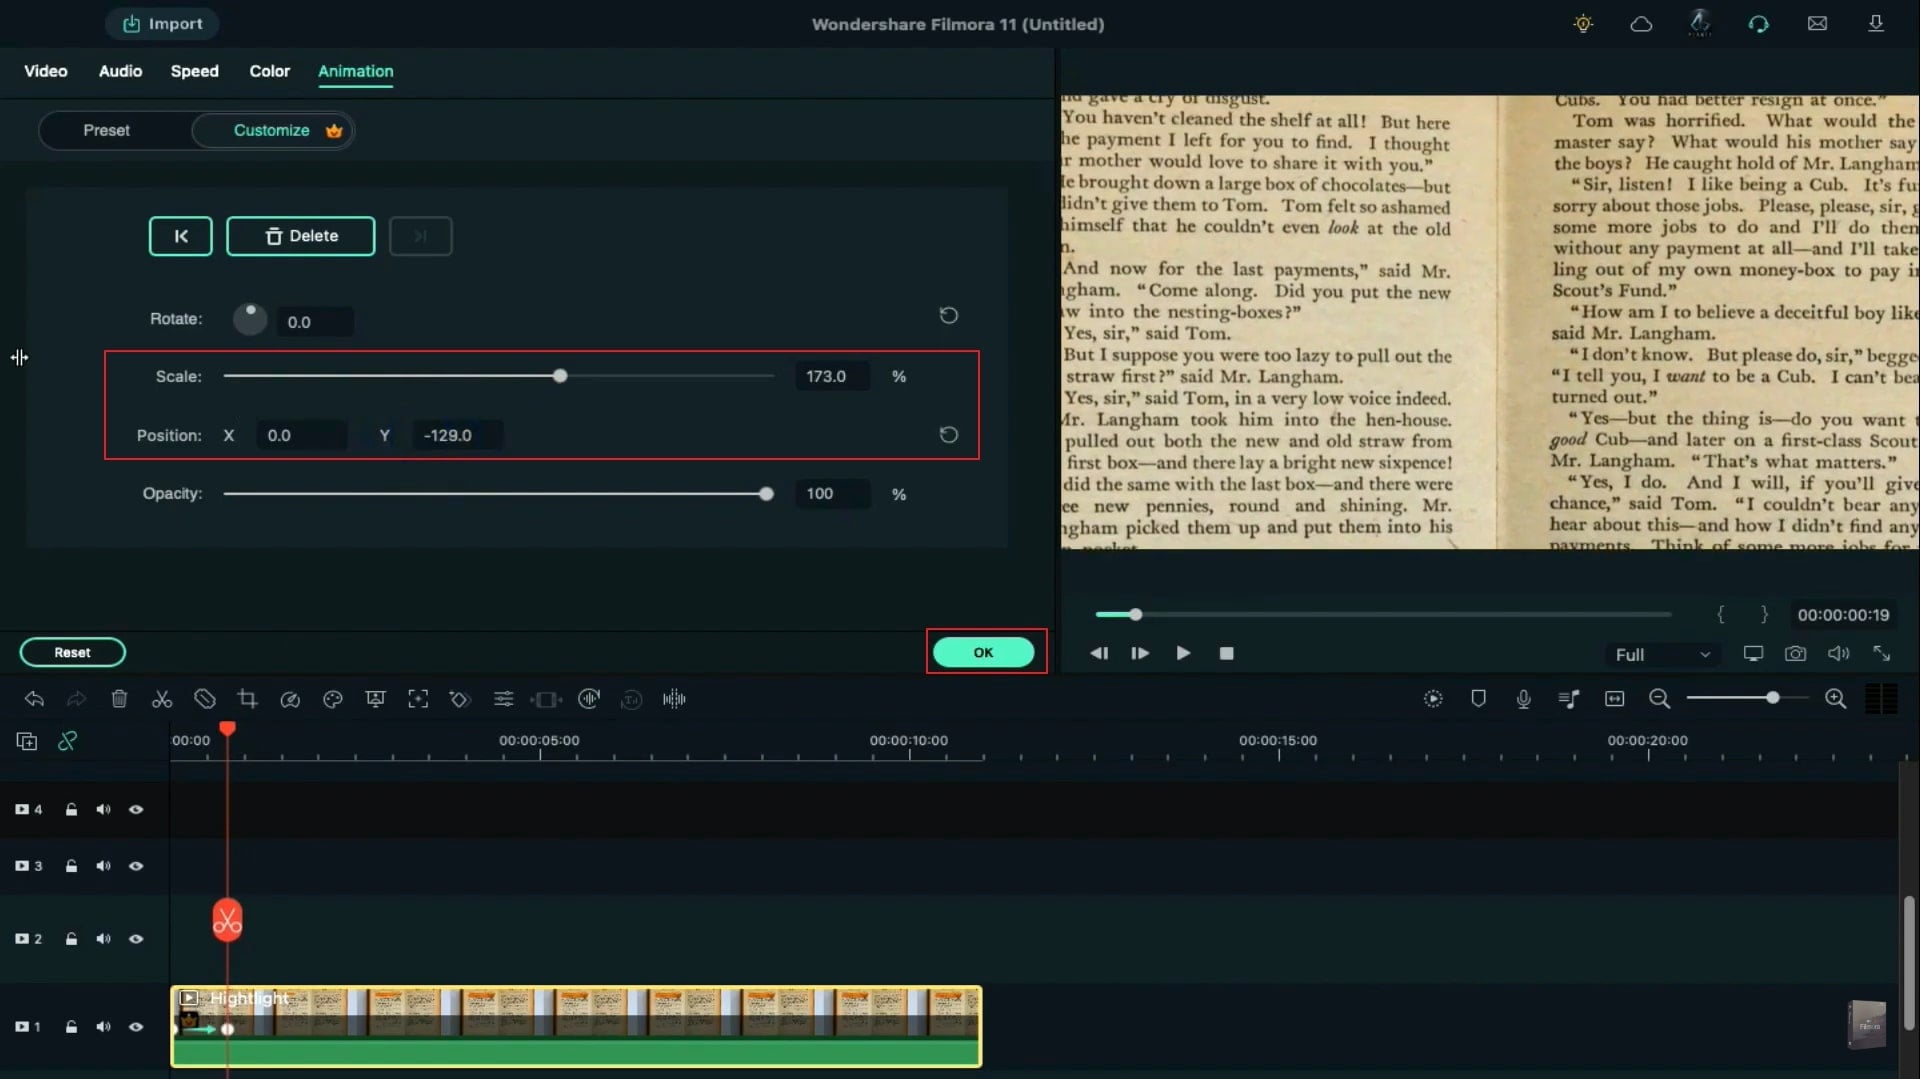
Drop it on track 1 and add a blank keyframe at the starting point. Then, place the playhead in the 19th frame and increase the Scale to create a zoom-in effect, and adjust the position of the clip over the Highlight effect.
How to Make Highlight Text Animation Effect
What you need to prepare:
- A computer (Windows or macOS)
- Your video materials.
- Filmora video editor
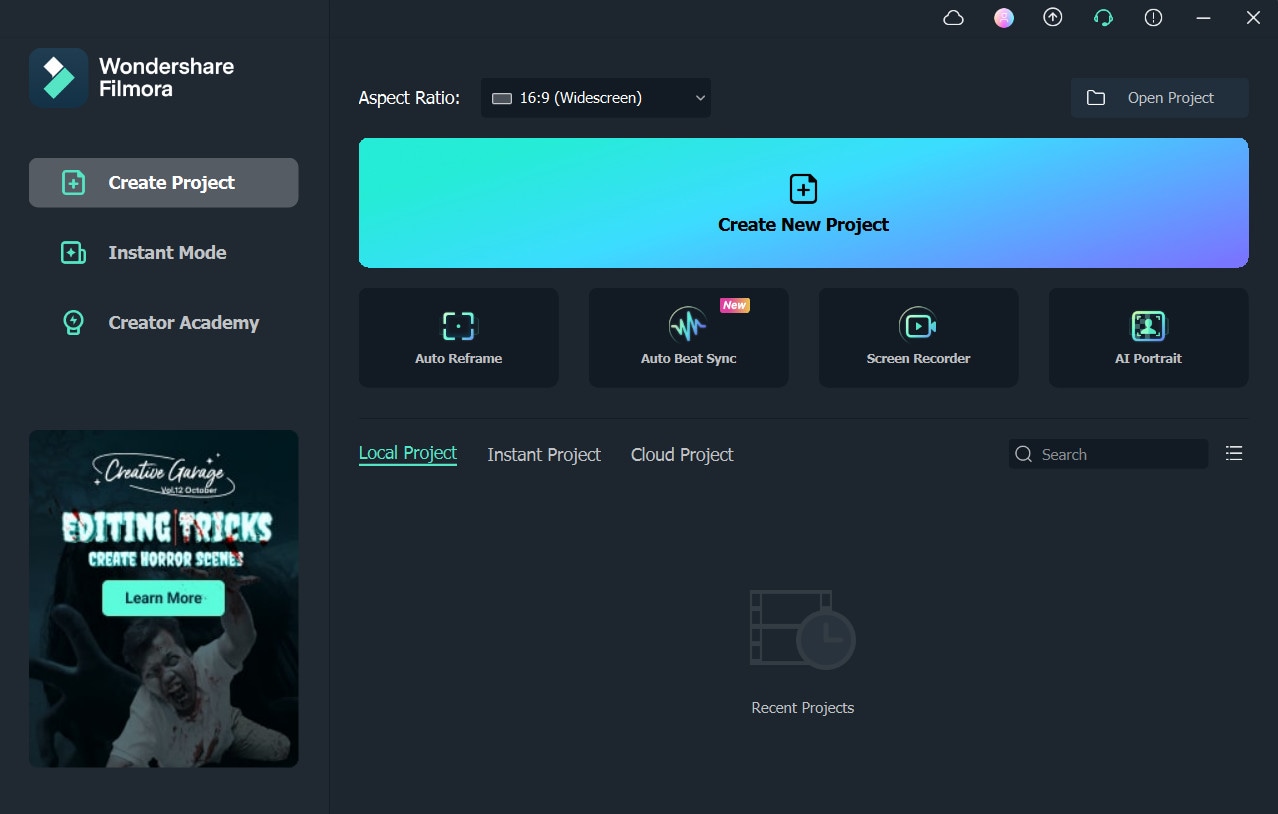
Proceed to the official website of Wondershare Filmora and select the Free Download button to download the installer of Filmora on your system. Use the installer to install Filmora editor on your device.
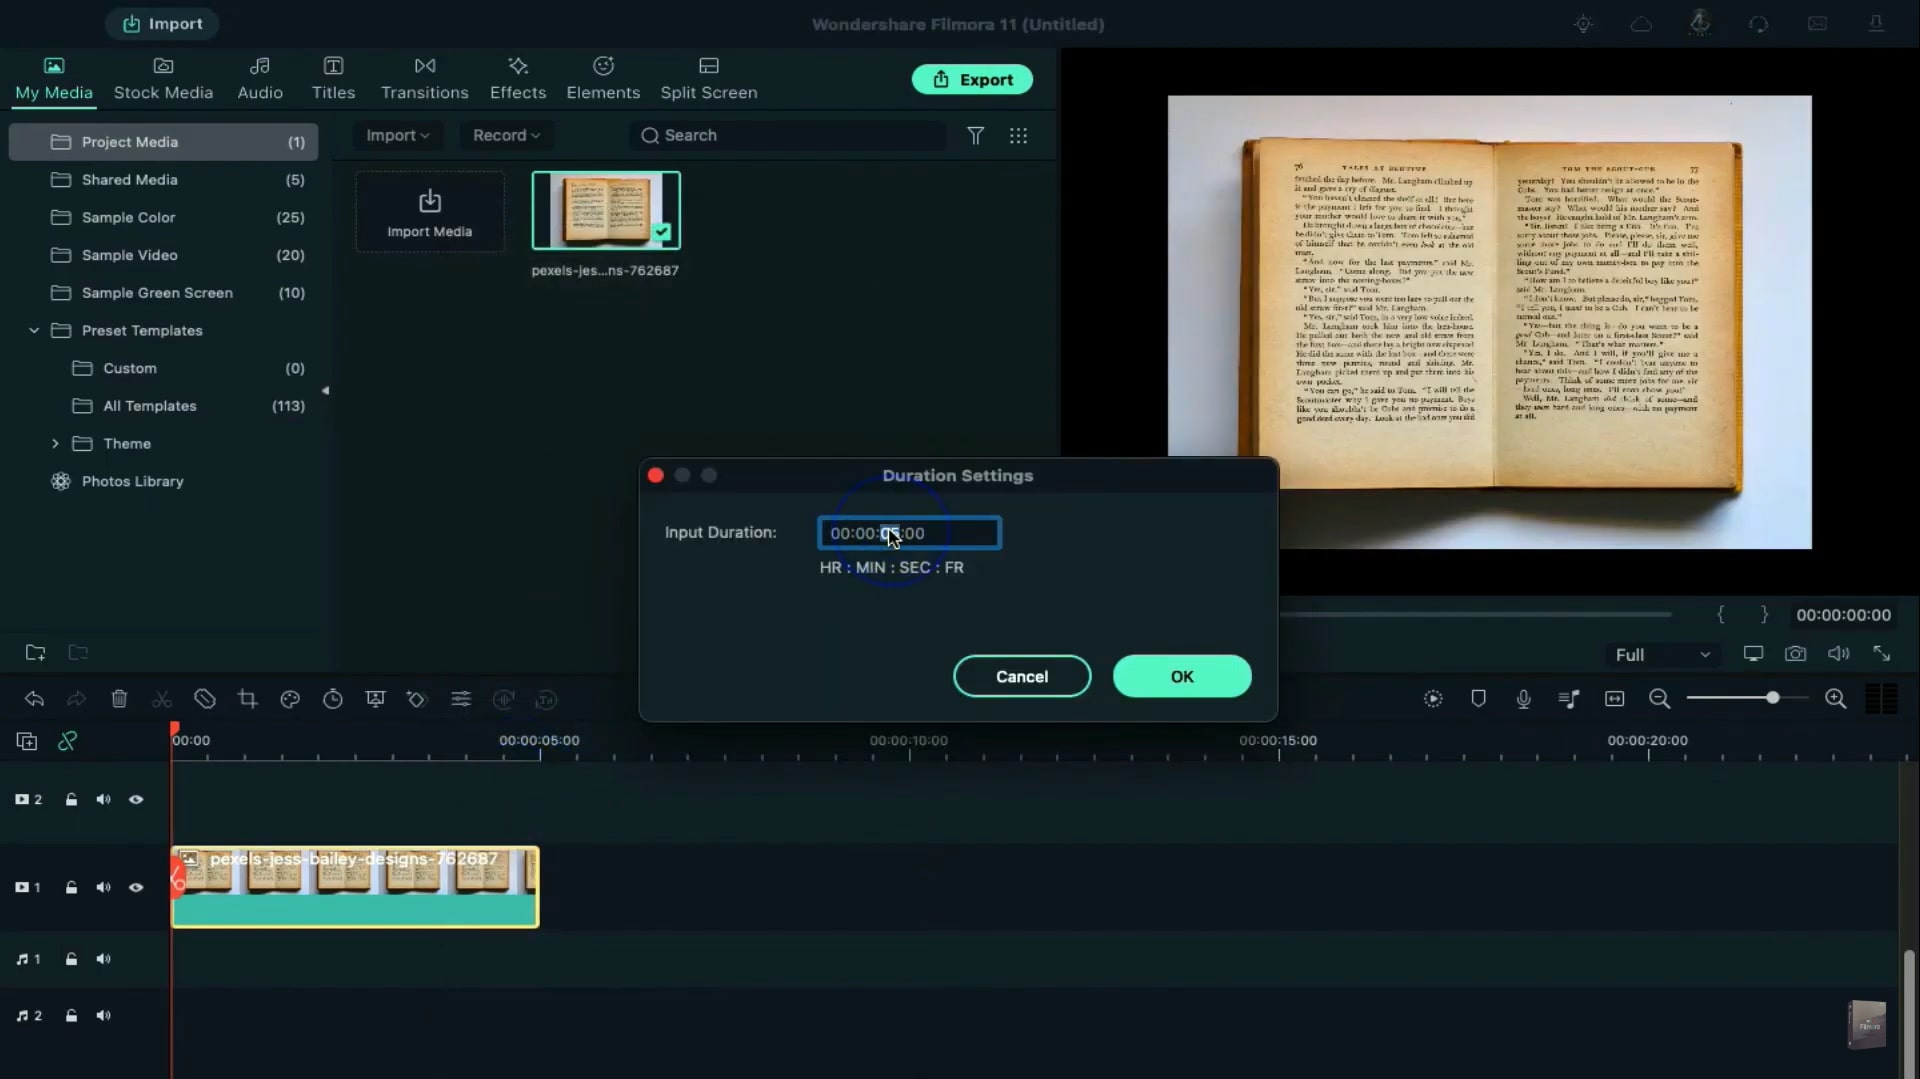
On its interface, import the photo from your PC. Drag it to the timeline and right-click on it to proceed. Now change its time duration to 11 seconds. Afterward, double-click on it to open its settings. Here, change its Scale to make the photo fit the screen.
From My Media, select Sample Color and pick any color of your choice. Drag and drop it to track 2 on the timeline. Afterward, double-click on the added color and locate the option Blending Mode. From this mode, select Color Burn. Now move the added color from the timeline for 1 second. From your preview screen, shrink the added color until it looks like a line space. You can also change the zoom level to 75% for your ease.
By staying on your preview screen, place the color on your desired text. You can adjust the height of the color by modifying Rotation and Width from the settings. Move 1 second further on the timeline and navigate to the Animation tab. From there, add a keyframe on the selected clip.
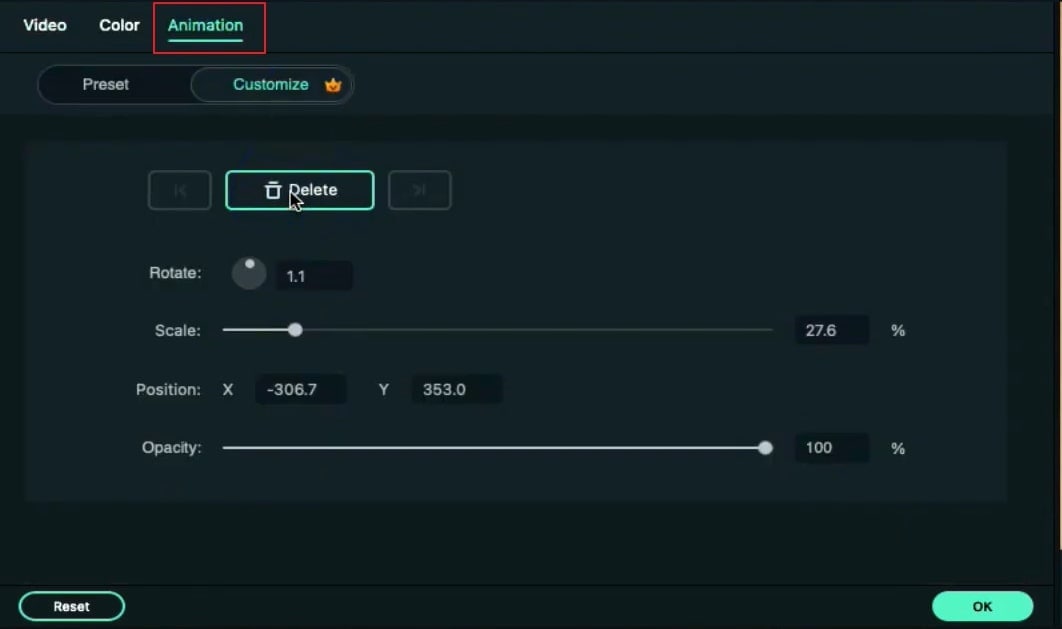
Once done, move the play head to the starting point and double-click on the color. From the preview screen, shrink the color on the screen until it gets completely eliminated. Now increase the duration of color on time to match the added photo on the timeline.
To move further, copy the color from track 2 and paste it to track 3 at the keyframe position carefully. Afterward, remove the keyframe and adjust the color position on your preview screen. Now move the play head to 1 second further and add a keyframe. Again, shrink the color on the preview screen until it gets fully eliminated.
Now, you have to copy the color from track 3 on the timeline and paste it to track 4. Repeat the same process to conclude. Once done, export this video clip at a higher rate while giving it a name. Afterward, import this video clip on Project Media and drag it to the timeline.
In the beginning point, add a blank keyframe and move the play head to the 19th frame. Double-click on it and increase its Scale to create a zoom-in effect. Also, adjust the position according to the highlight effect that can be seen on the preview screen. Press OK and render this video clip to watch the final result.
What you've learned:
- You can change any background in video with green screen.
- Use transitions in video to make it more smoothly.
- Filmora comes with many types of background, including social, busiess, sports and more.
Also, if you want to add text in a special font to bring your videos some movie vibe, click here to learn more.
