Transcript
Welcome back to another video and in this tutorial I'm going to be showing you how to create this rolling text animation using Filmora 13. This animation is very easy to create! Let's jump into film and get started.
First, we need to make our main text layer. Go to the text and select the default title and add it to the timeline. Change this layer color as you like. I change it to Yellow. Go to the settings and type here what you want. Here I type animation and I use "GoBold bold" font style and change the font size to 100. This is our main text layer.
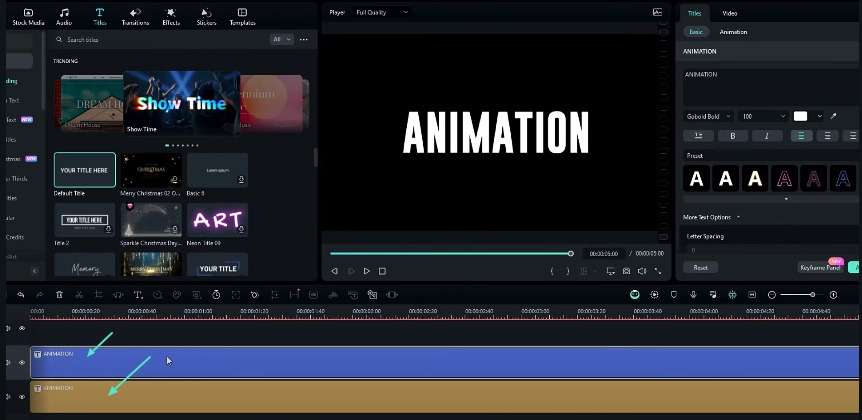
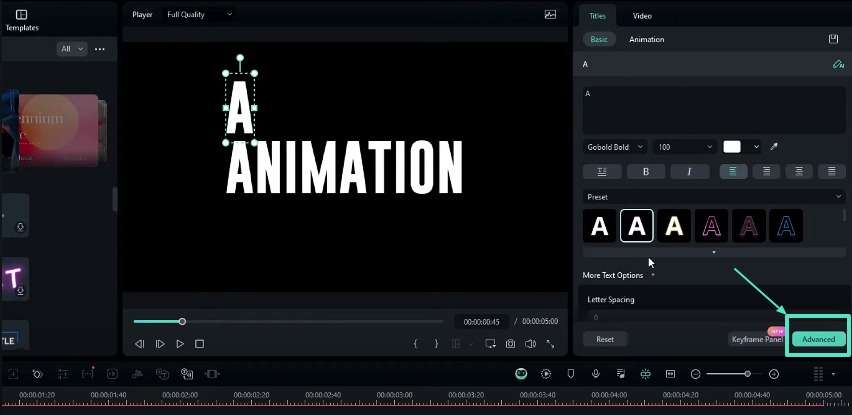
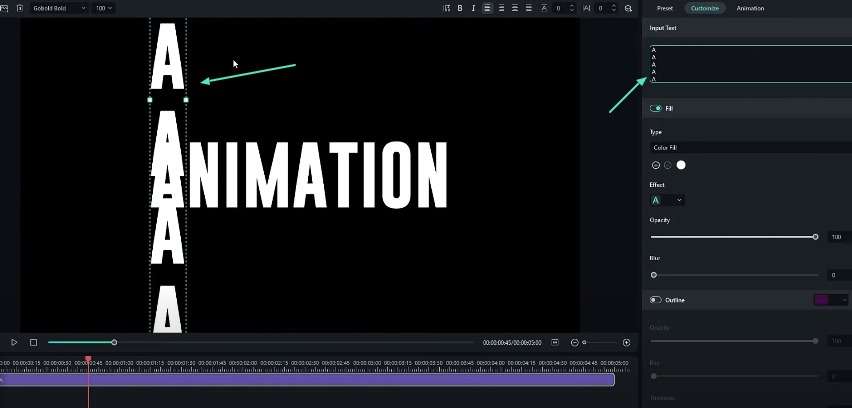
After that take a copy of this layer and paste its second layer like this. Change the layer color to what you want. Go to the text settings and I delete these letters except the letter A like this. Go to the advanced settings and we need to create a vertical line of the letter A. I type letter a 20 times here. I select here and press enter to bring these letters to down. After that, I changed the line space to something minus 20 like this. Click this apply button. After that, I place this text layer on top of our main text letter A like this.
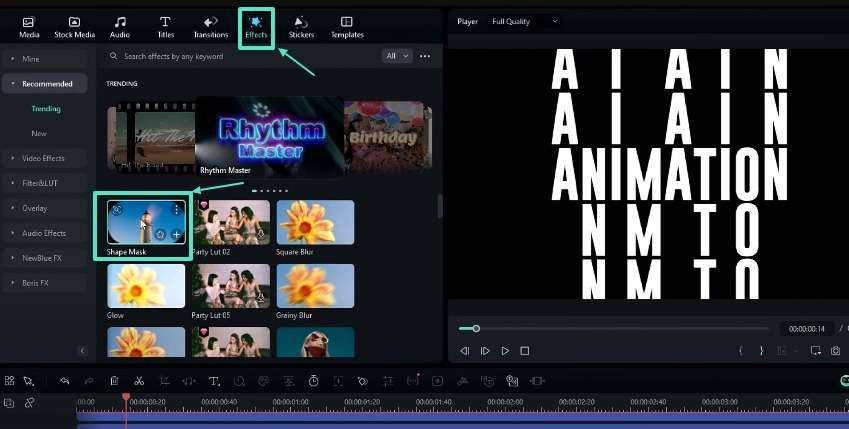
We need to create the same kind of text layers for our other letters. After you create your text layers, delete your main text layer. We don't need that again. We need to add a mask effect to hide the unwanted area. Go to the effects Tab and select the shape mask effect and add it to the timeline like this.
Go to the effects settings and select height and adjust the mask height like this. Go to the radius and change it to zero and also add the blur strength you like.
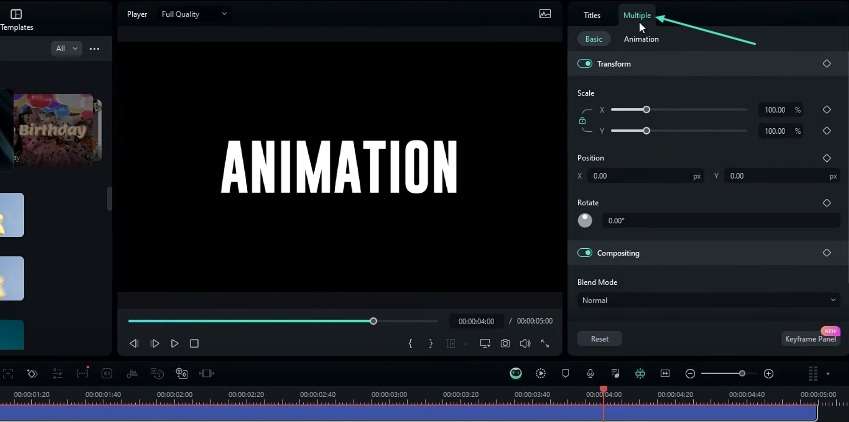
After that, we need to create the rolling animation. I select here on the timeline, then I select all my text layers and go to the multiple sections, and create a key frame on position. After that, go to the start and select my first text layer, change the Y position like this. I select my second layer and move this text layer up and I keep doing the same thing for my other text layers like this.
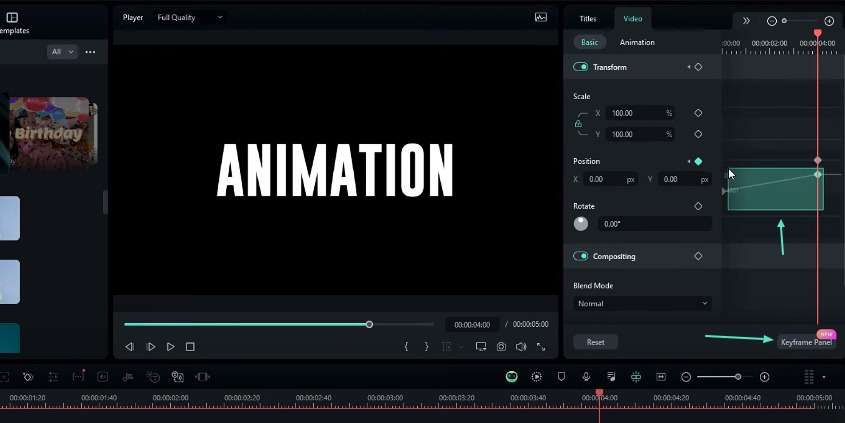
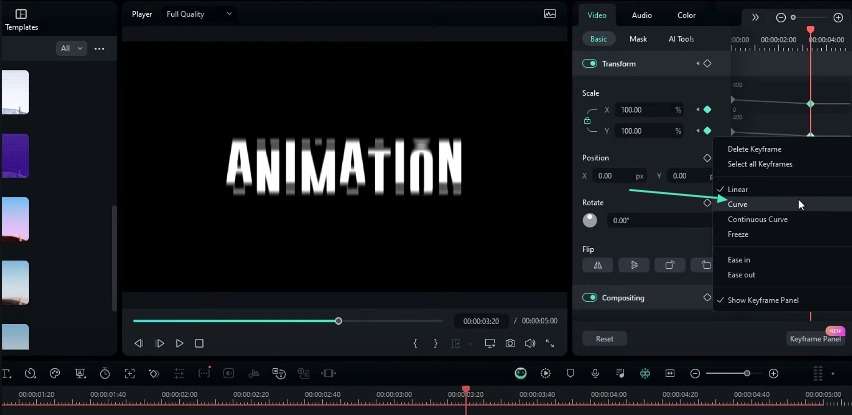
Now our rolling text animation looks like this, let's adjust the key graph. I select this layer and go to the key frame panel, select these key frames and I add this curve preset to this. I do the same thing for my other text layers. Now our rolling text animation is complete, here it looks like.
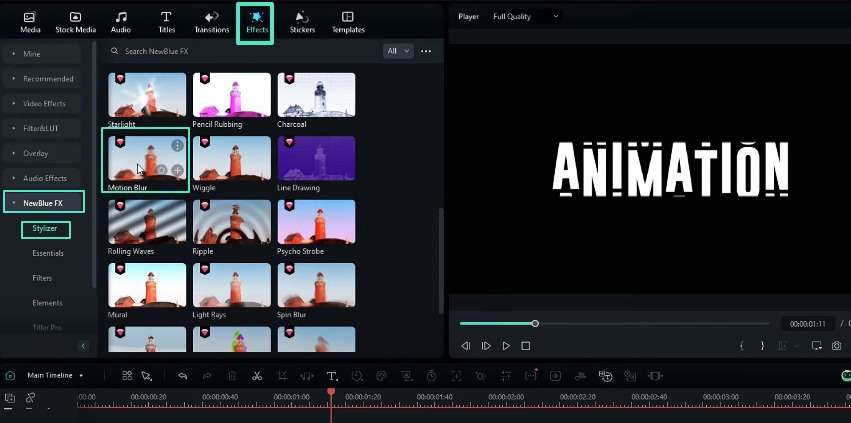
After that, select all these layers and press alt+ G to create a compound clip, I named it text and hit. After that, we can add the motion blur to our animation. Go to the effects tab, select NewBlue FX, select Stylizer, select motion blur, and add it to our text animation like this.
Go to the effects settings and you can adjust the blur amount you like. I change this to something 20 and I change the angle to 90°. Here, I keep the direction value to zero, increase the blend value to 100, and change the edge mode to blank. We can animate our motion blur effect. Go to the start and create a keyframe on blur and change the blur value to zero, go to few seconds forward, and change it back to 20. Go here, and I will add a keyframe here. Go to the animation end and change this to zero.
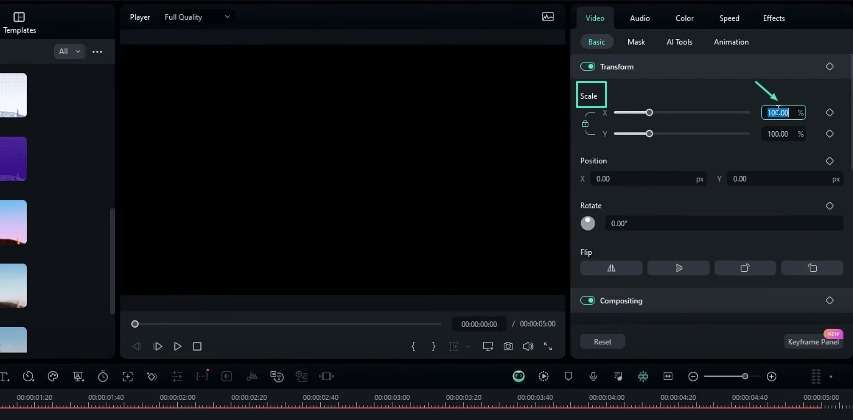
After that, I like to add zoom-out animation to this. I go to the start and go to the scale, I change the scale to something like 160 and create a keyframe. I select here on the timeline and change it back to 100, open the keyframe panel and select these last keyframes, and add the curve preset to this. Our rolling text animation is done. Here's the result!
Also, if you need to change the text color, you need to Simply go into this compound clip and I like to change the letter O color. First, I drag these layers here; I take a copy of this letter O layer and paste it here. After that, go to the text settings and select the last o letter, and change the color you like. That's it! Go back to the main timeline and now it looks like this.
That's how we can make rolling text animation inside Filmora, so you can see it's very simple to create and you can download the complete project file Link in the description and also if you need to learn more Filmora tutorials, you can check my Filmora tutorial playlist. I have done so many tutorials about Filmora, you can check that after this video. Thanks for watching this tutorial! I hope you enjoy this, also please leave a like to this video and be sure to subscribe to my channel and leave a comment about this video. And what tutorial you like next? Let's meet up the next year! Take care and peace.
How to Create Stunning Rolling Text Animation in Filmora?
What you need to prepare:
- A computer (Windows or macOS)
- Your video materials.
- Filmora video editor
Create the Main Text Layer
You can start by creating the main text layer. It serves as the foundation for your animation. Next, go to the "Text" menu, select the "Default Title" option, and add it to your timeline. You can personalize the layer's color according to your preferences.
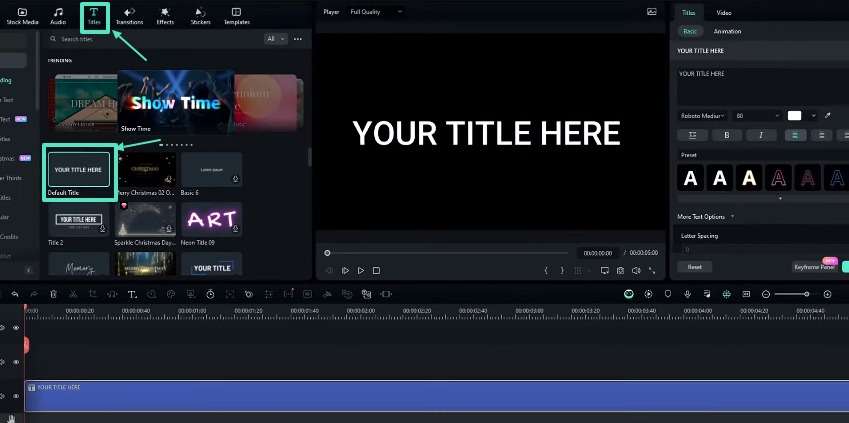
In the text settings, type out the word or phrase you want to animate. You can also adjust the font style, size, and other attributes as desired.
Make a Copy of the Text Layer and Edit It as Needed
As you know, we need different copies of similar images to make a short animation. The same rule applies to Text animation, too. After setting up the main text layer set up, duplicate it by copying and pasting a new layer on top of the original. Change the color of this new layer to something different from the main text. In the text settings, delete all characters except for one letter. Suppose your text is "Apple", then you must delete all letters except "A".
Then, go to the advanced settings and type out that single letter repeatedly. You can type it around 20 to 30 times. Now, adjust the line spacing to a negative value. It will allow the letters to overlap and create a solid vertical line.
Repeat the Same Process for All Letters
Repeat the process from Step 2 for each letter in your main text. You will be creating a separate vertical line layer for each character. After having all the layers, you can delete the original main text layer, as it's no longer needed.
Add a Mask Effect
You may want to hide any unwanted areas of the text animation. So, you can apply a mask effect to do it. Go to the "Effects" tab and select the "Shape Mask" effect, and add it to your timeline. Adjust the mask height and radius to your liking in the effect settings. You can also apply a blur strength if desired.
Create the Rolling Animation
It is the crucial step of this tutorial. Select all vertical line text layers and navigate to the "Multiple Selection" section. Create a keyframe for the position. Then, go to the start of your timeline and adjust the Y-position of each text layer. It can stagger them vertically to create the rolling effect. Ensure the layers are positioned correctly to spell your desired word or phrase.
Refine the Animation Curves
Adjust the keyframe curves for each text layer. It will help smooth out the animation. Select the relevant keyframes in the "Keyframe" panel and apply a preset curve.
Add Motion Blur (Optional)
You can also apply a motion blur effect to rolling text animation. Go to the "Effects" tab, select "NewBlue FX," then choose "Motion Blur" and add it to your text layers. Adjust the blur amount, angle, direction, blend value, and edge mode to achieve the desired look. You can also animate the blur effect by creating keyframes and adjusting the blur value.
Adjust Scale and Apply Compound Clip
You can merge a zoom-out effect with rolling text animation. Go to the start of your timeline and increase the scale of your text layers (e.g., 160%). Create a keyframe, then move forward and adjust the scale to 100% later in the animation.
Apply a curve preset to the scale keyframes for a smooth transition. Finally, select all your text layers and create a compound clip by pressing "Alt + G" to group them. That's it! Your rolling text animation is ready.
Making a rolling text animation in Filmora is easy and produces excellent results. This effect can be a great way to introduce titles, headings, or other text elements in your videos. You can experiment with different colors, font styles, and animation curves. Improve the quality of your videos and become an expert text animator with practice. So, elevate your movies to new heights by creating an amazing rolling text animation.


