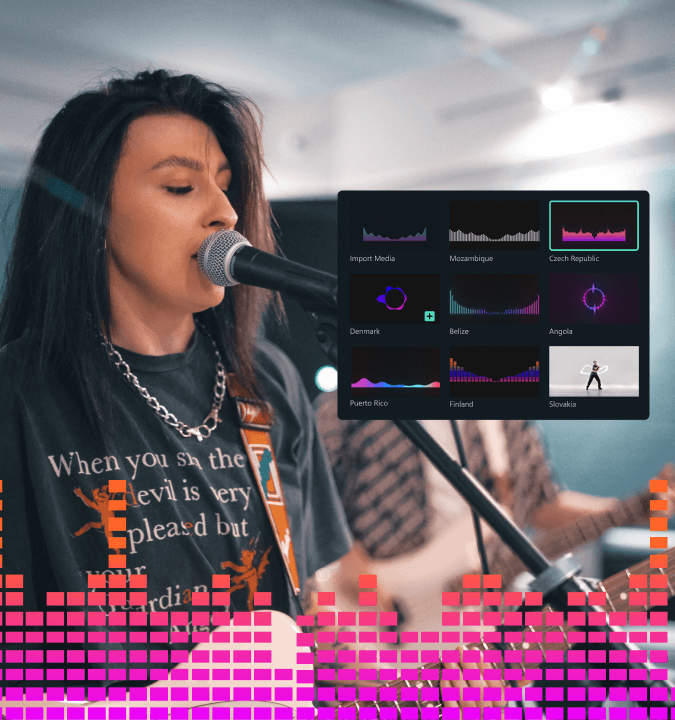
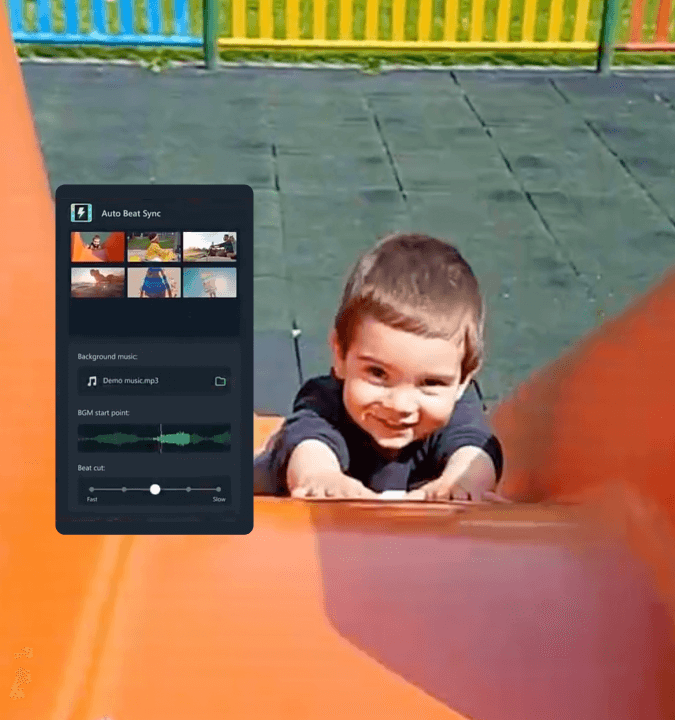
What Is Audio Ducking
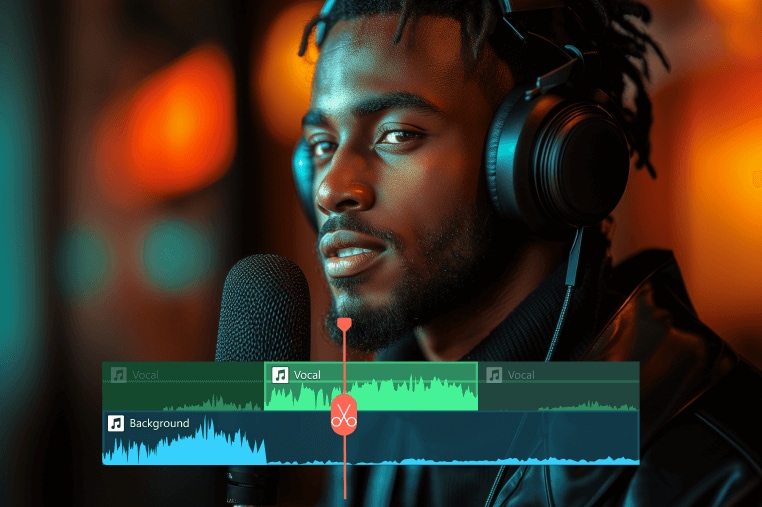
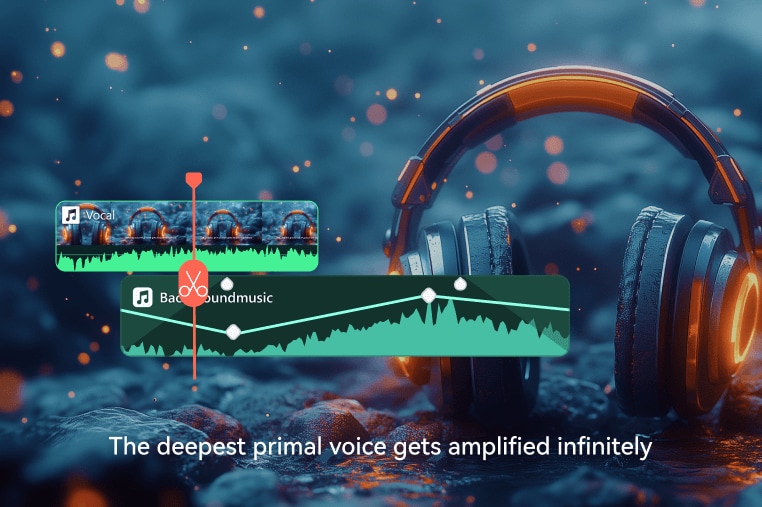
Audio ducking is a technique used in audio editing and post-production, where the volume of one audio track is temporarily lowered (or "ducked") to allow another audio track, such as a voice-over or dialogue, to be heard more clearly. This is commonly used in radio, podcasting, video editing, and music production, where background music or sound effects can be reduced in volume to make spoken words more audible and intelligible.


Original


Audio Ducking


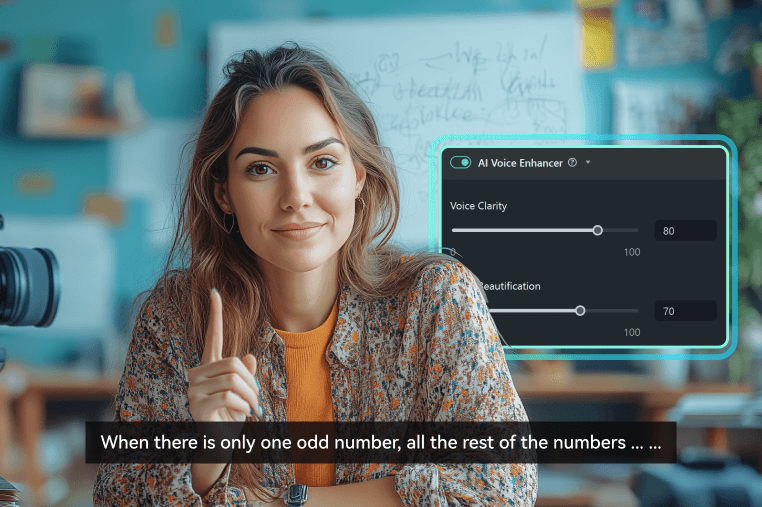
In Filmora, you can apply audio ducking with a single click, making it easier than ever to produce professional-quality sound in your videos without complex adjustments. It uses intelligent detection to identify when a dominant audio source (like a person speaking) is active, and it "ducks" or reduces the volume of competing sounds in the background. This ensures that important audio, like speech or narration, remains clear and easy to hear without completely removing the background audio.
Key Features of Filmora's Audio Ducking
Automatic Background Volume Reduction
Filmora's Audio Ducking automatically detects primary audio tracks, like voiceovers or dialogues, and lowers the background sound levels. This feature simplifies the process by eliminating the need for manual volume adjustments, enabling users to achieve a clear and professional audio mix effortlessly.
Customizable Ducking Intensity
Audio Ducking in Filmora provides customizable intensity levels and smooth fade-in/fade-out transitions. Users can choose from a range of ducking levels to fine-tune how much the background sound fades out in response to primary audio. The fade-in and fade-out options ensure that audio transitions feel natural rather than abrupt, enhancing the overall listening experience. This flexibility helps create the perfect balance based on the audio content and personal preferences, whether it's a subtle or significant background reduction.
Seamless Integration with Other Editing Tools
Audio Ducking is fully integrated with Filmora's suite of editing tools, meaning users can combine it with other audio effects, transitions, and filters for a polished final product. This integration adds versatility and enhances creativity, allowing users to produce content that is both visually and audibly appealing.
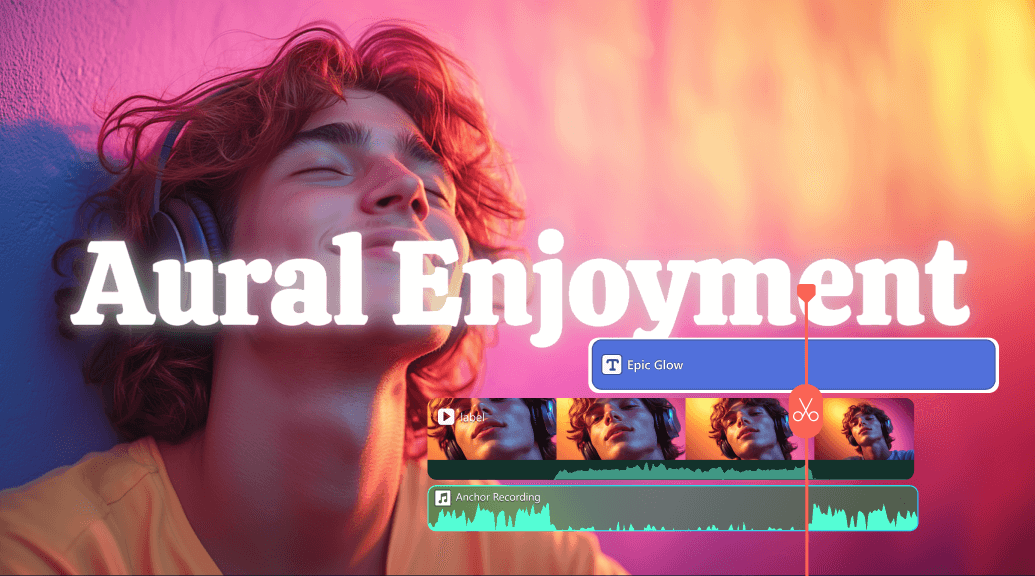
How To Automatically Duck Audio in Filmora
Follow these simple steps to achieve audio ducking in Filmora:
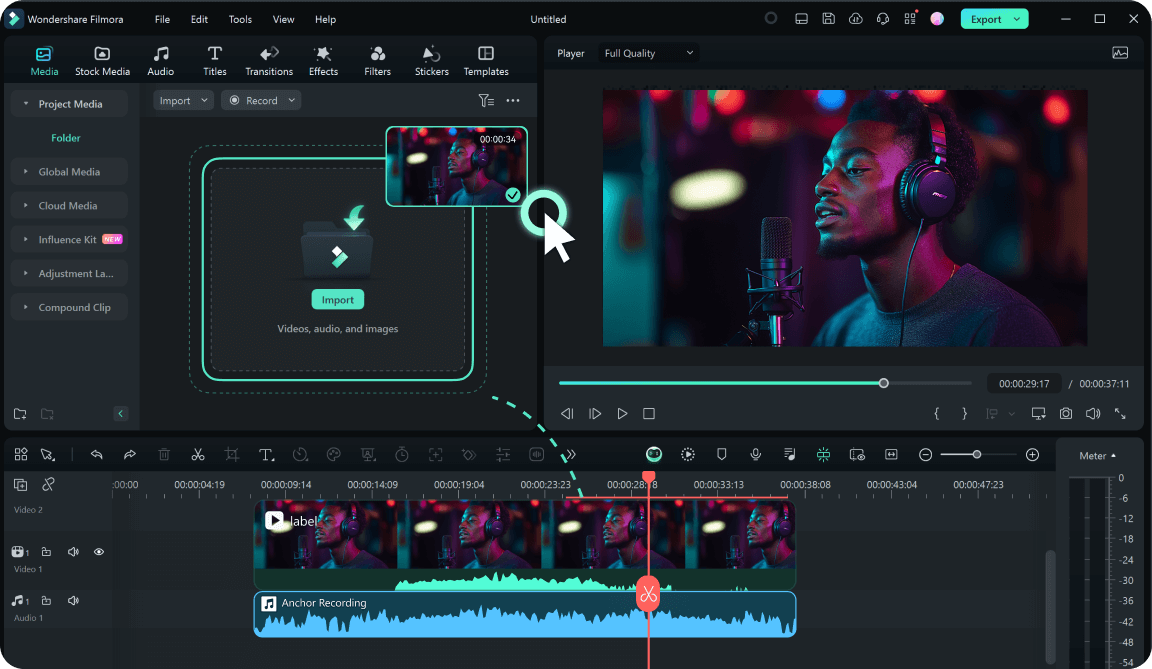
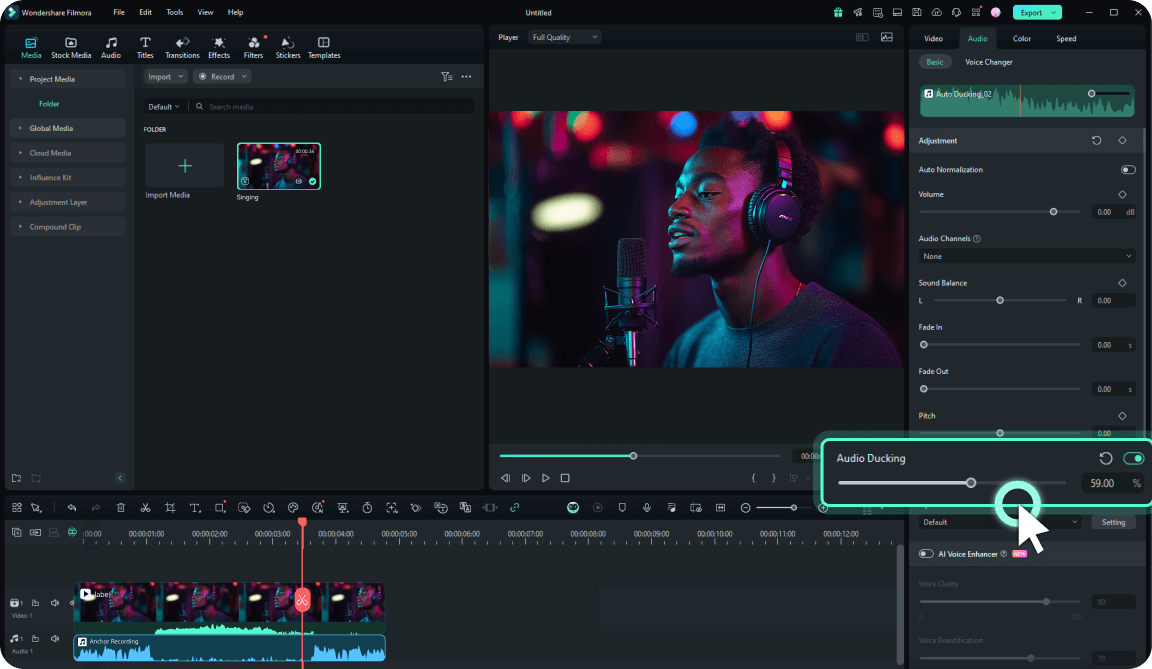
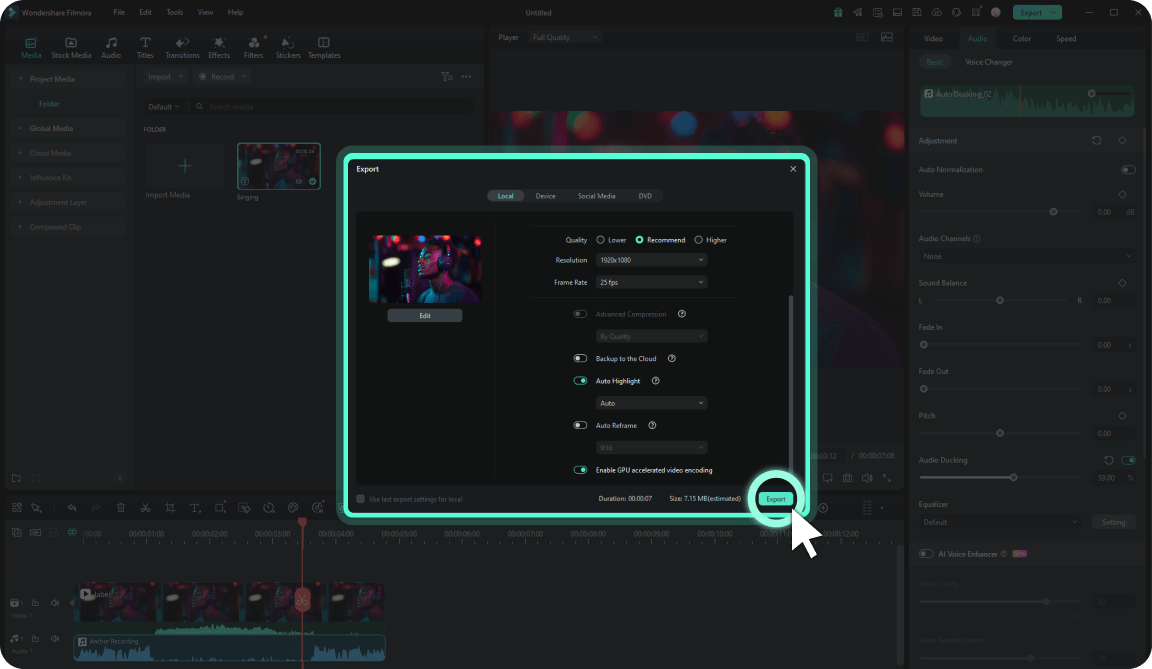
Step 1. Import Your Media
Download, install, and Open Filmora. Then, import your video and background audio files into Filmora and drag them to the timeline.

Step 2. Activate Audio Ducking
Select the main audio track, go to the Audio panel on the right side and enable the Audio Ducking, and adjust the intensity.

Step 3. Preview and Export
Fine-tune the level as needed and preview the result. Once satisfied, export your video with balanced, clear audio.

Who Can Benefit from Audio Ducking
Audio ducking is valuable because it simplifies the audio mixing process, especially for creators without extensive audio editing skills. Instead of adjusting audio levels manually for each segment, creators can rely on audio ducking to achieve a clear, balanced sound in just a few clicks. This feature is particularly useful for vloggers, educators, marketers, and anyone who wants to ensure their message or story is clearly heard over background audio.
Why Choose Filmora's Audio Ducking Over
Manual Adjustments?
| Feature | Manual Adjustment | Audio Ducking |
|---|---|---|
| Time Required | High | Low |
| Professional Quality | Inconsistente | Consistent |
| User Effort | Manual | Automatic |
| Ease of Use | Requires Skill | One-Click Solution |
You can see Filmora's automatic ducking feature simplifies audio editing with a one-click solution that saves time, ensures consistent professional quality, and reduces your effort compared to manual adjustments. Download Filmora now and experience easy and fast audio editing!
Explore More Tips & Tricks About Audio Ducking
Frequently Asked Questions
What is Audio Ducking, and why should I use it?
Audio ducking is a technique you can use to lower the volume of background sounds and audio to enhance your voice and conversation. You should use it to clearly convey the message, create the desired atmosphere, and boost your audio experience.
How do you enable audio ducking in Filmora?
Using Filmora's audio ducking feature is simple, and you can follow these steps to navigate the experience:
1. Import your video or audio files to the Filmora platform.
2. Click on the main track and open the Audio tab. Enable the Audio Ducking feature from this tab and adjust the level accordingly.
3. Preview and export your content.
1. Import your video or audio files to the Filmora platform.
2. Click on the main track and open the Audio tab. Enable the Audio Ducking feature from this tab and adjust the level accordingly.
3. Preview and export your content.
Can I control volume levels with audio ducking?
Absolutely! Wondershare Filmora allows you to customize your audio ducking experience completely. All you have to do is drag the bar to lower or increase the volume until you get the desired results.
Will Audio Ducking work with multiple background sounds or layers?
Yes! Filmora's audio ducking feature was designed to work with as many audio layers as you need. Once you select the main track, the audio ducking feature will affect all other audio elements, allowing you to make your voice and conversations pop.
Do I need any special skills to use Audio Ducking?
Filmora's audio ducking feature is beginner-friendly, and you don't need any previous skills to enable and use the feature. You only need to download the app to your desktop and watch the experience transform.
Can I turn off Audio Ducking after applying it?
You can easily disable audio ducking by unselecting it from the Audio tab in the Filmora platform. That will help you go back to the original settings, make manual adjustments, or fix audio mistakes.
What type of projects benefit most from Audio Ducking?
Many people and industries use audio ducking for their journeys. For instance, if you're a podcaster, storyteller, educator, YouTuber, gamer, or other, you can benefit from this feature and create professional results.
What Our Customers Say About Us
Experience More Powerful Audio Editing Features in Filmora
A video editor for all creators.
 4.7
(
4.7
(
