

 TL;DR:
You can apply a fade-out text effect in Wondershare Filmora by selecting built-in presets like "Fade" in the Animation tab for quick results, or by using manual opacity keyframes for precise control over the exact starting point and speed.
● Place the text on a dedicated track above the main video clip to ensure the fade animation solely affects the text without causing the background track to accidentally disappear.
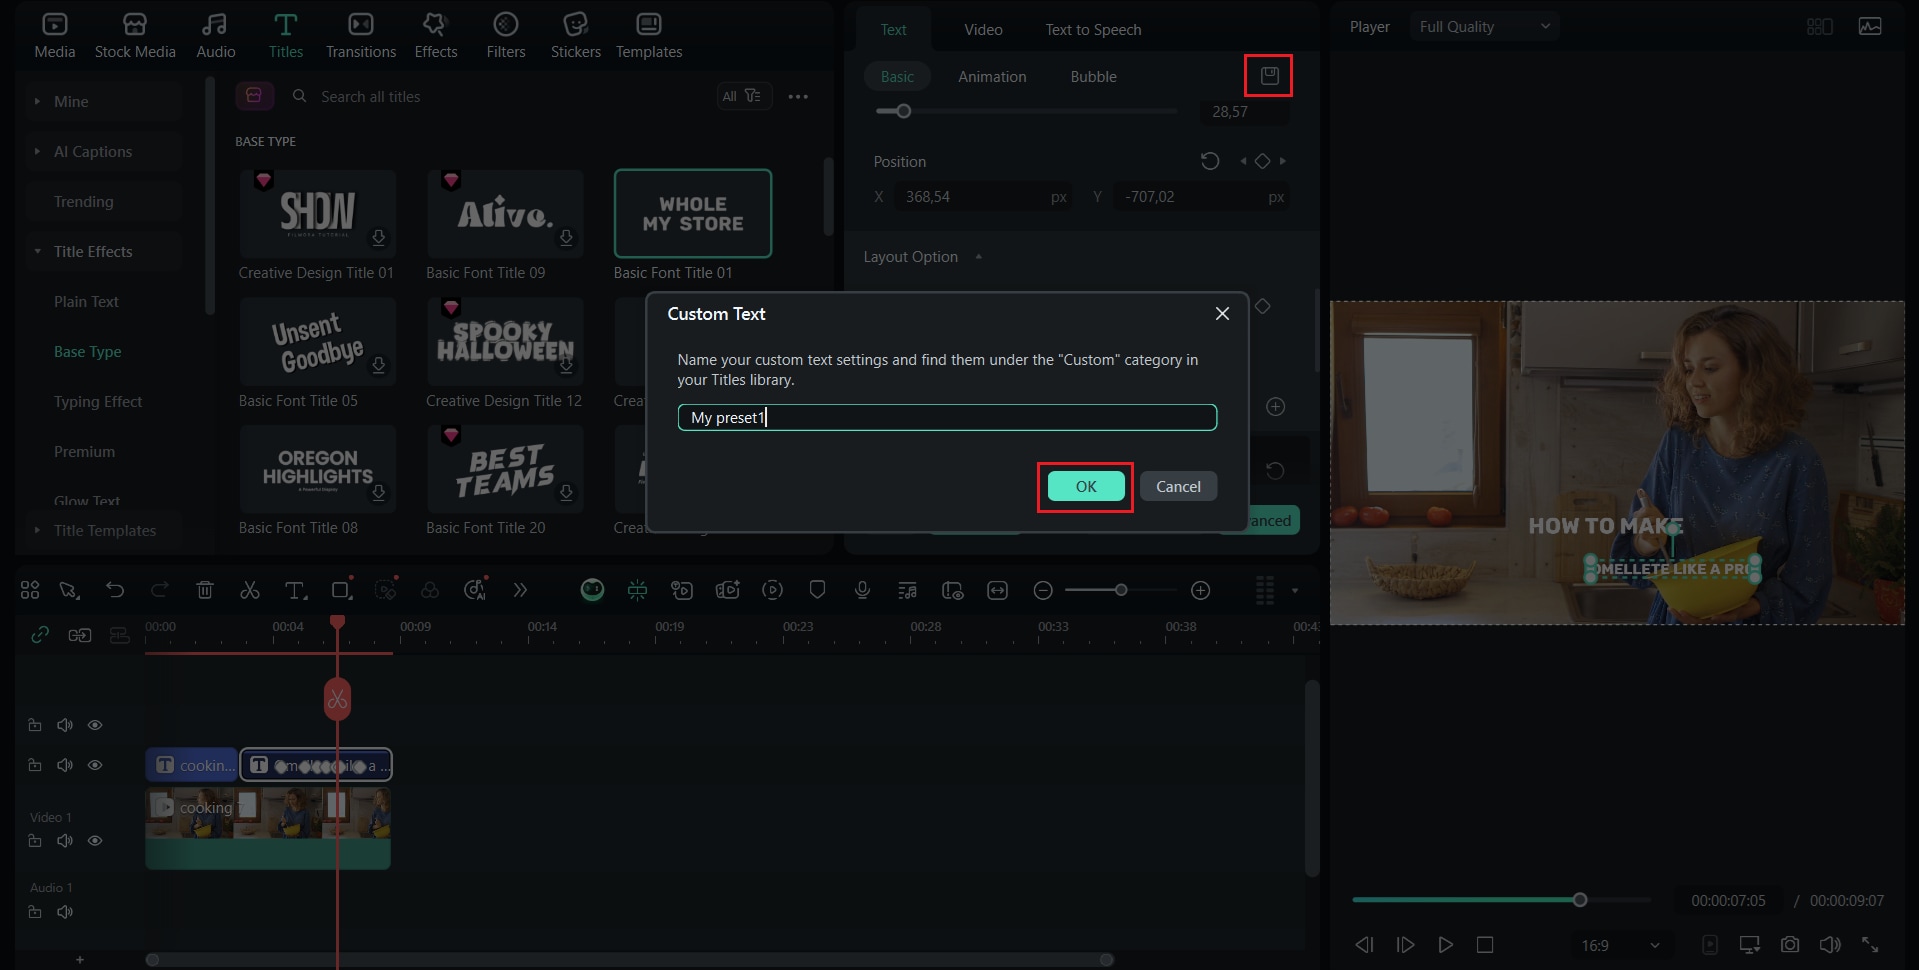
● To execute a custom keyframe fade, set the initial Opacity value at 100 percent where the text is fully visible and drop it to 0 percent at the target end time, which can then be saved as a custom preset for future projects.
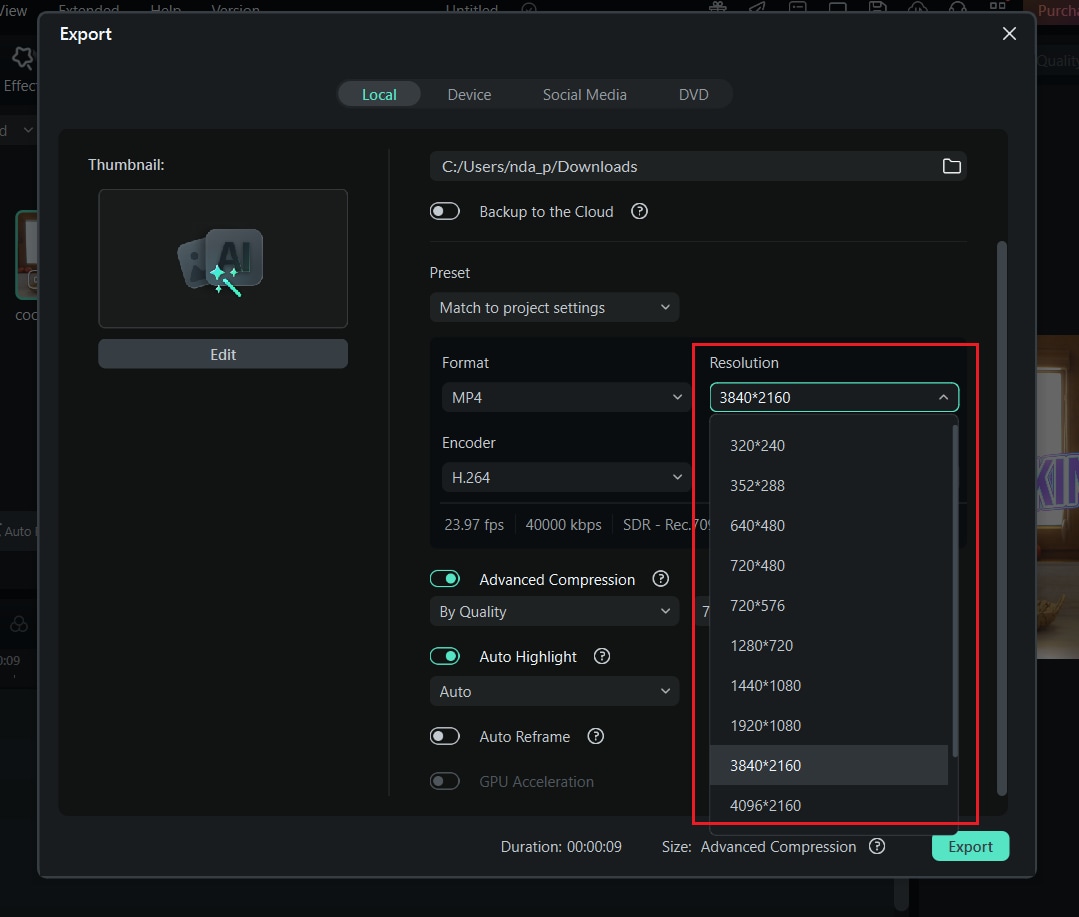
● Resolve abrupt fading issues by extending the overall text clip duration or spacing out the keyframes, then export the finished timeline in MP4 for standard online use or MOV for high-quality playback.
Ask AI for a summary
 ChatGPT
 Perplexity
 Gemini
 Claude
 Grok
Grok
Even the smallest change can make a big difference to your video, and that's exactly what a simple text fade effect can do. Instead of harsh cuts, a gentle fade adds professionalism and rhythm to your storytelling.
And to do it easily, you can do it in a video editor like Wondershare Filmora. In Filmora, you can easily apply ready-made fade presets or craft your own using keyframes to match whichever your editing style is.
If you're just starting out, we'll also show you how to use add fade-in and out text effects, combine them with other animations, and fix common issues like awkward timing or layering errors. You'll be surprised at how a simple fade-out text can completely change the mood of your video!
Part 1. Getting Started in Filmora
Before starting the fade-out text effect, let's set up the basics first. First, ensure you are using the latest version of Filmora to avoid losing any tools or features.
Then, follow the steps below:
- Start by opening your project or creating a new one, then import the media you will be using.
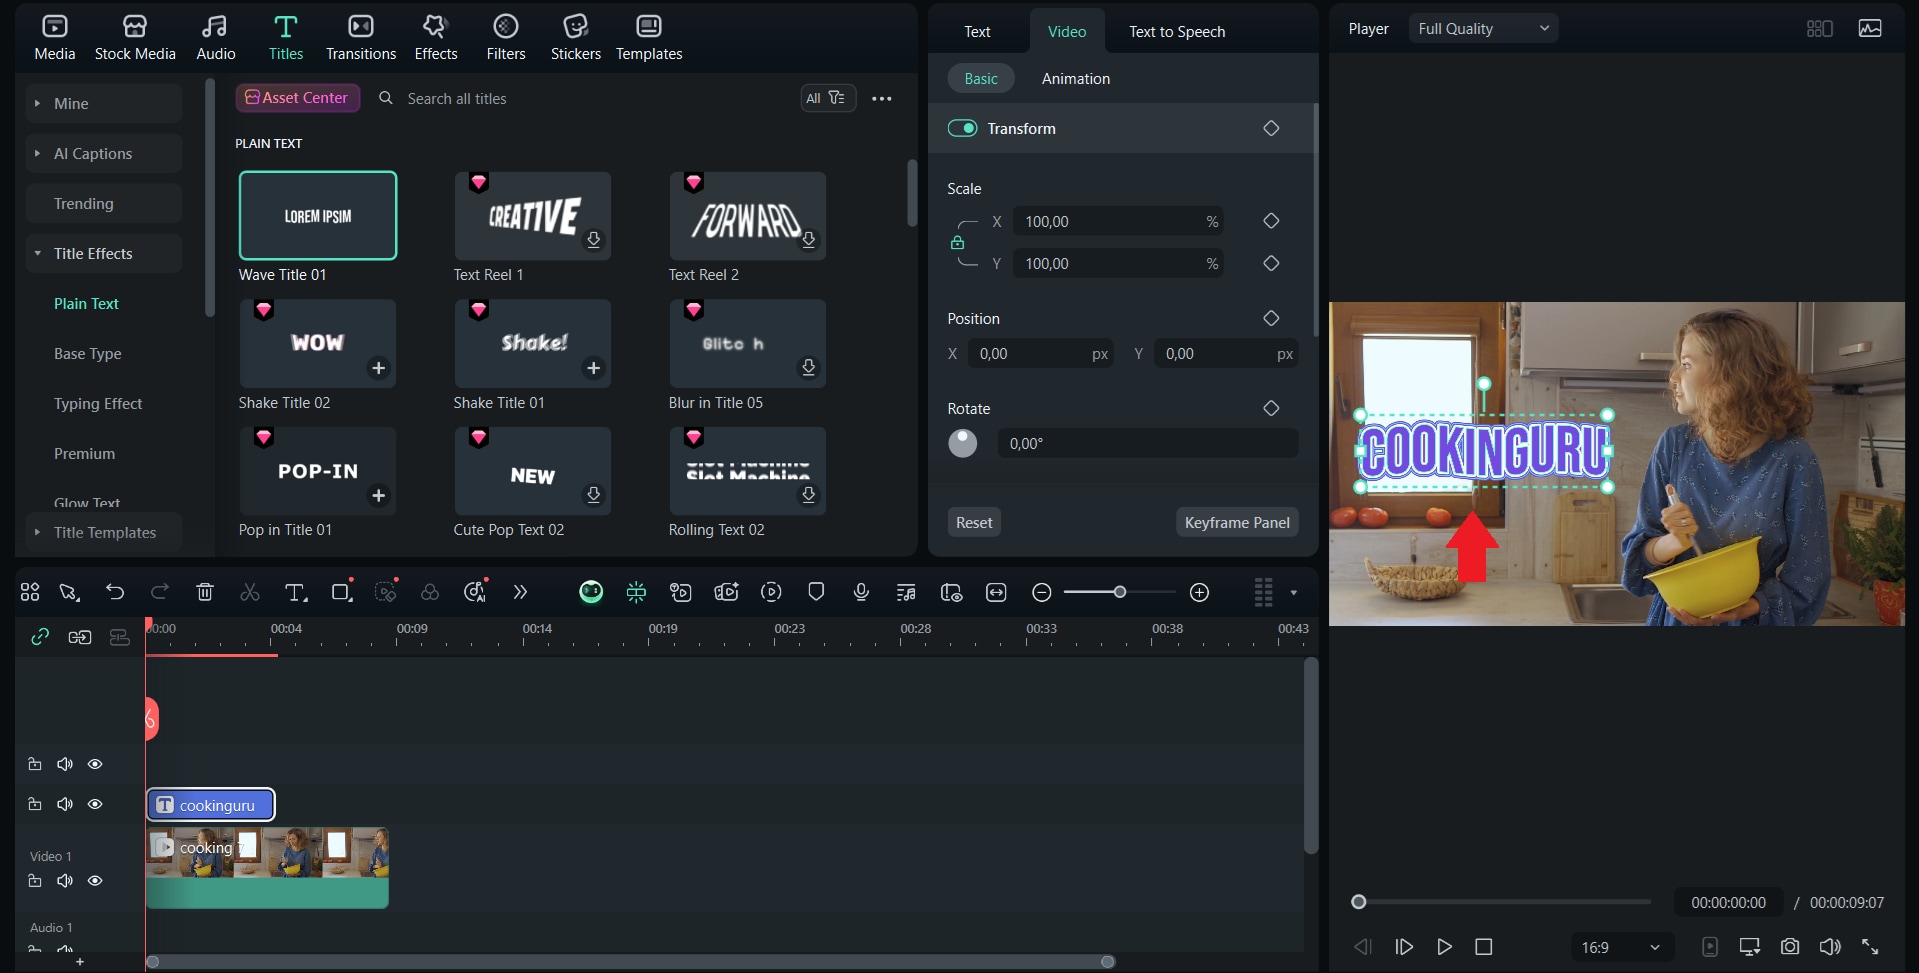
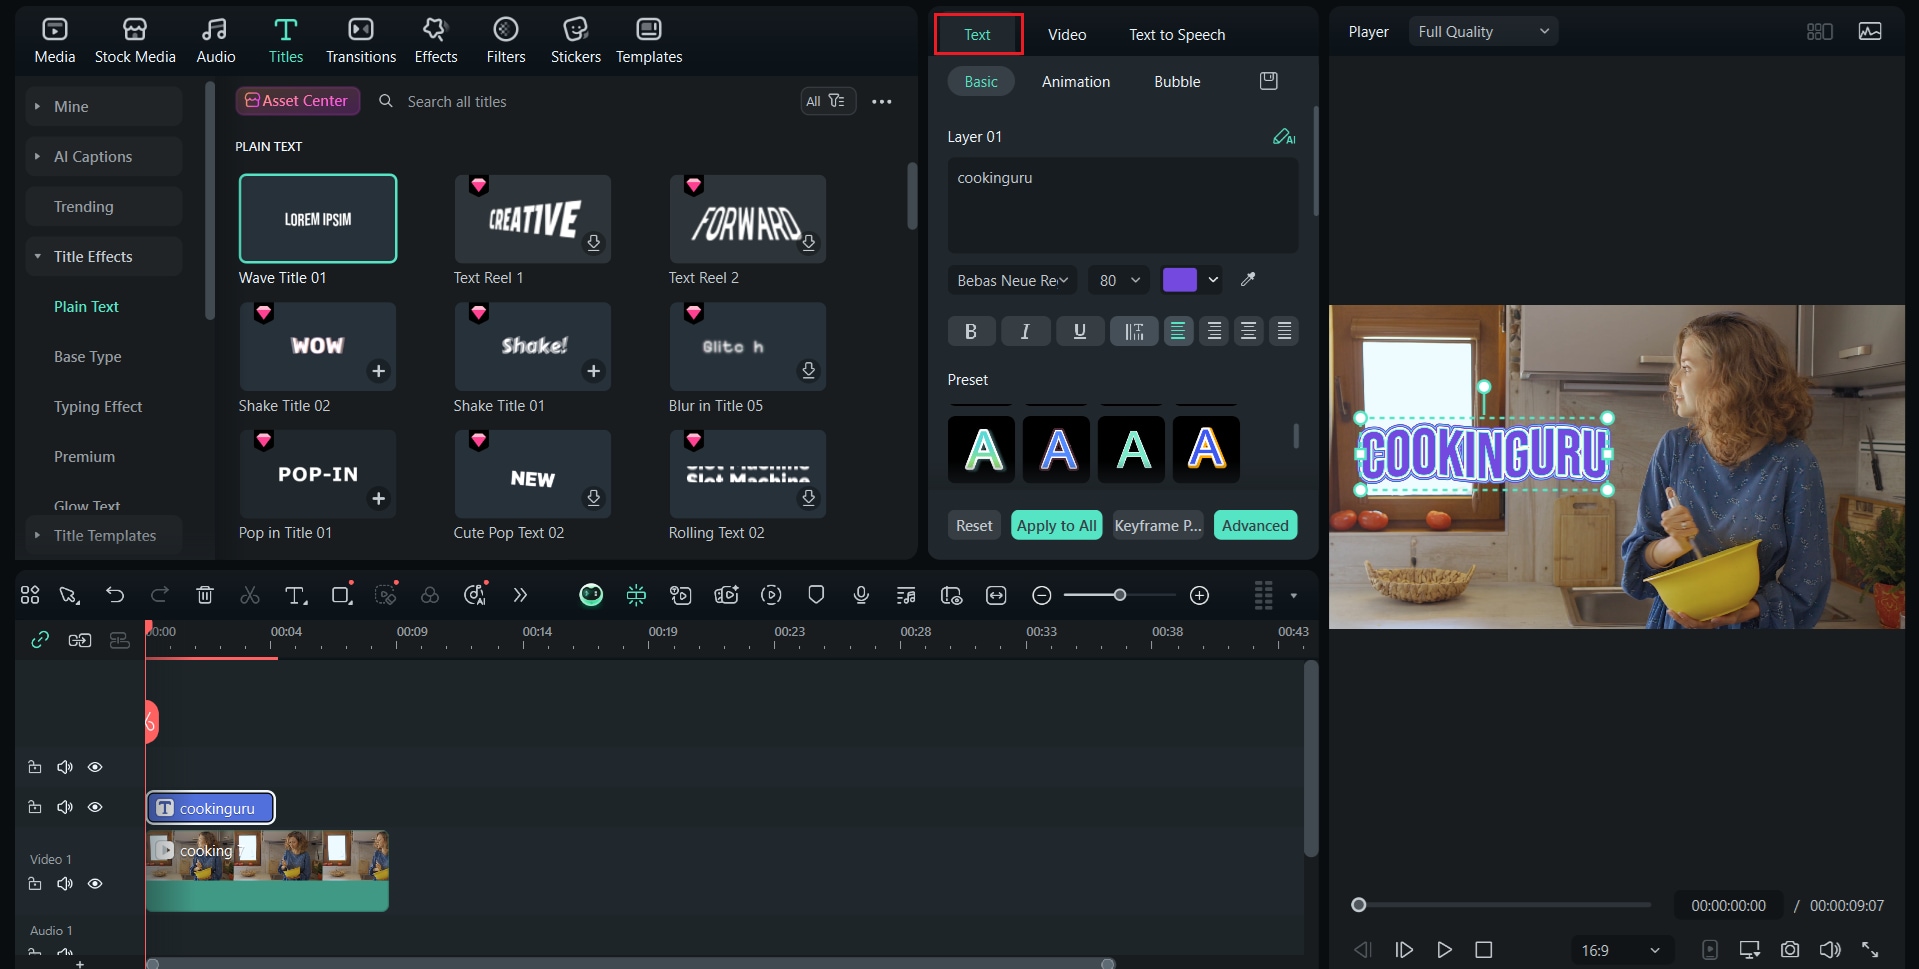
- Once your video clips are on the timeline, open the Title tab. Here, you can choose a text style that suits your video, from simple text at the bottom of the screen to a bold title.

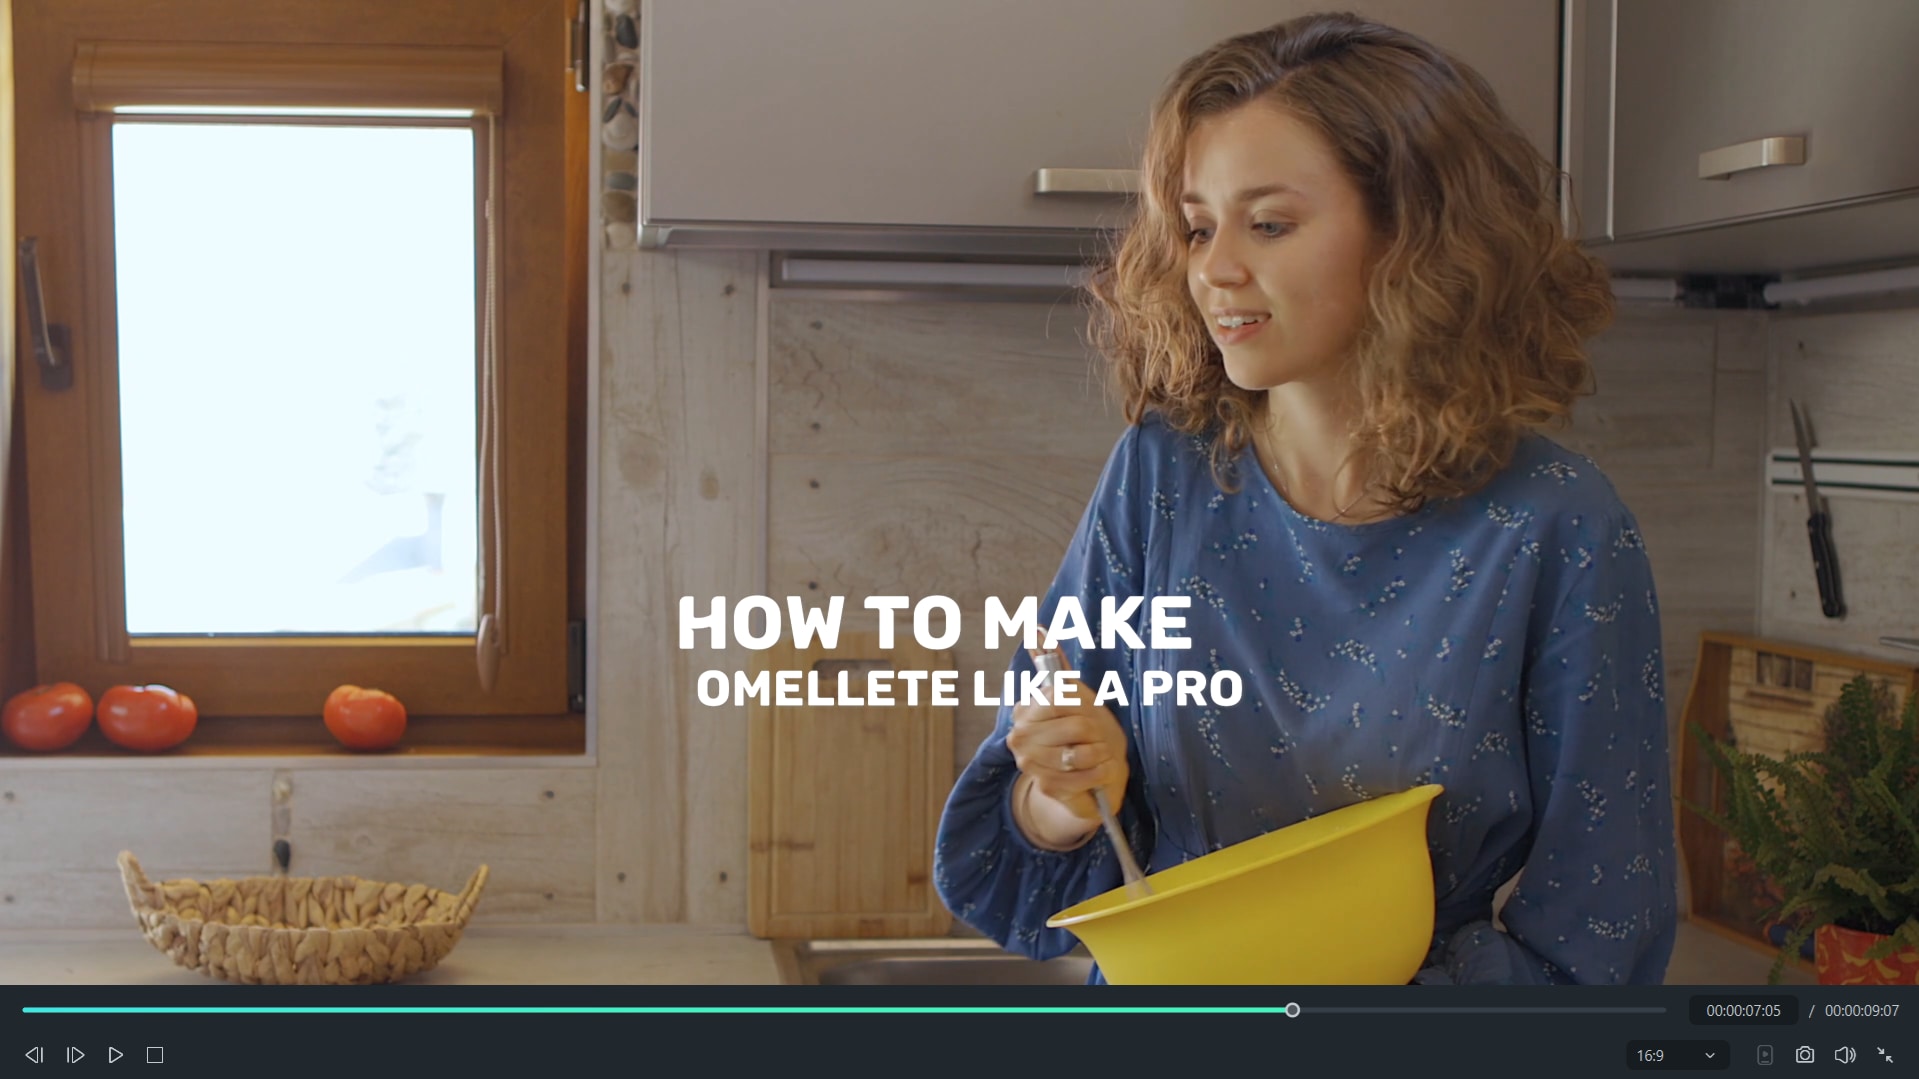
Drag the selected title to the timeline and place it exactly where you want the fade-out effect to appear. This could be at the end of the intro, during a key message, or just before a scene transition.
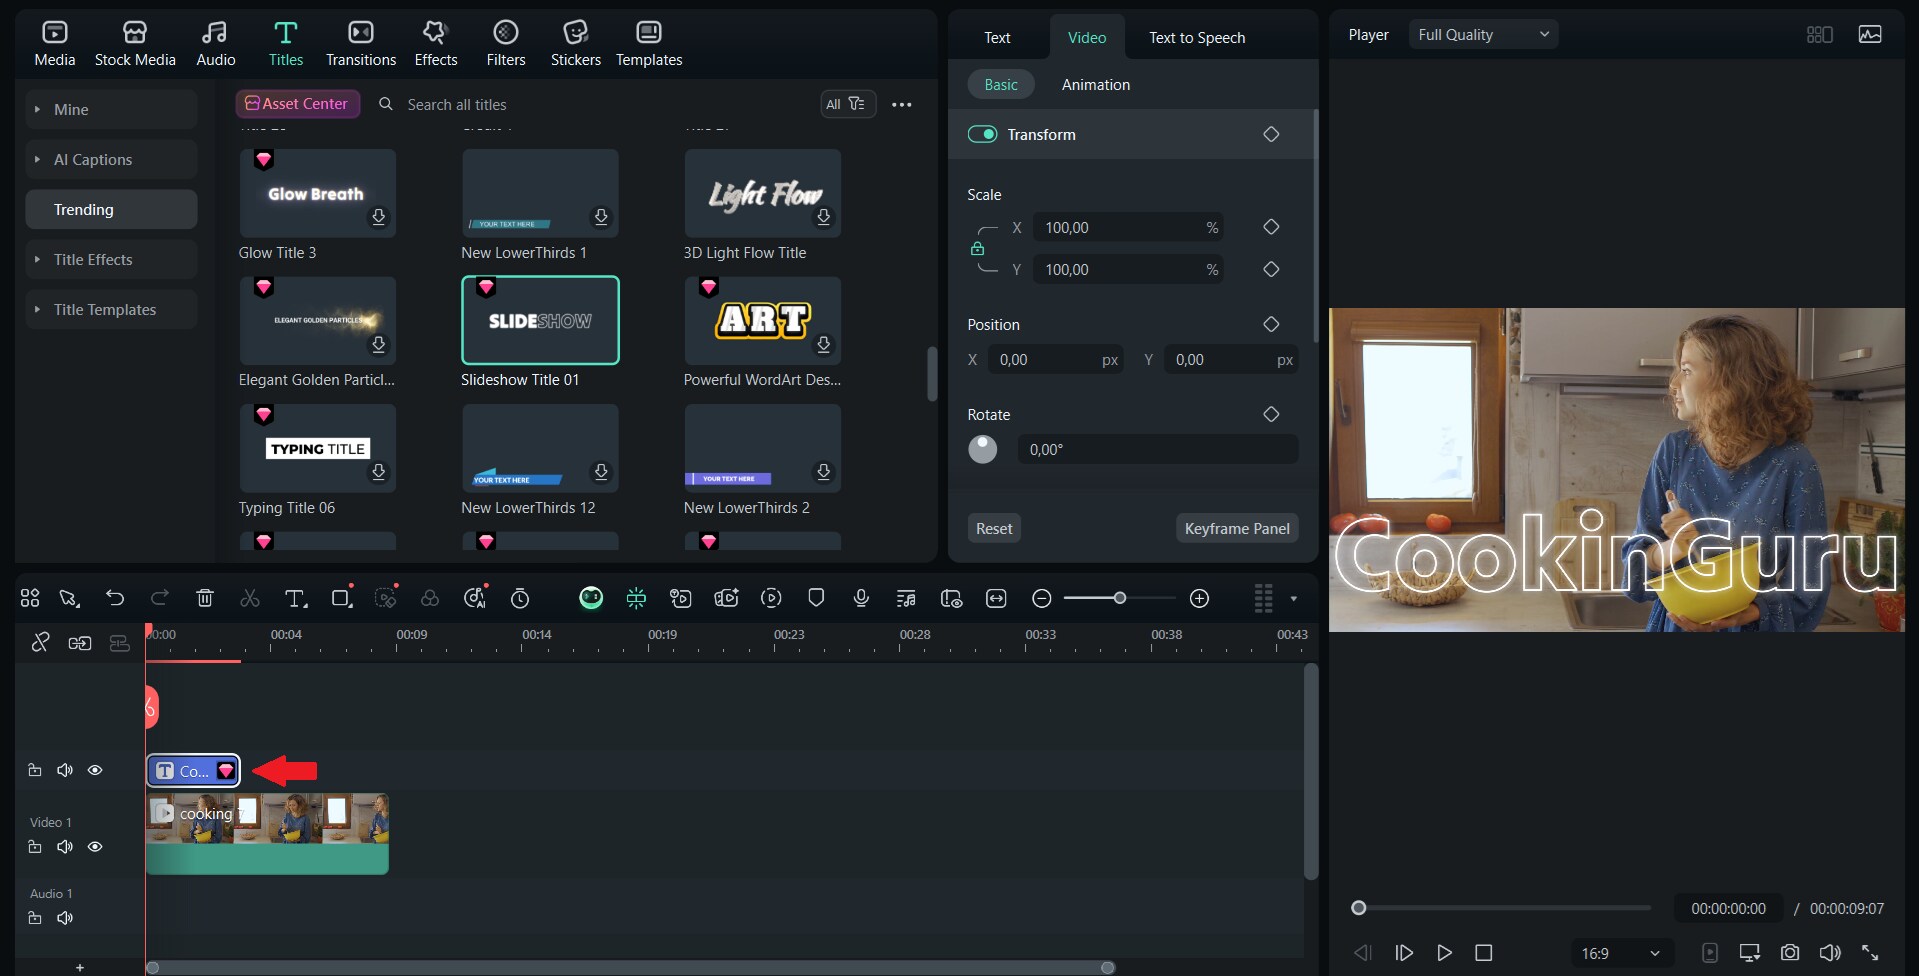
💡Quick tip: Place your text on a separate track above the main video. This ensures that the fade-out effect only affects the text and not the background clip below it. It also gives you more flexibility to adjust the timing and effects later on.
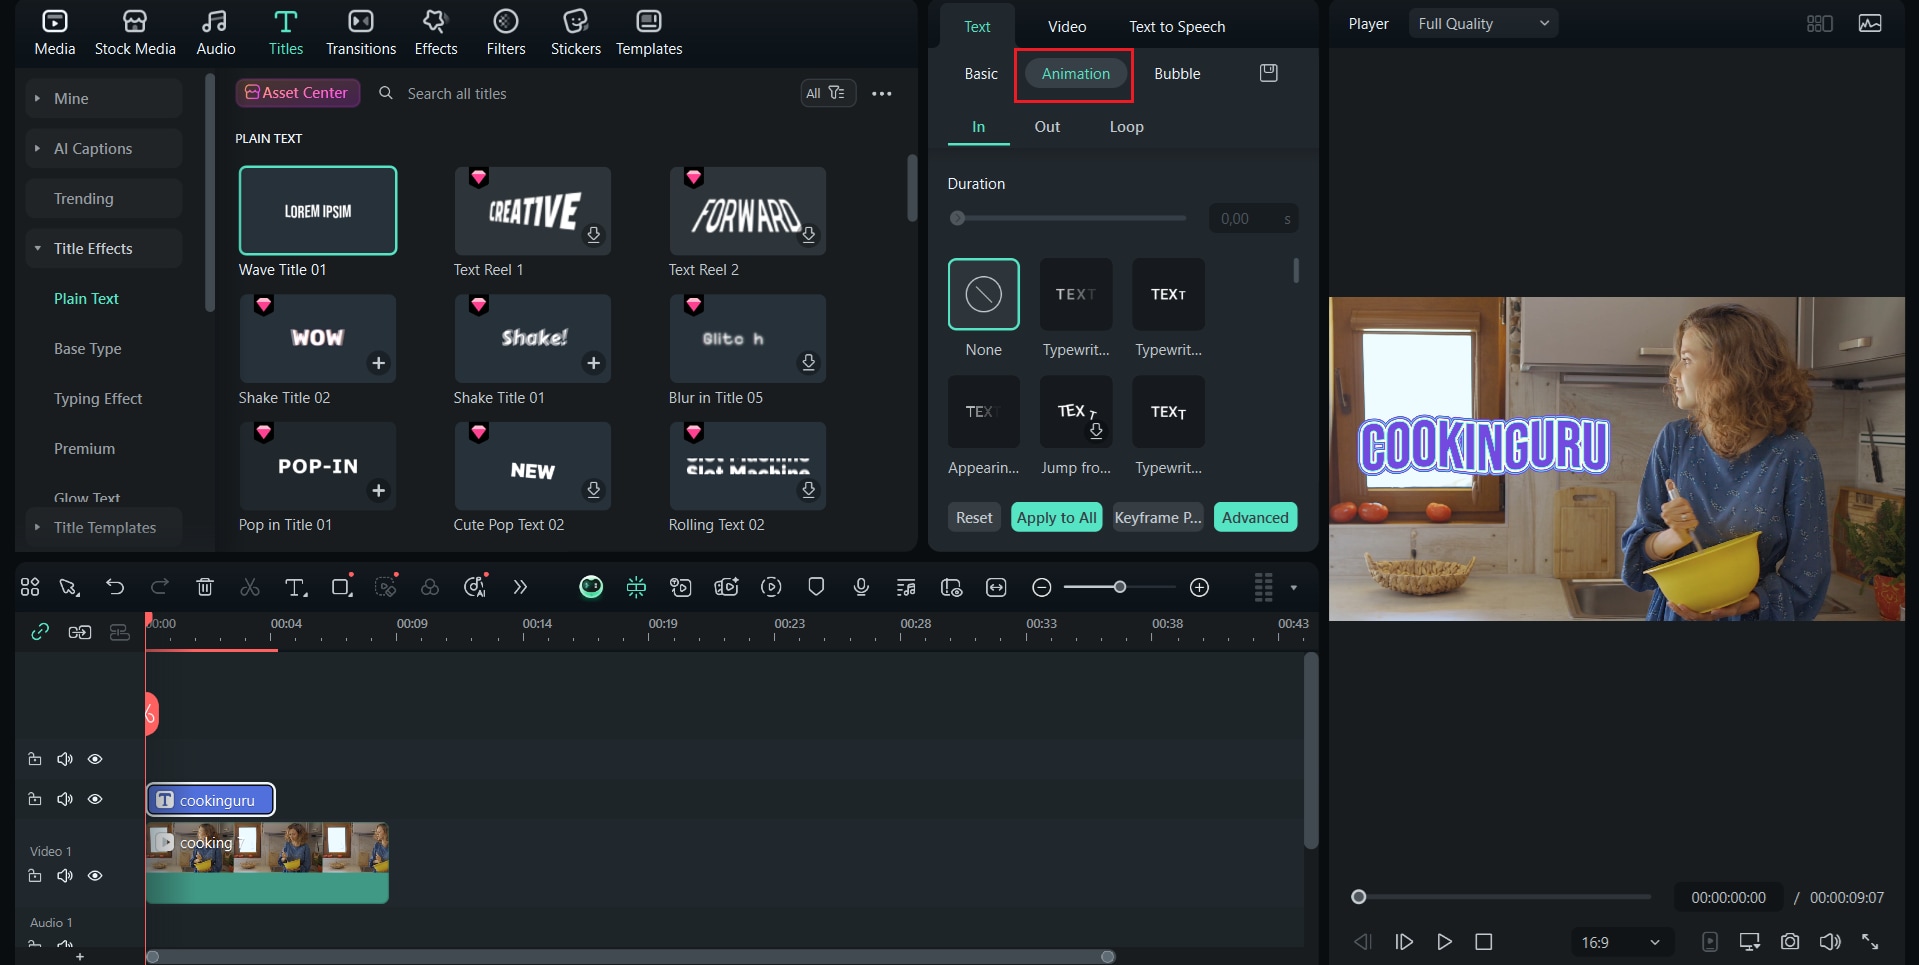
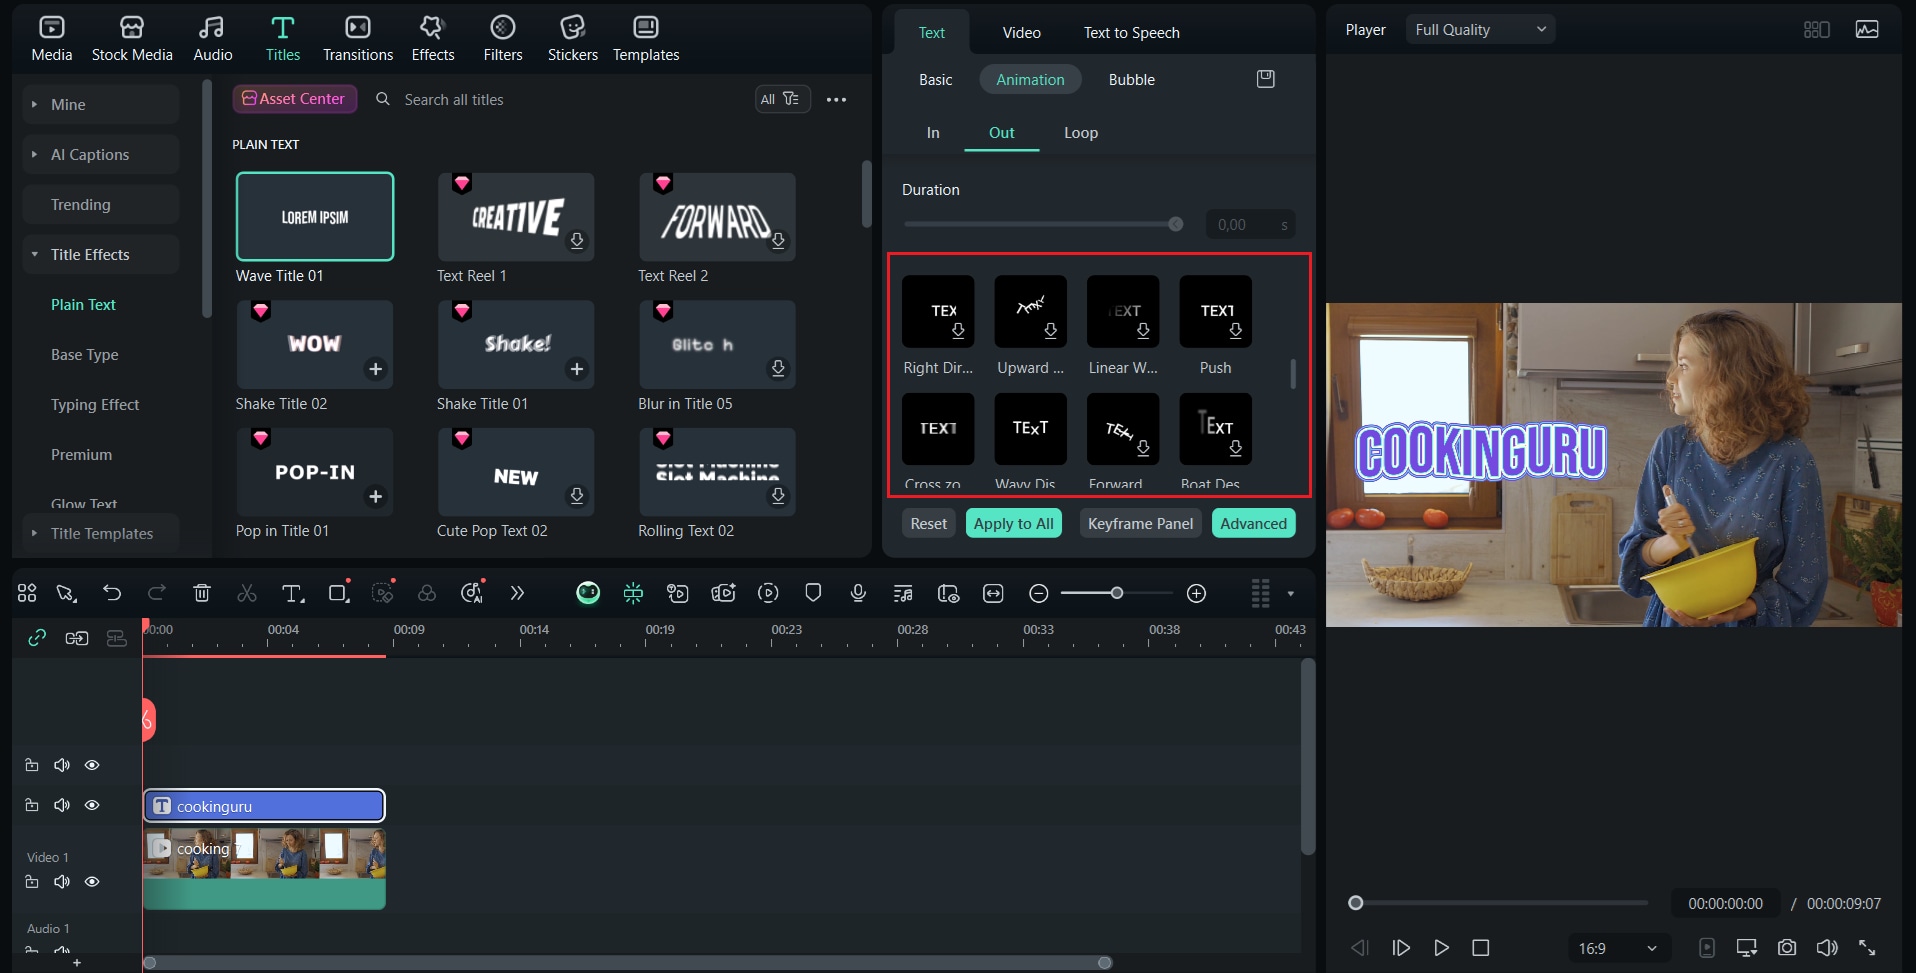
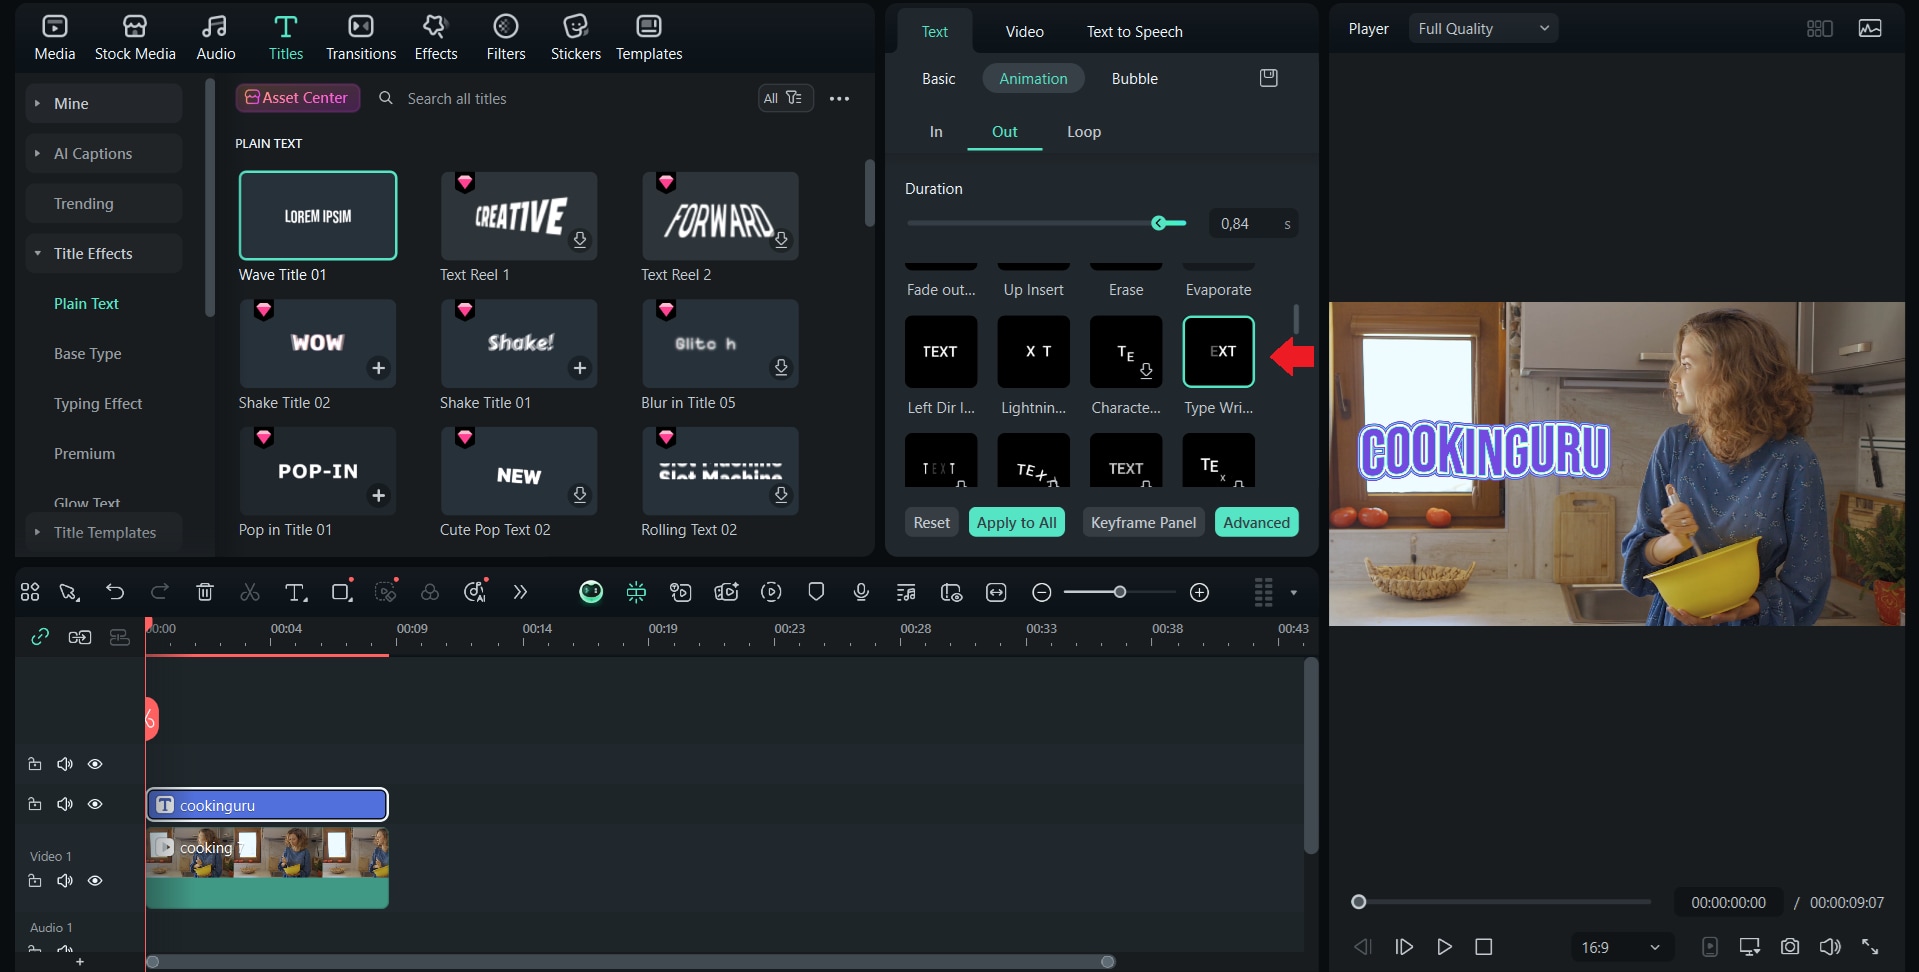
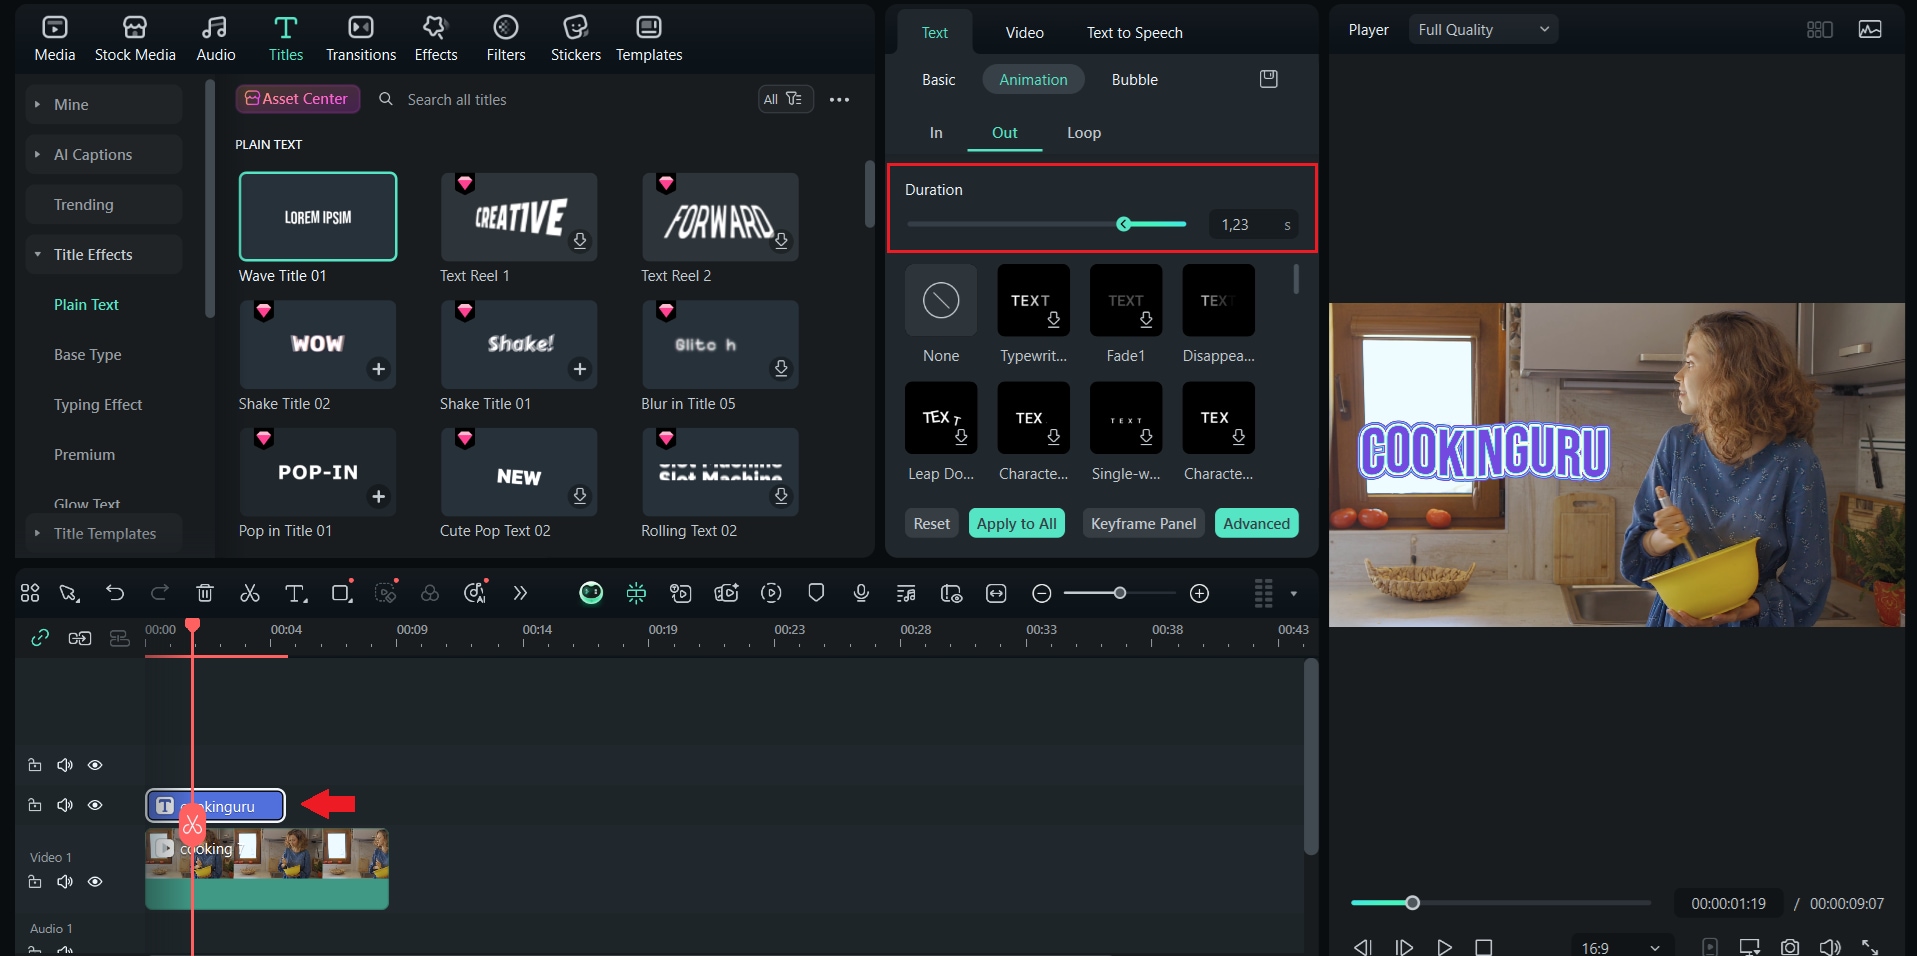
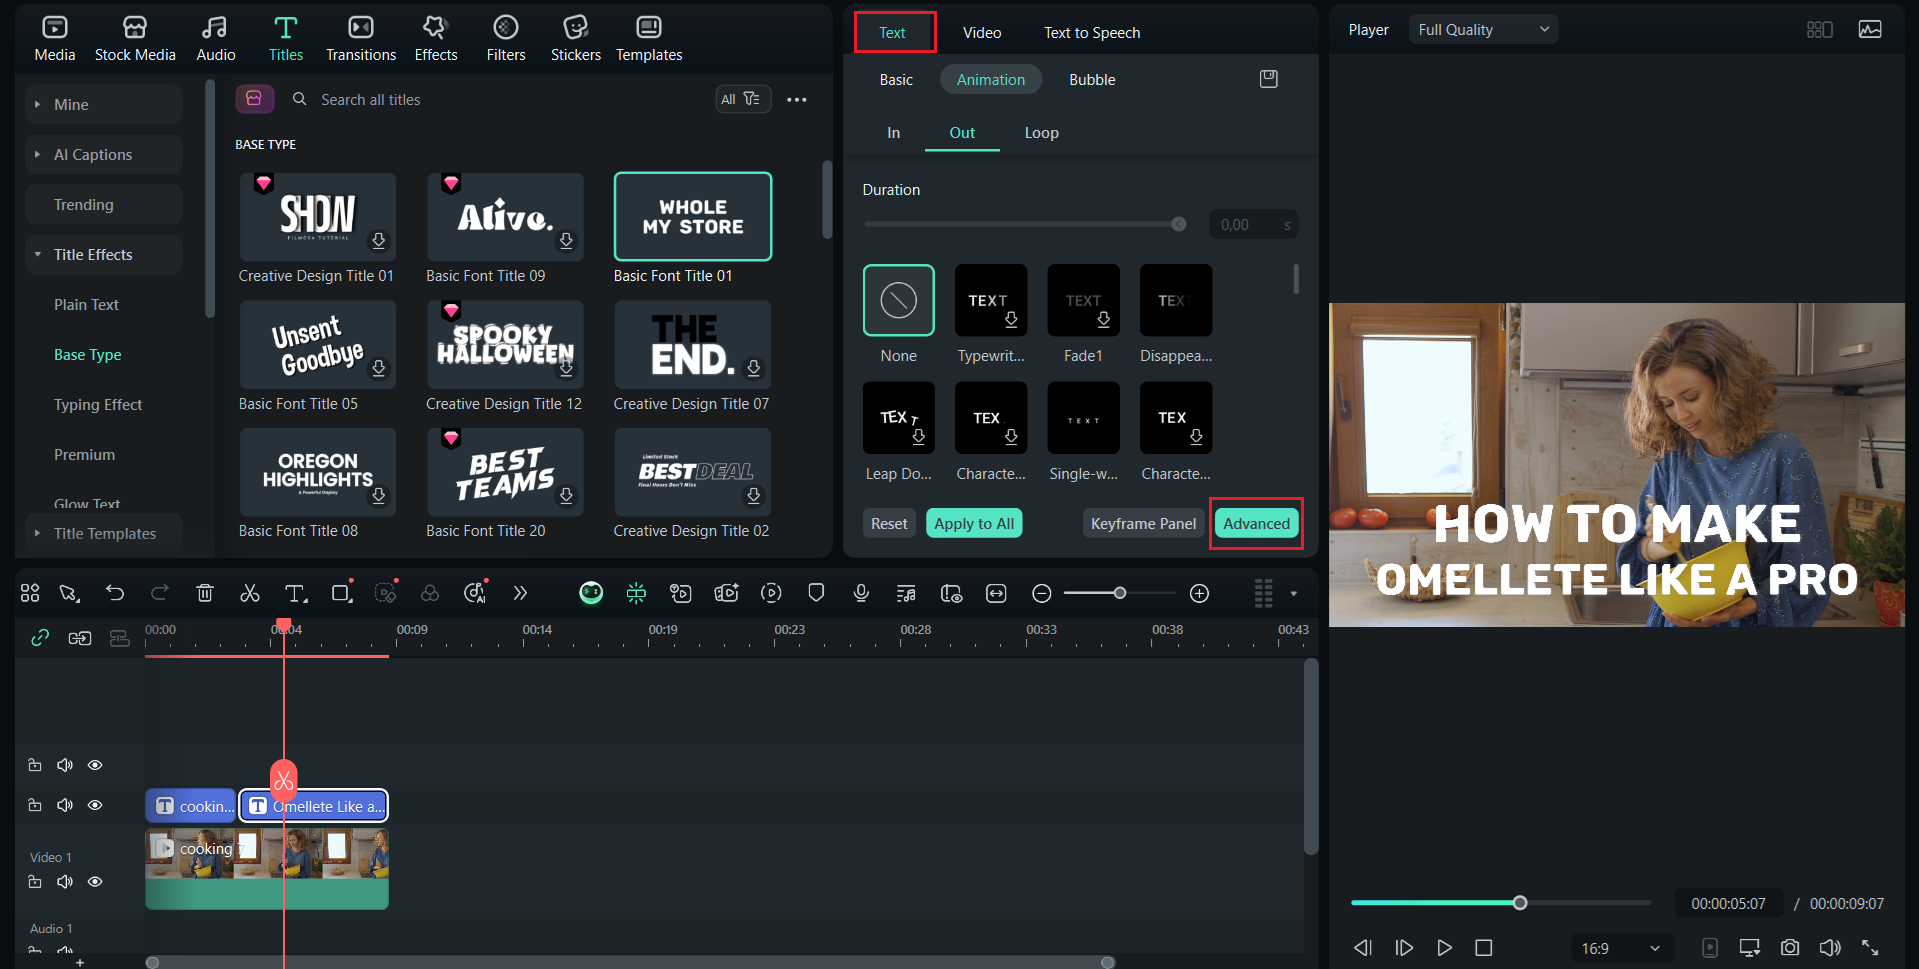
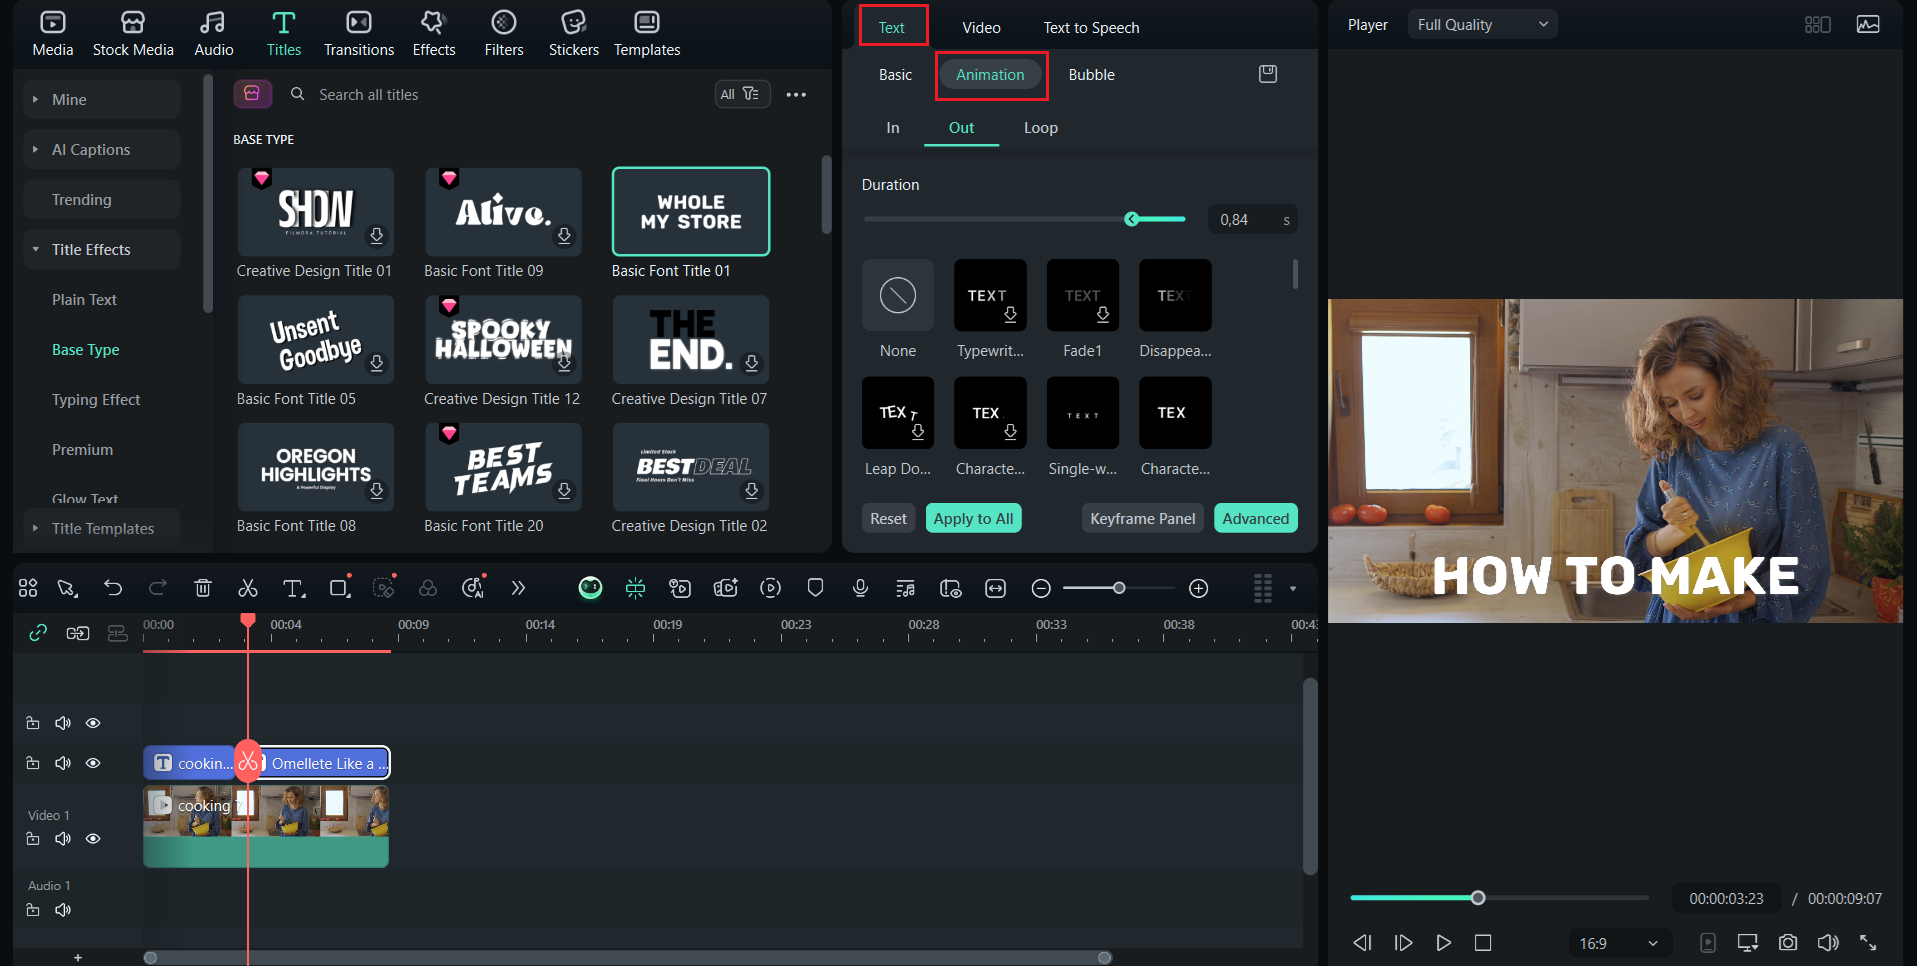
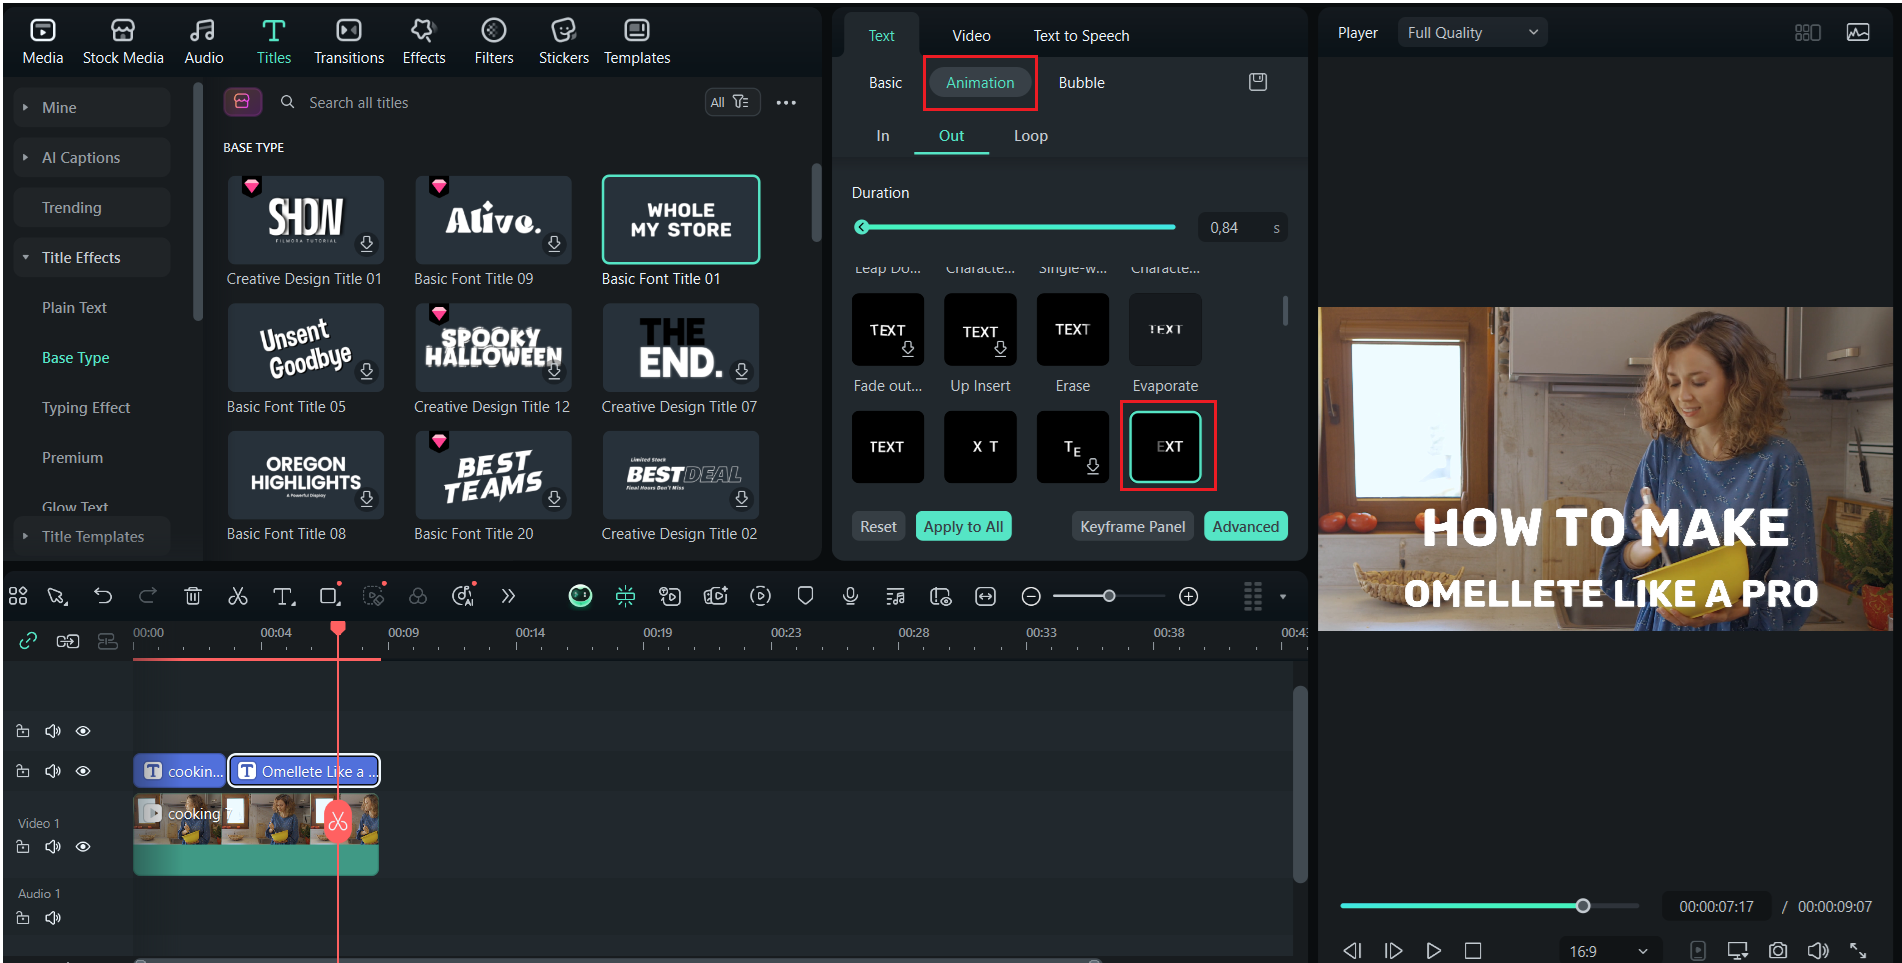
Part 2. Filmora Quick Guide: Fade Out Text with Built-in Animation Presets
The first method to create a fade-out text effect is to use Filmora's built-in animation presets for a smooth fade-out effect. This method saves time and provides a subtle transition for your text without the need to manually adjust keyframes. It works well for outros, titles, or captions that you want to fade out smoothly.

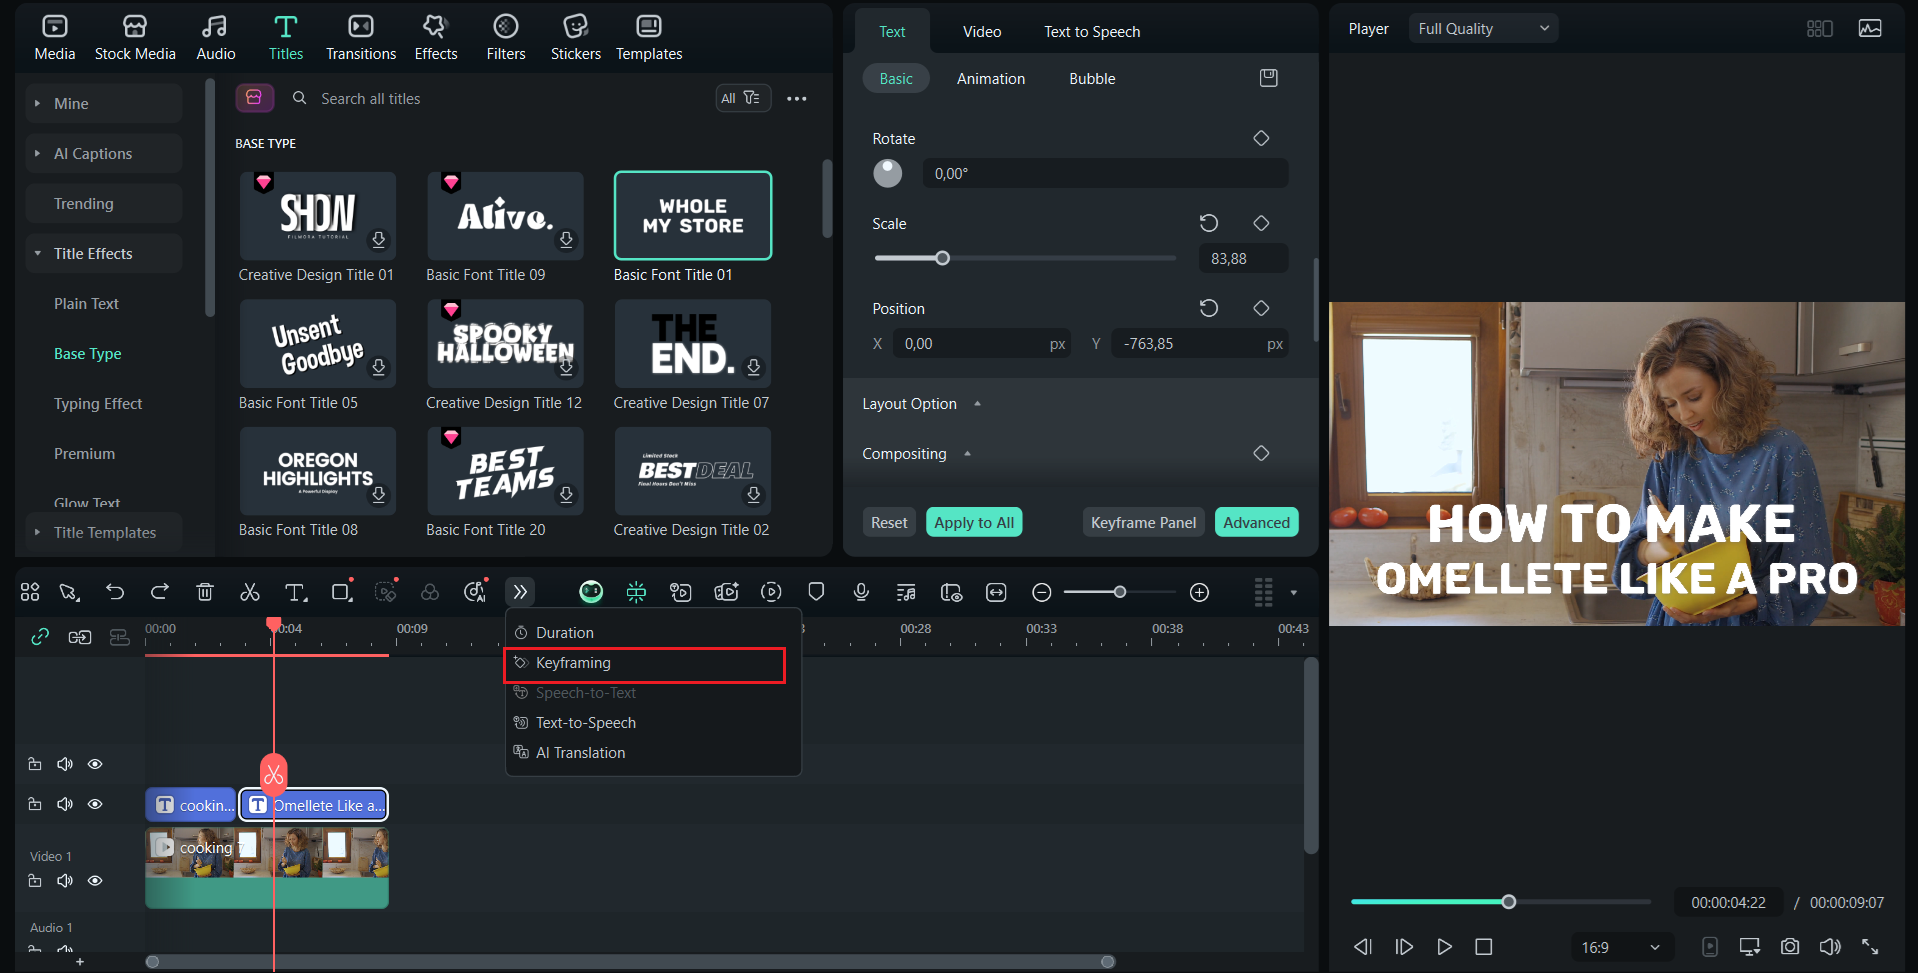
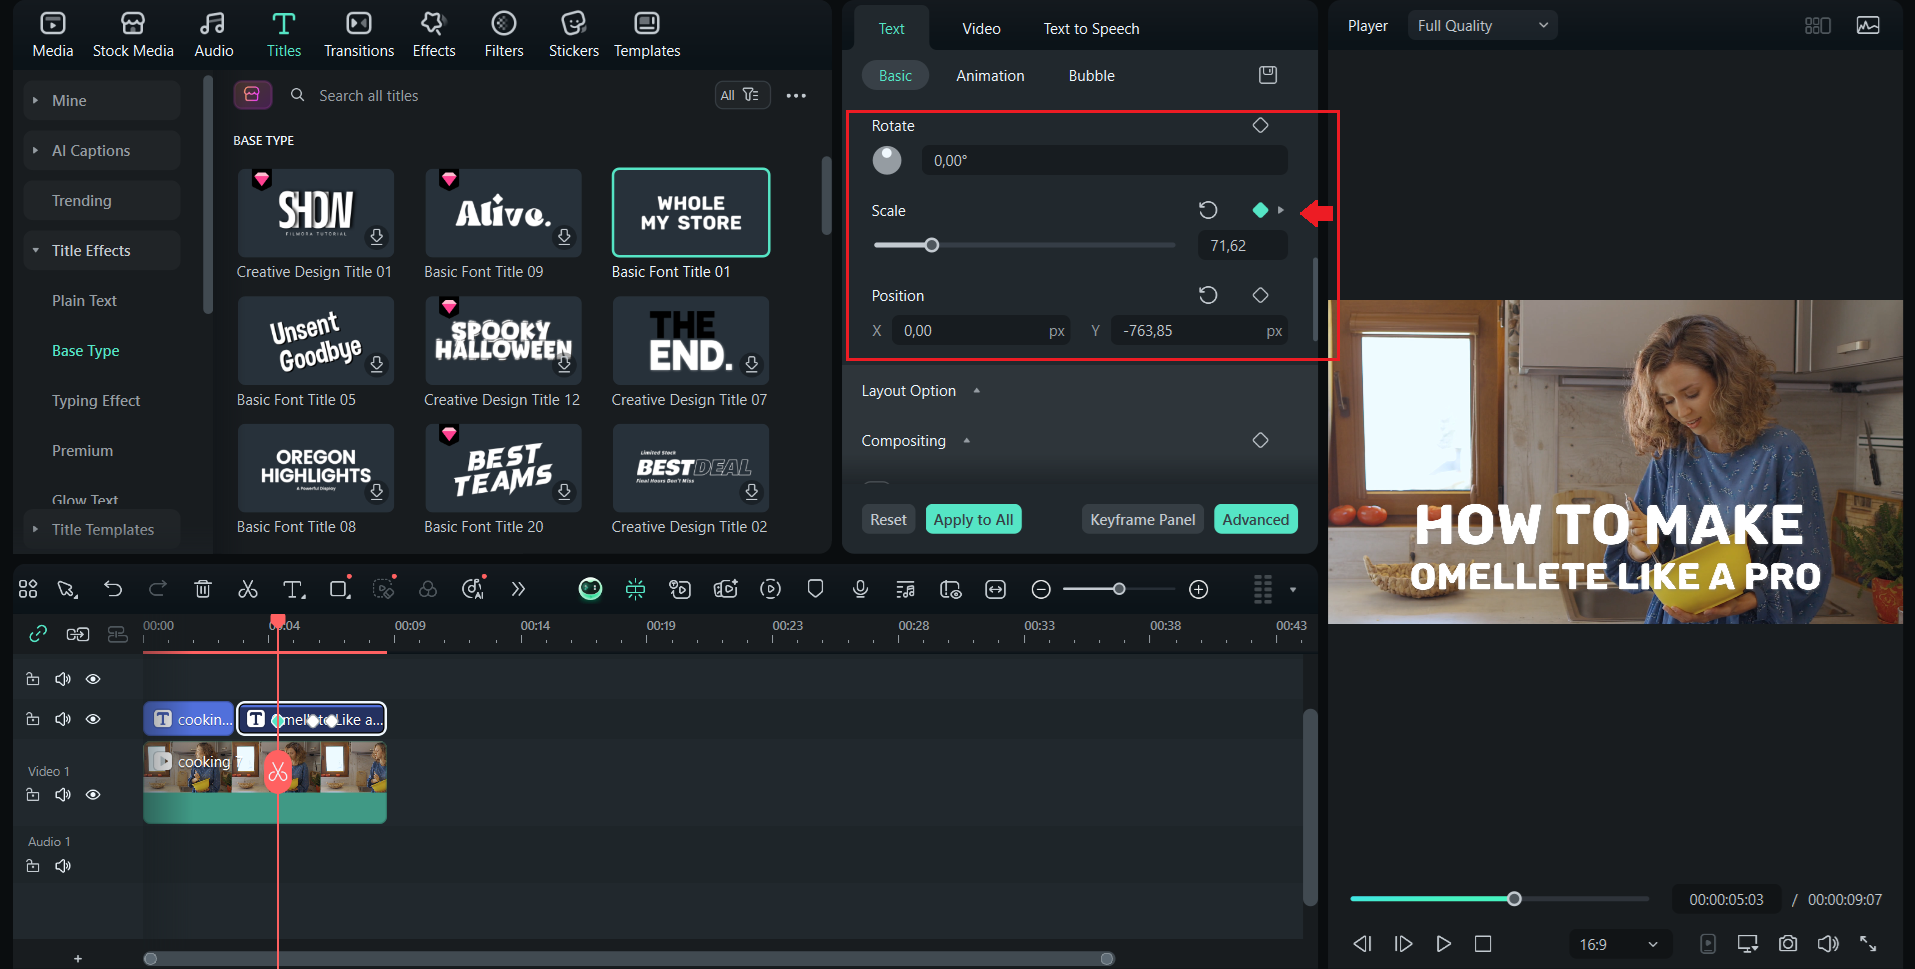
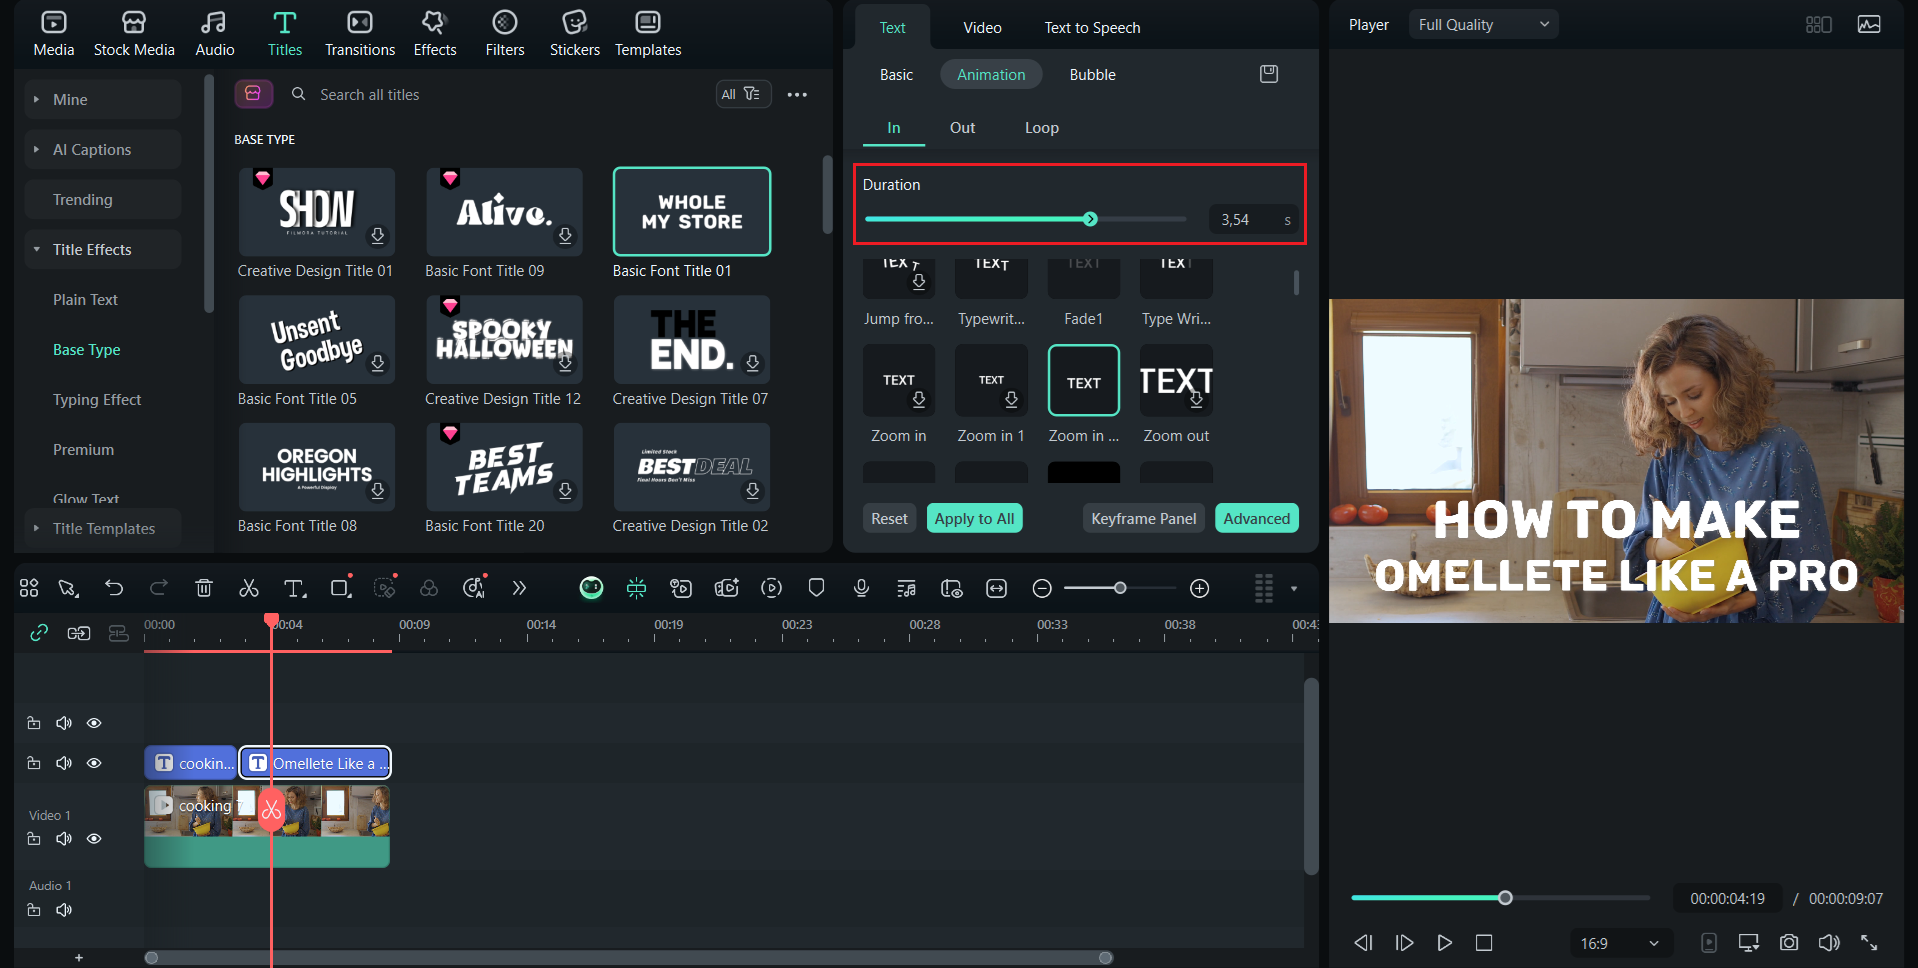
Part 3. Advanced Control: Create Custom Fade Out Text Using Filmora Keyframes
If you need precise timing or non-standard fading text effects, you can use keyframes in Filmora. For example, you can fade in or out specific parts of a sentence, adjust the fade to match the rhythm, or combine opacity changes with movement. Presets are quick, but keyframes give you complete control over the starting point, speed, and slowdown effect. Here are the steps:

Part 4. Combine Fade Out with Other Filmora Text Animation for Dynamic Effects
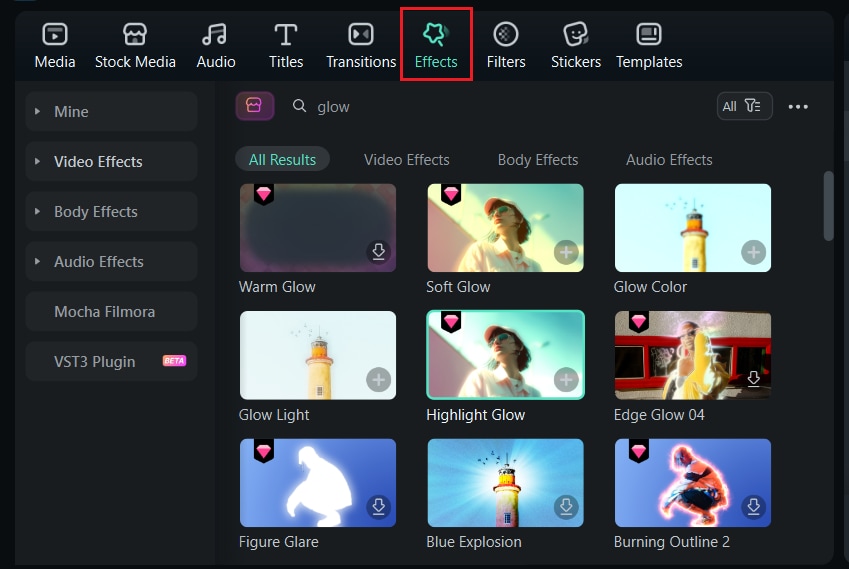
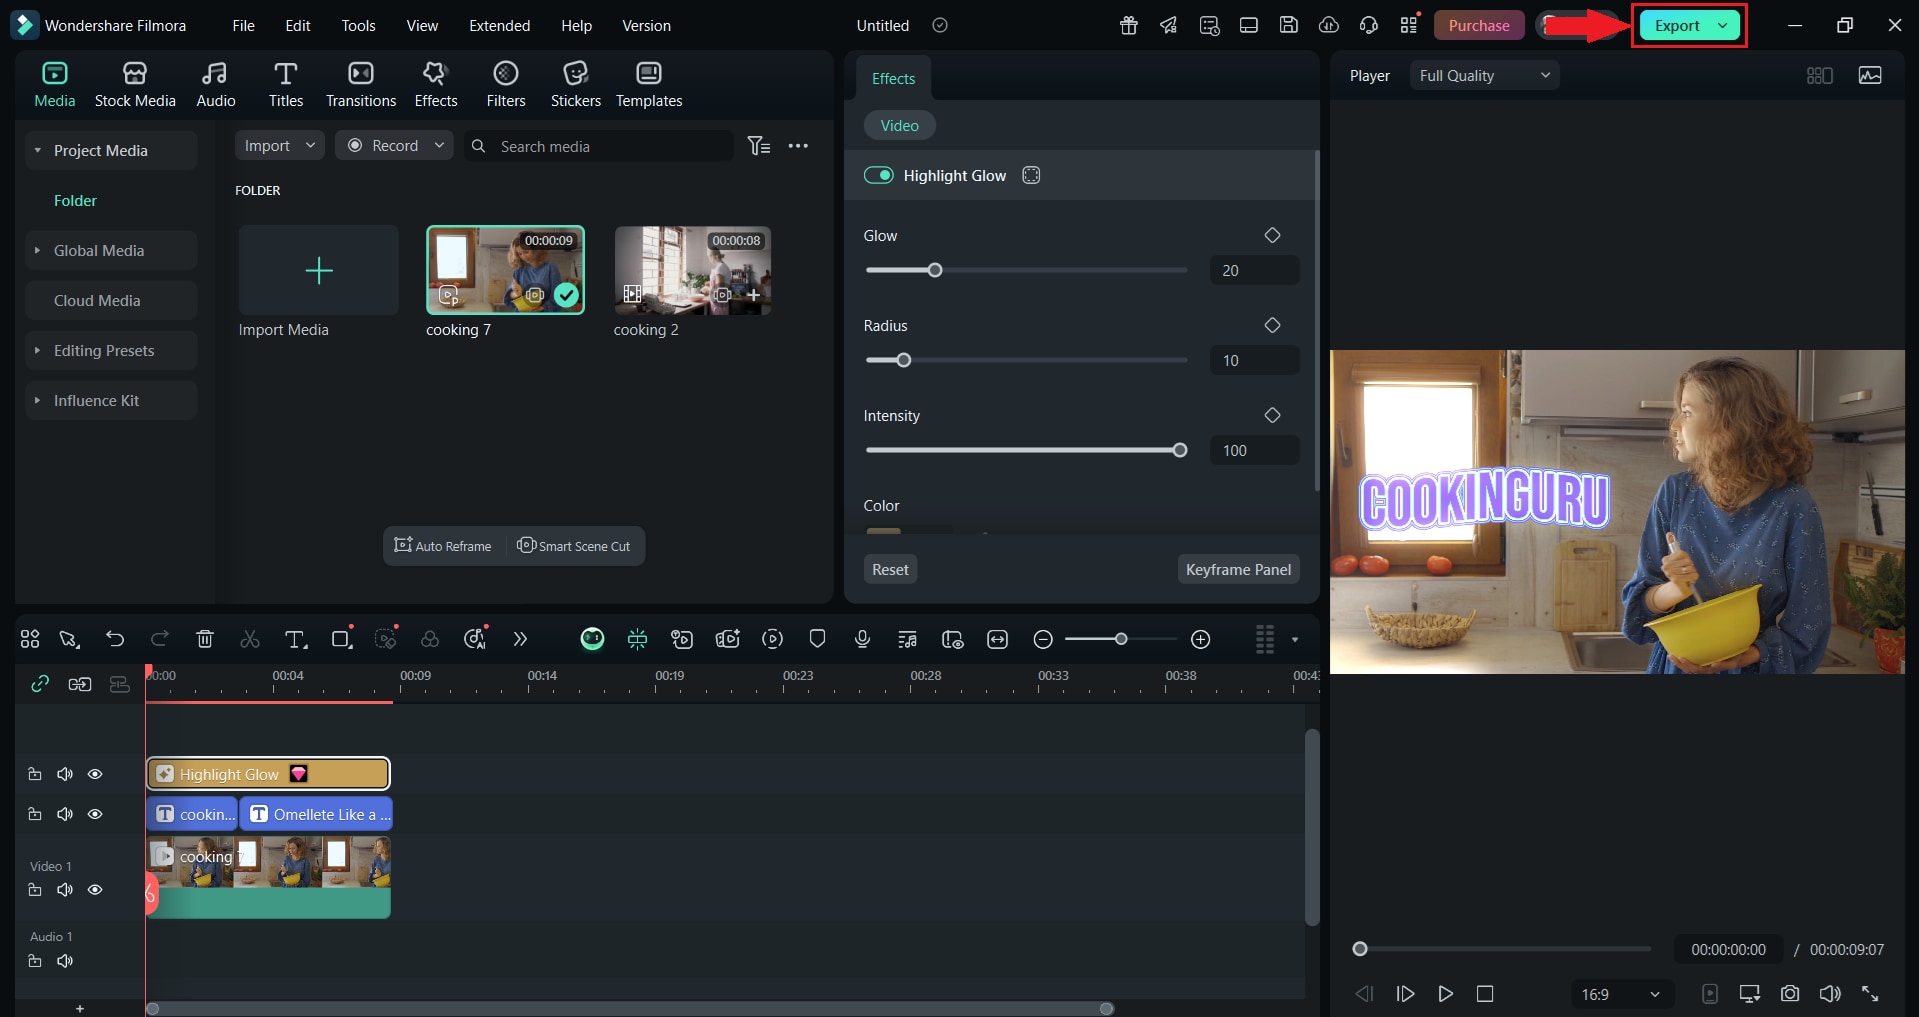
You can get a different fade-out text effect than usual by combining it with additional movements or styles to make your text look more dynamic when it disappears. Combining fade-out with an effect such as glow, zoom, slide, or bounce can make your video more playful, elegant, or cinematic. The key is to carefully adjust the animation so that the text remains smooth and easy to read.
- Try to keep animations clean and easy to read. Too many effects at once can make text distracting.
- Use short durations for exit animations to feel intentional and not slow.
- Check the layering to ensure text remains visible above other visual elements until it fades.
- Test different combinations of fade effects and movements to find the one that best suits the mood of your project.
Part 5. Export & Troubleshooting
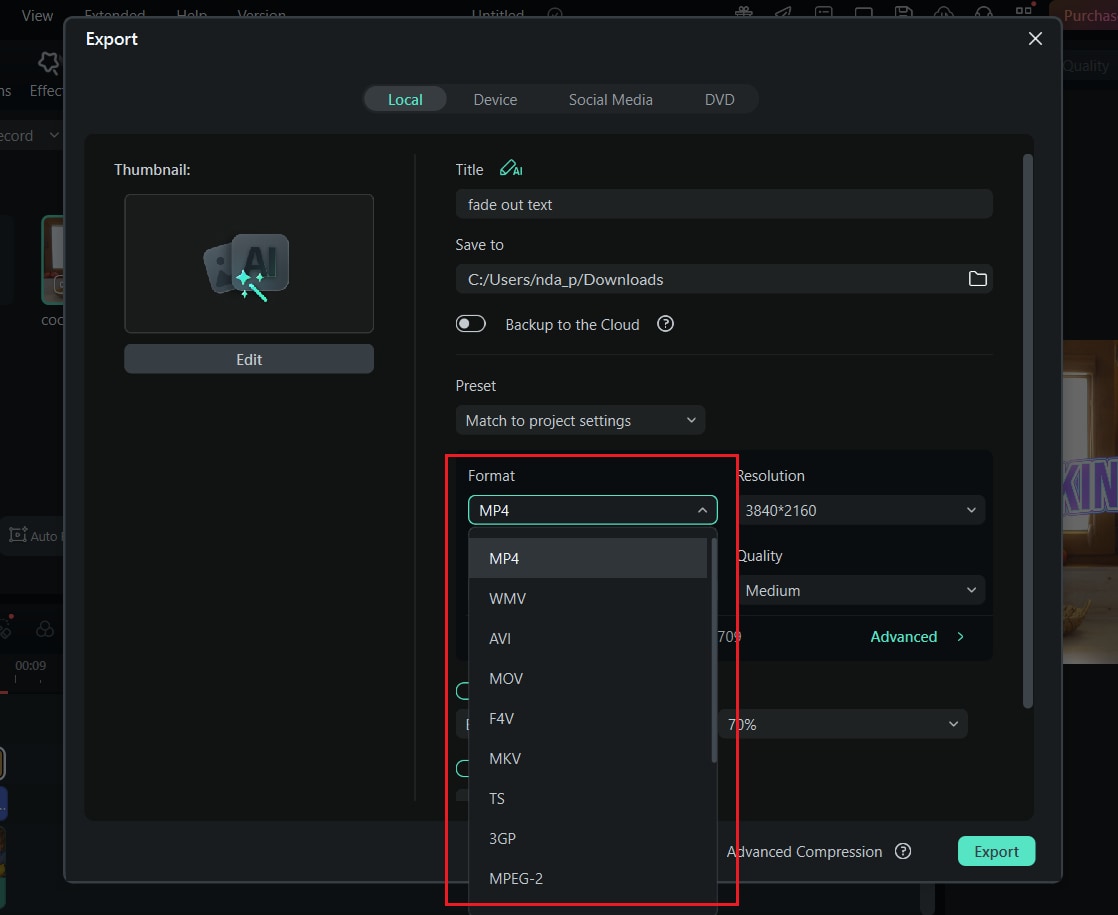
Once your fade-out text effect looks smooth and polished, the next step is to export it correctly so that it maintains its clean appearance in the final video. Ensure to export it properly to guarantee that your fade effect plays back exactly as it did in the preview without any glitches, jumps, or loss of quality.
How to Export the Final Video
Common problems and quick fixes:
1. Fade effect not working
Check that the text layer has the correct preset or keyframe. If it still doesn't work, check that the opacity values are properly set between 100% and 0%, and that no other animation is overriding it.
2. Fade effect too sudden
Extend the duration of the text clip or space out the keyframes to slow down the fade effect. A longer transition creates a smoother fade and helps it feel more natural within the video's pacing.
3. Background disappearing
This issue usually happens when the fade effect is applied to the wrong layer. Double-check that only the text layer has the fade animation, and keep your background clip on a separate track to avoid unwanted transparency.
4. Playback issues
Lower the preview quality or re-render the timeline before exporting. You can also enable proxy files or use the "Render Preview" option in Filmora to improve playback performance.
Conclusion
We've learned how a smooth fade-out text effect can make your video look professional and well-planned, even though the effect itself looks simple. We've discussed three ways to create a fade-out text in a video: using presets for quick results or keyframes for precise control. You have the flexibility to build animations the way you want in Filmora.
Before exporting, always do a final playback check to detect any sudden timing issues or overlapping layers. With a little experimentation, you can create fade-outs that feel smooth, professional, and effective.
