Convert Portrait Video to Landscape: 3 Professional Methods

Nov 07, 2025• Proven solutions
Looking to convert portrait video to landscape without cropping? Whether you've accidentally filmed in portrait mode or received vertical footage from clients, converting portrait video to landscape doesn't have to mean losing video quality. In this comprehensive guide, we'll show you exactly how to change portrait video to landscape using Filmora's advanced features, including AI-powered tools and professional editing techniques that preserve your content's integrity.
- Method 1: Convert Portrait to Landscape with Smart Cropping
- Method 2: Portrait to Landscape Video with Background Blur
- Method 3: AI Auto-Reframe for Convert Video into Landscape
- Method 4: Advanced Filmora Techniques for Professional Results
How to Convert A Portrait Video to Landscape
The Best Video Editor for converting a portrait video to landscape - Wondershare Filmora
Filmora is one of the rare video editing programs on the market today that allows you to export horizontally oriented videos, and this video editing software also enables you to export 1:1 aspect ratio videos that are perfectly suited to Instagram. You can customize the aspect ratio to fit the demands of your project and Filmora also provides superb video editing tools that will enable you to create amazing videos.


Method 1: Convert Portrait to Landscape with Smart Cropping
The most common way to convert vertically oriented videos into a landscape format is by cropping the frame. However, this often means losing nearly two-thirds of the original shot.
If you're looking for a quick solution that preserves your video's key visual elements, smart cropping is the way to go. With Filmora's Smart Cropping feature, the software automatically detects the most important subjects in each frame and intelligently adjusts the crop to keep them centered and clear. This ensures that when you convert a portrait video to landscape, you maintain visual balance and professional-looking results—without tedious manual adjustments.
Step 1:
Double click on Filmora's desktop icon on your PC or Mac to start the program. Once the welcome screen appears, click New Project to start to convert the video to the landscape.
Step 2:
Import the portrait video you want to edit into the Filmora video editing software by clicking on the Import drop-down menu and then select the Import Media Files option. Drag and drop the video clip from Filmora's media panel to the timeline. Once you place the clip on the timeline you'll be able to see black bars on both sides of the video in the preview window.

Step 3:
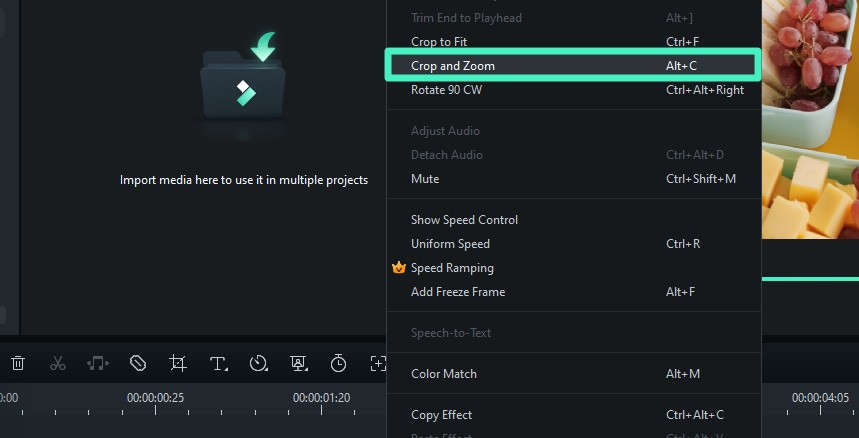
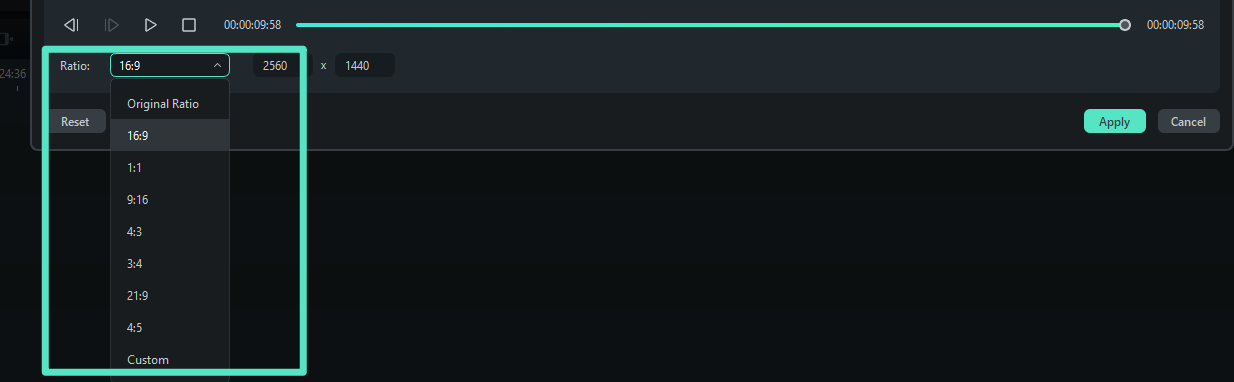
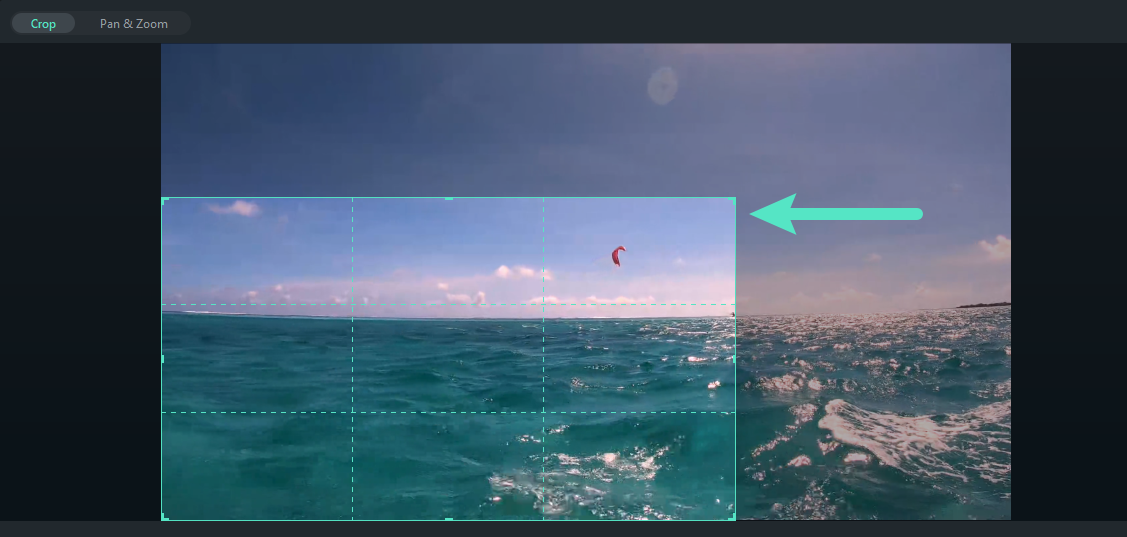
Right-click on the video clip and select the Crop and Zoom option. Once the new window appears on your screen you'll be able to see five different cropping options: Custom, 16:9, 4:3, 1:1 and 9:16. The 9:16 option will be checked and you need to change that to 16:9 and then readjust the position of the rectangle in the left preview window. The image in the right preview window will show you how your footage will look like after you crop it. Hit Ok to complete the cropping process.
Step 4:
If you want to edit your footage further you can do so by applying transitions, effects or creating end credits. Once you've finished editing your video clip, click on the Export button. You can choose the file format in which the file will be exported and then click Export to start exporting your video. Alternatively, you can choose to export your video directly to Facebook or YouTube account. The video will have a 16:9 aspect ratio once the Export is complete.https://images.wondershare.com/filmora/guide/crop-pan-zoom-video-in-filmora-011.png
Method 2: Portrait to Landscape Video with Professional Background Blur
This is the recommended approach to convert portrait video to landscape without cropping. By adding a professionally blurred background, you preserve 100% of your original footage while creating a cinematic landscape format that's perfect for YouTube, social media, and professional presentations. If you would like to preserve the quality of your video clip than blurring the background of your vertically oriented video is the best option.
Step 1:
Open the Filmora video editing software on your Mac or on your PC and click on New Project.
Step 2:
Click on the Import menu and then select the Import Media Files option. After you drag and drop the portrait video to the timeline (choose DON'T MATCH), you'll be able to see black bars on both ends of your video clip.
Step 3:
Head over to the Filters menu where you select the blur effect you want to use. Filters like Blur Bars, Basic Blur, Rings or Diamonds in the Background Blur can be used effectively to cover the black bars in your vertically oriented video. You can also use the search bar to avoid roaming aimlessly through Filmora's huge collection of filters.
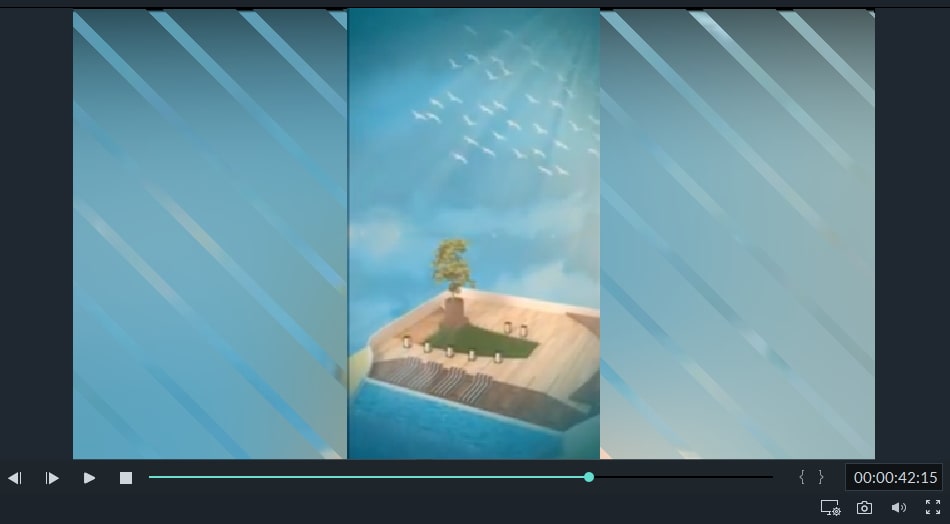
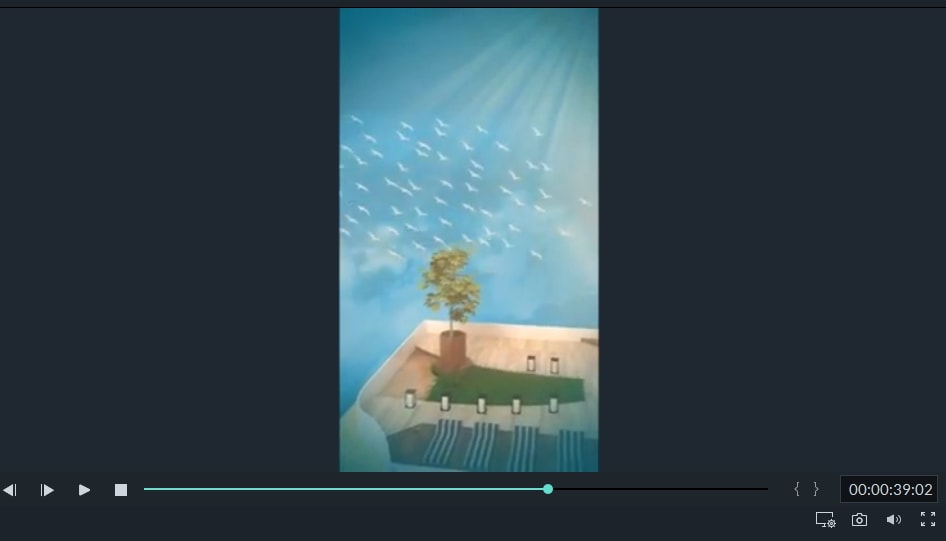
Click on the effect to see how it looks like when applied to your video clip. Drag and drop the effect you like the most to the editor's PIP track and adjust its duration so it fits the duration of the video. Black bars in your videos should be covered with a smooth looking filter. Proceed to edit your video in any way you like. You can apply more filters, add text or add music to your video clip.
Step 4:
Click on the EXPORT button, and then select the video file format you want to use. Filmora offers support for a large number of different file formats such MP4, AVI, MOV or MKV. You can also export your video to YouTube directly from Filmora.
Method 3:
Filmora's AI-powered Auto-Reframe feature revolutionizes how to change portrait video to landscape. This intelligent tool automatically detects your video's focal points and seamlessly converts portrait video to landscape while preserving the most important visual elements. Perfect for content creators who need to convert portrait to landscape video in bulk.
Step 1:
Open Wondershare Filmora and then click the Auto-reframe feature on the start interface. Or, you can create a new project first, import the video to media library, and then select Auto-reframe.

Step 2:
In the Auto-Reframe interface, you will see aspect ratio, motion speed, and analyze menu. Since we need to convert a protract video to landscape, select the 16:9 aspect ratio first, and then keep the motion speed auto, click Analyze button to start converting. Filmora will convert the video to landscape automatically. Click Export to save the landscape video on local.

Method 4: Advanced Filmora Techniques for Professional Results
For professional video editors looking to convert portrait video to landscape without cropping, Filmora offers advanced compositing tools that go beyond basic methods:
- Multi-layer composition with custom backgrounds
- Motion tracking for dynamic portrait to landscape video conversion
- Green screen integration for seamless landscape backgrounds
- Custom aspect ratio templates for different platforms
Pro Tips: Convert Portrait Video to Landscape Without Cropping
- Resolution Preservation: Always export at your original video's resolution when you convert video into landscape
- Background Selection: Use complementary colors that enhance your subject when creating blurred backgrounds
- Batch Processing: Filmora's batch export feature saves time when you need to convert portrait to landscape video for multiple files
- Platform Optimization: Consider your target platform's aspect ratio requirements before choosing your conversion method
Related Articles:
- How to Change Video Aspect Ratio in Filmora
- Best Video Editing Practices for Social Media
- Filmora vs Other Video Editors: Complete Comparison
- How to Export Videos for Different Platforms
Liza Brown
chief Editor
