Guide on How To Make Audio Visualizer in Filmora
In this video tutorial, you will get to know how to add an audio visualizer to video using the best tools offered by Wondershare Filmora.
Key Steps of This Video Tutorial To Follow
Guide to using Filmora AI Tools
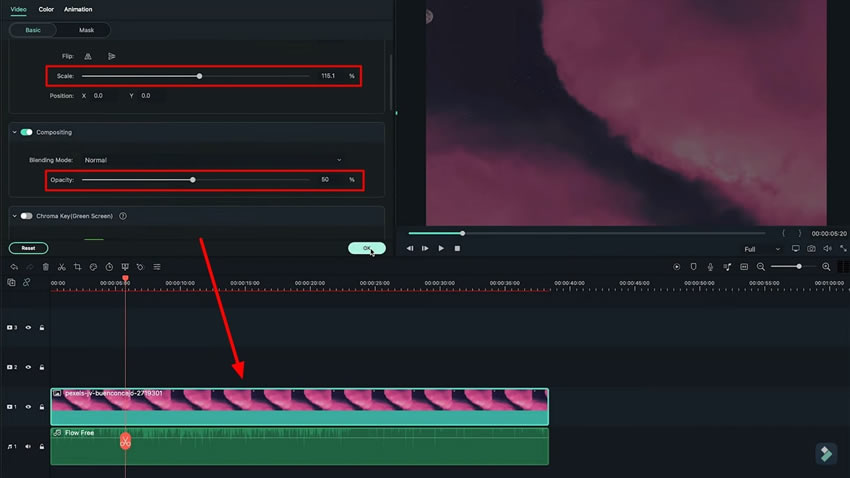
To start the process, first of all, open Wondershare Filmora and add your music to the "Timeline," the first track. Continue to select the background and add it on the second track. Double-click on the second track and direct to the “Video” section. Continue to the “Basic” section and adjust the “Scale” and “Opacity.”
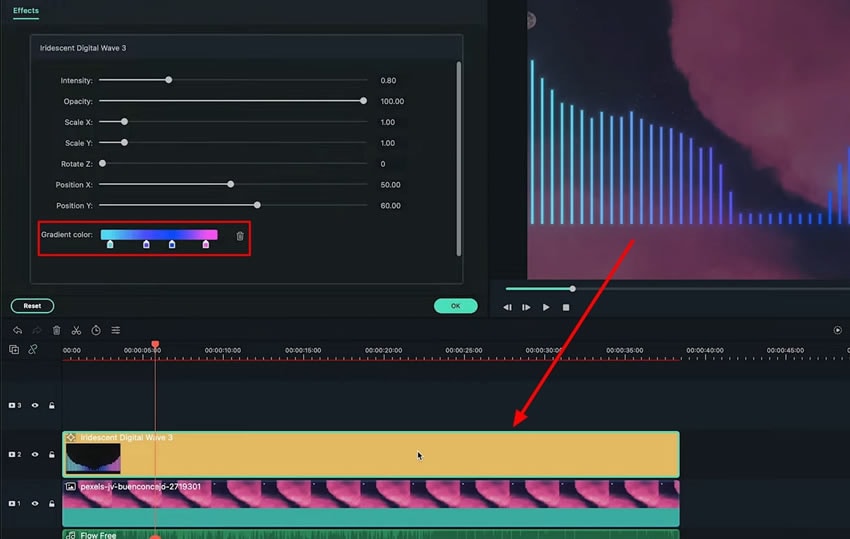
To change the effects, go to the “Effects” menu, and continue to the “Filmstock” section on the left. Look through the options and access the “Audio Visualizer” collection. From this collection, choose any “Visualizer” and bring it to the timeline on the third track.
Double-click the "Visualizer" on the timeline to enter its settings window. Here, you can adjust the "Color" of your visualizer and other settings as per your requirement.
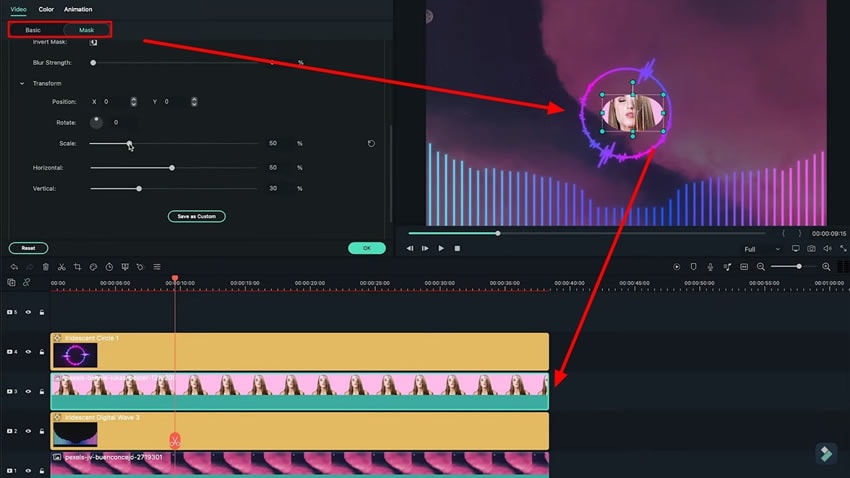
Bring your portrait photo to the timeline on the next track and enter the settings window. Go to the "Video" tab and adjust the size of your photo. Again, go to the "Effects" tab and bring another "Audio Visualizer" on the timeline on the same track.
Lead into the settings of “Portrait photo” and under the “Video” section, change the size of the photo from the “Scale” option and navigate to the "Mask" tab. Here you can change the "Shape" of the photo by selecting any option available. Scroll down the "Mask" tab and change the settings of the mask as you like.
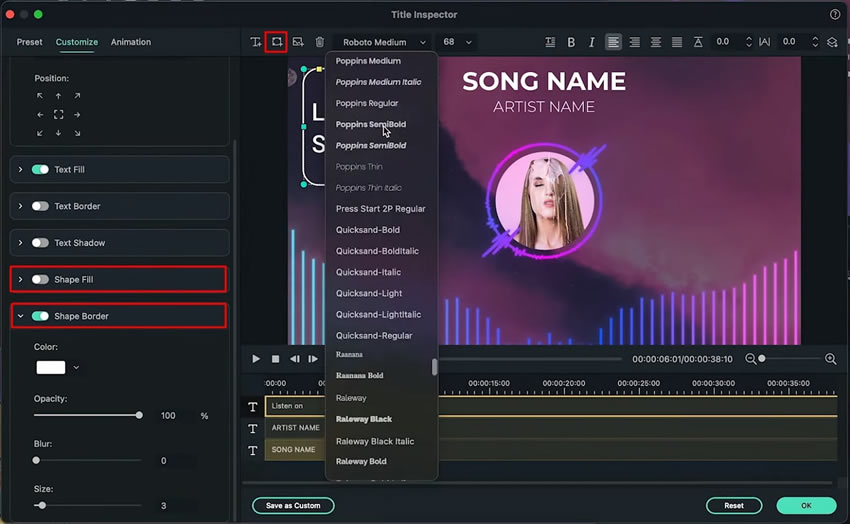
Navigate to the “Titles” menu and bring the “Default Title” to the timeline on a new track. Double-click the added title on the timeline and enter its settings window. Navigate to the “Advanced” option and select it, which will lead you to a new window. Access the “Customize” settings, and add the name of your song and artist name in the “Input Text” option.
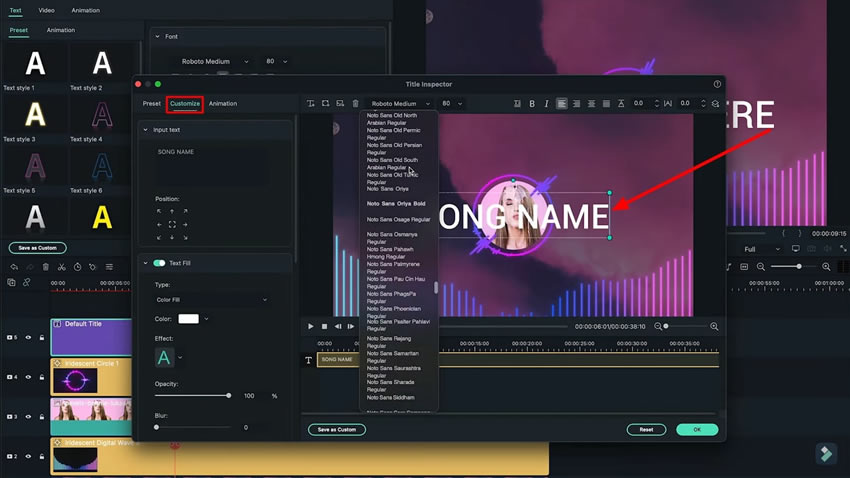
You can also add music streaming info from here. Click on the “Shape” icon from the top left side of the preview window and select the desired shape.
From the left panel, disable the “Shape Fill" option and customize the size of your border from the "Shape Border" option. Click on the "Yellow dot" on the "Shape" you have selected and mold it accordingly. Now type your text in this box, and you are done creating an audio visualizer.
If you have a good music playlist and want to share it with others to earn money, you may need to create a stylish and vibrant audio visualizer to catch their attention. All you need to do is install Wondershare Filmora on your computer and follow the basic yet simple steps explained in the article to achieve your goal.


