Key Steps of This Video Tutorial To Follow
Guide to using Filmora AI Tools
To add high-quality cut-out animations to the video, launch Wondershare Filmora on your device and click the "Click here to Import Media" option. Next, import the photos of your choice and go to the "File" section, present in the top bar. Following this, select "Preferences" and choose the "Editing" section from the prompt window.
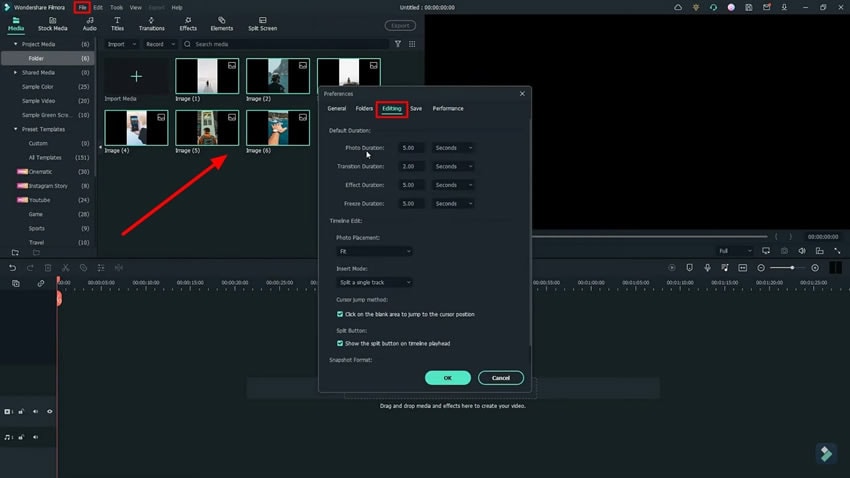
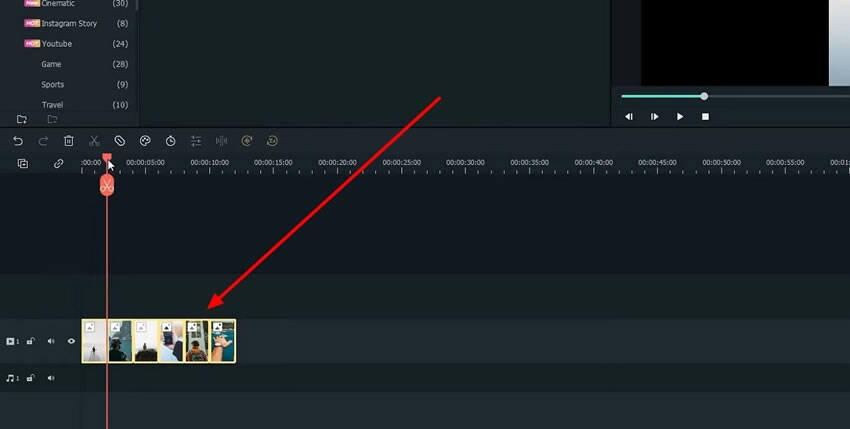
From the “Preferences” panel, you can change the "Photo Duration," "Effect Duration," and "Photo Placement." You can also toggle the "Cursor Jump Method" or "Split Button." Afterward, hit "OK" and drag all the pictures to "Timeline."
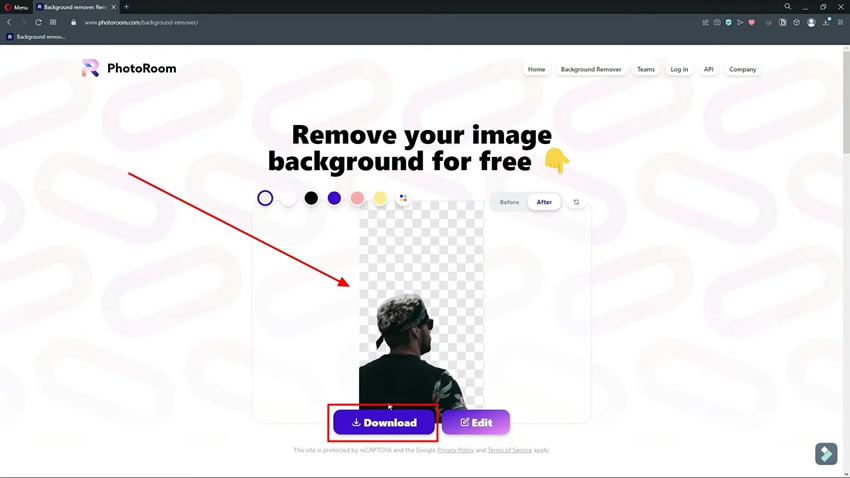
To create a paper cut of photos, go to the "PhotoRoom" website and click the "+ Start from Photo" button. Next, upload the same picture as uploaded on Filmora and hit the "No Background" icon. When done, hit the "Download" button. You have to do the same for all pictures.
After removing the background from all photos, go back to Filmora and select the “Import” button. Successively, import the paper-cut photos in Filmora and zoom the timeline using the “+” icon under the preview window.
Look for the cutting position between the added images in the timeline and drag the paper-cut image to the specific position on the timeline. This automatically creates a cut-out animation for you with ease.
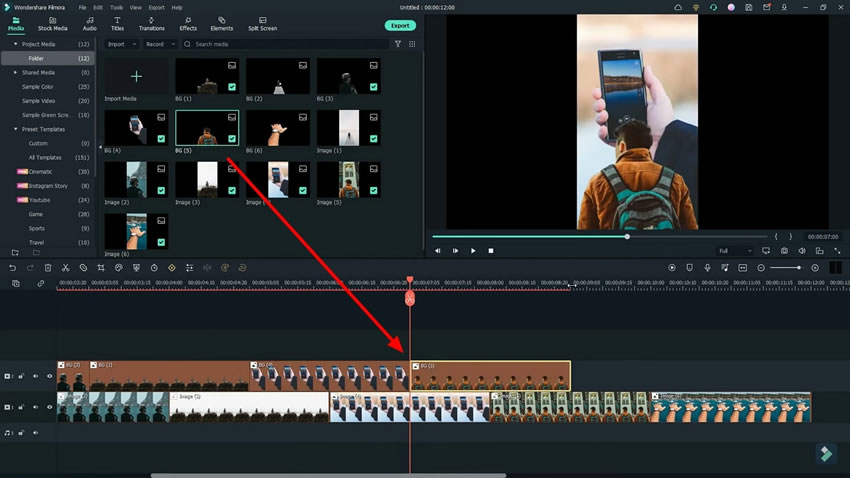
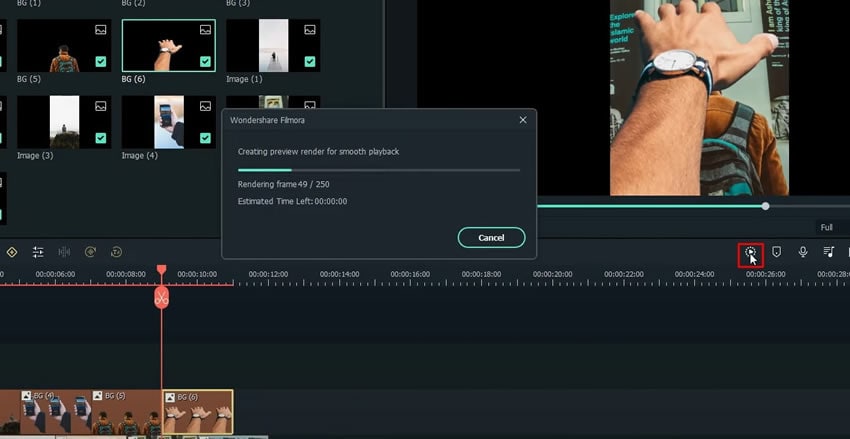
Do the same to the rest of the pictures and select the “Render Preview” button. To continue, hit the “Play” icon and check the results.
In the following video, you have discovered the procedure of creating well-fashioned cut-out animation with Filmora animations. As you need to paper cut the media to create cut-out animations, you can use PhotoRoom for this purpose. The above-mentioned procedure is quite understandable for those who seek quick results. Thus, you can add cut-out animations with Filmora without facing any complexity.


