Guide on How to Turn Image to 3D Video in Filmora
No need to upload a simple picture when you can make it 3D. Provided below is a tutorial on making a 3D image on Wondershare Filmora.
Key Steps of This Video Tutorial To Follow
Guide to using Filmora AI Tools
To start making your image into 3D video, take an image and cut out the important elements to make separate images of them using Photoshop. Import the cut-out pictures, original pictures, and a background image on Filmora.
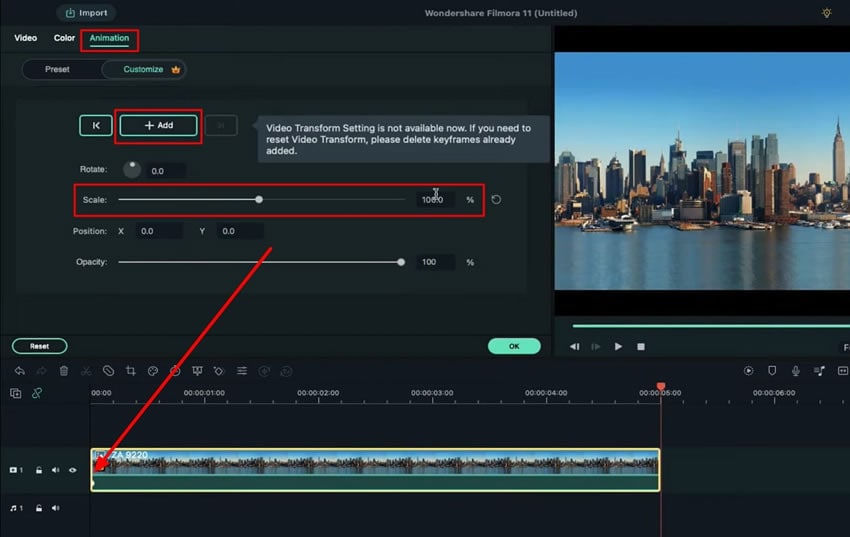
Drag and drop the background clip on the timeline across the required track. Double-click to open its customization settings and navigate to the "Animation" tab. Add a blank keyframe at the start of the image across the timeline. At the end of the added media, adjust the "Scale" to make respective changes.
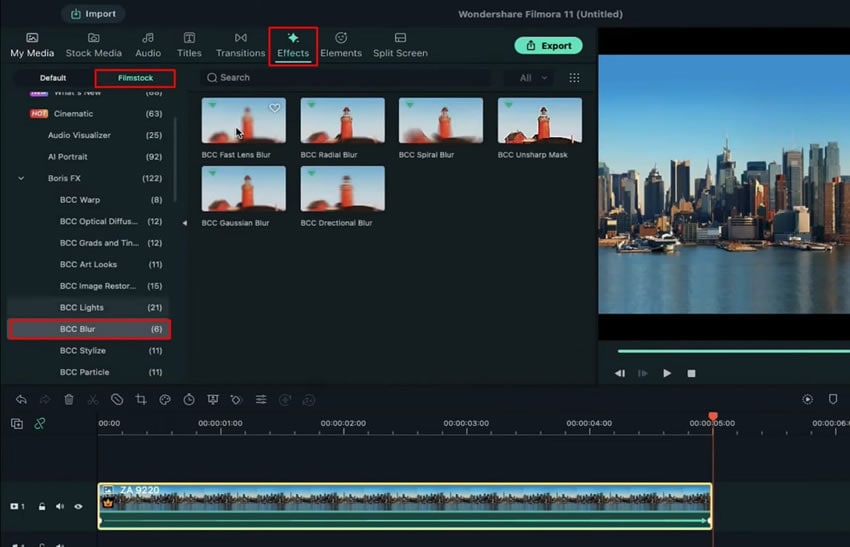
Lead into the “Effects” tab from the top and look forward onto the left panel to select the “Filmstock” section. Continue into the “Boris FX” section from the left and drag any “BCC Blur” effect onto your timeline.
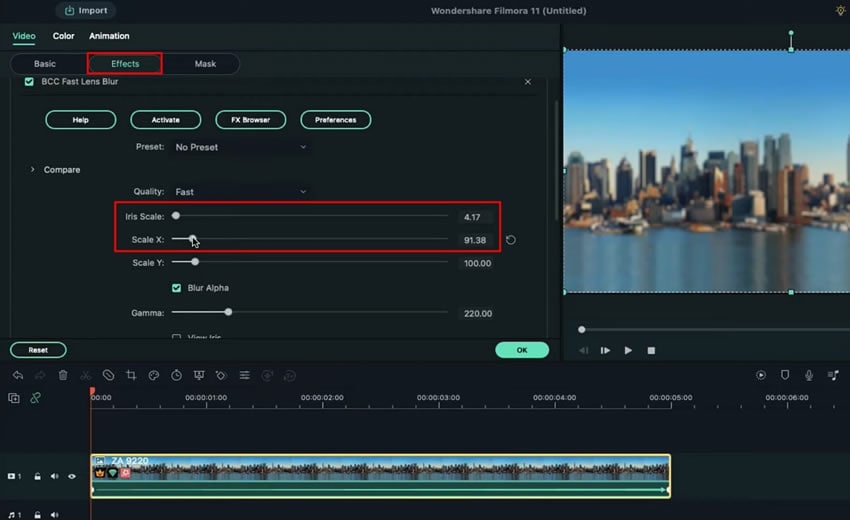
Double-click on the background view to open its settings. Lead into the "View" section from the top and open the "Effects" sub-section. Continue to change the values of "Iris Scale," "Scale X," and others.
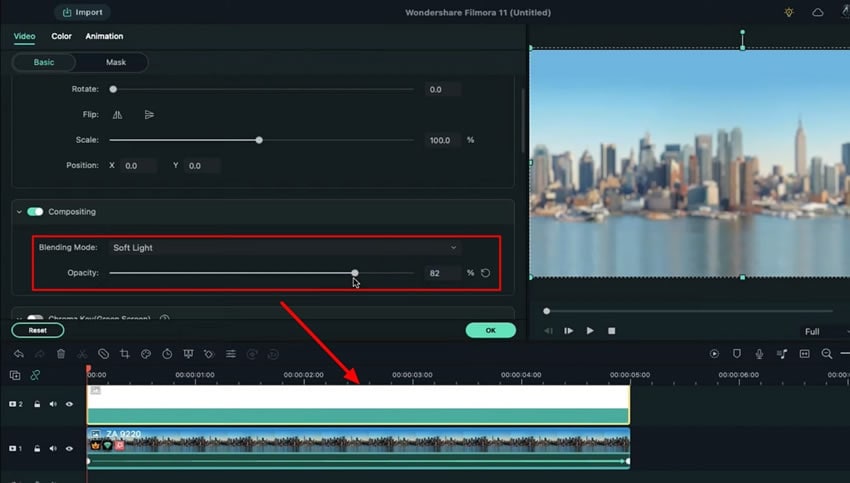
Look for the “Sample Color” section in the “My Media” tab on Filmora. Drag the required color and double-click to open its settings. Change the “Blending Mode” and “Opacity” from the available settings.
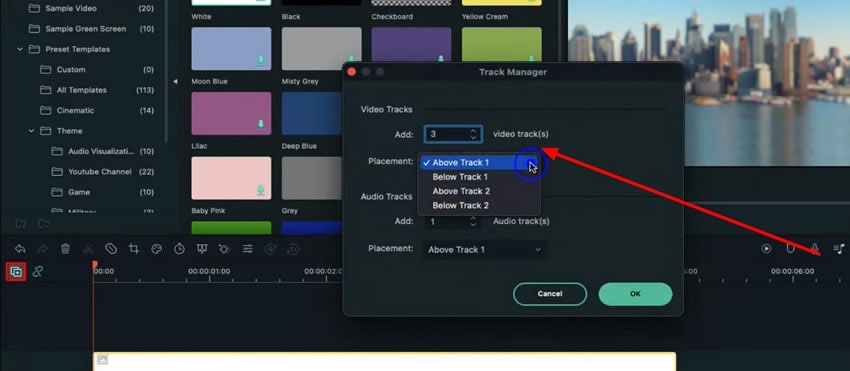
Select the “Manage Track” icon from the left side of the timeline and proceed to the “Track Manager.” Add a few more “Video Tracks” to the timeline.
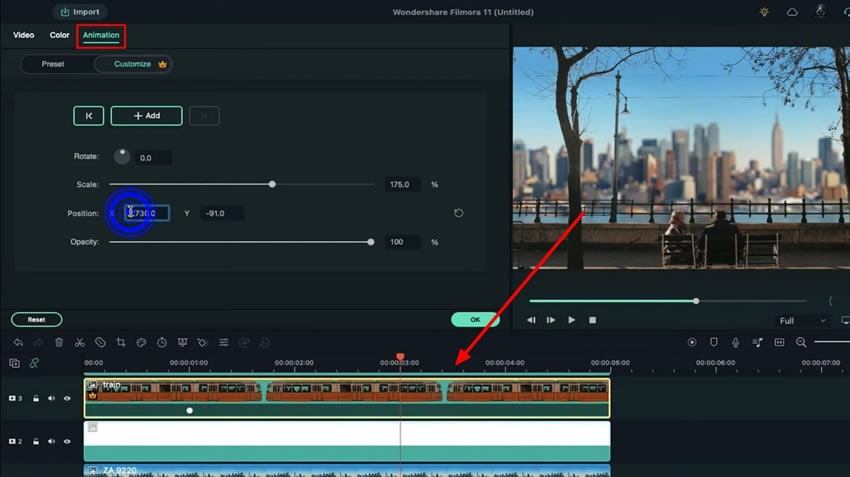
Drop another image on the timeline and open its settings by double-clicking on it. Lead into the “Animation” tab and change the parameters according to the requirements.
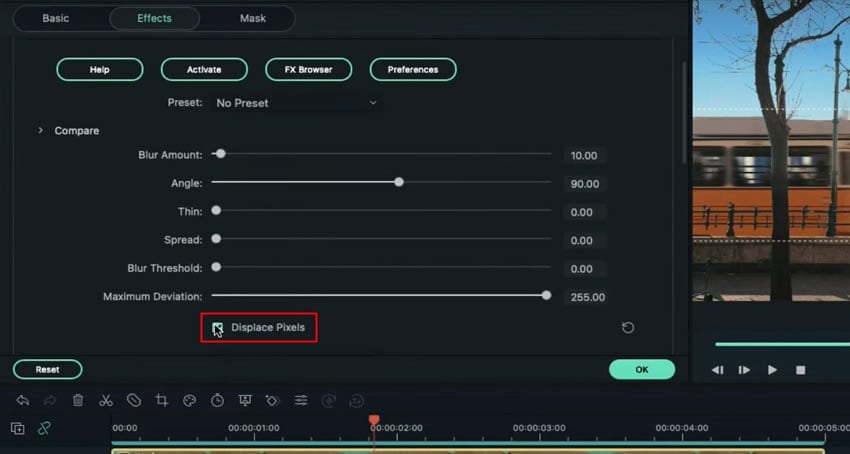
Look for the "BCC Directional Blur" to create a moving effect for the added media. Access the "Effects" settings, and uncheck the "Displace Pixels" option. Add more cinematic effects to the 3D video if needed. On concluding the addition of all required effects, click the "Render Preview" button to observe the final video.
Turning your image into 3D video can help you to improve your artwork and engage more audience with your content. Moreover, you can create 3D animated videos of different qualities using Wondershare Filmora. With this step-by-step tutorial, you can save a lot of time and effort as well.