
 100% Security Verified | No Subscription Required | No Malware


 ChatGPT
 Perplexity
 Gemini
 Claude
 Grok
Grok

According to TwitchTracker, Twitch viewership has almost doubled from 2020 to 2024. Millions of people log into the platform to track their favorite gamers, speedrunners, chess players, and several creators. These creators have a huge following, and it is only logical to consider Twitch as a career path, and that’s exactly what we are here to talk about.
If you are getting started on Twitch, this is an excellent article for you.In this article, we will provide a comprehensive introduction to Twitch streaming for beginners and expert tips on how to grow your audience by creating attention-grabbing videos for other platforms. Let’s jump in.
In this article
Twitch Streaming for Beginners – How to Get Started?

The first question you should ask yourself is, where do I want to stream from? You have three choices.
Streaming from your mobile phone
You can do this directly from your Twitch app on your phone, but this option is limited. You can only stream your gameplay or your camera. This means that, if you want to stream games and show your face to your audience, you will have to look for third-party solutions. In any case, compared to other choices, this one is the most limiting.
To start your Twitch stream on your mobile, follow these steps.
Step 1: Log into your account on your mobile app and click on your profile picture.

Step 2: Click on the Go Live button.

Step 3: You will get two options, Stream Games or Stream IRL, where the second option will activate your camera.

From then on, based on your choice, you will follow the prompts and start your stream.
Streaming from your PC – the optimal way

If you really want to be a streamer, you need a PC or laptop because you can control all aspects of your stream and customize everything. However, this option is going to cost you a pretty penny. You need good gear if you want to stand out.
- PC or laptop: You should go for a decent new-gen PC or laptop.
- Webcam: Go for a mid-range webcam that can record in 1080p.
- Microphone: You can go mid-range here as well.
- Extra monitor: Ideally, you want another monitor. One will be used for your gameplay or other activities that your viewers are watching, and the other will be for your editing software.
Then, you will need some streaming software. Here, you have several options, but they all boil down to two main ones.
- Streamlabs:All-in-one, beginner-friendly with built-in features, but uses more computer resources. See their official guide.
- OBS Studio:Simple, lightweight, runs on older PCs, supports plugins for more features. Setup info in their official guide.
Generally speaking, Streamlabs might be a better choice for beginners because it comes with all the functionalities you might need. You can experiment and develop your specific streaming style. OBS is for people who know what they’re doing.
Streaming from your console

The main consoles for streaming are Xbox Series S/X, PlayStation 5, and Nintendo Switch. Xbox and PlayStation support direct Twitch streaming. For Nintendo Switch, you need a capture card to send gameplay to your PC or laptop for streaming.
Console streaming limits you to basic controls—gameplay, mic, and camera—while PC streaming offers greater flexibility, making it better for serious streamers.
As your channel grows, editing and reusing videos becomes important. Wondershare Filmora is a versatile video editor that helps you expand your audience.
Use Filmora to Record Your Streams
The first step is to use Filmora to record your stream . That way, your full stream will be recorded and ready for editing. To start recording your stream on Filmora, follow these steps.
Step 1: Download and install the software on your computer. Run the program and click on New Project.

 secure download

Step 2: In the top left corner, you will see the option to click on Record. In the drop-down menu, select Record PC Screen.

Step 3: Now, since you want to record your stream, you need to select your screen, microphone, and webcam.

Step 4: You can now customize the recording in several ways. For instance, you can select a specific part of the screen you want to record.

Step 5: When everything is set up, a new window will appear where you will be able to select some basic recording options. Check everything and click Record. When you are done recording, you can click on Stop Recording when your stream is done.

Now you have your full stream ready for editing.
Use Filmora to Edit Your Stream and Prepare Content for Other Platforms
Finally, we have reached the fun part. Filmora has a ton of video editing features. For starters, you need to cut your long stream up into smaller clips. You can do this with Filmora’s split and trim function.
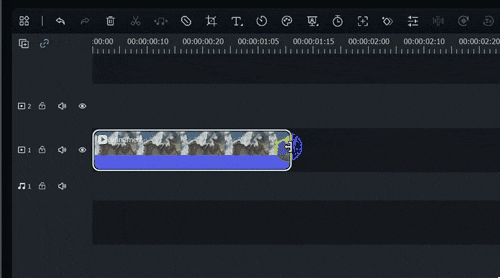
Step 1: In the editor timeline, click on your recorded stream video and drag the playhead to the moment you want to create a split. Then, simply click the split button.
 secure download
Step 2: Use the trim function to fine-tune the beginning and end points of your newly created short videos. Just hover your mouse on the left or right edge of the video, and, when you see the trim tool, start trimming.
Now that you have your short Twitch clips, it’s time to make them shine with advanced editing features provided by Wondershare.
Add effects
Since you are preparing these videos for other platforms like YouTube or TikTok, you might want to use Filmora’s effects to capture the attention of your viewers.
Step 1: Select your clip and click on Effects on the top left.
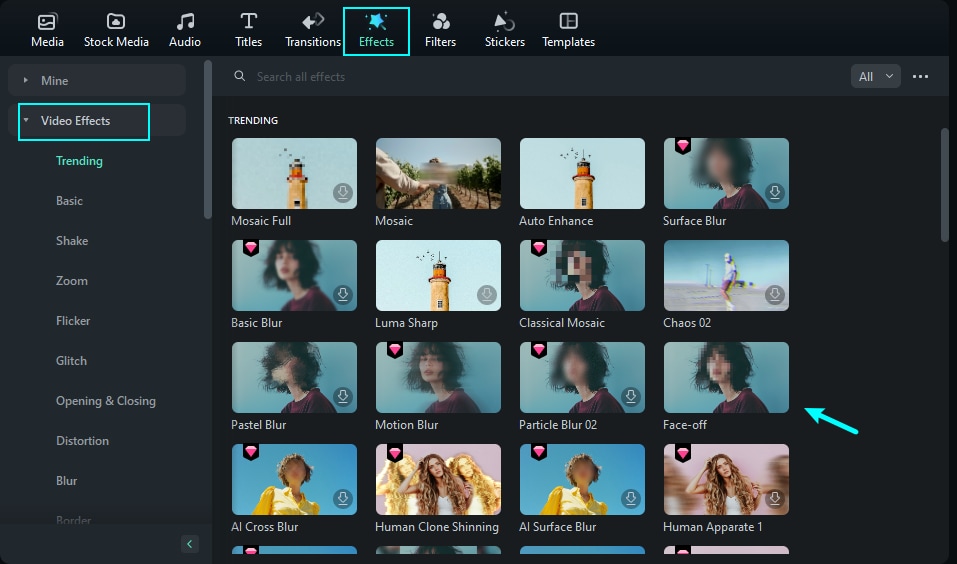
Step 2: Select an effect from the many options provided by Wondershare and drag it back to your video.

You can experiment until you find something you are satisfied with.
Add transitions
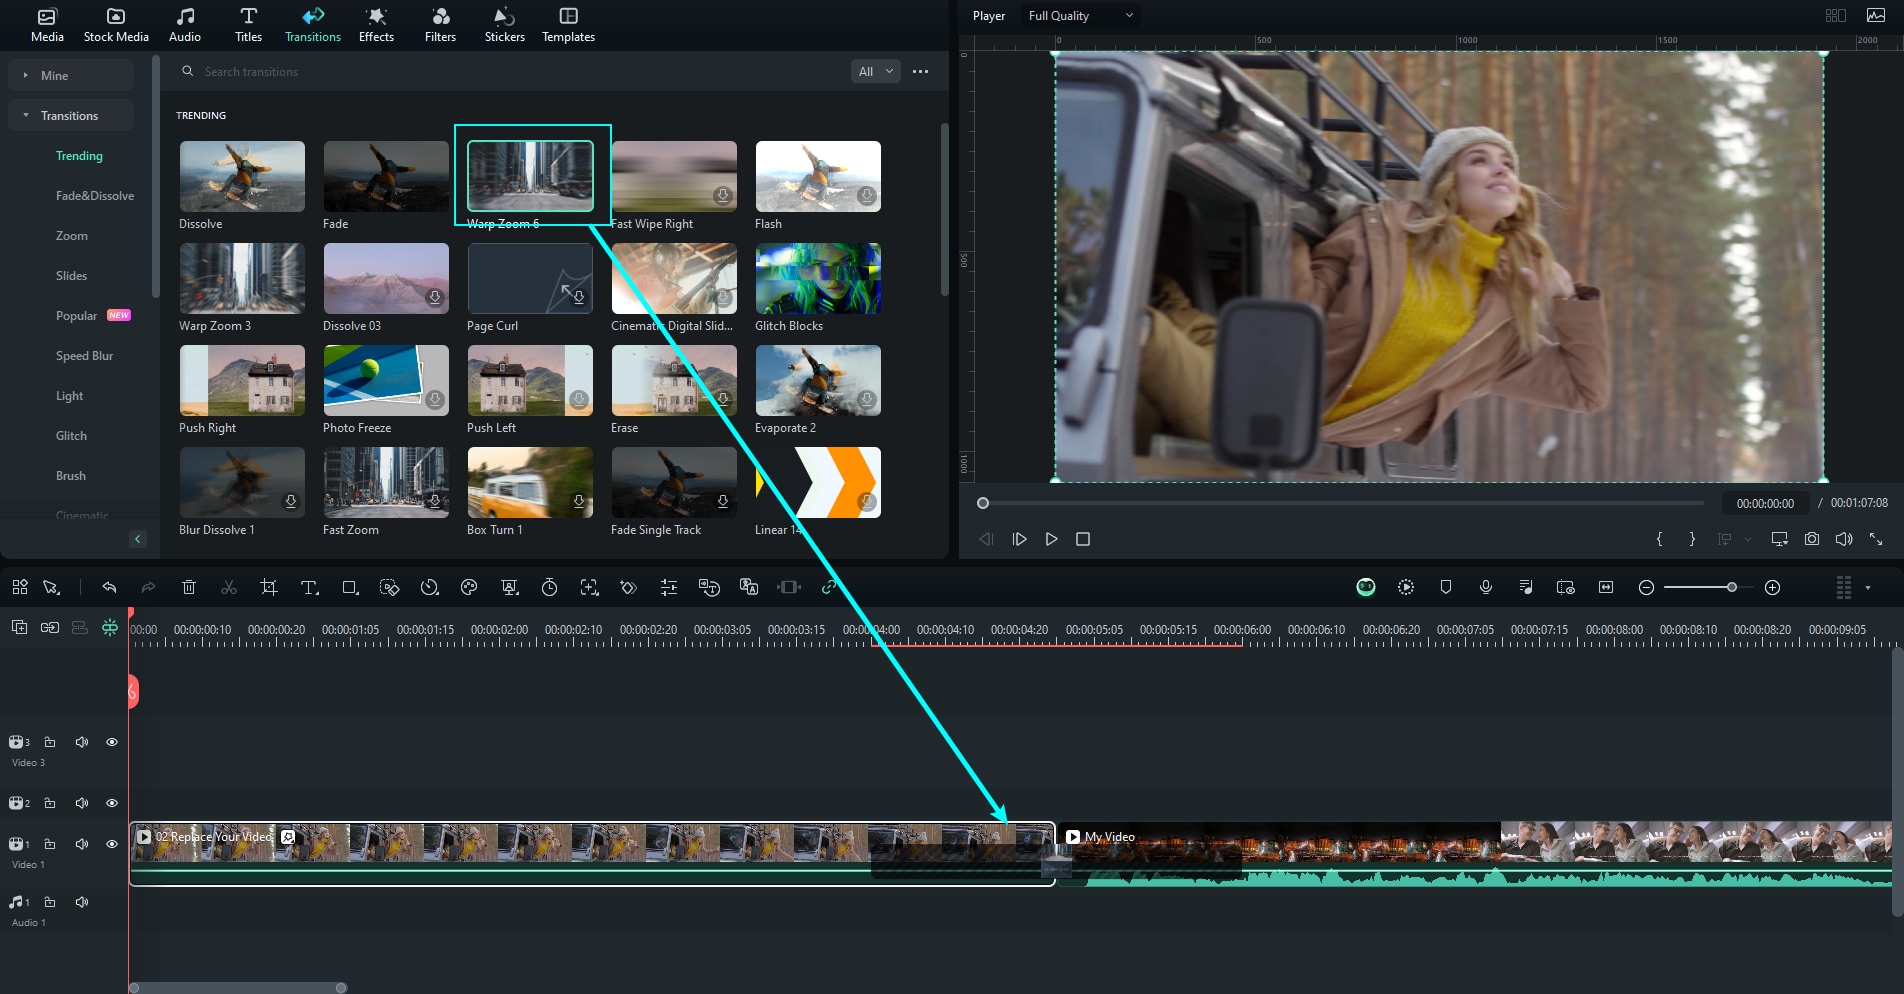
You will frequently want to compile a compilation of the best moments from your stream. To do this well, you will need to apply transitions between scenes. To do this, follow these steps.
Step 1: Find the Transitions tab in the top left.
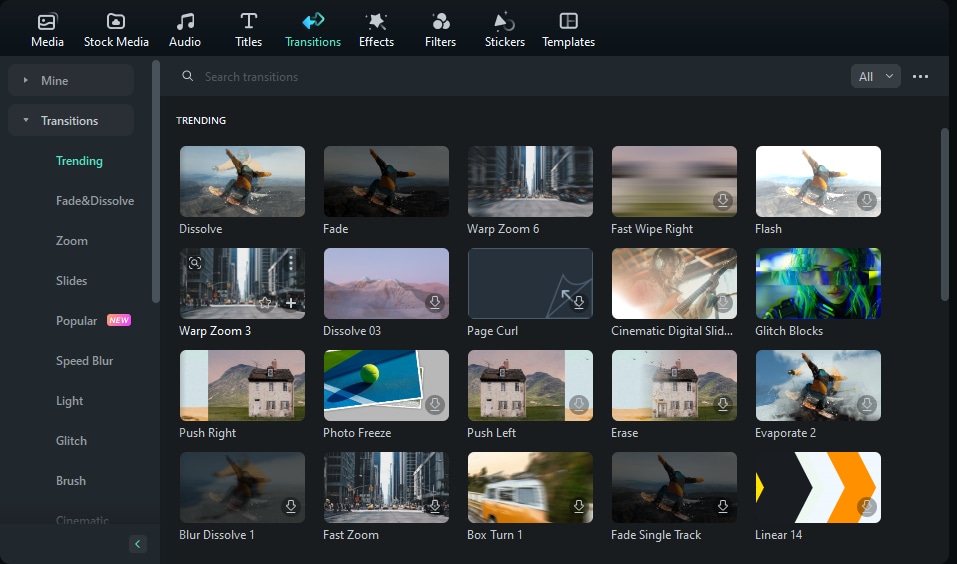
Step 2: Select the transition effect you want, download it, and drag it to the adequate place in the timeline.
Add stickers
Stickers in videos are becoming more popular as time passes. You can easily add them to enhance your videos and make them more interesting for your audience.
Step 1: Find the Stickers tab in the top left.
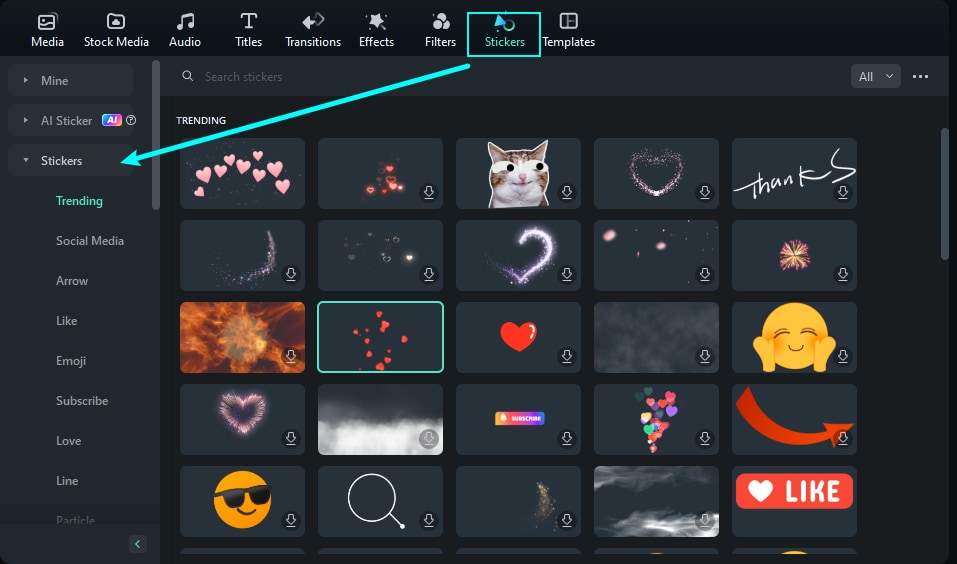
Step 2: Find a sticker that you like and drag it to the adequate place in your timeline.
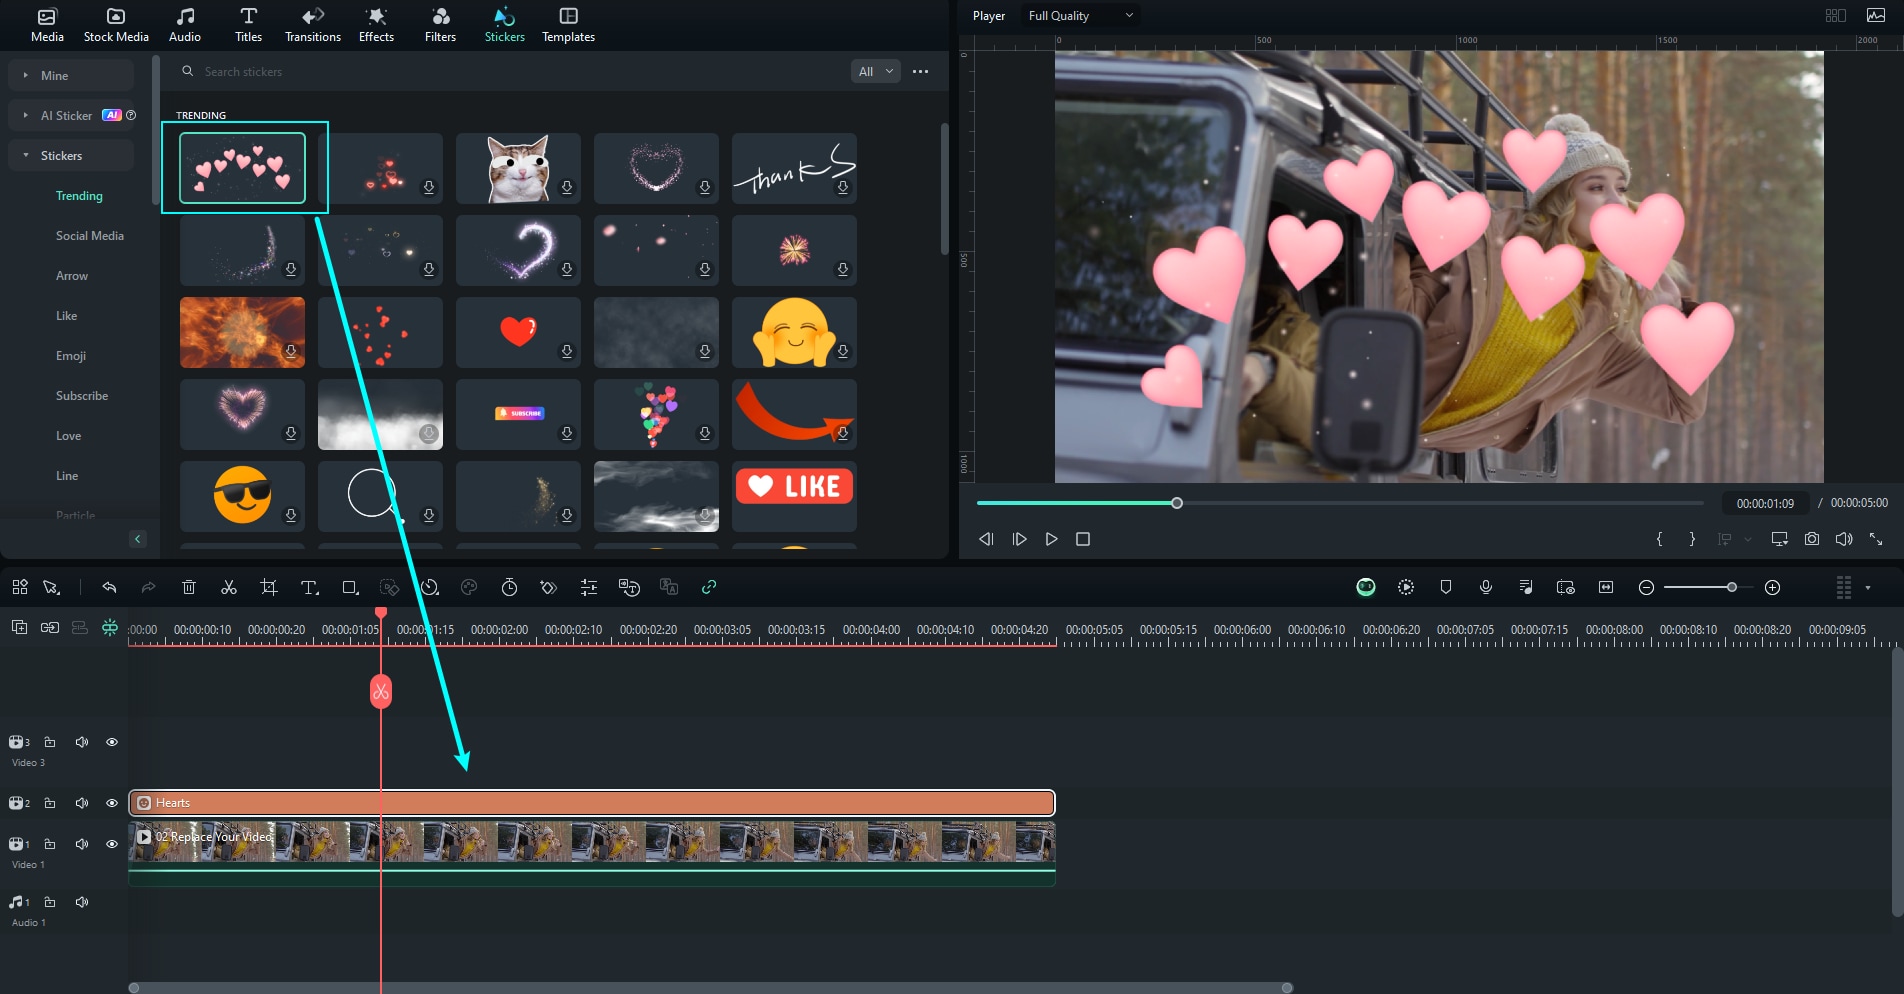
As you can see, everything is a simple, two-step process when you have an intuitive interface in front of you. Note that you can further adjust all stickers and effects.
If you have followed our steps, you now have an army of short videos suitable for different platforms. The logical first choice is YouTube. Upload your short clips there and use YouTube’s vast audience to draw more viewers in to watch your streams on Twitch. Connect your accounts to help your viewers find you more easily on different platforms.
You can also expand to Instagram, Facebook, TikTok, etc.
And, if you want to prepare clips for platforms that promote short-form content, like YouTube Shorts or TikTok, we have a bonus tip for you.
Bonus tip: Use Filmora’s AI Features to Make Something Unique
The team at Wondershare is constantly cooking up new features for Filmora. One of the freshest ones is the new Smart Short Clips feature. Here’s how it works.
Step 1: Find Filmora’s Smart Shot Clips feature in the Toolbox tab on the left.

Step 2: Now upload your entire stream.

Step 3: Check all the boxes and fill them up with the required information.

Step 4: Under advanced settings, select the aspect ratio and, if you want, browse through the templates you will see below.

Step 5: Click on Generate and wait a bit. After the process is done, you will be able to select your Smart Short Clips, which will be excellent for fast-paced platforms.

Conclusion
The last thing that we have to talk about is consistency and persistence. You won’t make it as a Twitch streamer overnight. Instead, you need to work on your craft every day and find ways to pull through even when the going gets tough. Always have a positive attitude toward your new vocation, and with that attitude, success is sure to come eventually.
secure download
