- Powerful color correction/grading
- Automatic audio sync to perfect your audio
- Customizable worktplace


8 Tips To Easily Make A Cinematic Look For Your Video

Jan 06, 2026• Proven solutions
 TL;DR:
Achieve a budget-friendly cinematic video look by adopting standard film framerates, relying on physical camera movements, and utilizing widescreen aspect ratios during post-production.
● Record standard footage at 24 FPS to mimic traditional film, but capture at 60 FPS when planning to edit slow-motion sequences down to 24 FPS.
● Crop your footage from a standard 16:9 high-definition aspect ratio to a 2.39:1 ratio during editing to create a realistic big-screen appearance.
● Plan shots with tools like Filmora's AI storyboard generator, avoid digital zooming by dollying the camera closer to subjects, and apply a Warp Stabilizer to fix jerky handheld footage.
Ask AI for a summary
 ChatGPT
 Perplexity
 Gemini
 Claude
 Grok
Grok
Amateur filmmakers do a lot of work in order to try and achieve cinematic look in filmmaking. But, many of them do it on very small budgets. How can you ensure that your films look cinematic without buying equipment that costs thousands of dollars? Here are 8 tips that you can utilize to make cinematic editing.
8 Tips to Make Video Cinematic Look
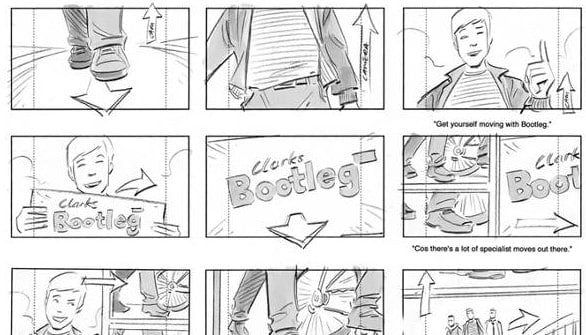
1. Storyboard is the First Step
Before you can even start thinking about filming with a cinematic look, you want to be sure that you share your ideas on paper. Storyboarding helps you to have a bird’s eye view of the creative vision that you have in mind, allowing you to stay on track and avoiding some of the problems that come up when you’re working under pressure and deadlines.
It can also help to communicate your ideas with your team as clearly as possible. There are plenty of storyboarding templates on the web, so find one and use that to get started with it. Moreover, you can use Filmora's AI storyboard generator to create your video storyboard quickly.
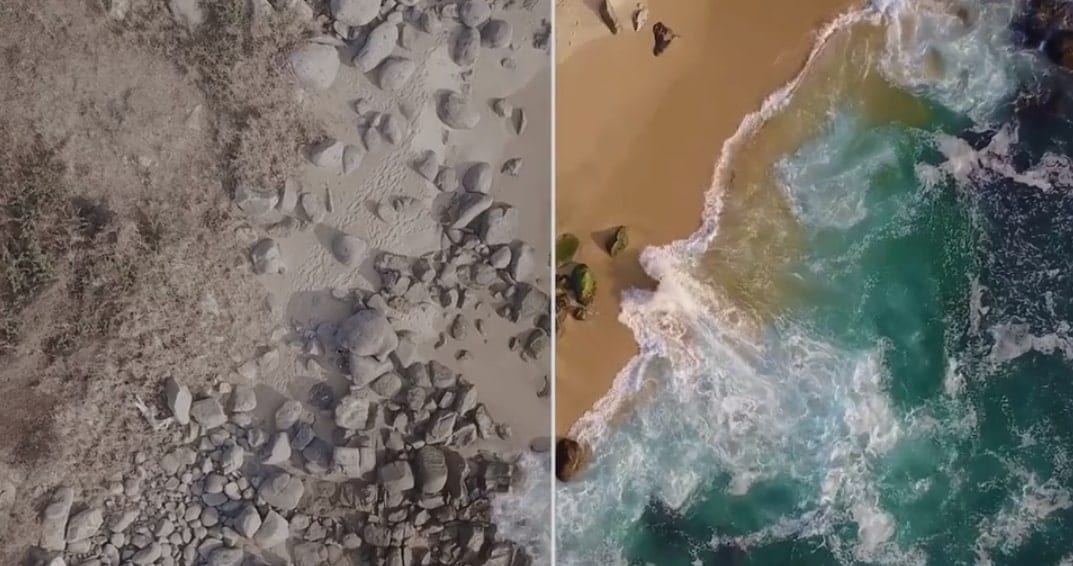
2. Color Grading
One of the best ways to get that cinematic look is to take care of issues around color grading with the help you color grading knowledge. During the editing process, you’ll need to grade and correct the color in every bit of your footage. It’ll give your film a really interesting and stylized look, allowing it to “pop” on the screen and draw people in to what is going on.
But, remember – if you have poor lighting, no amount of color grading will save it. Check out the best light equipment.
3. Utilize Slow Motion Options
As you film, you want to be sure that you’re using the capabilities that your camera has to catch film. For many people, cinematic editing starts with slow motion captures.
If you film at 60 frames per second (FPS), you can easily make some solid slow motion shots if you edit them at 24 FPS later on. It takes practice, but it’ll give you some great cinematic shots if you’re willing to take the time to learn how to make slow-mo look great.

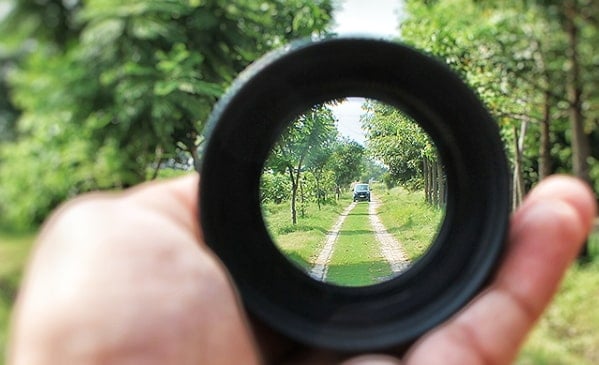
4. Don’t Zoom!
One of the biggest mistakes that people make is that they try to use their camera’s zoom in order to get up close and personal with the important shots. If you watch many modern films, though, you’ll see that they don’t use their zoom function very often at all.
If you want a more cinematic look, try a technique called dollying – it moves the camera closer to the object, which results in a more natural shot.
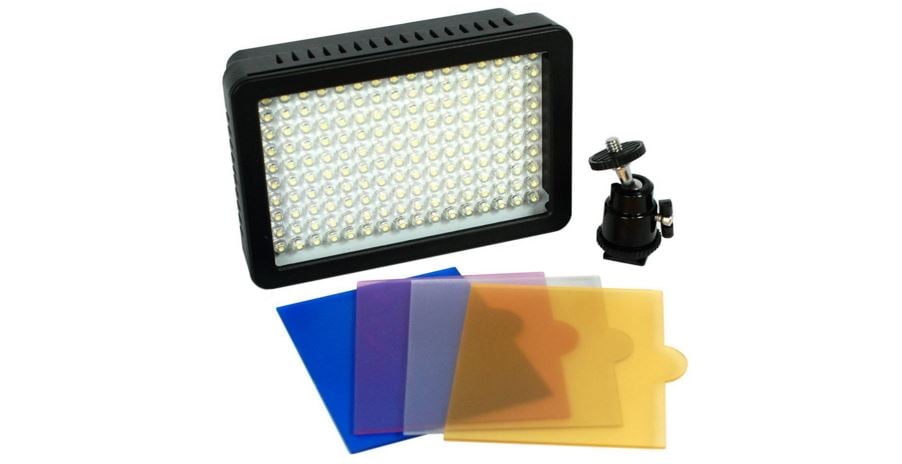
5. Be Aware of Lighting and Use it Well
Lighting is everything! No matter what medium you’re shooting (film, photography, etc.), if your lighting is poor, your picture will be poor. While film is much more forgiving than other mediums, you still need to be aware of and understand how lighting can make or break your shot.
Attention to detail is what’s important, not how much you spend on lighting, so be aware of angles and do what you can to make it look professional.
6. Shoot at 24 Frames Per Second (FPS)
Above, we mentioned that you want to get slow motion shots. You’ll want to film at 60 FPS and then do your cinematic editing at 24 FPS. But, if you’re just taking care of normal shots without any concern about slow-mo, then keep it at 24 frames a second.
24 FPS has been the standard for film since the beginning. It helps to give it a cinematic appearance without making it look too realistic.

7. Apply a Cinematic Crop
As you start learning how to edit, you’ll find that some processes are easier than others. A cinematic crop is one of the simplest things you can do to make your film look as best as it can.
Basically, you’re going from a high definition aspect ratio (16:9 on most computer screens and Hi-Def TV’s) to a “big screen” ration, which is 2.39:1. If you need to crop your edges a bit to make it happen, go ahead – it’ll give a clearer, more cinematic appearance.

8. Use Warp Stabilizer
During the editing process, you may notice that some of the footage from your handheld cameras is jerky or just adds some unwanted movement. That’s where the Warp Stabilizer option can be really helpful.
This stabilizer removes any sort of shaky or jerky footage and makes it a stable shot. You can even use it to make other adjustments in motion so that everything looks much more natural.
Conclusion
Find affordable tools that work for your purposes and see what a difference it could make for you to apply these tips into your filmmaking. Cinematic editing is well worth the extra effort and, in the long run, it could make your film into something that jump starts a career in film.
Do you want to know the steps to make multicam editing in Premiere? In this article, you will know how to edit multicam in Premiere Pro. Check it out!
by Liza Brown Jan 06, 2026 11:37 AM
Liza Brown
chief Editor
