- Premiere Tutorial
- Powerful AI for effortless content creation.
- Offer popular templates and royalty-free creative resources.
- Cross-platform functionality for editing everywhere.
How to Make Multicam Editing Premiere Step by Step

Jan 06, 2026• Proven solutions
 TL;DR:
Multicam editing in Premiere Pro requires syncing footage into a Multi-Camera Source Sequence using audio waveforms, while Wondershare Filmora provides a simpler automated right-click alternative suited for beginners.
● In Premiere Pro, you must configure audio behavior before editing by selecting Camera 1 for a continuous dominant track, Switch Audio to hear individual camera feeds, or All Cameras for a mixed output.
● Live angle switching in Premiere Pro is executed by toggling the Multi-Camera View (Shift + O) and pressing number keys during playback, followed by adjusting cut points with the Rolling Edit tool.
● Filmora bypasses separate source and target sequence setups by letting users highlight all imported clips, select the Audio synchronization method, and click the desired camera angle directly in the player window.
Ask AI for a summary
 ChatGPT
 Perplexity
 Gemini
 Claude
 Grok
Grok
Are you realizing the need for multicam editing while recording an interview with different camera angles? Well! It is not that tough as you think. With the help of a professional multicam editing software, you can do wonders when you have to cover the same scene from multiple camera angles. Through this article, we are going to let you know how you can solve your purpose with multicam editing feature in Premiere. Read further and get the relevant information.
How to Make Multicam Editing in Premiere
Step 1: Import footage
- On the Premiere Pro welcome screen, hit on New Project and choose File followed by New Project.
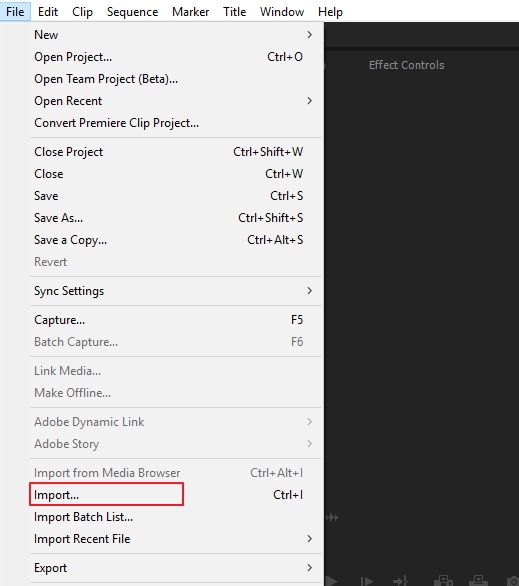
- Put the name for your project and hit on OK. It’s time to import the footage. For this, click on File > Import. From the dialog box that opens, browse for the files that you want to import. Click on Open and the file will be added.
Step 2: Create MultiCamera Source Sequence
Right click on the Project panel and click on New bin to create a bin. Name it as per your preference and drag all your camera-angle clips in the bin.
Here you are going to combine the multi-cam video clips by in or out points, audio as well as overlapping timecodes. To multicam editing in Premiere Pro, we will use advanced audio-sync waveform function. Select Audio from the multicamera source sequence and then you are required to click on Sequence Settings.

From the drop-down menu of sequence settings, you will get three options. These are Camera 1, All Cameras and Switch Audio.
- Camera 1 will help you syncing the entire video clips with the audio track only from the camera 1. And from the other camera angles, the audio will get silent. Putting in a clearer form, only the audio from camera 1 will be dominant and endless throughout the multi-camera source sequence.
- With the option All Cameras, you will be able to get all the audio tracks mixed with videos altogether.
- By using Switch Audio, you will be assisted if you wish to work with each camera angle with its own source audio. Taking example, if you choose camera angle 1, the audio from it will be heard. Same goes for camera angle 2. Switching to camera angle 3 will let you hear audio from camera angle 3 and so on.
We are going to select the first option so that the entire camera angles will sync with the camera angle 1 audio.
Step 3: Create Multi-Camera Target Sequence
With the help of target sequence, you will be able to edit and switch between the multiple camera angles. On your project panel, right click on the new multi-camera source sequence and select New Sequence From Clip. Move ahead with clicking twice on this sequence and then edit it.

Step 4: Use Multi-Camera Editing in Monitor
- Start with using the Program Monitor. Hit on the plus icon to enable multi-cam editing mode. Enable the icon that says Toggle Multi-Camera View in your toolbar. If you don’t find it on the toolbar, simply click on Button Editor (+) and drag it to the toolbar. Or simply press “Shift + O”.
- When multi-cam editing mode is opened, there will be two windows. The left one will show you all the different camera angles you are having in the multi-camera source sequence whereas the right will show the composite view. If you want to modify the order of the camera angles, you can go to the Settings icon and click on Edit Cameras. Change the order and click OK.
Step 5: Change Camera Angles
- To start changing camera angles, firstly press the spacebar key to play the sequence. Followed by this, click on the camera angle as per the wanted time code you want. You can use number keys on keyboard to do the switching between camera angles like 1 for camera angle 1, 2 for angle 2 etc.
- Keep switching until you find the angles on the needed sequence. Stop pressing the spacebar and zoom to notice that Premiere Pro itself has cut and replaced the angles according to the timecode you selected.
Step 6: Optimize Multi-Camera sequence
- If you want the cuts to be on some other time (like sooner from the marked time or a little later), you need to make use of the Rolling Edit tool now. Either you choose the tool or press N. Now, drag the edit tool and click on the needed timecode.
- Next, if you wish to change camera angle, just click on the clip which is in the sequence. Press the camera angle number and it will automatically change.
- Lastly, you can simply work with effects, color correction or transitions as you usually do with any sequence.

How to Edit Multiple Camera Angles in Filmora
As you can see, while it is possible to do multicam editing in Premiere, the process is not easy for beginners. This is why it is preferred to use alternatives that offer the same level of features at a more accessible pace. We recommend using Wondershare Filmora, as its comprehensive suite of features that are also accessible to beginners makes it a great editing choice.
With various editing resources and presets, Filmora truly is an all-in-one editing software. Now that you know Filmora is a better choice against multicam editing in Premiere, let’s see how to use it. Follow the detailed steps below to learn how you can compile multiple camera clips in Filmora:

 secure download

Step 1. Import Multiple Clips in Filmora
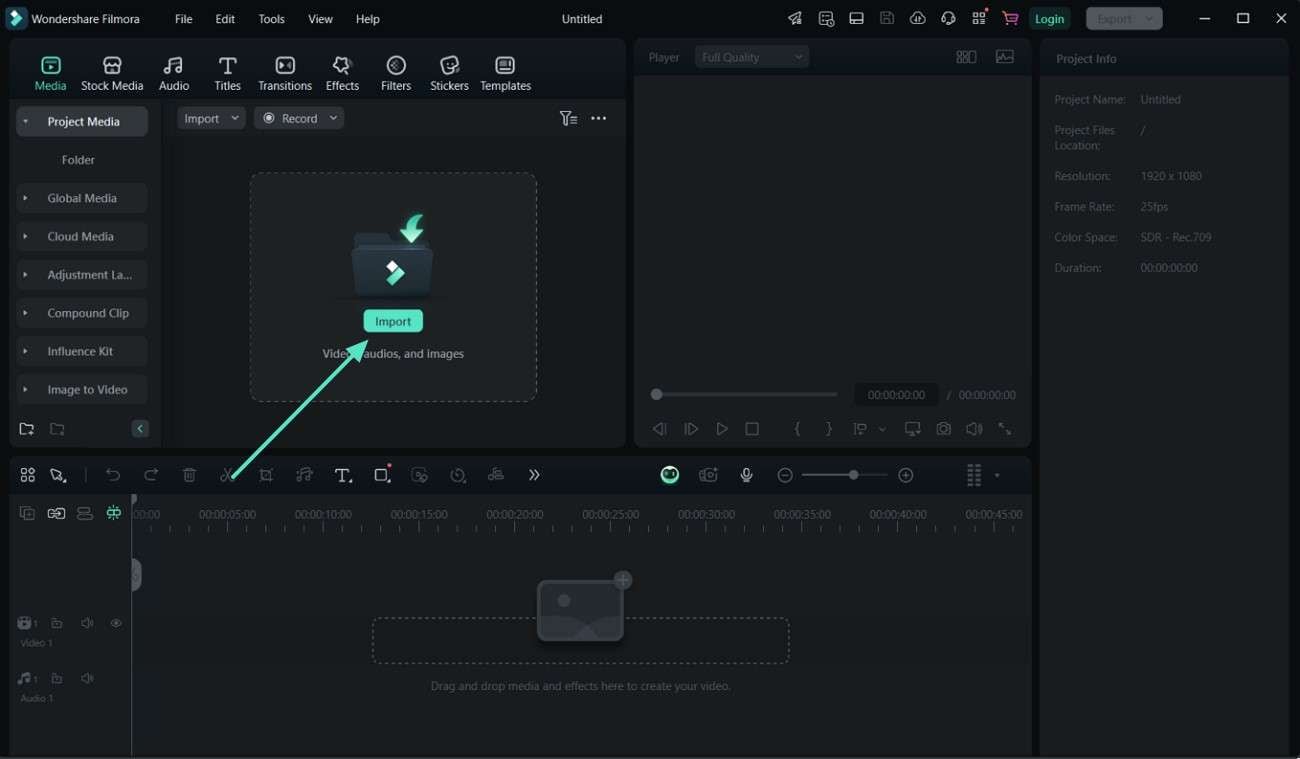
Start by launching Filmora and pressing the “New Project” button. Later on, click the “Import|” button to add the targeted multiple-camera footage to the tool.
Step 2. Create Multi-Camera Clip
Once the videos are imported, select them all by pressing “CTRL + A” and right-click on them. From the list, press the “Create Multi-Camera Clip” option.

Step 3. Create Multi-Camera Clips in Timeline
Take the videos in the timeline and right-click on them, where you have to select the “Create Multi-Camera Clip” option to proceed.

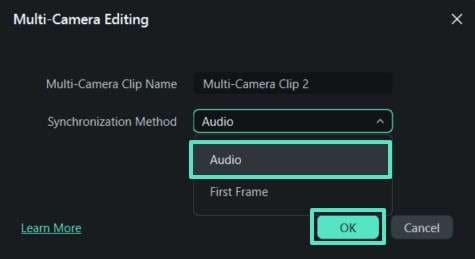
Step 4. Name your Clip and Choose the Synchronization Method
A small pop-up will appear where you must add the clip name and choose “Audio” from the “Synchronization Method” option.
Step 5. Use the Switch Multi-Camera View Option
To view all the videos playing, press the “Switch Multi-Camera View” button in the player window.
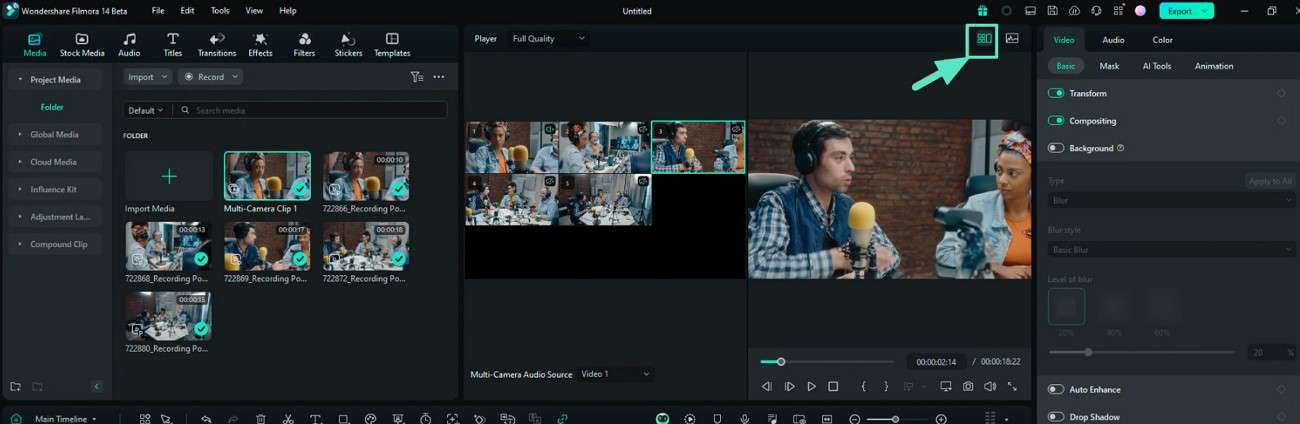
Step 6. Switch the Playback of the Videos
You can play the videos by pressing the “Space” button on your keyboard and switching the camera by tapping on your desired view.

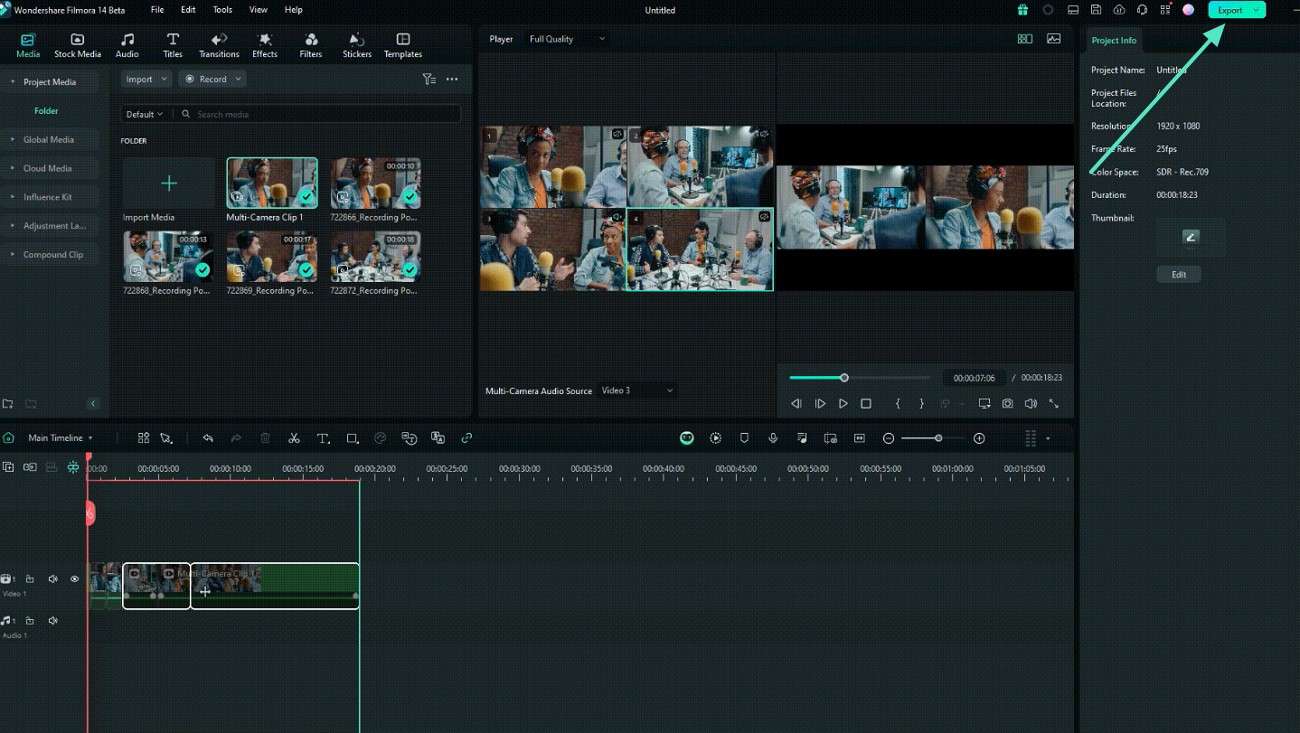
Step 7. Customize the Multiple Camera Clips
Trim or adjust the clips according to your needs in the timeline section. Afterward, press the “Export” button to access a new screen.
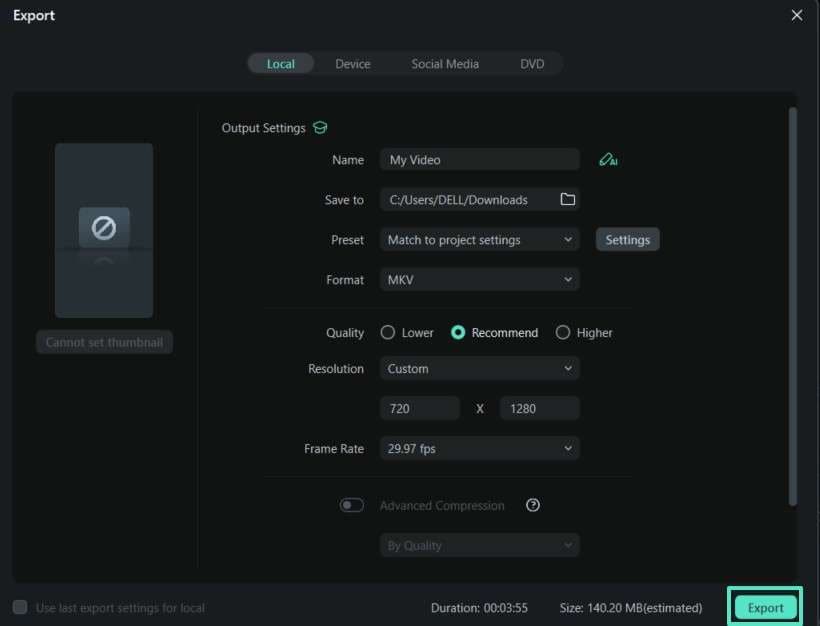
Step 8. Select the Desired Quality to Export
Finally, choose your preferred video quality and frame rate and press the “Export” button to save it on your device.
Conclusion
We shared you the steps for multicam editing in Premiere and we hope that you are now well-versed with the process. You can now start it on your own. Please let us know how you felt about this article and share query related to multicam editing if you have any. Thanks for reading! Happy editing!
Benjamin Arango
staff Editor
