


 100% Security Verified | No Subscription Required | No Malware


 ChatGPT
 Perplexity
 Gemini
 Claude
 Grok
Grok
Whether you want to censor an element due to privacy or copyright concerns, display dynamic text that follows your video's subject, or track a specific object in a video, modern video editing tools, like motion tracking in Adobe Premiere Pro, allow you to handle these tasks quickly and efficiently.
Today's guide will focus on object tracking in Premiere Pro and review this powerful feature in detail. Stay with us; we'll explore the full capabilities of Premiere Pro and show you how to motion-track Premiere Pro in a few simple steps.
In this article
Motion Tracking in Premiere Pro – Top Capabilities
Adobe Premiere Pro's motion tracking tools have a wide variety of use cases, but its primary capabilities include the following:
Blurring Faces
Many video editors have to deal with privacy and legal requirements, and that's one of the many areas where motion tracking in Adobe Premiere Pro can help. By tracking faces and facial movements, this Premiere Pro feature allows editors to efficiently blur parts of the video that might cause issues, making it particularly beneficial for documentaries and other videos where a person's anonymity is vital.
Motion Tracking Objects
Adjusting textual elements, stickers, and arrows can be challenging in video editing, but object tracking in Premiere Pro makes this process a breeze. It allows users to track a moving object from the video and have all other elements move as the object moves, making your videos more dynamic and professional.
Video Stabilization
Action clips often contain shaky footage that can be nauseating to watch without editing. That's where auto motion tracking in Premiere Pro can come in and save the day. It allows users to zoom in on a clip and place the focus on the video's subject, effectively stabilizing the footage and making it much more enjoyable to watch.
How to Apply Motion Tracking in Premiere Pro?
Now that we know more about motion tracking in Adobe Premiere Pro and its primary capabilities, we can move on to the how-to section and show you how to use this tool for everyday editing tasks.
How to Use Premiere Pro's Motion Tracking to Blur Faces?
We'll kick things off with censoring faces, so let's see how you can do it in Premiere Pro. Here's what you'll need to do:
- Open the Adobe Premiere Pro app, import your video, and add it to the timeline.
- Head to the Effects panel in the bottom right corner and search for Gaussian Blur or Mosaic.

- Drag the effect onto the timeline and then add a mask under the Gaussian Blur effect in the Effect Controls panel.

- Position your mask over the subject's face and use the handles to fit it properly.

- Click the Play button next to Mask Path to track your subject automatically.

You can then increase the blur amount and adjust the effect by stopping the video and moving the mask manually if it doesn't fit well.
How to Use Object Tracking in Premiere Pro?
Those who want to do a motion track in Premiere Pro with objects must use another effect: Transform. Here's how you can go about doing that:
- Launch Premiere Pro and import your clip.
- Start from the Effects panel, search for Transform, and then drag and drop the effect onto the clip in the timeline.

- Zoom in on the video in the Preview panel to avoid black borders.
- Tap the Plus icon below the Preview panel and add Rulers and Guides to your Toolbar.

- Use these tools from the Toolbar by clicking on them. Then, drag from the top and side rulers to center the object.

- Head to Effect Controls, and adjust the Position values under Transform for each video frame so the object is always in the center.

- Untick the box next to the Use Composition's Shutter Angle option, and change the Shutter Angle to 360.
How to Stabilize Videos With Motion Tracking in Adobe Premiere Pro?
Unlike object tracking in Premiere Pro, video stabilization is a much more automated process, and video editors can try the Warp Stabilizer effect to achieve it. Here's how:
- Open Adobe Premiere Pro and add a clip. Then, drop it in the timeline.
- Go to Effects > Video Effects > Distort > Warp Stabilizer, and drag it onto the clip in the timeline.

- You'll first see a blue bar over your footage as the Warp Stabilizer effect needs time to analyze and stabilize your video.
- Head to the Effect Controls panel. Then, find the Warp Stabilizer effect and expand the Advanced tab below.
- Change Rolling Shutter Ripple from Automatic Reduction to Enhanced Reduction.

- Change the value of Crop Less to 100% to decrease the amount of zoom that the Warp Stabilizer effect automatically applies.

Your video will undoubtedly be zoomed in at least a little, but that's necessary when applying any software-based video stabilization effect. Furthermore, the last two steps of the guide above will decrease this zoom effect to a minimum.
Best Motion Tracking Alternative to Premiere Pro – Wondershare Filmora
Although the auto motion tracker for objects in Premiere Pro is a terrific tool and a helpful feature for multiple types of videos, it's not particularly resource-efficient. Users with less powerful systems are reporting crashes, and the tool isn't smooth unless you have a beast of a PC.
In addition, motion tracking in Adobe Premiere Pro has an overly complex user interface and requires many manual adjustments. That's why so many Adobe users are turning toward alternative solutions, an area where Wondershare Filmora can truly shine.
- User-friendly interface.
- No steep learning curves and take simple steps to use.
- Cost-effectiveness subscription plan for cross-platform devices.
| Feature | Filmora | Premiere Pro |
| Ease of Use | Simple operation, quick start. | Requires specific workflow steps. |
| Key Tracking Uses | Censoring, dynamic elements, guides. | Blurring faces, object tracking. |
| Advanced Tracking | Mocha plugin, powerful tracking. | Mocha plugin, precise native tracking. |
| Performance | Smooth, less resource-demanding. | Optimized for powerful systems. |
Key Motion Tracking Capabilities of Filmora
While motion tracking is incredibly convenient for animations, your imagination is the only limit to what you can do with Filmora's terrific motion-tracking tool. Here are a few examples of its key capabilities:
- Censoring – Most editors encounter censorship at least once. Fortunately, Filmora's Motion Tracking feature makes censorship effortless.
- Dynamic Elements – Adding names, tags, prices, information boxes, and other valuable items that move along your subjects can make your videos more engaging than static elements. This tremendous feature even allows you to visualize your characters' thoughts.
- Enhanced Video Guides – Whether you want to make real estate videos or employee training guides, adding virtual arrows and directions with Filmora's Motion Tracking tool can elevate your videos to a new level and make them more engaging.
It's worth noting that Filmora's Motion Tracking tool is also popular with YouTubers and gamers. It allows them to track their characters and add elements to make their content more engaging.
How to Apply Motion Tracking in Filmora?
Getting to Filmora's Motion Tracking feature is easy. Nonetheless, we've also included a detailed step-by-step guide with images, which you'll find below.
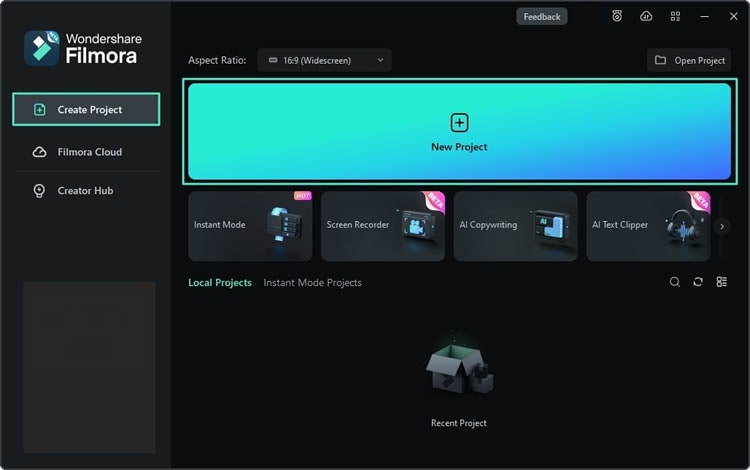
- Launch Filmora and click New Project on the app's start screen.
- Head to Project Media and click the Import button to add a video to Filmora.

- Move the video from the Import section to the timeline below it by dragging and dropping it.

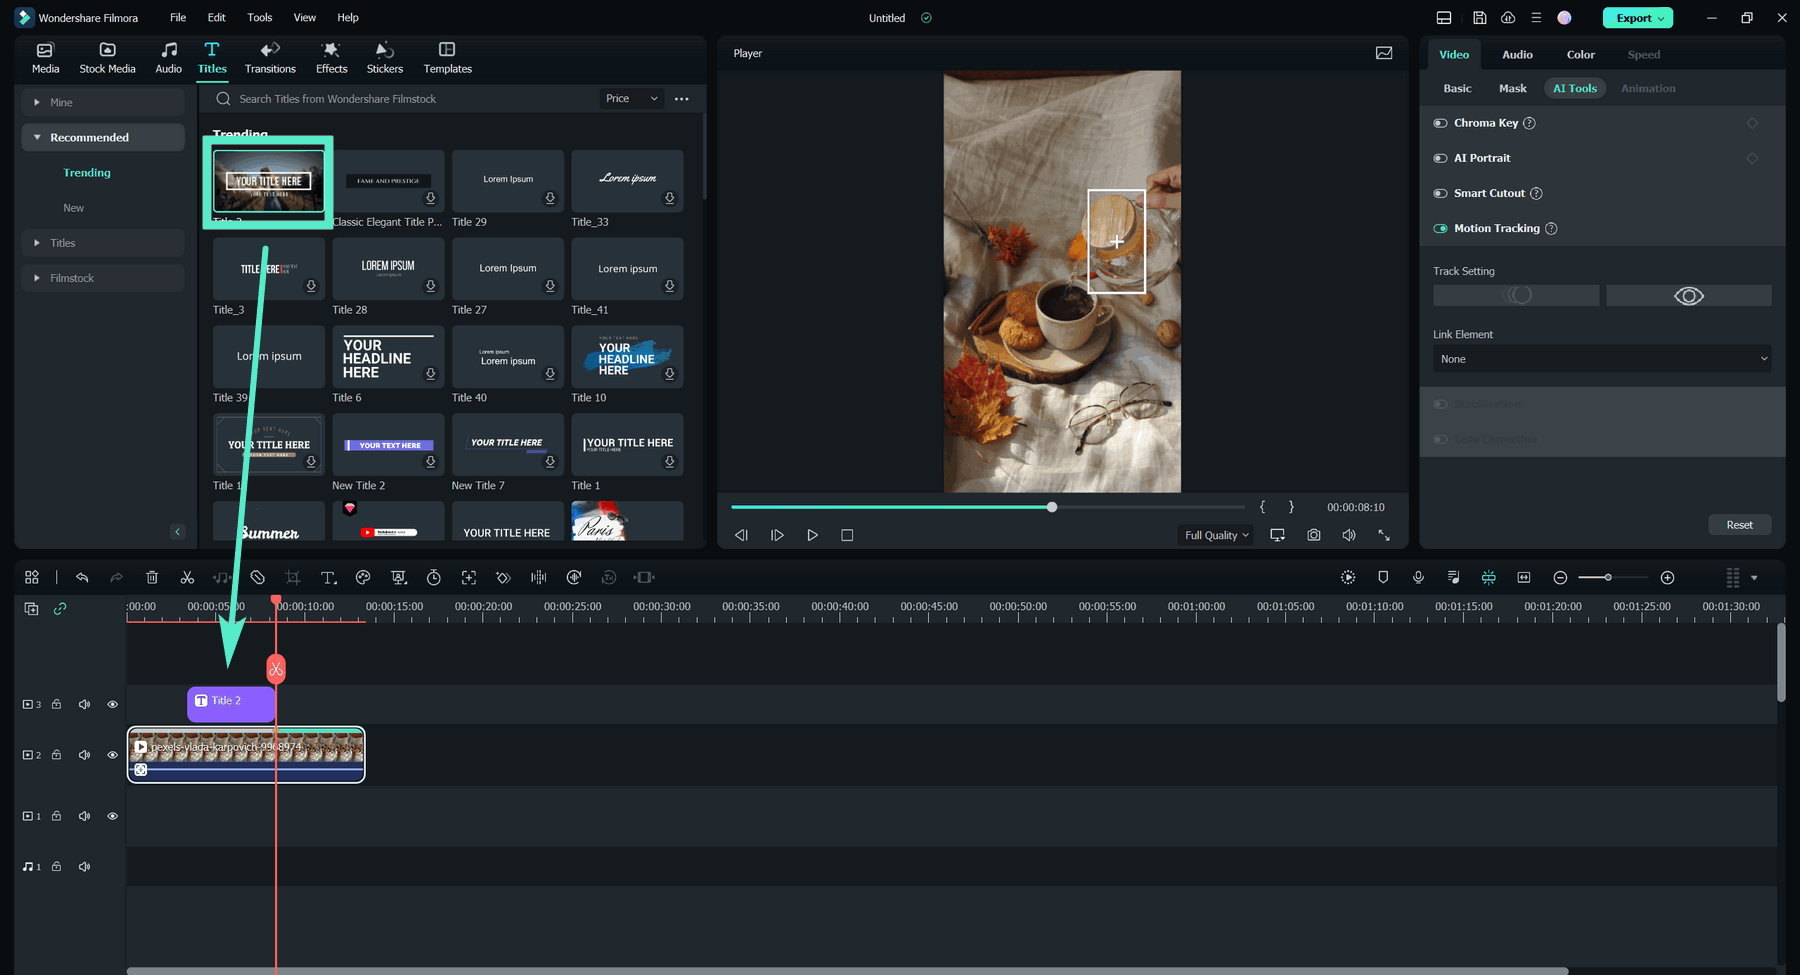
- Click on a video in the timeline to select it and navigate to Video > AI Tools > Motion Tracking in the right sidebar. Alternatively, click the Motion Tracking icon above the timeline or hit the ALT + X keys on your keyboard.

- Move the tracker box over a moving object in the Player panel.
- Once set up, hit the "Click to Start Motion Tracking" option. Then, preview the video.
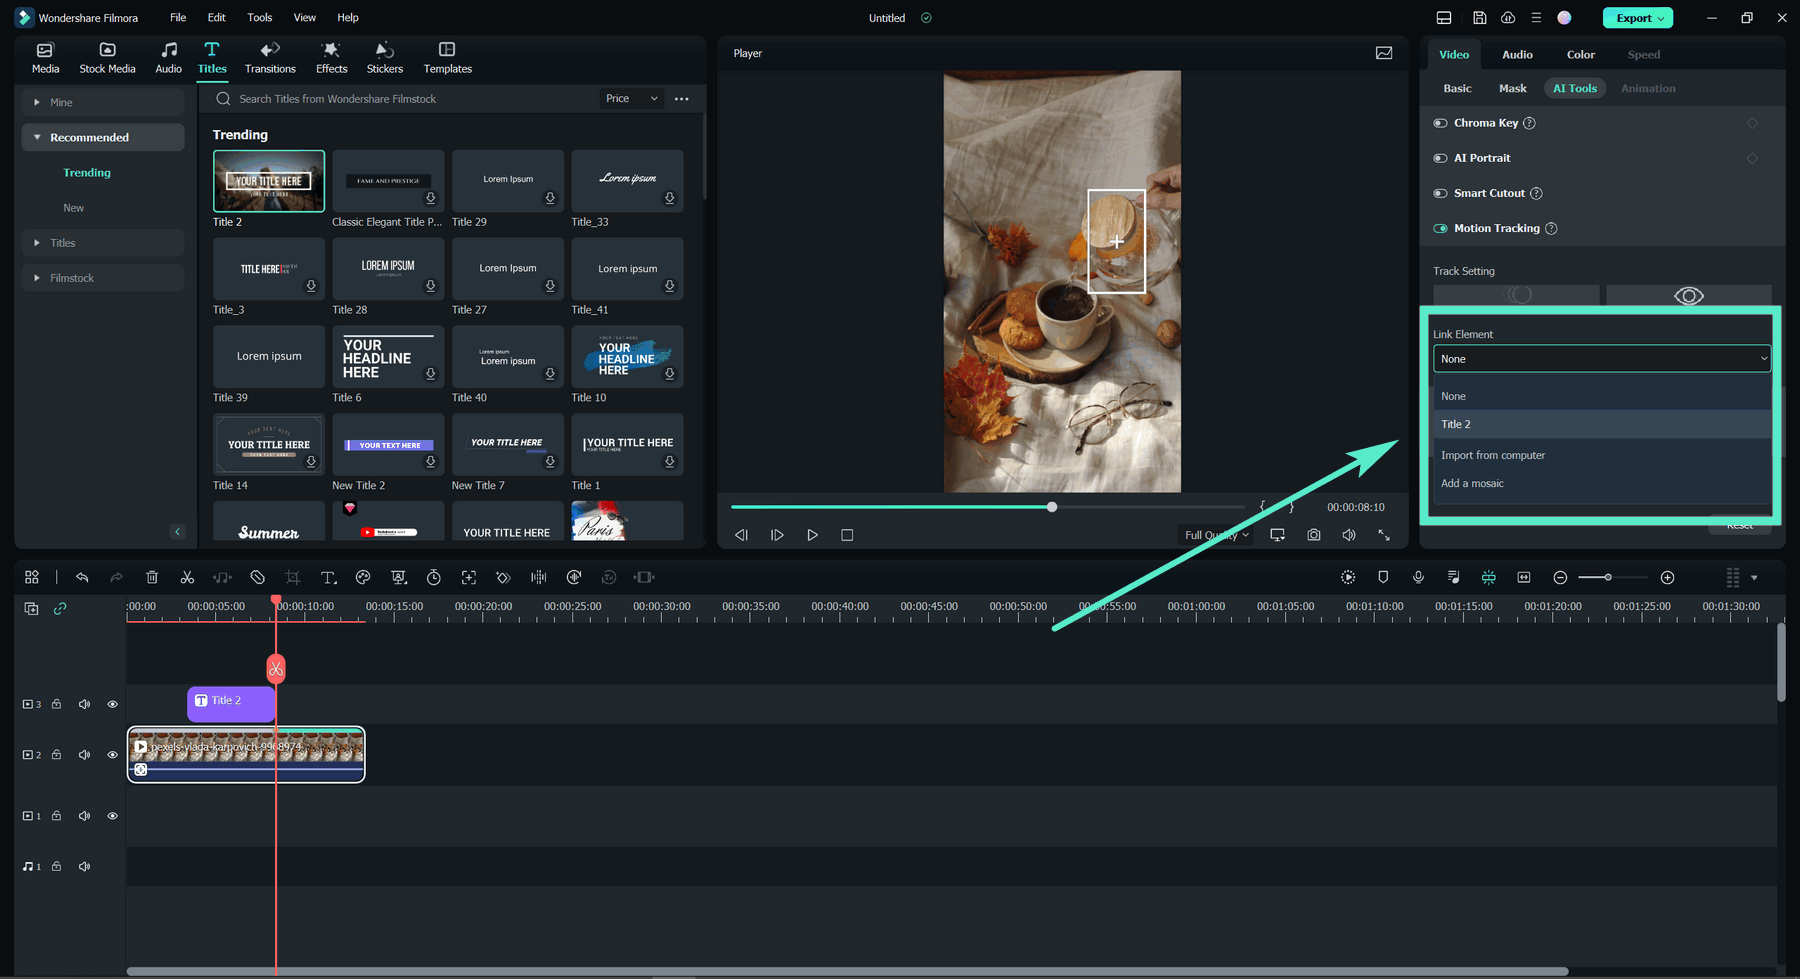
- Add texts, images, elements, and other clips to the timeline.
- Select the video in the timeline again and connect the newly added elements with Motion Tracking through the Image name tab below the feature.
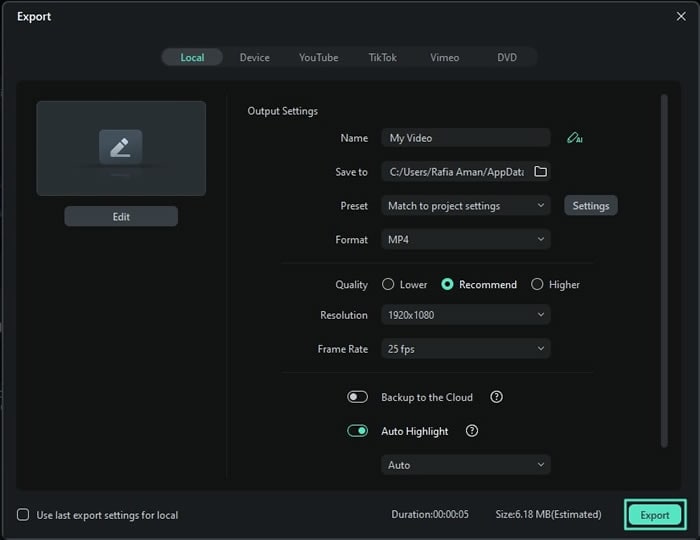
- Tap Export in the top right corner if you're satisfied with the motion tracking tool.
- Adjust the output settings and hit Export again to save the video.
Conclusion
In this article, we have discussed using motion tracking in Premiere Pro to blur faces, track specific objects, or make your video more stable. Beginners may feel a little bit complicated to apply motion tracking in Premiere Pro, thus, we have also included a more flexible and easier-to-use solution - Wondershare Filmora. Download the simple but powerful software to start motion tracking today!
