
 100% Security Verified | No Subscription Required | No Malware


 ChatGPT
 Perplexity
 Gemini
 Claude
 Grok
Grok

If you are an aspiring filmmaker or video content creator, the first thing that you will need is to master video editing tools. These tools have their own language, so to speak, and you need to learn to speak their language if you want to have the ability to edit a scene to match your vision.
One of the most common effects that you will use throughout your career is the flash transition effect. Let’s see what it is and how to use it.
In this article
What is the Camera Flash Transition Effect Used For?

The flash transition effect may be defined as the complete opposite of the fade-to-black effect. Instead of slowly fading to black (or fading in), this effect quickly fades to white, giving off an effect that is similar to a camera flash. Instead of wasting more words, let us show you the effect in action.
Here is what it looks like.

The flash effect can be used in many different scenarios. We will give you three examples to get your creative juices flowing, but feel free to explore other possibilities.
- Action scenes: Action scenes are sometimes screaming for a flash effect. This effect can serve as an excellent transition between two action-packed scenes, adding tension and making you feel like you are right there in the action.
- Commercial purposes: If you are editing videos for a commercial, the flash effect will be one of your best friends. It serves as a fast and attractive transition between two scenes that keeps viewers engaged.
- Online content: If you are a YouTube content creator, the flash effect can be used in many ways. You can experiment with it however you wish. There are no wrong moves here, but just pay attention not to overdo it.
Since we now know what this effect is, let’s see how to use it.
How to Add the Flash Transition in Premiere Pro

One of the most widely used video editing tools today is certainly Premiere Pro. This toon has been at the helm of the video editing software battle for a long time, and the reasons why are very sound. This tool offers all the features you need to make the video footage you were aiming for.
However, users report that the tool has a steep learning curve when it comes to advanced editing features. Nevertheless, adding effects is a basic feature, and it is easy to understand. Here are the steps to add the flash transition effect in Premiere Pro.
Step 1: When you have your media in the timeline and when you determine where you want to create the flash transition effect, click on an empty space in the timeline and go to New Item > Color Matte…

Step 2: Now, locate the Color Picker, and change the color to White. When you are done, you can click on OK.

Step 3: Drag this new creation of yours to the timeline and place it where you want to apply the camera flash transition effect. Here comes the tricky part. In the Effect Controls Panel, you need to set the Opacity value to 0. Next, you will need three keyframes, one at the beginning, one at the middle, and one at the end of the effect in the timeline. The beginning one should have an opacity value of 0, then in the middle, an opacity value of 100, and then 0 at the end as well. This might seem a little complicated, so here’s a video that will guide you through the process.
Adding the camera flash transition effect in Premiere Pro is easy, but only after you do it once and understand the process. Doing so for the first time may be challenging for some users. That’s why we have prepared an alternative.
Consider Filmora, a stellar video editing tool developed by Wondershare. Let’s see how you can add the flash transition effect in Filmora.
Add the Camera Flash Effect and More in Filmora

Filmora is slowly but surely taking over the video editing market. Packed with all the features you can expect from a professional video editing tool, this tool offers an easy-to-use interface that is designed to help newcomers master the video editing process. With a set of basic and advanced video editing features, as well as image and audio editing options, Filmora is an excellent choice for professionals who want to try something new.
In comparison to Premiere Pro, Filmora is simply easier. Check out how easy it is to add the flash transition.
We will, of course, assume that you have downloaded and installed Filmora on your desktop device.
 secure download

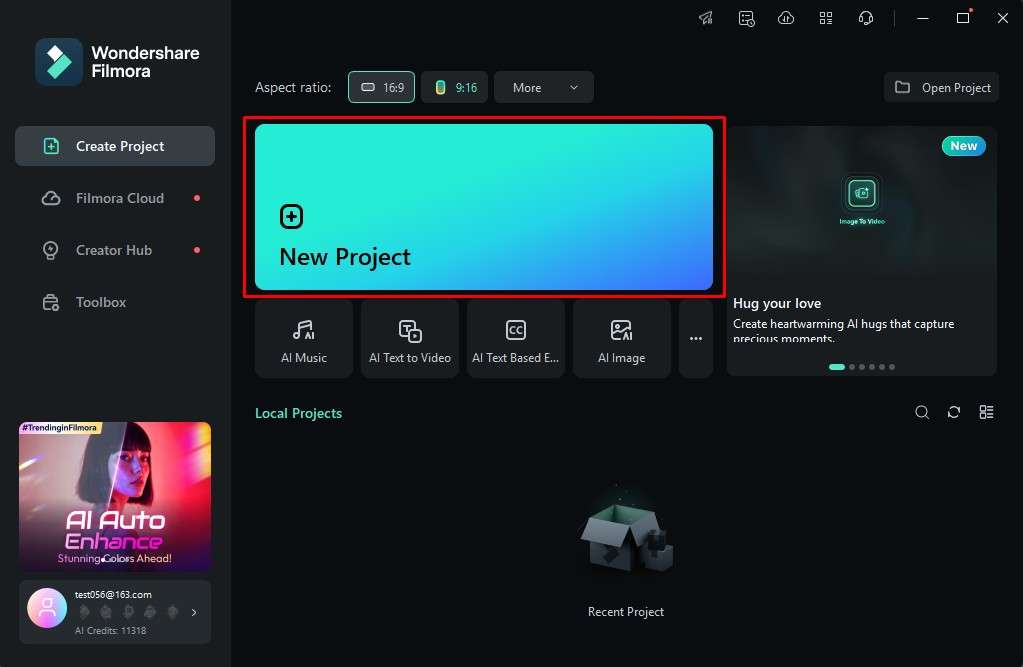
Step 1: When you open Filmora, click on New Project.
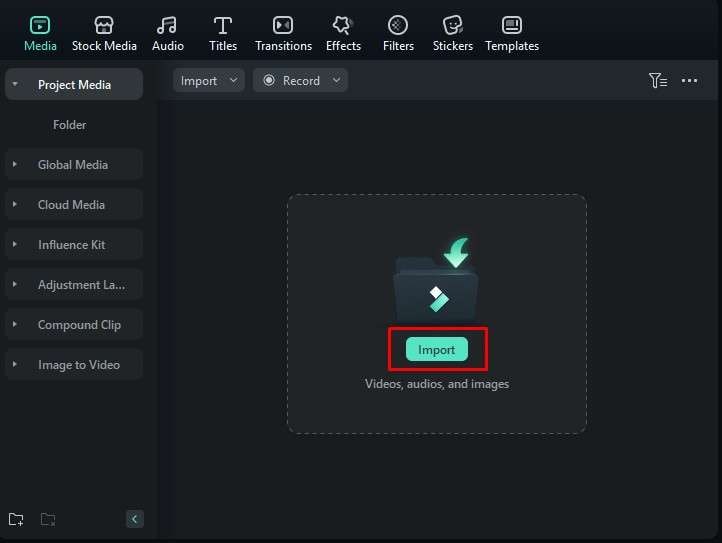
Step 2: Click on Import, and select two media files from your computer.
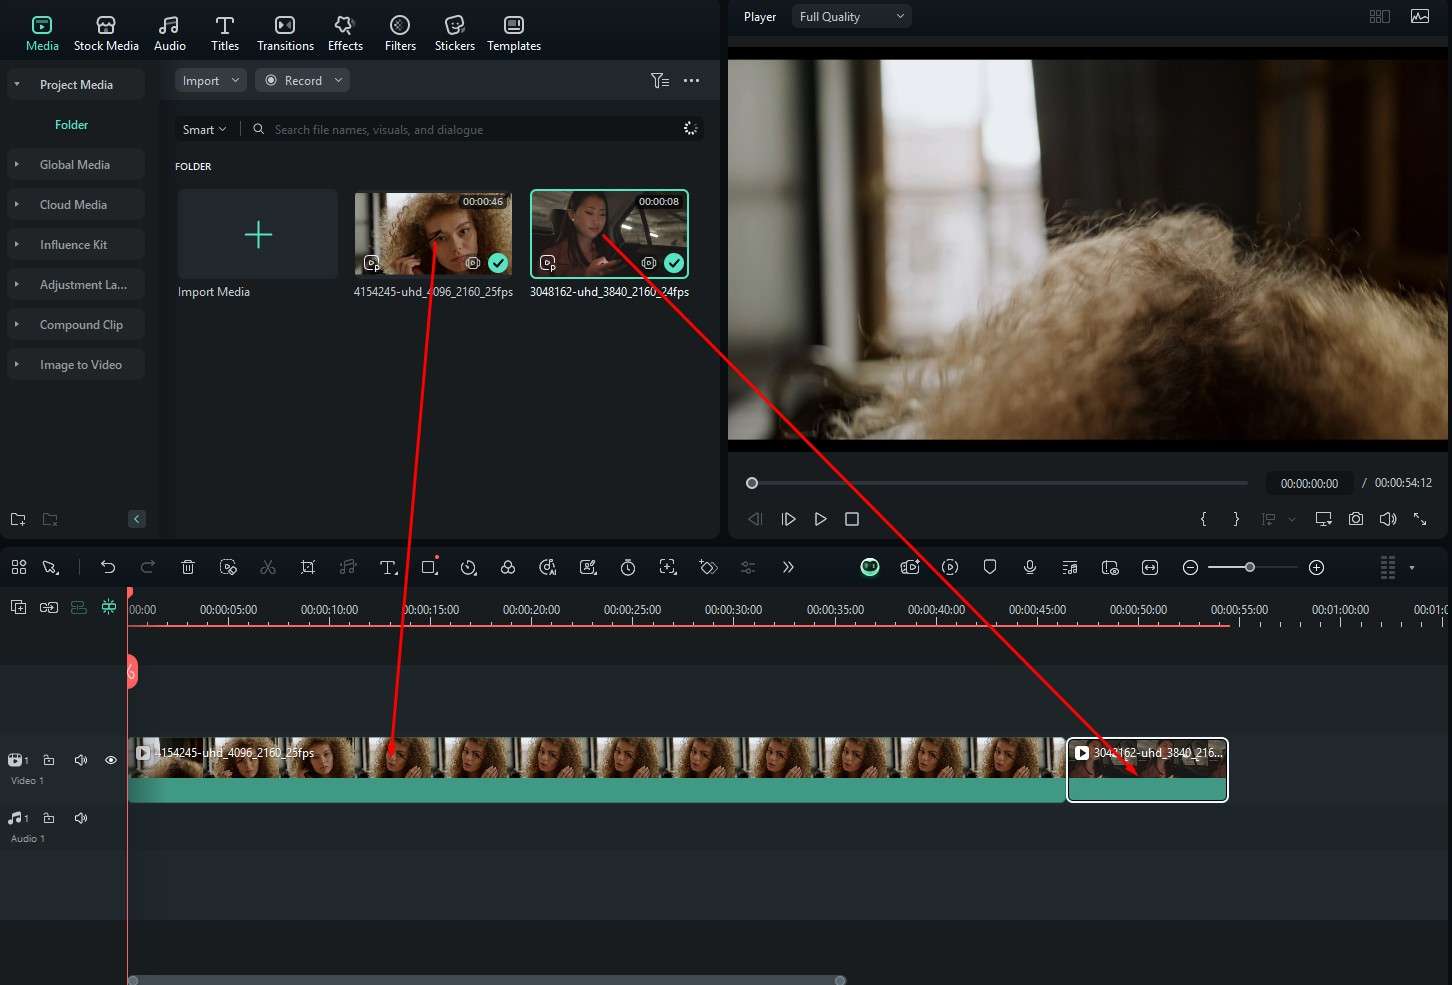
Step 3: Drag the media to the timeline, one after the other, like so.
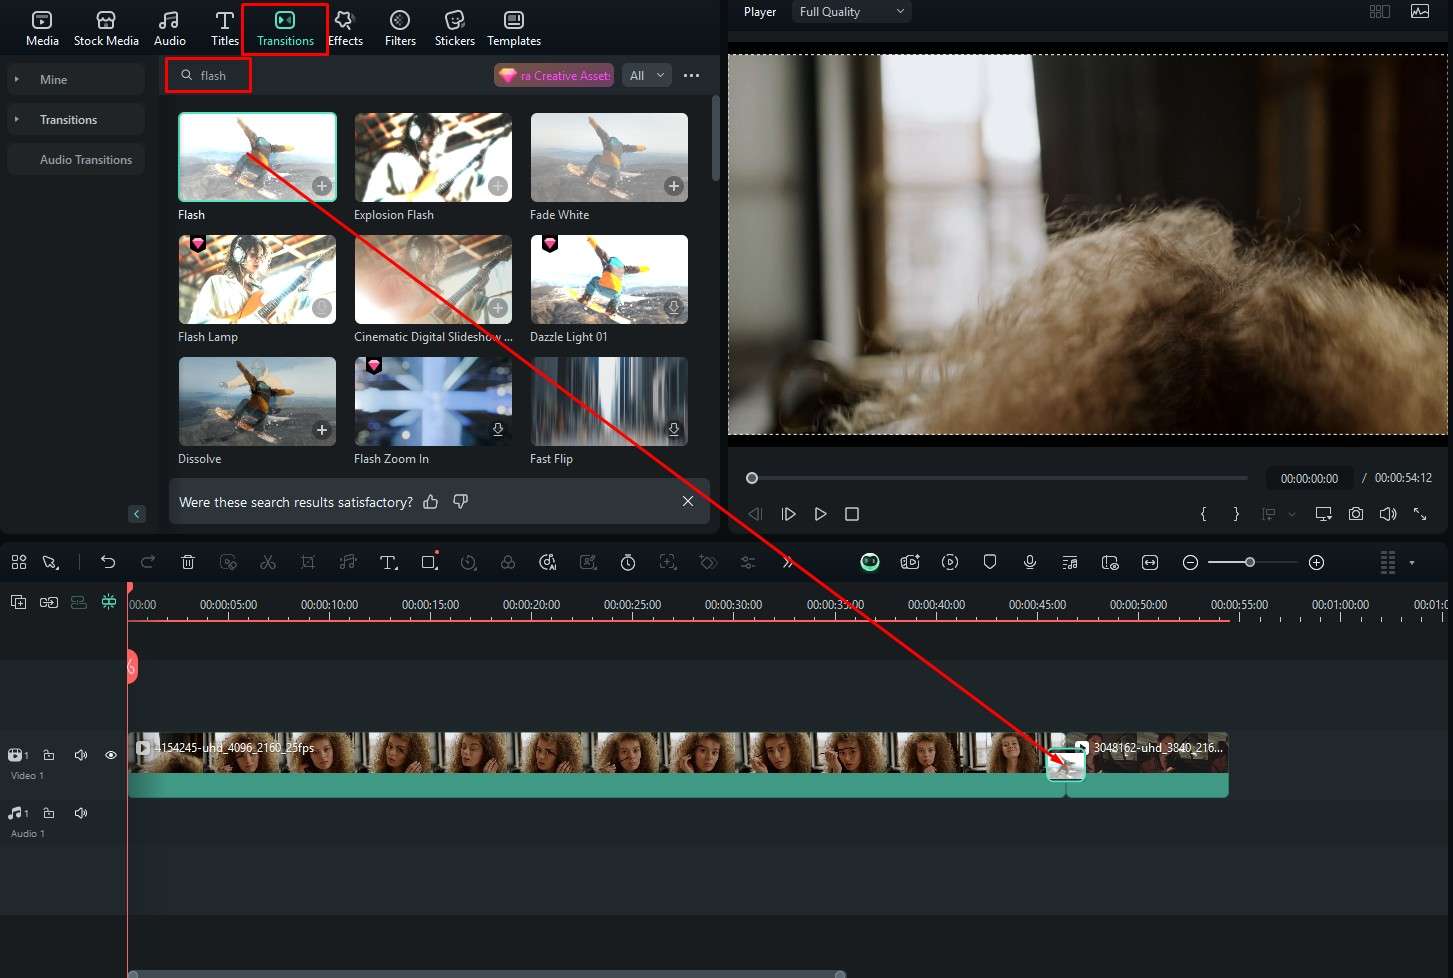
Step 4: Go to Transitions and type flash in the search bar. Then, simply drag the effect to the timeline between the two media files.
Step 5: Preview the effect in the player and adjust certain parameters on the right.
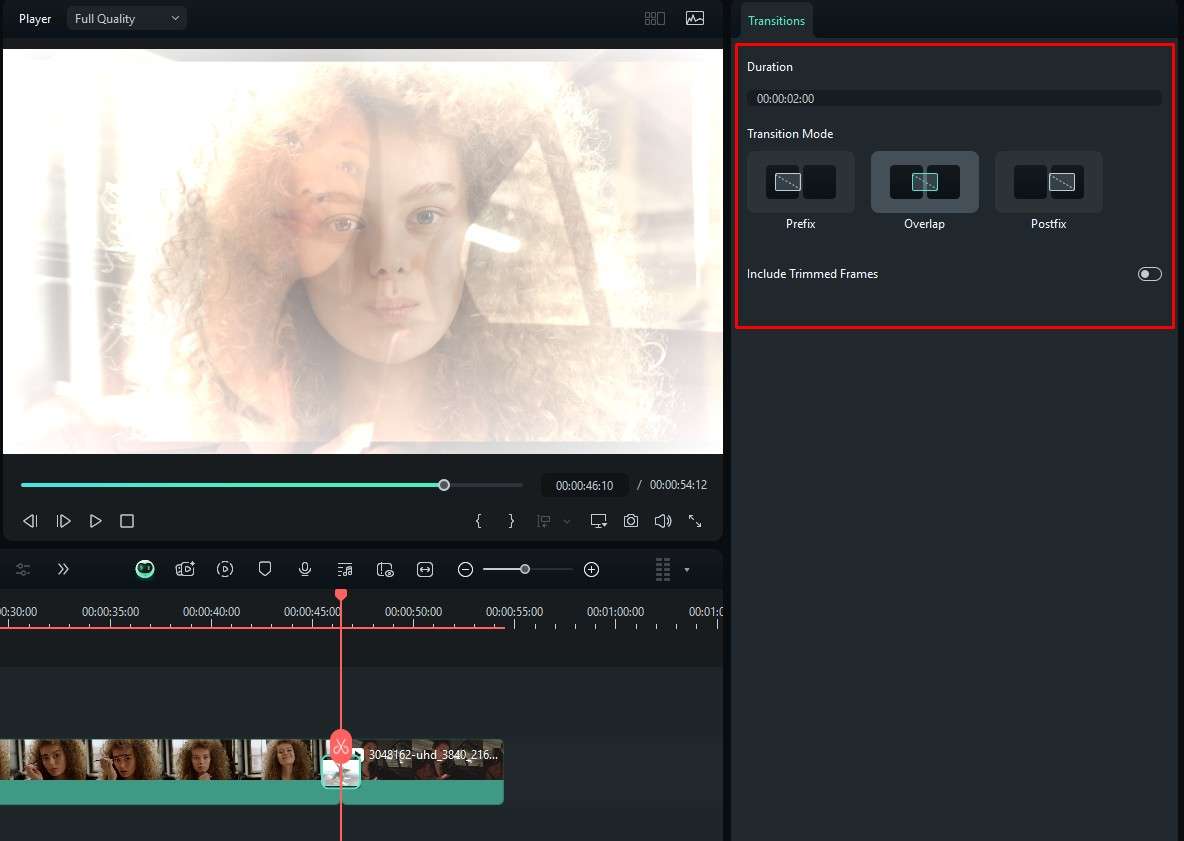
As you can see, instead of having to create a flash effect from scratch like in Premiere Pro, Filmora offers a pre-made flash effect that you can use right out of the box. If you check the screenshot from Step 4 above, you will notice that Filmora also offers variations for the Flash effect, if you want to try something different.
Apart from being easy to use when creating and adding transitions and effects, Filmora offers several AI features that will help you in several ways. Here are some of them.
Try Some of Filmora’s Quick AI Video Editing Features
Let’s talk about some AI features and see how they can help you improve your video editing workflow.
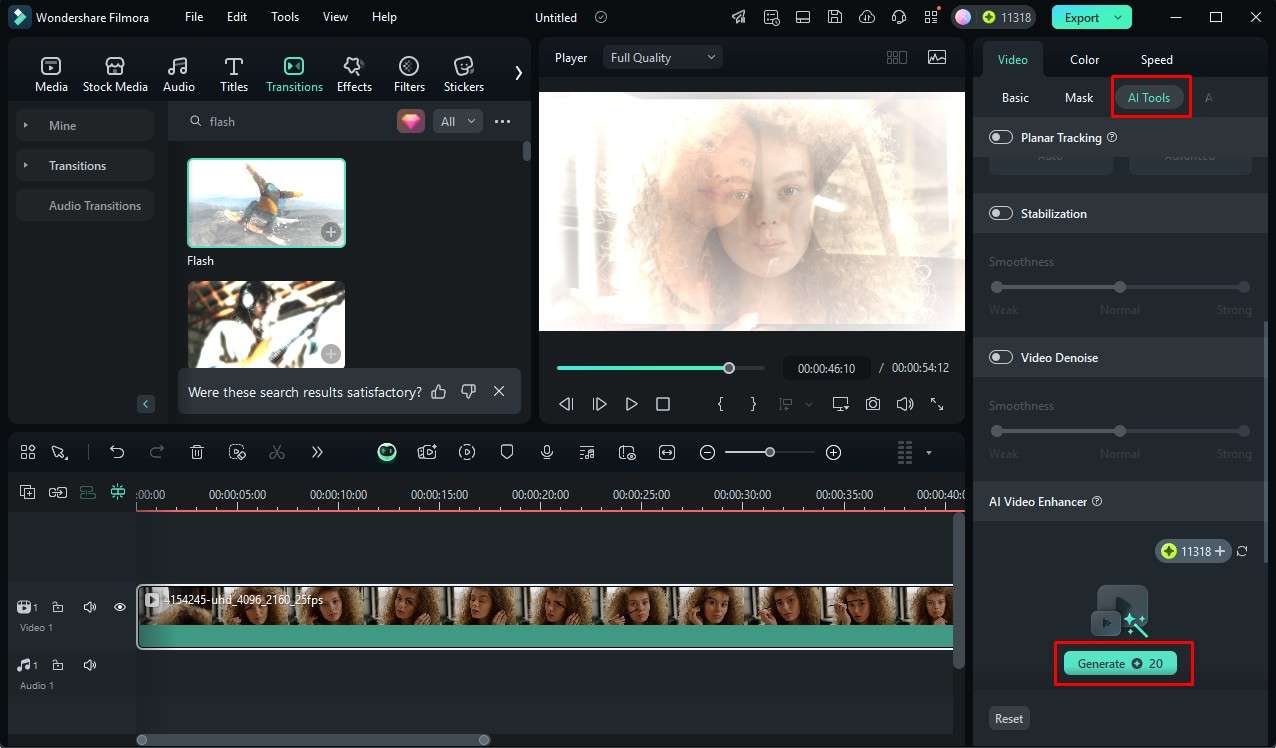
Enhance your video instantly with the AI Video Enhancer
When you click on the video in the timeline, you will see AI Tools on the right. Click here, scroll down until you find the AI Video Enhancer, and click on Generate.
secure download
You will need to wait a few moments and let the AI finish its task. You can preview the results immediately.
Improve the quality of your video with the AI Video Denoise feature
In the same menu as before, simply toggle the Video Denoise feature if you have some noise in the video that you want to remove.

Give the AI some time to finish the process and presto, your video is denoised.
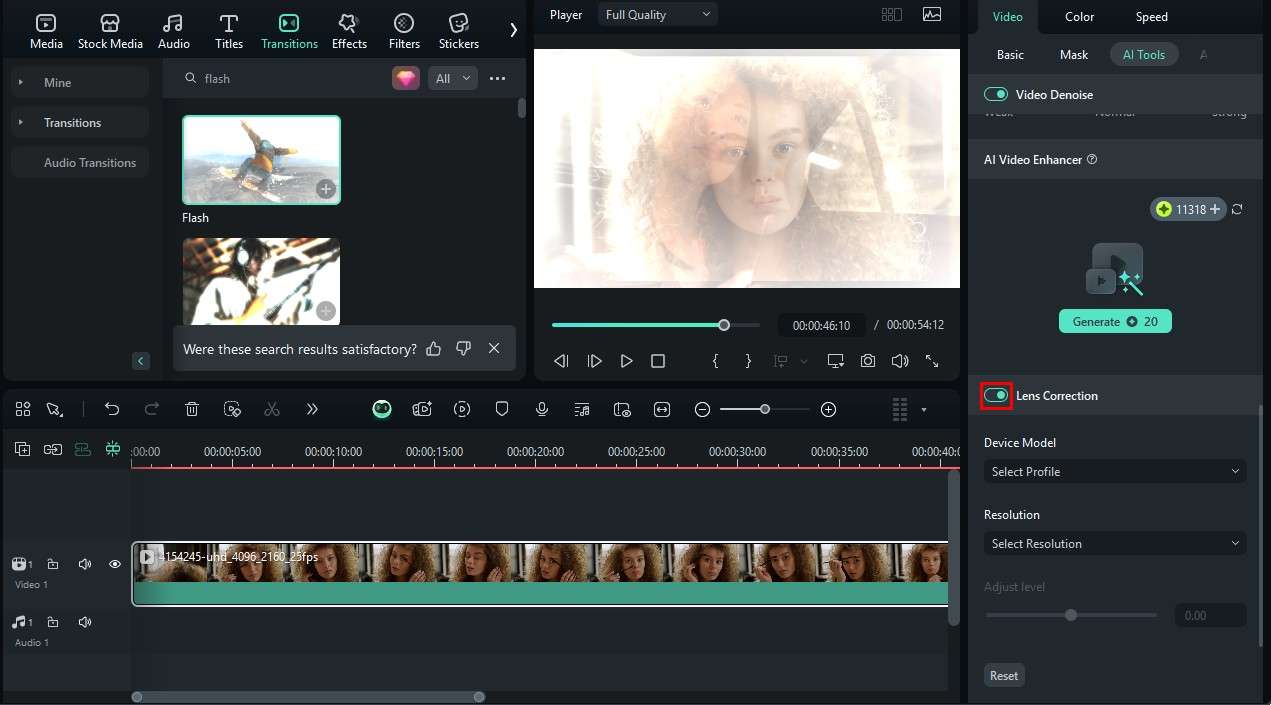
Change the lens of the video in seconds
This is a simple, 3-step process.
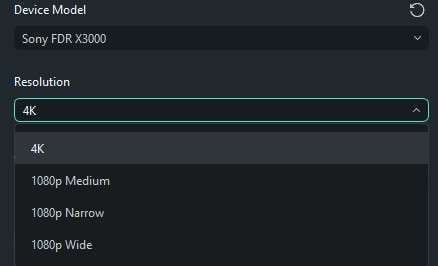
Step 1: Again, in the same menu as before, scroll down to find the Lens Correction feature and toggle it on.
Step 2: Pick a preferred device from the list.
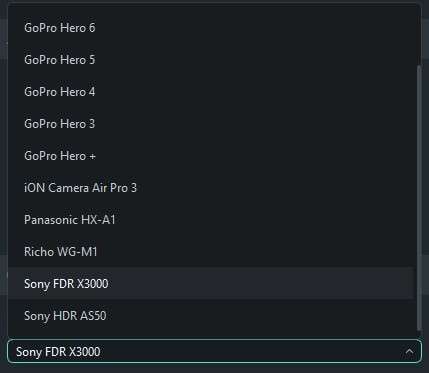
Step 3: Based on your chosen device, select your preferred resolution.
After that, you are done. You can adjust the level of the lens correction AI effect in the same menu.
Conclusion
We hope that we managed to explain what the transition effect is, how to apply the transition effect in Premiere Pro, and how to do it in Filmora, which is clearly an easier option. If you are looking to become a filmmaker or video editor, you can certainly use Premiere Pro. It is tried and tested, and several customers are satisfied. However, if you want to try something new and interesting, go with Filmora. The choice is yours.
