Looking to transform your Twitch streams with professional green screen for streaming? Whether you're a gaming streamer or content creator, mastering how to use green screen on Twitch can dramatically improve your stream quality and viewer engagement. This comprehensive guide covers everything from basic twitch green screen setup to advanced techniques used by top streamers
In this article
- Why Every Streamer Needs Green Screen for Twitch - 4 Game-Changing Benefits
- HMethod 1: Setting Up Twitch Green Screen with Twitch Studio - Step-by-Step Tutorial
- Use Filmora Chroma Key For Adding Green Screen Effect in Post-Production [Method 2]
- Add Green Screen/Change the Background Using Filmora Screen Recorder [Method 3]
- Advanced Tips and Tricks for Better Twitch Green Screen
Part 1. Why Every Streamer Needs Green Screen for Twitch - 4 Game-Changing Benefits
Professional streamers understand that green screen for streaming is essential for creating engaging content. Twitch green screen technology allows you to transport viewers into different worlds, hide distracting backgrounds, and maintain consistent branding. Here's why every serious streamer should master how to use green screen on twitch.
The chroma key settings allow you to fine-tune color detection for your streaming green screens. Adjust the color threshold, spill suppression, and edge feathering to achieve professional-quality green screen background for streaming effects
- Visuals matter:People love to see cool stuff, and a green screen lets you create awesome backgrounds.
- Show off your brand:If you have a logo or color you love, you can put them on your background. It's like having your own TV show!
- Fun Design:You can interact with your viewers by using different backgrounds or even making it look like you're in a game. It's a great way to keep things exciting.
- Practical Use:You can hide a messy room or create different looks without moving all your stuff around.
Important note: So, if you're having trouble with Twitch Studio, consider using Filmora Screen Recorder.
Part 2.Method 1: Setting Up Twitch Green Screen with Twitch Studio - Step-by-Step Tutorial
Twitch Studio is a free streaming software designed specifically for new streamers. It makes it easier to get started with live broadcasting on Twitch. It’s designed with beginners in mind and offers pre-designed layouts to get you started quickly.
Stepwise Process
Here is the guide to setting up a Twitch Studio green screen in easy steps:
Step 1.Open the Twitch Studio app on your computer.
Step 2.Now set up your camera. Make sure your webcam is connected and selected in Twitch Studio's settings.
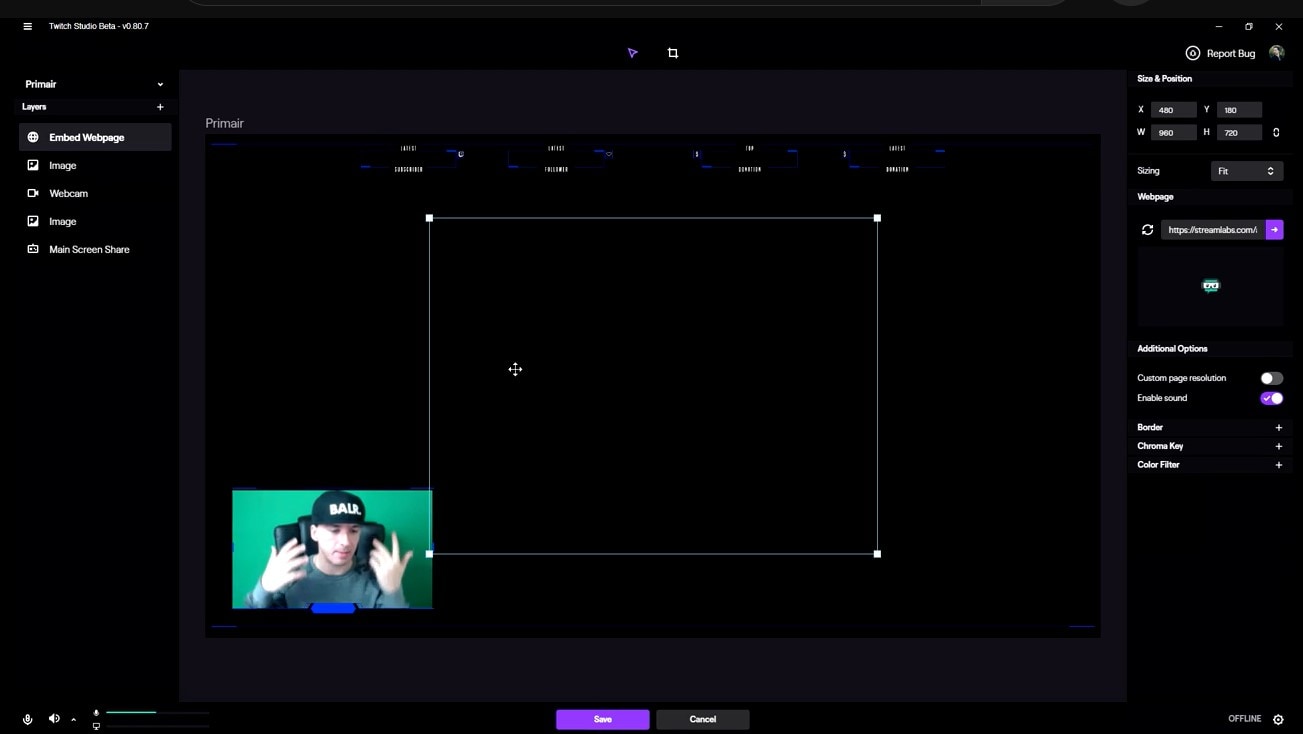
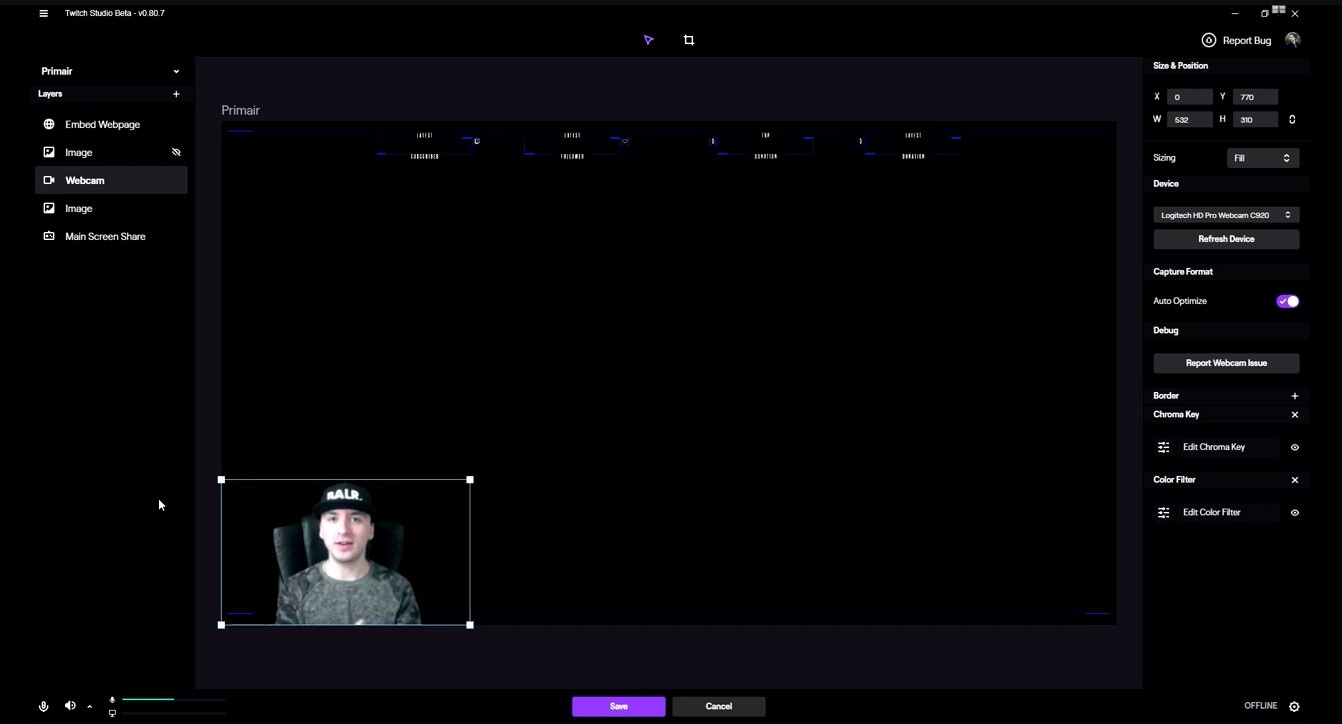
Step 3.Find the webcam layer that shows your webcam preview.
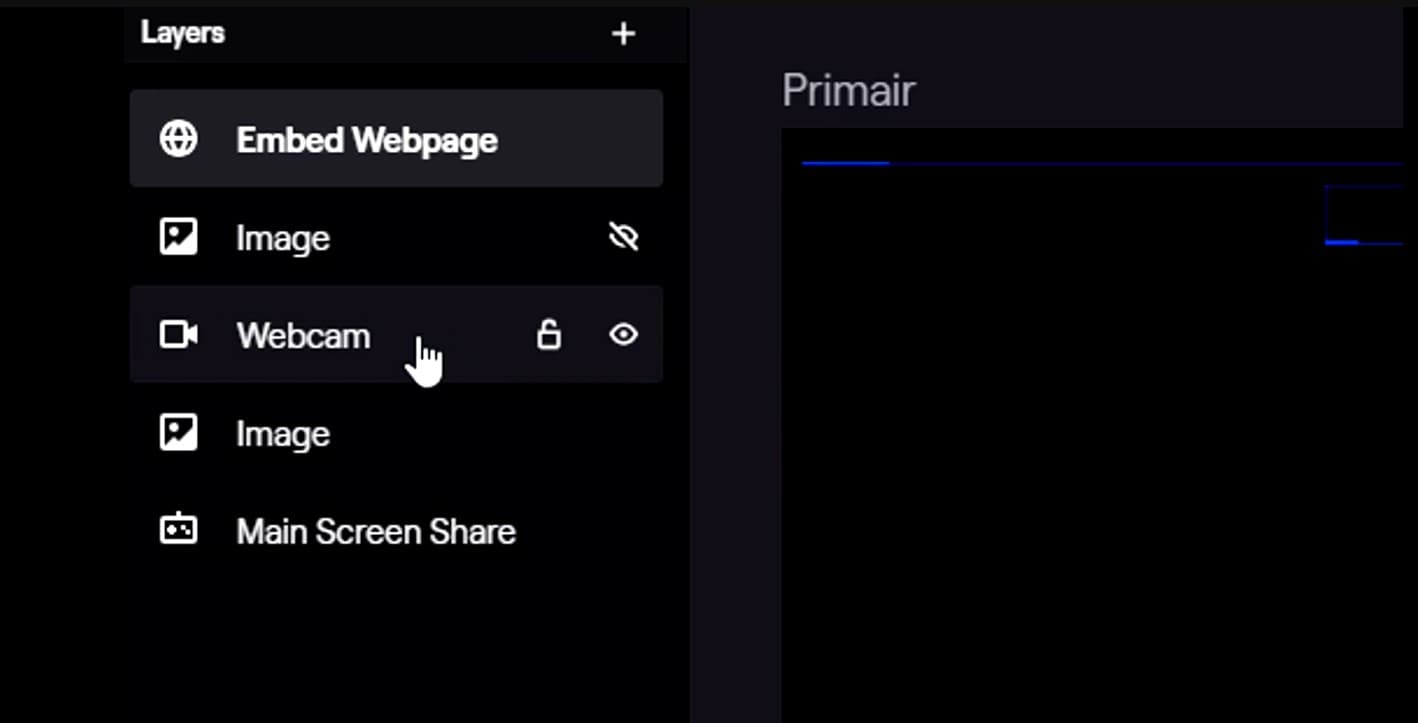
Step 4.Then, enable the Chroma Key and click Chroma Key editing
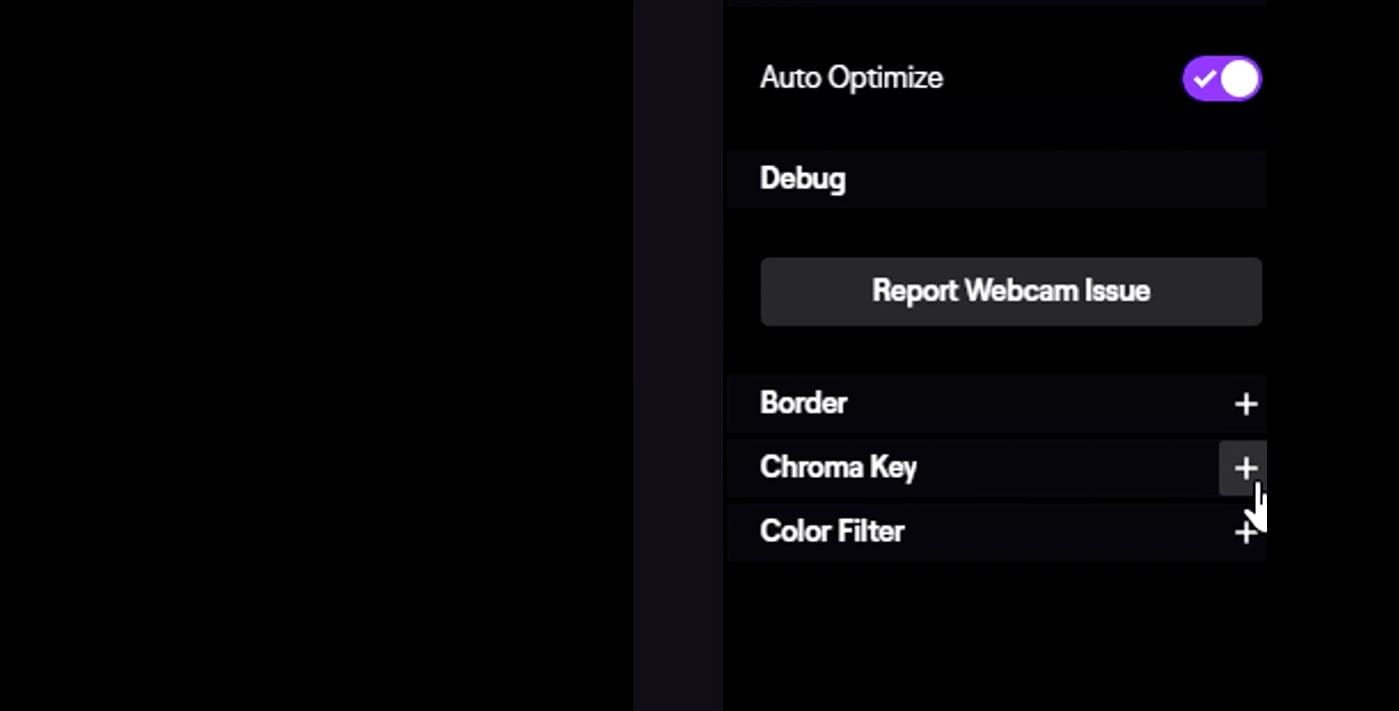
Step 5.You'll see options to adjust the color your software will remove. Adjust the Green Screen Color.
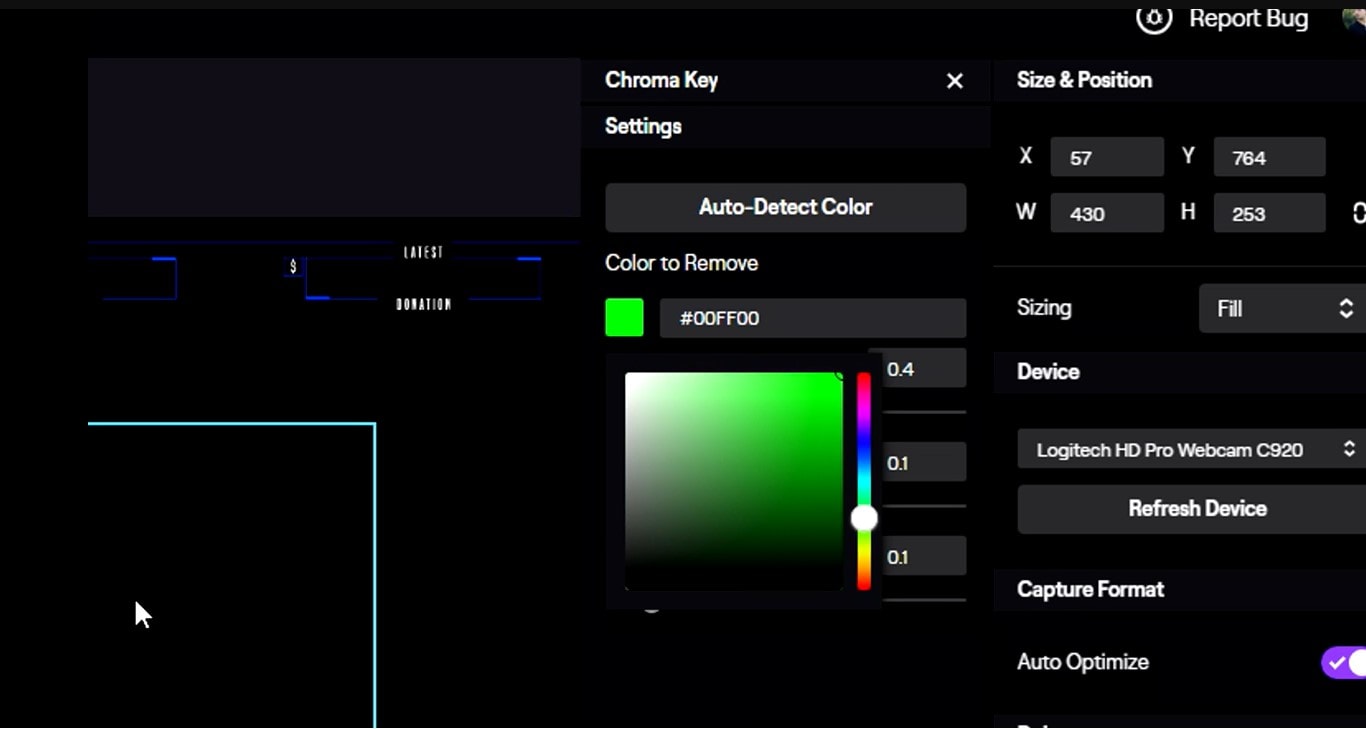
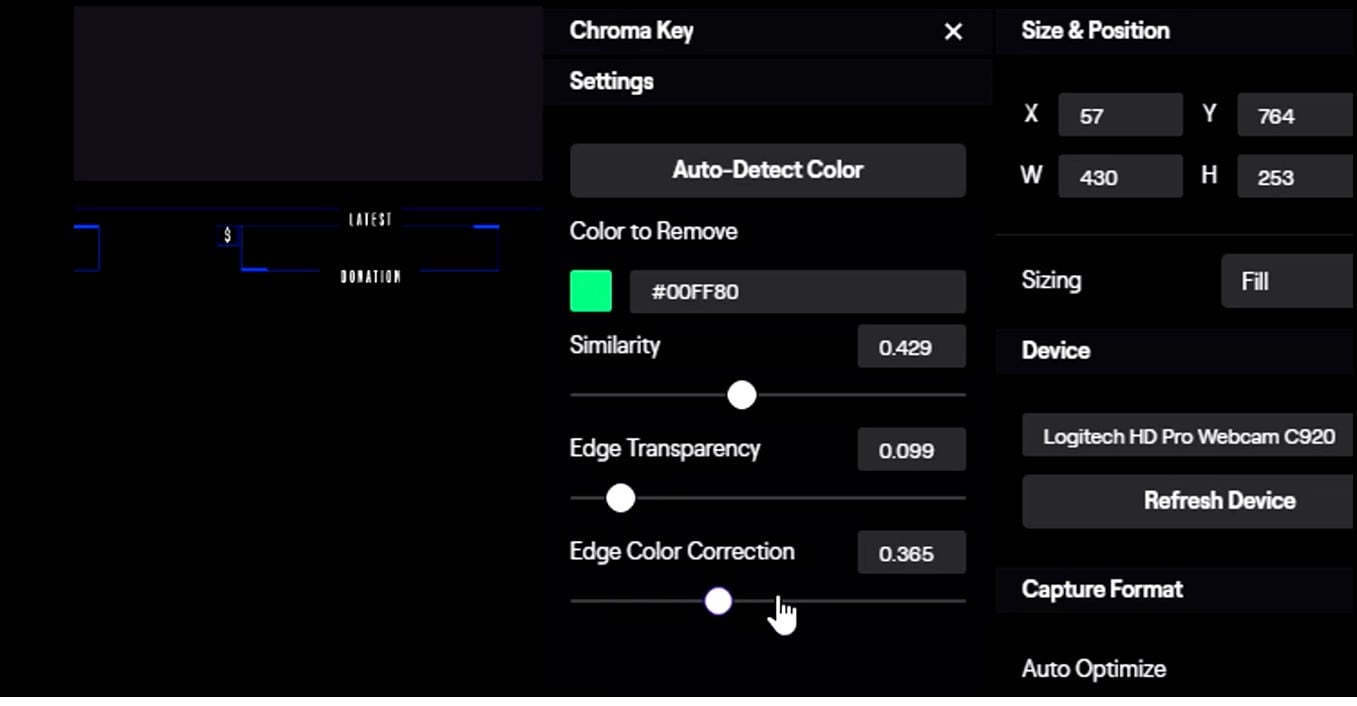
Step 6.Now it's time to fine-tune the edges. Adjust the slider of Edge Transparency and Edge Color Correction to refine the edges of the removed color. These will create a clean and smooth look.
Step 7.Place yourself in front of the Twitch green screen and adjust your camera angle for the best results.
For more advanced editing features, check out our Filmora Video Editor guide.
Discover the best green screen background for streaming options.
Part 3. Methods 2: Use Filmora Chroma Key For Adding Green Screen Effect in Post-Production [Method 2]
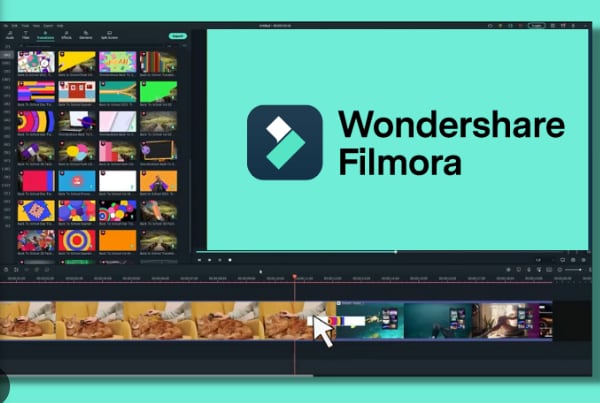
Wondershare Filmora is a professional video editing software that can do lots of amazing things, including adding a green screen effect to Twitch streams.
With Filmora, you can make that green wall disappear and replace it with anything you want! But wait, there's more! Filmora can do lots of other cool things too. You can add music, sound effects, and even slow-motion parts to your videos. You can also cut out boring bits or put different video clips together. It's like building your own movie!
How to Use a Green Screen for Twitch?
For adding Twitch green screen backgrounds, follow these steps:
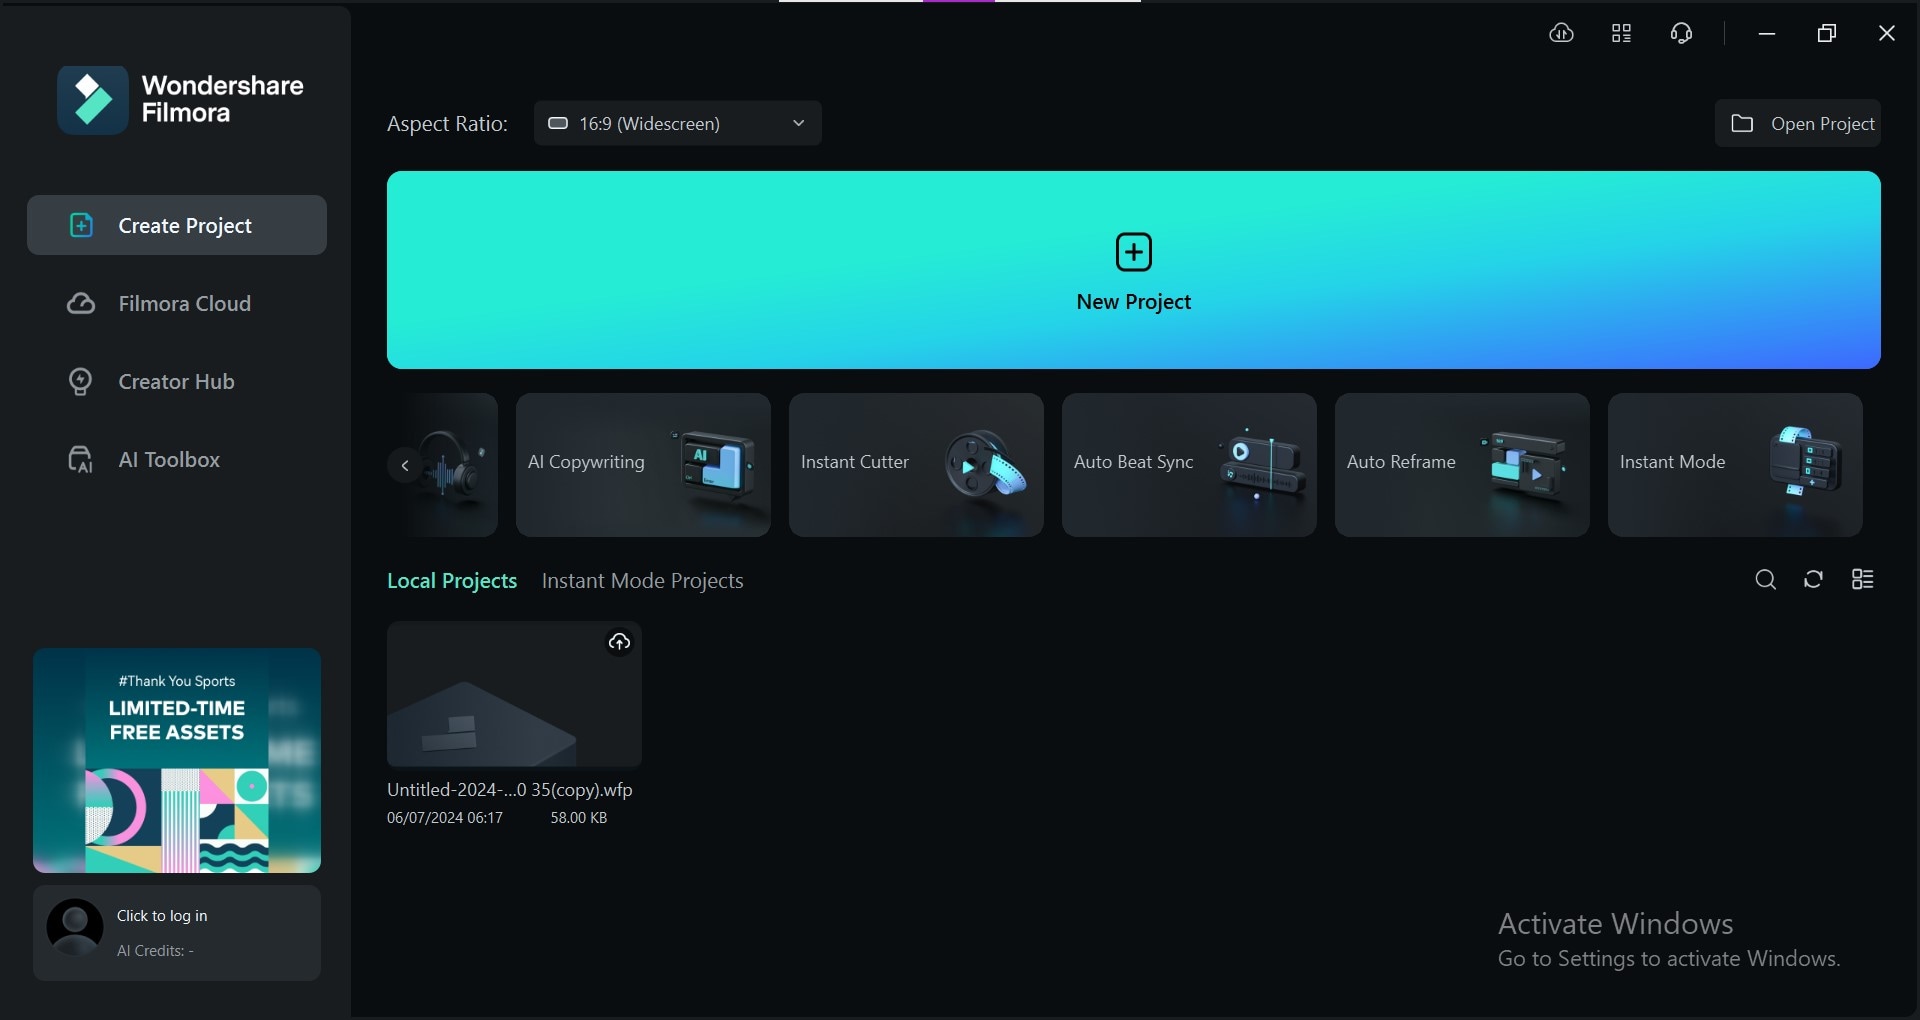
Step 1.Launch Wondershare Filmora and open Create a New Project
Step 2.Now import your Twitch stream video into Filmora.
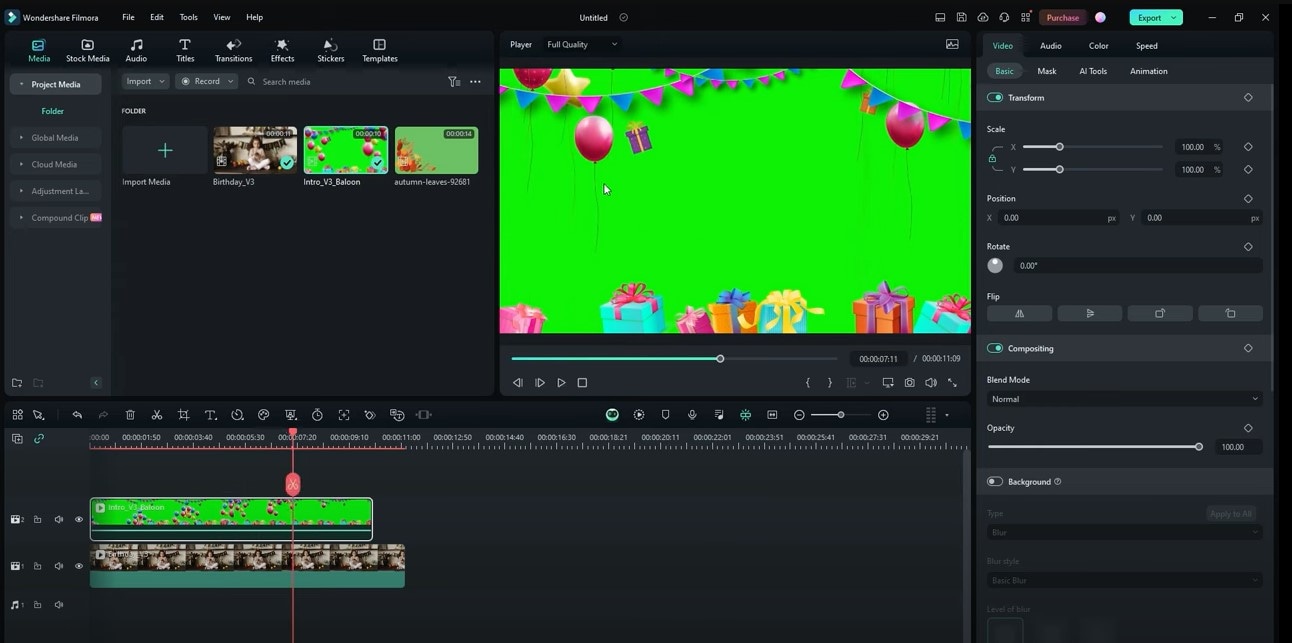
Step 3.Go to AI tools and enable "Chroma Key"
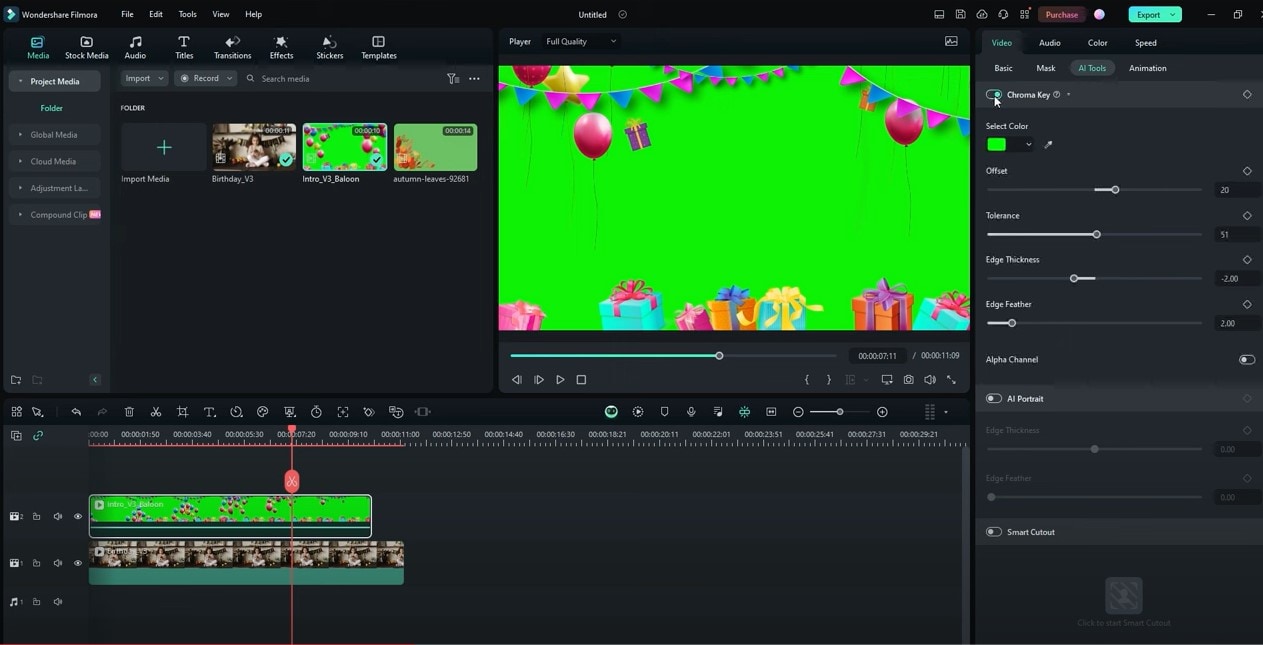
Step 4.Then, adjust the chroma key settings. Use the tool to pick the green color you want to remove. You can also adjust settings to make the edges look smoother.
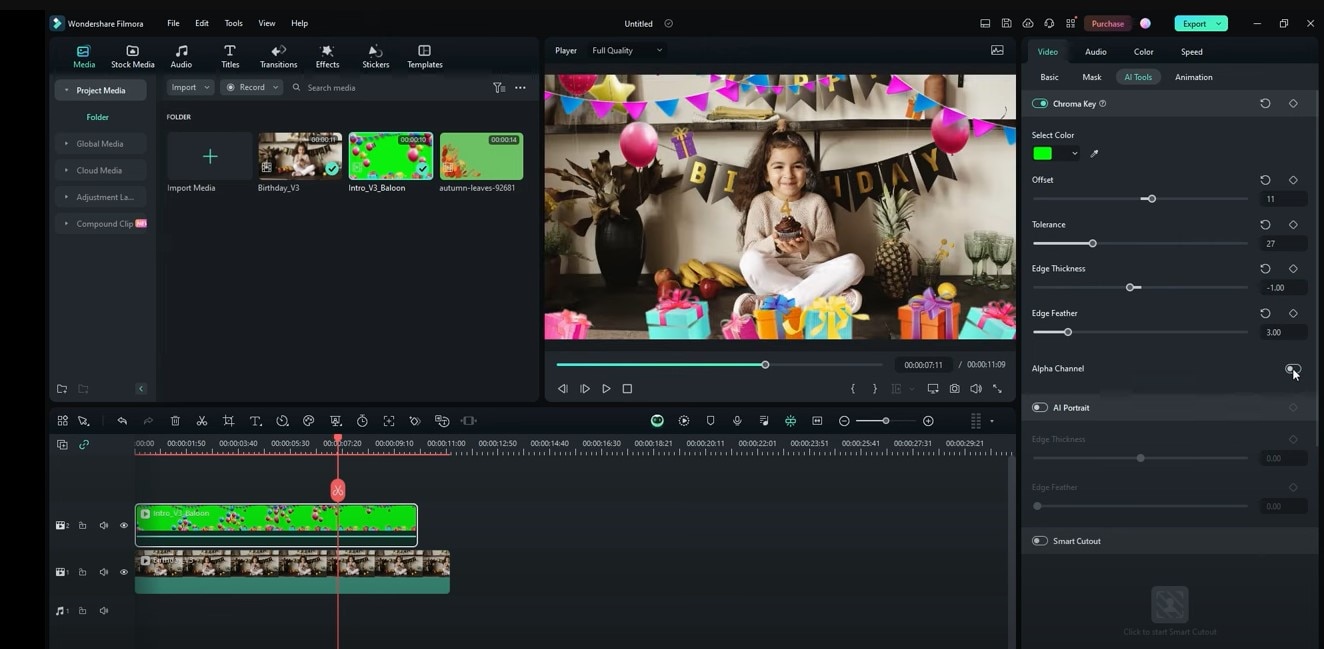
Step 5.Select a picture or video to replace the green screen. Once you're happy with the result, save your video in the desired format.
Part 4. Add Green Screen/Change the Background Using Filmora Screen Recorder [Method 3]
Want to try a different method? Filmora Screen Recorder can help you add a Twitch green screen background to your stream. Here's how:
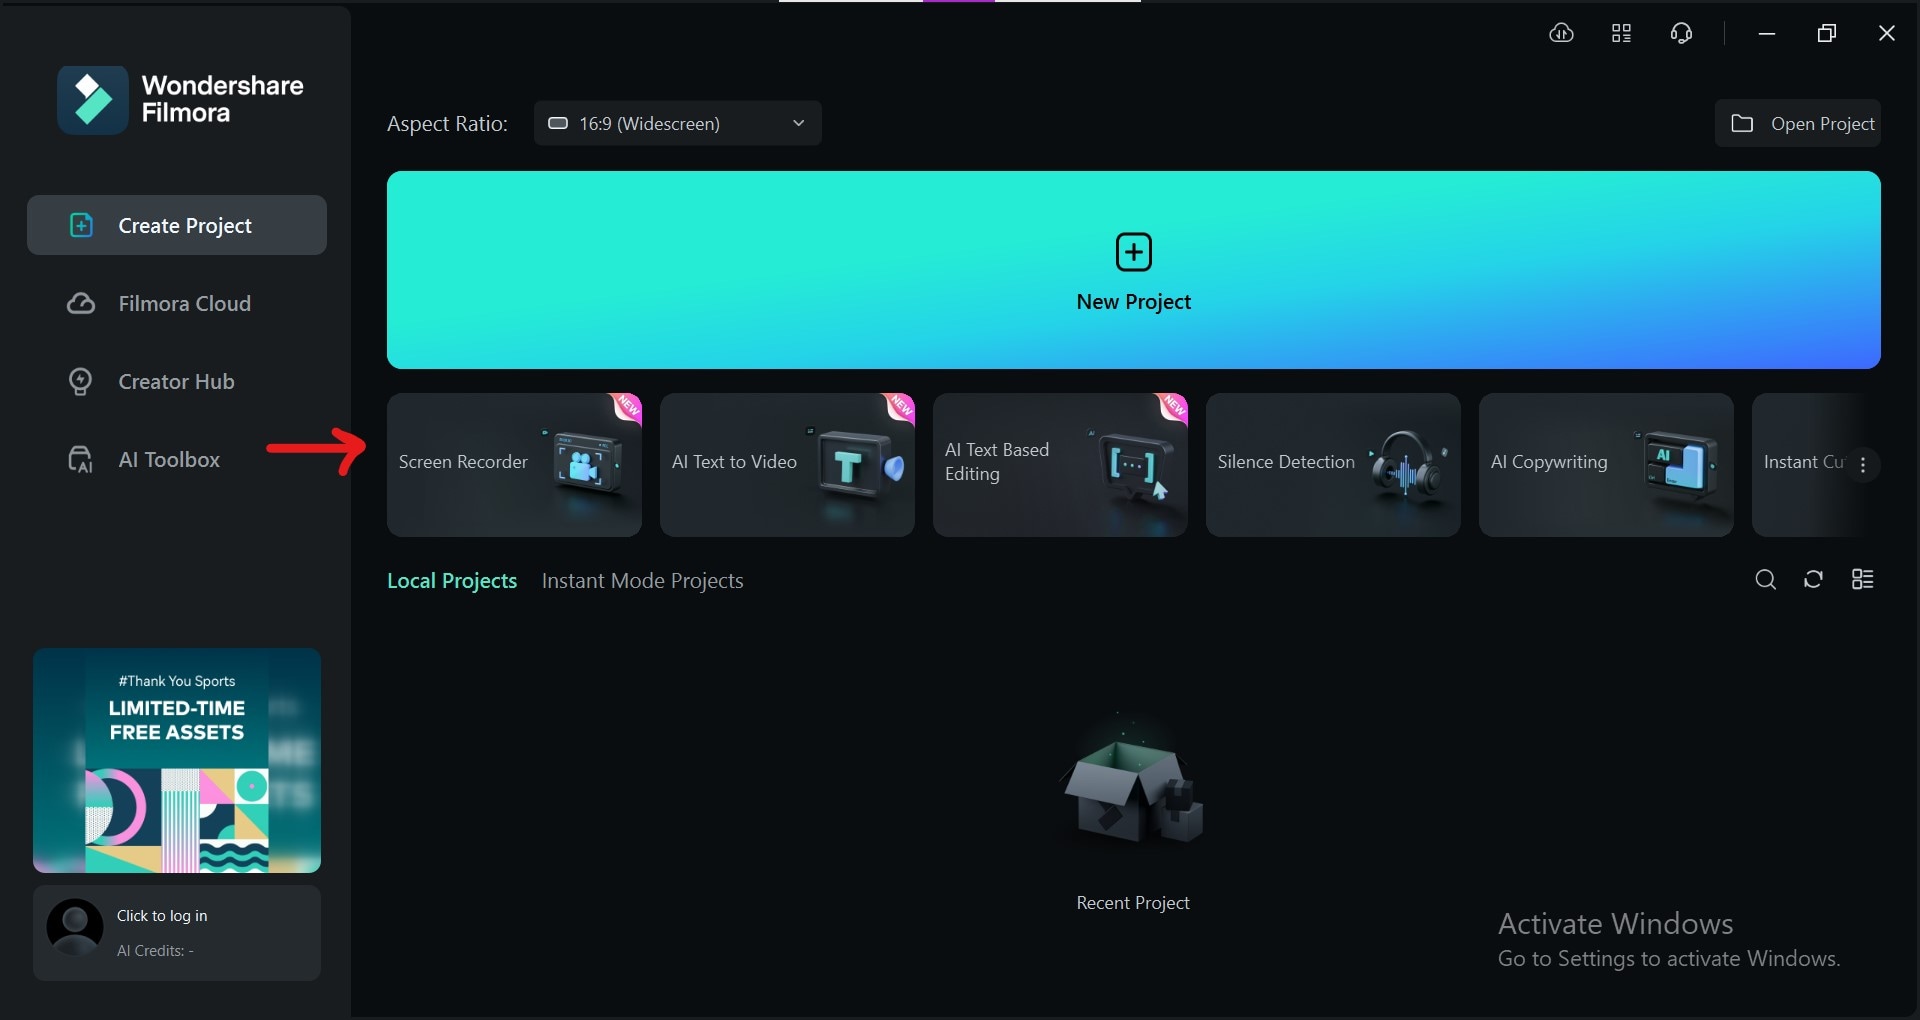
Step 1.Open Filmora on your computer and go to Screen Recorder.
Step 2.Select the part of your screen that includes you and your green screen. Make sure the lighting is good.
Step 3.Choose the audio source if you want to record sound from your microphone, computer, or both.
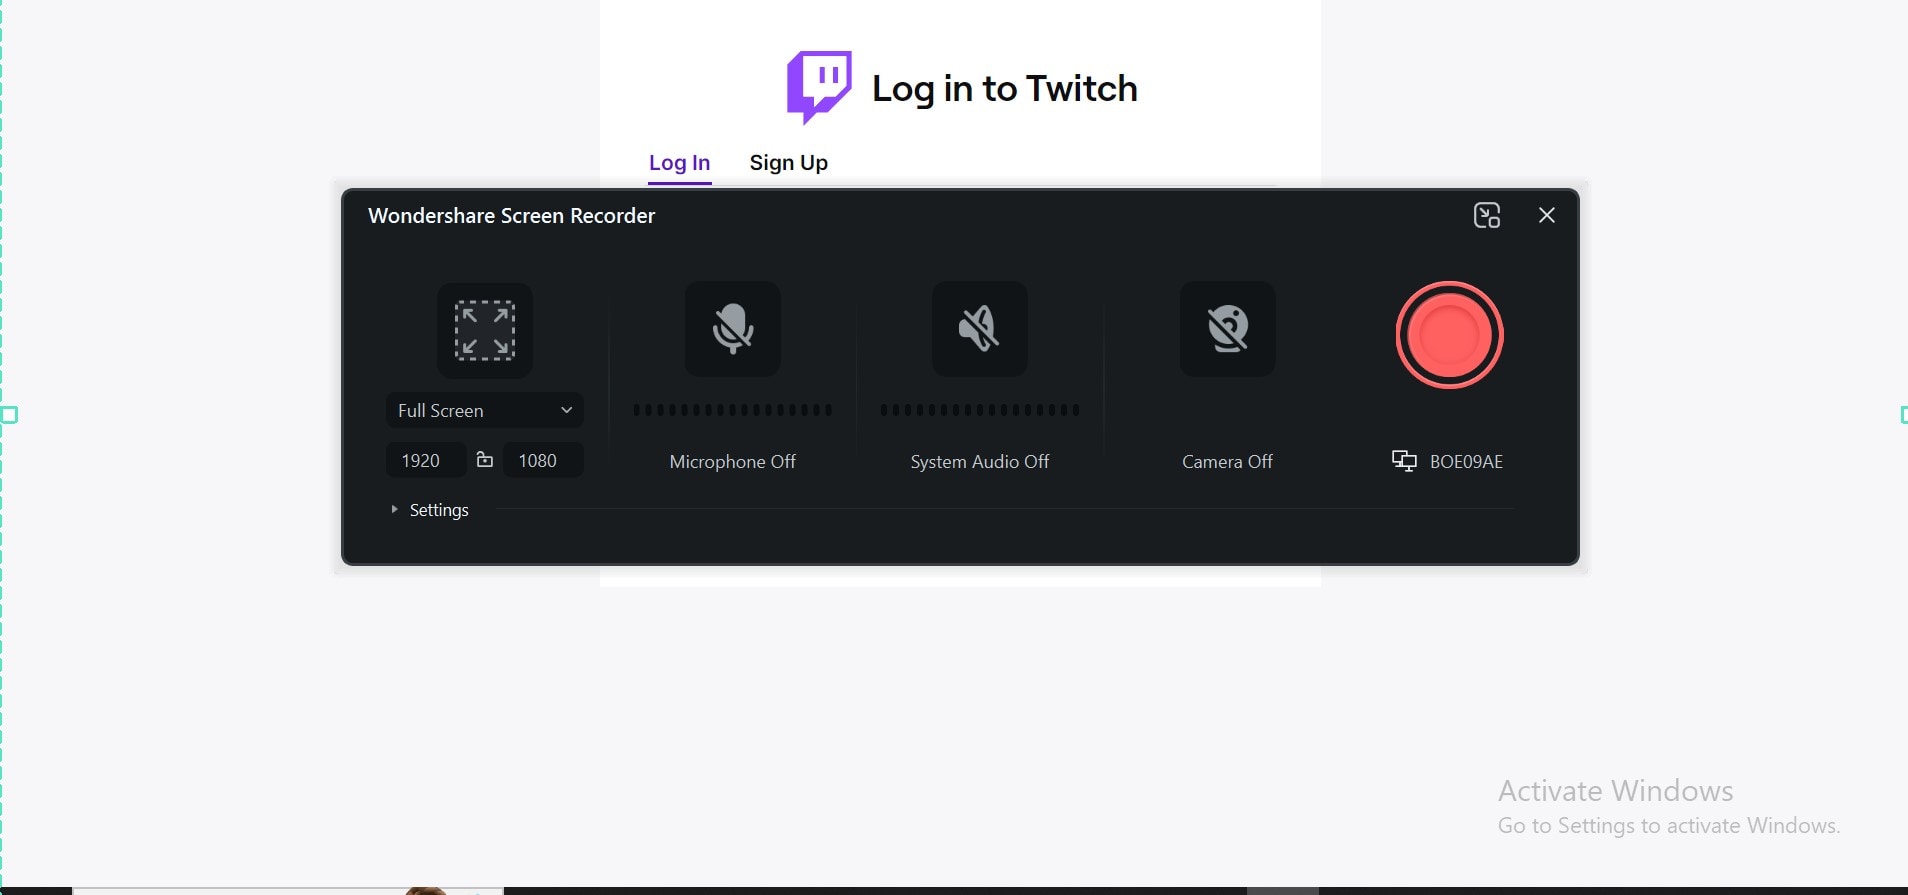
Step 4.Look for a setting called "Virtual Background". This lets you change your background while you record.
Step 5.Once you've picked your background, start recording your Twitch stream. You'll see the green screen effect right away!
Part 5. Advanced Tips and Tricks for Better Twitch Green Screen
Want to take your Twitch green screen to the next level? Here are some extra tips that you need to know:
- Use moving backgrounds to make your stream more exciting.
- Add overlays to your screen for a professional look.
- Try different backgrounds to keep your viewers interested.
- Invest in a better camera and lights for amazing results.
- The more you use a green screen, the better you'll get at it.
- Pay attention to lighting as even lighting is key for a clean green screen effect.
- Choose the right green! Make sure your green screen color is bright and even.
- Experiment with chroma key settings. Tweak the settings to find the perfect balance.
- Use a solid green screen and avoid patterns or wrinkles on your green screen.
- You can also consider a blue screen as some people find blue screens easier to work with.
Conclusion
You've learned to set up a Twitch green screen for your stream using Twitch Studio. That's pretty easy! We have also shared other methods to add the green screen to Twitch streams. You can use whichever method you find easier.
A Twitch stream green screen can make your streams look awesome and professional. It can really level up your stream and make it more fun for your viewers. You can turn your room into a dark background, aesthetic views, and whatnot possibilities are unlimited! It depends on how creative you are!
You can create amazing and engaging live streams by following these steps and tips. So, get creative, have fun, and start streaming!


 100% Security Verified | No Subscription Required | No Malware

