- 800+ best LUTs cover a variety of scenarios.
- Empower your videos with a new mood using different LUTs.
- Adjustable LUT strength.
Best Free Luts for Premiere Pro to Make Cinematic Videos

Jun 09, 2026• Proven solutions
 TL;DR:
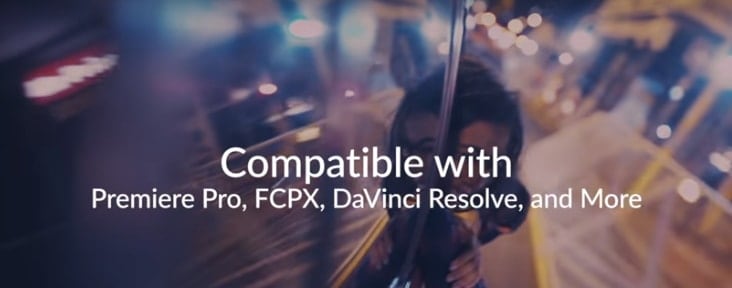
Video editors can achieve professional cinematic color grading using specialized free LUT packs optimized for Premiere Pro or through the customizable LUT tools in Wondershare Filmora's desktop and mobile applications.
● Preset Pro offers LUTs exclusively devised for Premiere Pro and Lightroom compatibility but may not function properly in other systems like Final Cut Pro, whereas FilterGrade includes video walkthroughs making it highly suitable for beginners.
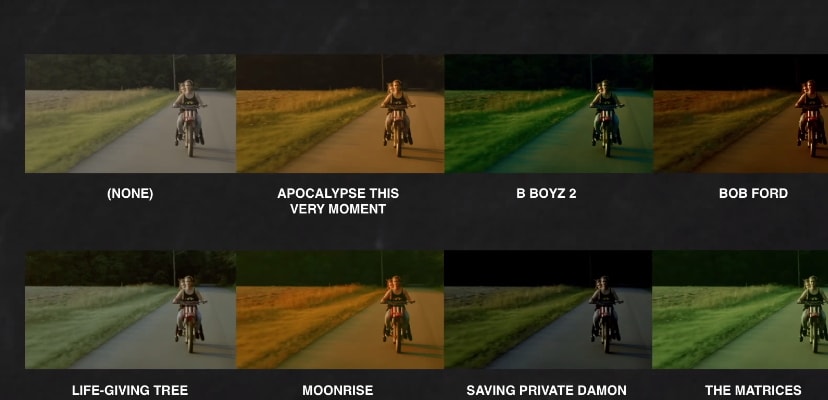
● High-volume editors can utilize Rocketstock’s 35-pack for vintage, softening, and sharpening adjustments, Frank Glencairn’s specific Kodachrome K-Tone table for atmospheric films, or Ground Control Color's sets for print stylization.
● As an integrated alternative, Wondershare Filmora Desktop allows users to apply LUTs from the Basic Color section, manually adjust Strength and Protecting Skin Tones sliders, and save the configurations as custom presets for future projects.
Ask AI for a summary
 ChatGPT
 Perplexity
 Gemini
 Claude
 Grok
Grok
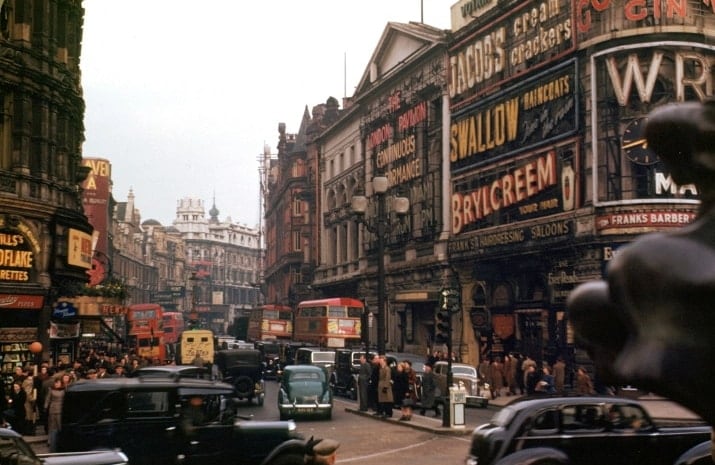
Luts are commonly used by editors and photographers alike to fine-tune the color grading in their end projects. For everything from converting videos to black and white, to inverting the colors in smartphone photography, does so using a Luts.
These conversion files are not as complicated as they seem. In cinema, at least, they are the best way to colour grade footage to a high-quality finished product.
What editors and photographers don’t know is that there are free luts for premiere pro out there. This article is dedicated to finding cinematic lut premieres that you can use, for free, when putting together your films. What are free luts for premiere pro? Let’s find out.

Empower your videos with a new mood using different LUTs.

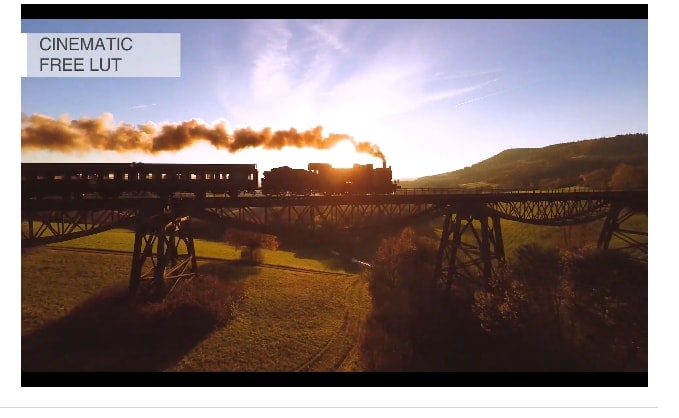
Free Cinematic Luts for Premiere Pro
Without further ado, here are some of the best free cinematic LUTs for Premiere Pro that is available on the market.
1.29 Free LUTs for Video
When seeking LUTs for professional video, Ground Control Color offers you innovative options for various video formats and recording options. Using this, users can access up to 13 various LUTs for video, catering to different video editing needs with numerous styles. Plus, within the same source, you can also access Juan Melara 4 Free LUTs sets that are mainly printed and can double as stylistic LUTs.

Through these, you can seamlessly correct your video visuals for printing them on the film stock. Hence, instead of paying a hefty amount, consider using these free LUTs to insert stylization into your video.
2. Unlimited LUTs for Professional Video Color Grading
If you are looking for unlimited and free LUTs for Premiere Pro, this solution offers you high-quality options that are designed color grade videos. From the list of options, you can easily filter the style, tone saturation, temperature, and contrasts that suit your needs. The foremost aspect is that each LUT works with every editing software and eliminates compatibility concerns.

Furthermore, upon choosing the right LUT, you can share it with other platforms or download it for later usage. Unlike other solutions, you can preview them, too, to determine if they will look appealing in your videos. Whether you choose creative, cinematic, or retro, all the LUTs will have HD quality and vibrant colors.
3. 8 Cinematic LUTs for Premiere Pro
These cinematic LUTs are provided in an easy-to-access format. Click to select your LUT and again to apply it, preview what it looks like, and improve your experience. All of this is simple with a cinematic lut premiere. These LUTs are provided by Filter grade, a well-known firm for tech freebies. We particularly like this pack because of the walkthroughs they provide.
It isn’t just easy to use – it is all there for you on video if you need more help. Go to their website, watch the instruction manual, and DIY the best cinematic color grading LUTs – for free! Whether you are struggling to install and use your free LUTs for Premiere Pro, or whether you are a total beginner, we recommend this package for you.
4. Free LUTs Cinematic from Preset Pro
Preset Pro is a little different from the other cinematic LUTs out there. This is mainly because they have been specially devised to work in harmony with Premiere Pro. Where the others on our list spared a glance towards compatibility with the likes of Final Cut Pro, the team at Preset focused solely on making free LUTs for Premiere Pro.

This gives them the edge if this happens to be the system of your choice. If not, though, this double-edged sword might not work as you expect it to. The good news is it is completely free, totally cinema compliant, and lightroom friendly!
5. 35 Free LUTs for Color Grading
On the upper end of the spectrum comes this offering from Rocketstock. Rocketstock is another well-known brand, even if you haven’t heard this title before. Their parent company is Shutterstock – which everyone has heard. If there is a decent marker as to the high-tech capabilities of a LUT pack, it is the brand name behind it.
These 35 LUTs are sure to contain what you need. Best used by those who are always editing, this pack includes vintage feel, lightening and darkening, softening and sharpening – everything you need from a full set of tables. Colour grade with the best of them with these free luts for Premiere Pro.
6. Free Movie Look Pack
This pack does exactly what it promises to: it gives you free luts for Premiere Pro, in a pack! This free movie retouching pack includes cinematic lut premieres within depth colour grading tuition. That’s right – this pack also comes with a complete tutorial that will help you get the most from your program. It’s not as extensive as some of the previous packs, but it does contain everything you need to get started.
7. Free Vintage LUT for Premiere
If you are developing a moody, atmospheric film, then there might only be one single free LUT for Premiere Pro that you need… the Vintage table. This pack provides it – specifically, Kodachrome K-Tone LUT. This comes free from photographer Frank Glencairn, so you know the source is reputable.
8. 10 Free Cinematic Luts
Finally, on our list today, we have the free cinematic LUTs only found at Fix the Photo. This firm does exactly what it promises to. It fixes your photographs and films with a choice of ten different tables. Instantly adjust your colouring, highlight or lowlight, or blend colours. This pack also has cull compatibility with macs.
How To Add Cinematic LUTs With Filmora
Regarding Premiere Pro Cinematic LUTs free download, users get baffled with various bundles and seek a solution where they can access the built-in LUT option while video editing. To cater to this need, Wondershare Filmora allows users to insert LUTs in both the desktop and Filmora App to boost the appeal.
Add Cinematic LUTs With Filmora Desktop
When inserting LUTs with Filmora, its Color tools allow you to enable the toggle to apply them. Users can save the settings in this section as custom-based settings to create their own presets for future use. Unlike other editing software, users can preview the applied LUTs within the timeline or from the source video to determine the change.

 secure download

Comprehensive Steps on How to Add Cinematic LUTs With Filmora Desktop
Step 1. Launch Wondershare Filmora to Device and Pick New Project
Start by accessing the tool on your device and enter the credentials to log in or create an account. Once signed up, press the “New Project” option to start applying the LUTs in the video.

Step 2. Toggle the LUT Option from the Basic Section
On the new interface, pick the "Import" option and fetch the source video on which you want to add LUTs. As it's there, drag the footage to the timeline, and under the "Color" tab and "Basic" section, toggle the "LUT" option. Once done, unfold the "LUT presets" menu to choose the desired option from the list.

Step 3. Adjust the Strength and Protecting Skin Tones Sliders
After that, adjust the “Strength” and “Protecting Skin Tones” sliders as per your need and pick the “Save as Custom” option to save your LUT settings for future use. Once done, choose the “Export” option from the top right corner of the screen to proceed.

Step 4. Export the Final Edited Video to the Device
Preview the video and hit the “Export” button from the right side to fetch a new popup window. On that, pick the quality and format and tap the “Export” button again to save the final outcomes to the device.

secure download
Add Cinematic LUTs With the Filmora App
Using this free LUTs for Premiere Pro alternative app, you can access the filter tool where you can choose various cinematic effects to insert in the video. In addition, an “Apply to All” option lets you apply a filter on the whole footage. In case of changes, use its “Adjust” tool to alter the filter's exposure, contrast, or vibrance. Here is how you can apply cinematic effects using the versatile Filmora App:
Step 1. Launch the App and Select the New Project Option To Import Video
From the main interface, pick the “New Project” option and select the source video from the new screen. There, you can also choose more than one file, and as it's done, press the “Import” button to proceed.

Step 2. Pick the Filter Tool and Choose the Scenery Option
When the video is displayed on the editing interface, tap the “Filter” tool from the bottom toolbar and pick the “Scenery” filter from the options. After applying that, choose the “Tick” icon to save the changes.

Step 3. Preview the Video and Export it to Your Device
Now, preview the video and hit the “Export” option from the top right corner of the screen. Pick the frame per second and resolution from the new interface and choose the “Export” button again to save the edited file.

Rounding Up
Whether you're working on a professional film project or just experimenting with video editing, these free LUTs for Premiere Pro offer high-quality results without breaking the bank. Their compatibility across different platforms and film types means you can easily achieve that cinematic look you've been aiming for. So, take advantage of these free LUTs for Premiere Pro and start creating stunning visuals today—nothing is stopping you from elevating your videos!
You may also feel interested in how to create glitch effects in Premiere Pro and make stunning glitch effect in Photoshop.
Do you want to find free luts for Premiere Pro? In this article, we will let you know 73 free to use cinematic lut for Premiere. Check it out!
by Benjamin Arango Jun 09, 2026 17:41 PM
Do you want to use free luts for FCPX for color grading? They are useful when making better luts videos. In this article, you will learn 10 free luts fro final cut pro. Check them out!
by Benjamin Arango Jun 15, 2026 11:45 AM
If you want to download and use free 3D LUTs for color grading videos or photos, you can check our picks of 10 best free LUTs downloading sites for your Photoshop, Premiere Pro, After Effects or more.
by Benjamin Arango Jul 17, 2026 15:25 PM
Benjamin Arango
staff Editor
