
Highlights
3D LUTs
- 800+ LUTs and filters cover a broad range of scenarios
- Refined LUT algorithms for precise color handling
- Maximize the texture of the moments you captured
- Use professional presets in a single click
- Export your own color grade as an industry-standard .cube LUT
 4.7
(15746 reviews)
4.7
(15746 reviews)
Win 11 /Win 10 / Win 8 / Win7 (64 bit OS) | System Requirements
macOS 10.15 or later (Using macOS 10.14 or earlier? Click here) | Compatible with Apple Silicon
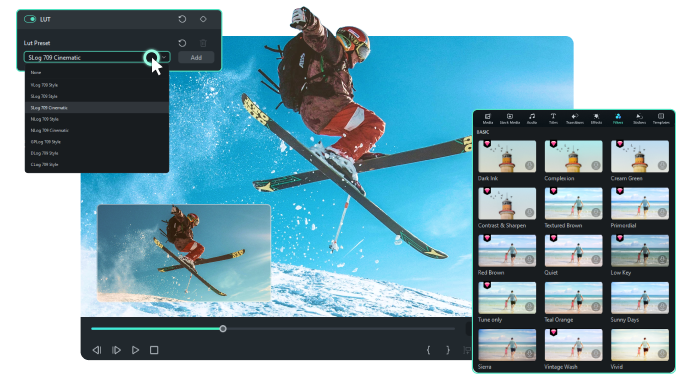
- 800+ LUTs and filters cover a broad range of scenarios
- Refined LUT algorithms for precise color handling
- Maximize the texture of the moments you captured
- Use professional presets in a single click
- Export your own color grade as an industry-standard .cube LUT
Infuse Your Videos With Textured Excellence
Unleash boundless creativity with Filmora's 800+ LUTs and Filters. Transform every frame into a masterpiece of color and style.
Discover a diverse selection
Elevate your videos to next level with 800+ crafted luts and filters. From creative color grading to vintage-inspired Fuji style and advanced cinematic filters, you can easily find the perfect one that suits your mood.
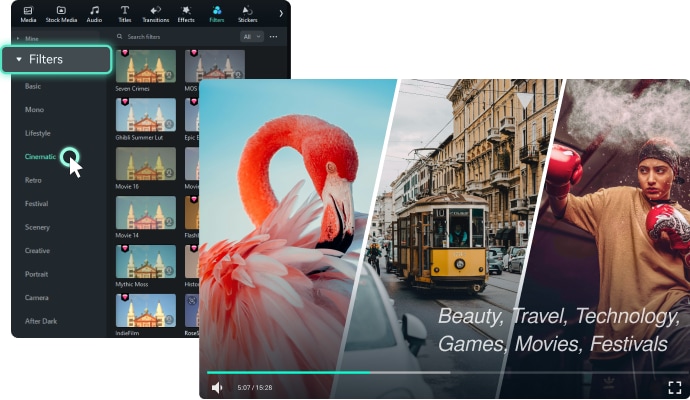
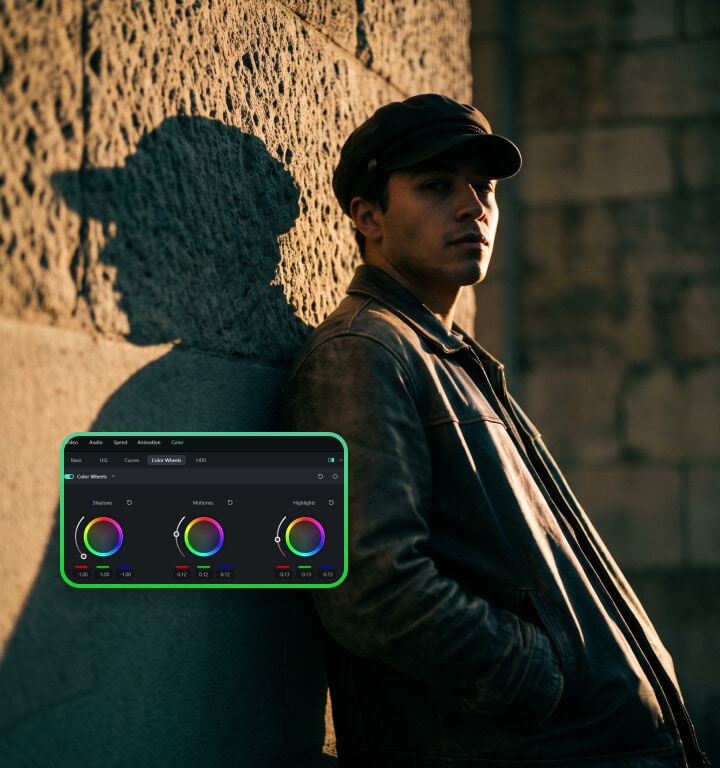
Experience the pro-level color grading
With professional camera LUTs, Filmora lets you preserve color and light information, maintain the unique camera style, and maximize the texture of your media.
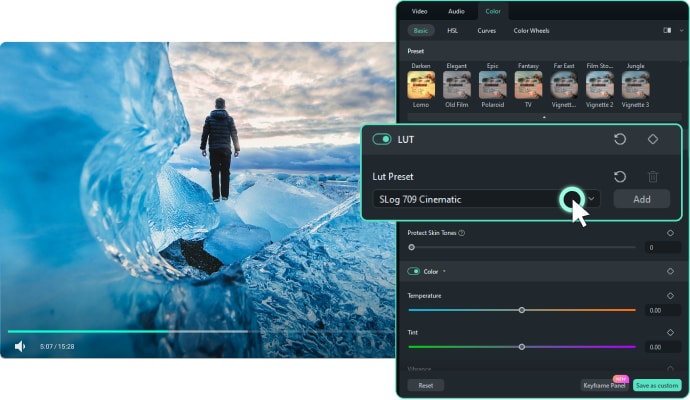
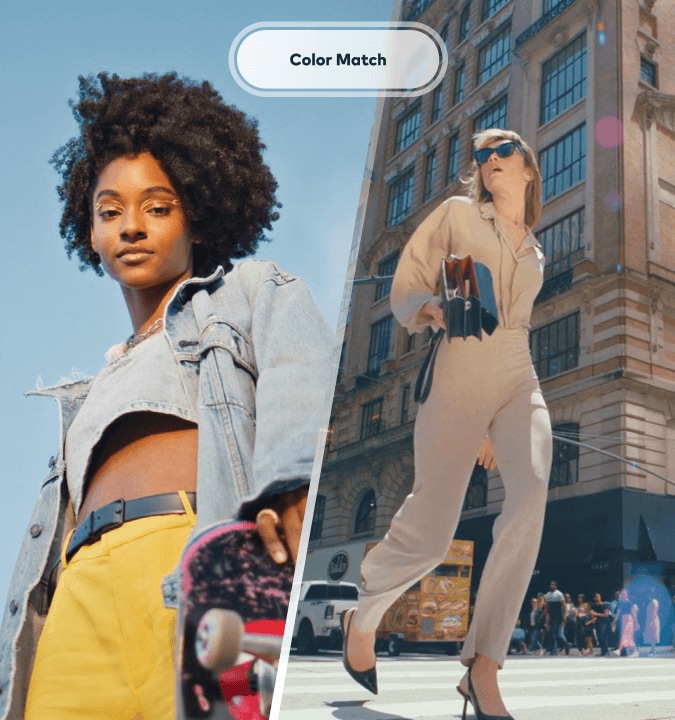
Achieve enhanced color precision
Filmora uses advanced algorithms for precise color adjustments, including deepening, removing specific colors, and refining highlights and shadows, ensuring your visuals stand out with unparalleled realism and depth.
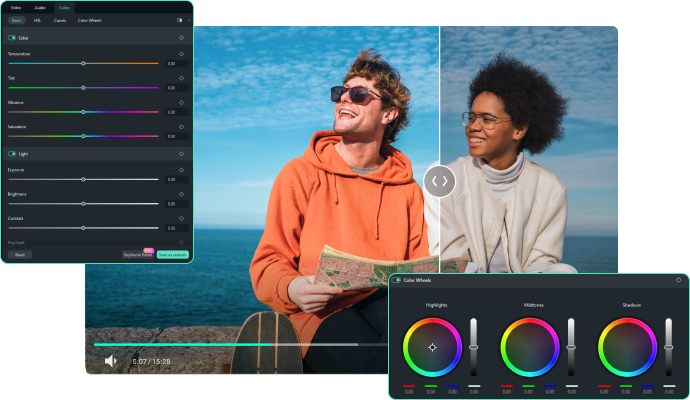
Navigate intuitively with clear selection
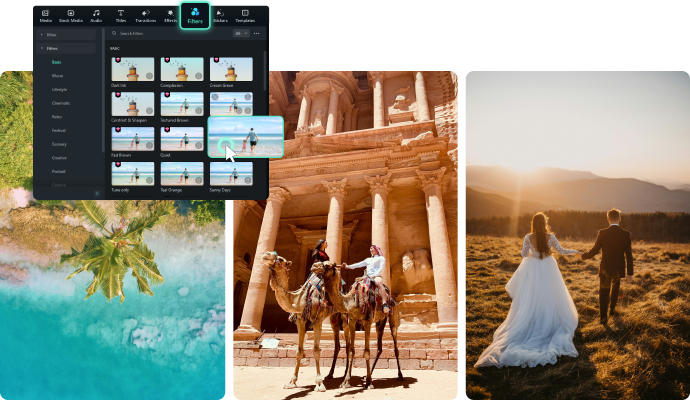
Effortlessly navigate and pick from an array of specialized filter categories — including your own imported LUTs, shown as visual thumbnails. Attain pro-level results with a single click, no complex parameter tweaks needed.
How To Add a LUT?
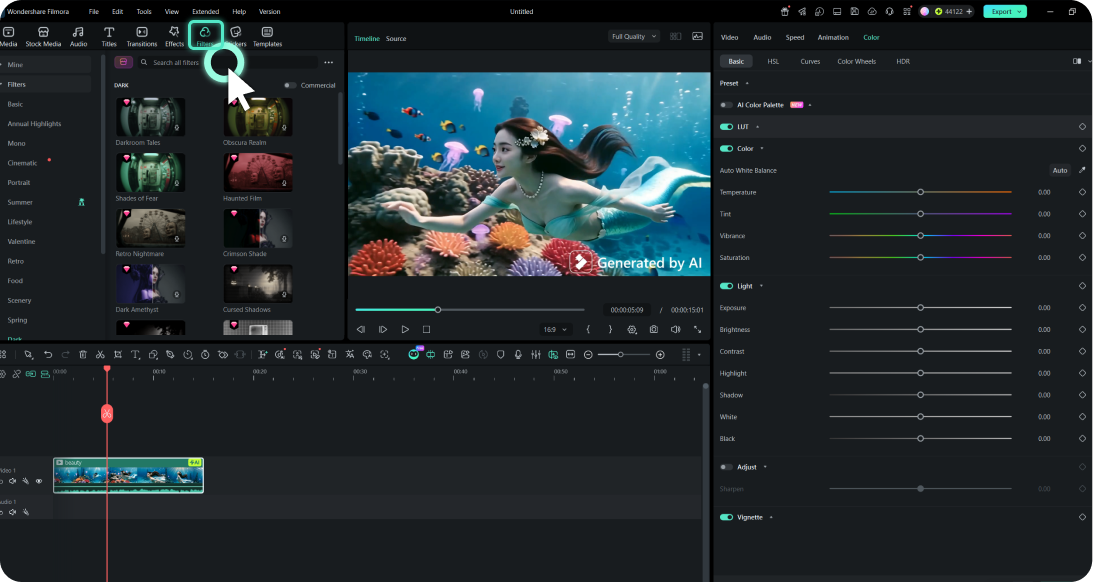
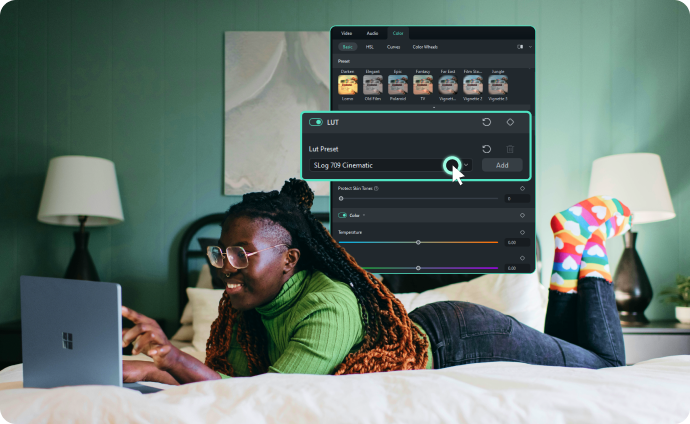
There are two entries in Filmora: 1. Click "Filters" in the media panel, then various categories will be showed in the left panel. 2. Double-clik the video in the timeline, then click "Color" in the property panel on the right side of the screen. Turn on "LUT" in the "Basic" tab to choose the presets.
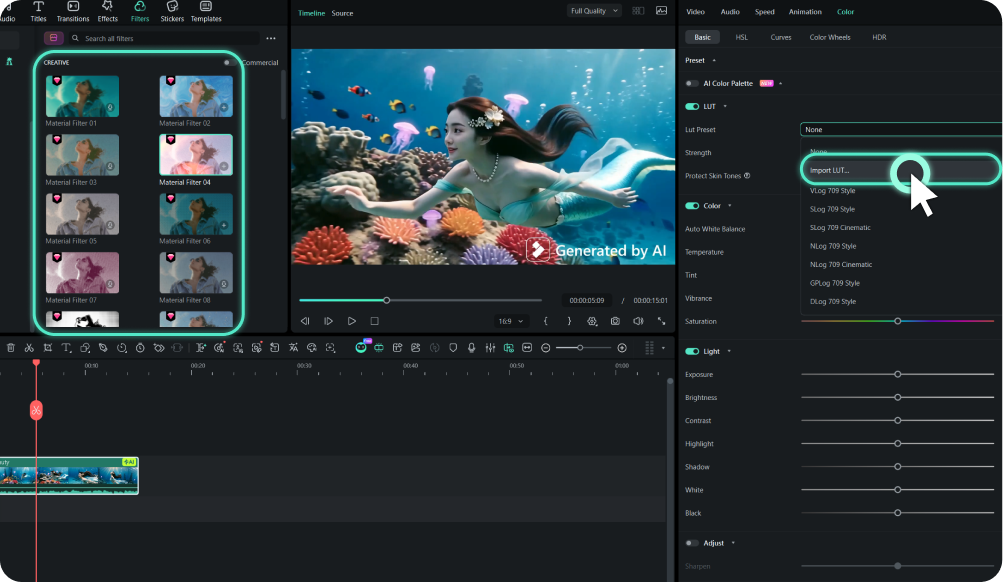
Select the LUT filters you want to use and adjust it to meet the best look for your footage. You can also import LUTs after turning on "LUT" in the "Basic" tab. and clicking "Import Lut" in this section.
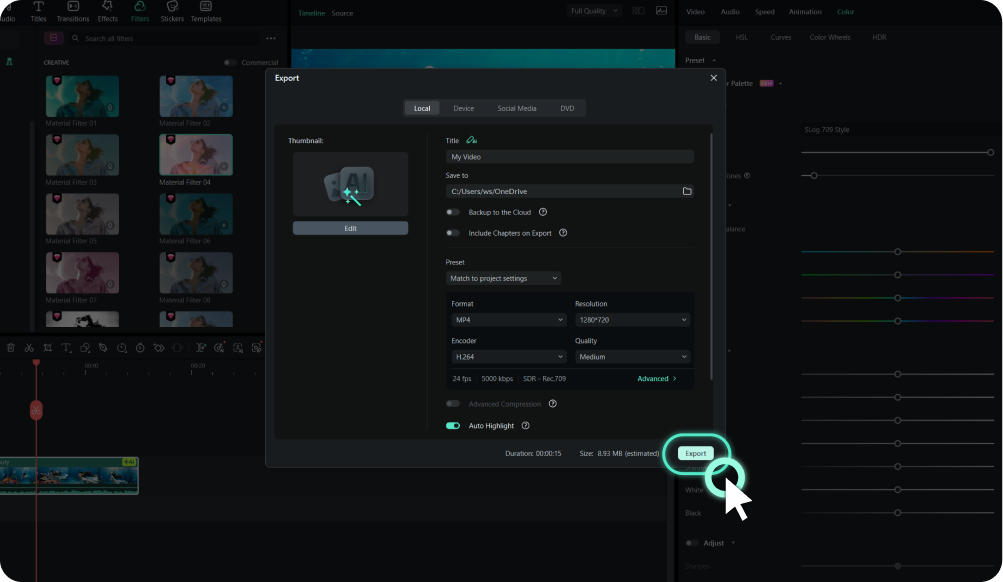
You can preview the final video and adjust or remove the LUT filter. When you are satisfied with the final result, click on the "Export" tab to export the video.
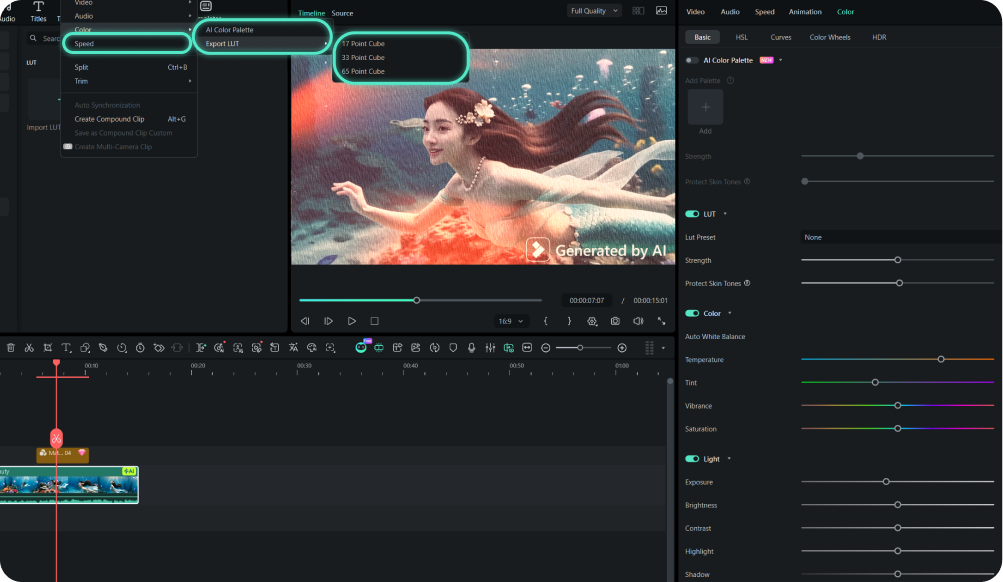
Go to Tools > Color > Export LUT, choose 17/33/65-point precision, and save your grade as a .cube file — ready for DaVinci Resolve, Premiere Pro, or Final Cut Pro.
-
Step 1: Find a LUT
There are two entries in Filmora: 1. Click "Filters" in the media panel, then various categories will be showed in the left panel. 2. Double-clik the video in the timeline, then click "Color" in the property panel on the right side of the screen. Turn on "LUT" in the "Basic" tab to choose the presets.
-
Step 2: Select or Import a LUT
Select the LUT filters you want to use and adjust it to meet the best look for your footage. You can also import LUTs after turning on "LUT" in the "Basic" tab. and clicking "Import Lut" in this section.
-
Step 3: Preview and Export
You can preview the final video and adjust or remove the LUT filter. When you are satisfied with the final result, click on the "Export" tab to export the video.
-
Step 4: Export Your Own LUT
Go to Tools > Color > Export LUT, choose 17/33/65-point precision, and save your grade as a .cube file — ready for DaVinci Resolve, Premiere Pro, or Final Cut Pro.
Make Professional Videos With 3D LUTs

Filmmaker
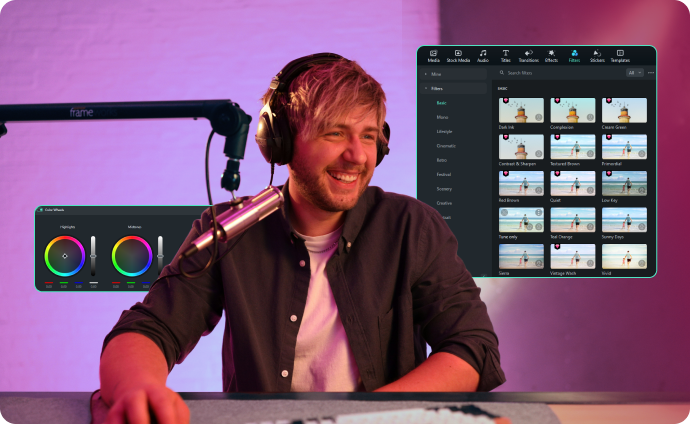
You can use Filmora's LUTs and filters for advanced color grading in film projects. It allows you to achieve cinematic styles, match footage from different cameras, and create a consistent visual aesthetic.
Content Creator
Individuals or influencers creating content for platforms like YouTube, Instagram, or TikTok can utilize Filmora's LUTs and filters to enhance the visual appeal. It helps you stand out from the crowd with professional-level color grading that capture viewers' attention.
Hobbyist
Anyone who enjoys making videos can benefit from Filmora's LUTs and filters. It is a easy-to-use feature, and will elevate the quality of your videos and express your creativity even without needing extensive technical knowledge.
Photographer
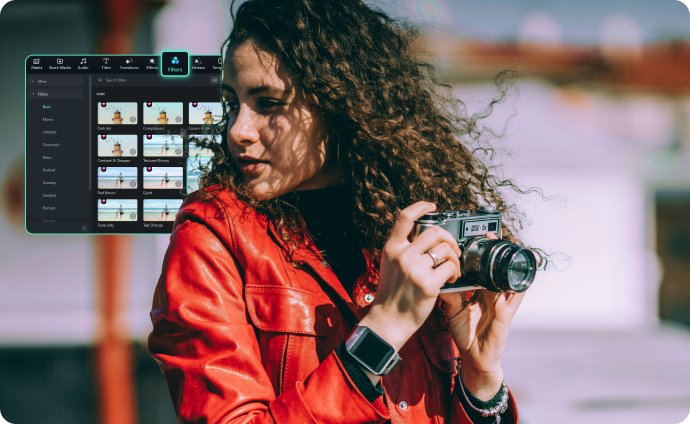
Photographers can utilize Filmora's LUTs and filters to ensure consistency between photos and videos. With this tool, you can effortlessly apply cohesive color grading styles, fostering a unified visual identity for your brand or portfolio.
Frequently Asked Questions
- What is a 3D LUT?
-
3D LUTs are a color grading tool in Filmora that allow you to apply a specific look to your footage. They can be used to adjust color temperature, contrast, saturation, and other color-related aspects of your video.
- How do I apply 3D LUTs in Filmora?
-
To apply a 3D LUT in Filmora, simply drag and drop the LUT onto the clip you want to color grade. You can also use the Color tab in Filmora's editing interface to apply LUTs.
- Can I create my own 3D LUTs in Filmora?
-
Yes. After color grading a video or image clip in Filmora, you can export the compatible color adjustments as a standard .cube LUT. The exported LUT can be reused in Filmora or imported into DaVinci Resolve, Adobe Premiere Pro, Final Cut Pro, and other editing software that supports .cube LUTs.
- Are Filmora's 3D LUTs compatible with all video formats?
-
Yes, Filmora's 3D LUTs are compatible with most video formats that Filmora supports, including popular formats like MP4, MOV, and AVI.
- Where can I find LUTs and filters in Filmora?
-
There are two ways to access 3D LUTs and filters in Filmora. The first is through the "Filters" panel. The second is through the "Color" tab in the Property panel, where you'll find "LUT" in the "Basic" tab. Any LUTs you've imported also show up here as visual thumbnails in Media > Editing Presets > LUT, so you can spot the right look at a glance.
- How many 3D LUTs are included in Filmora?
-
Filmora comes with a vast library of over 800 LUTs and filters. You can also upload additional LUTs from your device.
What Our Customers Say About Us
Enhance Your LUT Workflow Further


Videographer
Vlogger
Vlogger
Teacher