- Final Cut Tutorial
- 800+ best LUTs cover a variety of scenarios.
- Empower your videos with a new mood using different LUTs.
- Adjustable LUT strength.
10 Free LUTs for FCPX to Use in Color Grading

Jun 15, 2026• Proven solutions
 TL;DR:
Final Cut Pro X users can color grade their footage without budget constraints by downloading 10 free cinematic LUT collections, such as RocketStock, Wanderlust, and Shutterstock Freebie.
● Final Cut Pro 10.4 and newer versions allow native LUT application, whereas version 10.3 requires third-party plugins like Motion VFX or Color Grading Central.
● Most featured collections utilize universal 3D .CUBE files, except FCP X Color Board Presets which save as .cboard files, while specific packs like Wanderlust restrict users from redistributing or reselling the assets.
● Wondershare Filmora provides a cross-platform alternative for desktop and mobile devices, featuring built-in presets like NLog 709 Cinematic and manual LUT creation through HSL adjustments.
Ask AI for a summary
 ChatGPT
 Perplexity
 Gemini
 Claude
 Grok
Grok
Are you professionally into video editing? The free color grading tools can make your video clips amazingly cinematic. Check this guide on How to make a big-budget cinematic look video with Final Cut Pro.
Final Cut Pro is an amazing tool to make movies. See top movies made by Final Cut Pro here.
In all editors including FCPX, LUTs are essential to use in color correction and color grading. If you want to correct color automatically, why not try free LUTs for Final Cut Pro X? From amateur filmmakers to expert colorist, free LUTs are the best way to create moving magic. Enhancing your videos within a limited budget is possible with the free LUTs. In this article, we will let you know 10 free LUTs for FCPX.
For more easy-to-use effects and filters to make your video cinematic, have a try with Filmora! Filmora Creative Assets can provide countless cinematic packages for you to choose from. Filmora now offers 800+ top-quality LUTs cover a broad range of scenarios. Transform your videos with Filmora's powerful 3D LUTs.
What are cinematic LUTs?
LUTs are Lookup Table that acts as a modifier amidst the original and the displayed image on the basis of a mathematical formula. The various kinds of LUTs are- transform, viewing, 3D, 1D, and calibration. You can create a great looking grade just by slapping a LUT that may be a silver bullet on the video clip. But, you must be careful about how to use a LUT. You must know what input level or color space to be used for a specific LUT and also the kind of shot it was planned for.
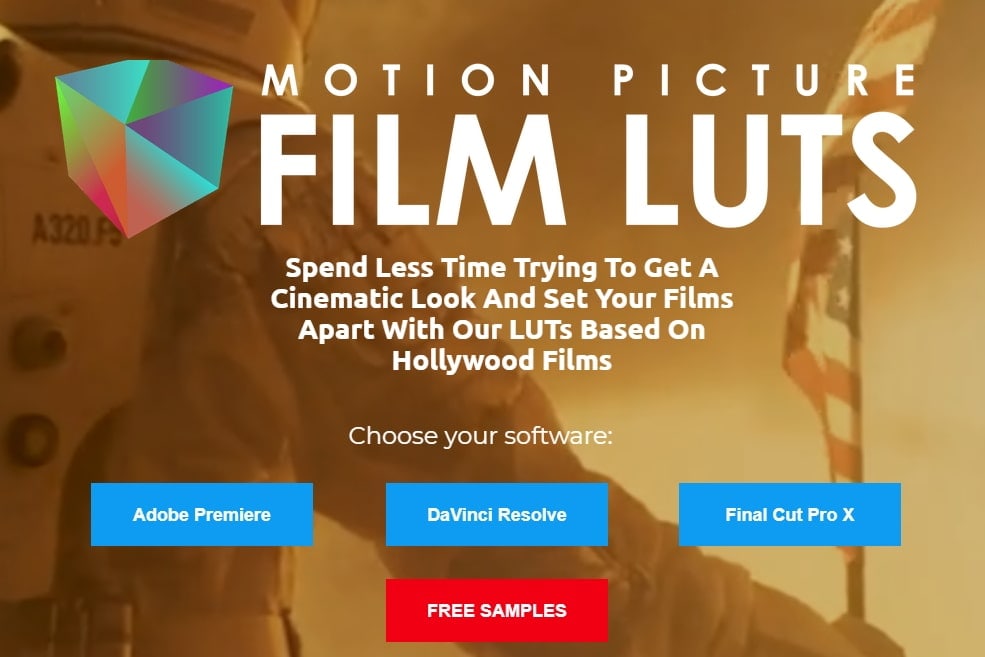
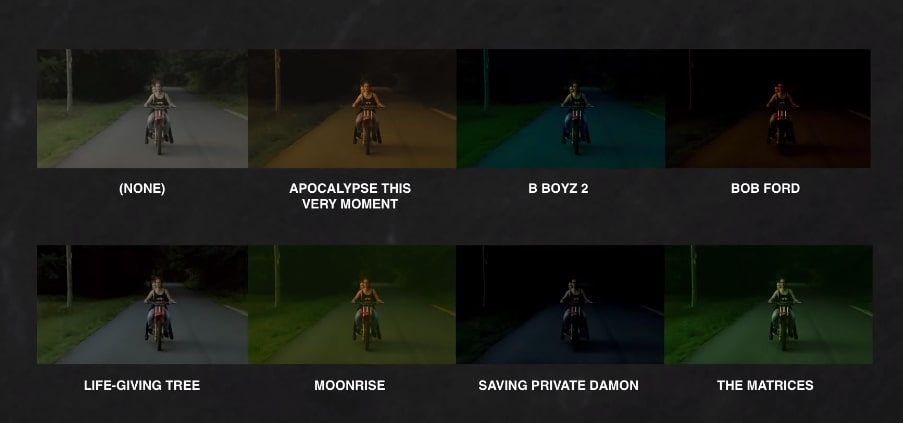
1. Motion Picture Film LUTs
What is Motion Picture Film LUTs? It is an assortment of LUTs that is based on the 22 iconic films that appear to be great. Such looks are created in order to help the users to get a similar look for their video footages as well. Now, you don’t have to spend hours and hours to achieve that cinematic look that you always had in mind. With Motion Picture free LUTs for FCPX, attain the look of the Hollywood films in no time. You don’t need to hire a Hollywood colorist. Just use the color grading that matches the genre and mood of your video.
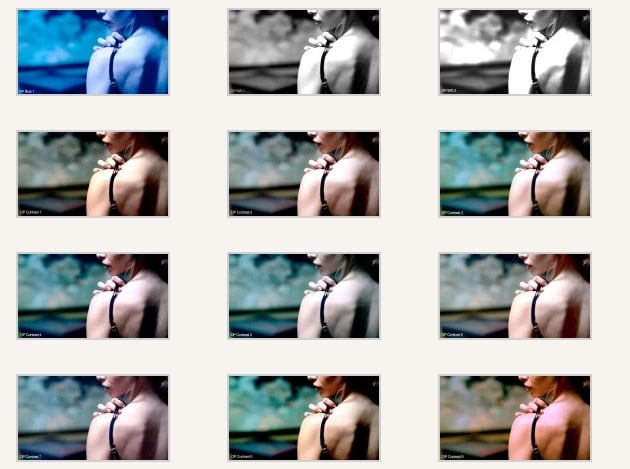
2. Cinematic LUTs
Color grading is very challenging, and this pack of free cinematic LUTs is the perfect solution with various LUT effects that give videos a visual appeal. Red, Green, and Blue (RGB) color values help transform your footage to create dramatic, moody, or vibrant looks according to your needs. The ability to apply color grading and effect lets you achieve a professional film-like quality, saving your manual adjustment time.

3. Free Vintage LUT for Premiere Pro
Among many free LUTs for Final Cut Pro, this premium vintage LUT utilizes a subtractive color process, unlike earlier manual methods of editing videos. It is available in various formats, making it versatile for still and motion picture photography. Vintage LUT comes in large formats, such as 8mm, Super 8, 16mm, and 35mm for movies. Besides, it is known for its color accuracy and remarkable longevity, which makes pictures high-quality.

4. SmallHD 7 Free LUTs
Now, getting your most favorite movie’s look is very easy with the SmallHD 7 free LUTs. You just need to download the LUT and apply it on the LUT enabled Small HD7 monitor. You get 7 movie looks completely free on the Lookup Table which is a small file that acts as a filter within the camera. It colorizes the video clip when the filter is applied.
5. Moment Video LUTs
Users can transform their editing experience, create DaVinci LUT formats, and enhance their color-graded video footage. Besides free LUTs for Final Cut Pro, they provide you with warm, cool, Fuji Film, and many more. Users can go to its Mobile, Film, and Camera Gear sections to get the desired LUT format according to their needs. In addition, it has a section for Lightroom Presets that you can get to get professional-level editing.

6. FreshLUTS
FreshLUTs offer the greatest collection of LUTs in the world that is completely free. You just need to browse, download, and finally apply. Keep track of your downloaded LUTs by adding it to your favorites. If you are a filmmaker, looking forward to sharing your LUTs, the FreshLUTs is the best place to share across the globe.
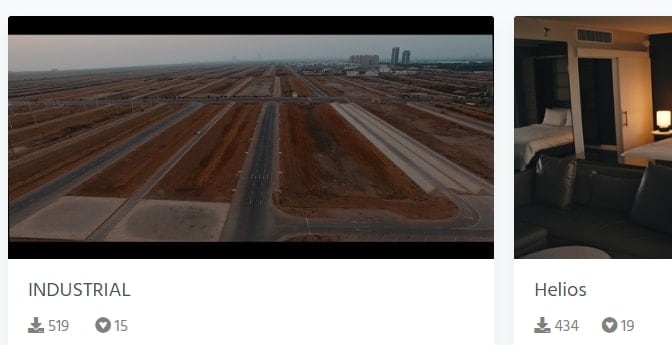
7. RocketStock’s 35 Free LUTs
RocketStock offers 35 free LUTs which you may use for color correction on your video clips. It is one of the best free LUTs for FCPX for easy application of vintage or cinematic look. You just need to download the 3D .CUBE files and once you have installed them, you may apply the colors grades with just one click.

8. FCP X Color Board Presets
The FCP X Color Board Presets can stylize your video clip in a number of ways. It is a very powerful tool for color correction. You may choose from a range of presets to apply on the color board or create and store your own presets too. Once a preset is saved as .cboard file, it can be pasted to other systems in the same location created by the user.
9. Wanderlust
Wanderlust can grow your love for travel and it’s for all the travel enthusiasts. It offers 17 free LUTs for FCPX to ensure sheer perfection and enhanced clip. All the 17 .CUBE files are highly compatible with various color grading programs and NLEs. You may use these free LUTs for both commercial and personal projects by downloading it for free but cannot re-distribute or resold it.
10. Freebie
If you are looking to take your video to the next level, Freebie from Shutterstock comes up with several editing, drag and drop assets and LUTs that are completely free to use in your videos. These are all supported by the compositing programs and all the major NLEs. You can find 52 .CUBE LUTs in Shutter Stock Video Editors.
Add LUTs Using Wondershare Filmora (Desktop +Mobile App)
Although these LUTs look like the perfect settings to edit your content, you might still face difficulty in getting the best result out of them. This essentially happens because you do not have the best video editor with you.
To make the job easier, you can use Wondershare Filmora, a well-known video editor that comes with built-in LUTs. The foremost aspect is that you can access this tool on both desktop and mobile for a seamless addition of cinematic filters to your videos.
Its desktop version has a simple interface that can be used not only by professionals but also by beginners. Users can use various LUTs, such as VLog 7909 Style, SLog 709 Style, and NLod 709 cinematic. You can manually create LUT from its HSL feature, which lets you adjust the hue and saturation of the video.

 secure download

Detailed Guideline to Use Wondershare Filmora to Add LUTs on Desktop
Besides free LUTs for Final Cut Pro, let's explore the following steps and learn how to apply these effects to your videos using Filmora:
Step 1. Download the Tool and Start the Project
Initiate the task by installing Wondershare Filmora and launching this video editor on your device. From the main interface, choose the "New Project" option to start adding LUTs to your video.

Step 2. Upload the Target Video and Apply LUTs from The Presets
Afterward, import the video on which you want to apply LUTs and start the process. Next, drag and drop your video into the “Timeline” and from the “Color” section, toggle on the “LUT” option. Then, from the “LUT Presets,” select the preferred one from the drop-down menu, such as “NLog 709 Cinematic.”

Step 3. Adjust the Intensity and Export
Now, adjust the intensity through the “Strength” slider and hit the “Save as Custom” button for later use. Once you are satisfied with the result, click the “Export” button to proceed with this task.

Step 4. Save the Final LUT Video
Within the “Local” tab on the “Export” dialog box, adjust the format and other settings. Finally, press the “Export” button once again to download the video with LUT on your device.

secure download
How to Add LUTs Using Wondershare Filmora App?
You can add the cinematic effect from the Filmora App [Android/iOS] using your smartphone to achieve an appealing look. While working on this app, users can choose the cinematic effects from its filter section with various options. Follow the guide to learn more about using the Filmora App to add effects for enhancing outlooks quickly:
Step 1. Install the Filmora App and Select the Filter
Upon downloading the app, hit the “New Project” button from the main interface. Then, select the target video from your gallery and press the “Import” button. Afterward, choose the “Filter” tool and pick the scenery or cinematic filter from the list. Adjust the intensity percentage of the filter from the “Toolbar” and press the “Tick” icon to apply it.

Step 2. Preview the Enhanced Video and Export it
Moving forward, preview the video and hit the “Export” button from the top right corner. From the next screen, choose the resolution and frames per second and hit the “Export” button once again to download the final video.

Conclusion
With Final Cut Pro 10.4 and above, you can easily apply LUTs natively without any third-party plugins. For earlier versions like 10.3, you may still need external tools such as Motion VFX or Color Grading Central to apply LUTs. If you're looking to elevate your videos, explore these free LUTs for Final Cut Pro to bring unique color grading to your content. Additionally, you can now add LUTs using Wondershare Filmora, both on desktop and mobile apps, for a more versatile editing experience. Discover more free LUTs and editing tools that can take your creative projects to the next level.
Want to use explosion effect in your video? In this article you will learn 8 best free explosion effect to use. Check this article to find more.
by Benjamin Arango Jan 06, 2026 11:37 AM
Benjamin Arango
staff Editor
