In this article
Understanding LUTs
Have you ever wondered how some videos look so perfect and cinematic? The secret often lies in something called Look Up Tables. If you're just getting started with video editing or looking to give your projects a professional edge, learning how to use this can instantly transform your footage. In this guide, we’ll explain what LUTs are, how they work, and how to use LUTs for videos.
LUTs (Look Up Tables) are mathematical functions used to change colors in videos or still images. They act as presets that apply a specific look or style to the footage.
In video editing, it refers to a preset filter that allows editors to achieve the desired appearance for their video without manually altering every color. It is helpful when working with various camera colors.
Key Elements of Look-Up Tables
When working with LUTs, knowing how to explain what is look up tables is the first step. Once you understand the basics, here are the major elements you need to take note of when using LUTs:
Let’s take a closer look at each one and break it down in simple terms.
Different Look-Up Table Types:
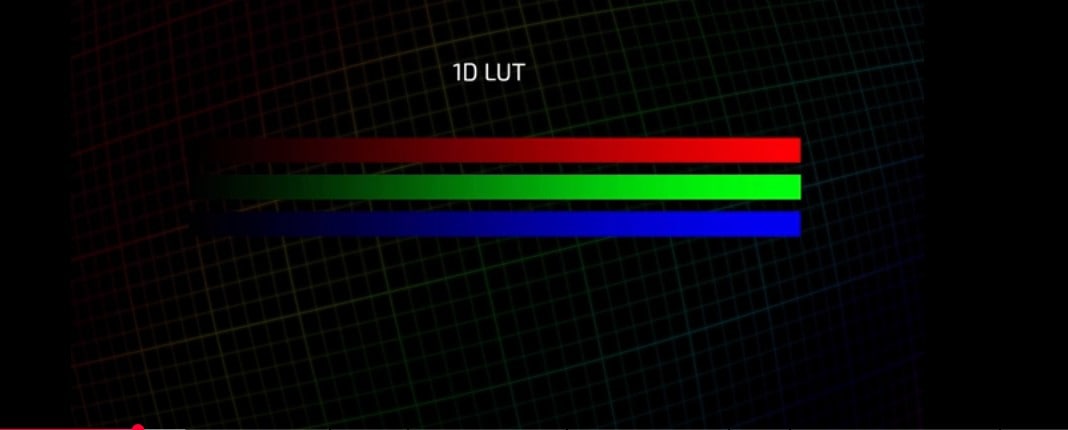
1D LUTs are the simplest type of LUT. They change just one thing at a time, usually something like brightness, contrast, or gamma (which controls midtones). Using this type of LUT feels like using a single slider to brighten or darken your whole video. Plus, these LUTs adjust color values along one axis, so they’re great for small corrections.
A lot of editors use 1D LUTs for quick fixes or to normalize footage before applying a more creative grade. 1D LUTs usually come with file extensions like .lut, and they’re good when you just want to make your footage look more “normal” without changing its style too much.
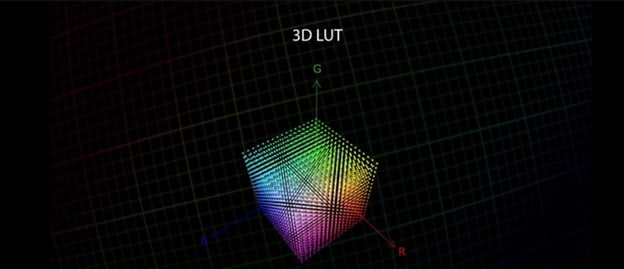
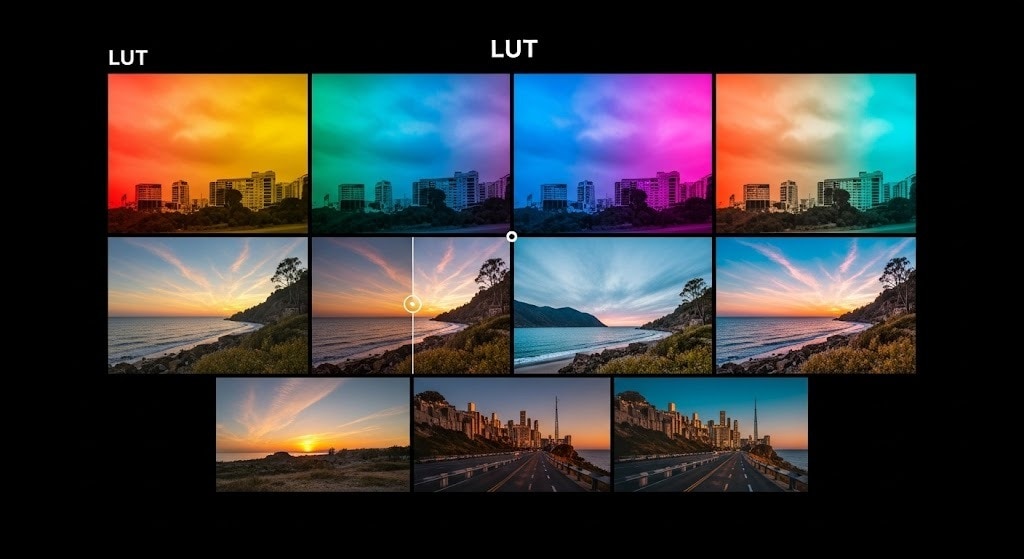
Unlike 1D LUTs, 3D LUTs adjust multiple color properties all at once. It is called "3D" because it works in a three-dimensional color space, giving you much more control.
In addition, you can use 3D LUTs to create very specific looks, like a cinematic vibe, a warm sunset tone, or even a vintage film feel. These LUTs usually use the .cube file format and are used in professional color grading for film, TV, and content creation. They’re perfect for when you want to go beyond basic corrections and really shape the final look.
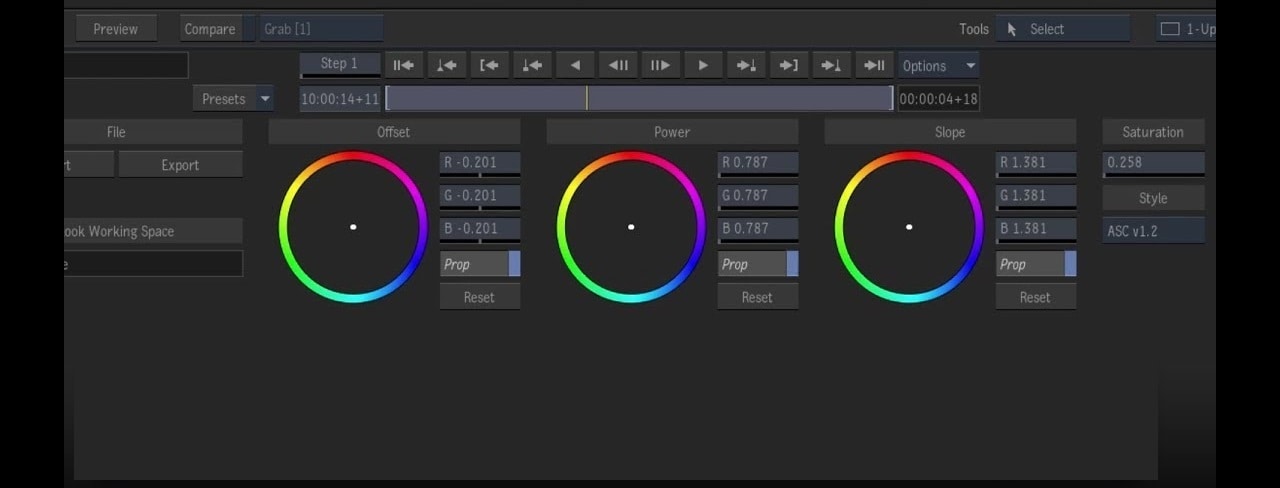
Now, the CDL is a bit different as it isn’t technically a LUT, but it works in a similar way. It’s a small set of color values that tells editing software how to adjust your footage. Instead of changing every single color value like a LUT does, a CDL focuses on four simple settings: Lift (Offset), Gamma (Power), Gain (Slope), and Saturation. These are the building blocks of basic color correction.
CDLs are often used during early stages of production, like on set or during dailies (daily raw footage reviews), so editors and colorists have a shared starting point. They're also great because they’re lightweight, easy to share, and work across different editing platforms.
How LUTs Are Used in Video Production
Below are three main ways that LUTs are commonly used:

Color correction is the first step in making your footage look natural and realistic. Here, you make use of LUTs to fix problems in the image. It could be that the images are too dark, too blue, or the skin looks weird. Whatever the color problem is, LUTs can help fix all of that in one click. Below is how it works.
Let’s say you shot a short film using the Sony A7S III in S-Log3. Straight out of the camera, it looks dull and low-contrast. You can use a LUT like “S-Log3 to Rec.709” to quickly turn that flat footage into something that looks clean, vibrant, and ready to edit.
In Skyfall (2012), many scenes were filmed in flat formats and later corrected using LUTs to balance skin tones, correct lighting issues, and maintain consistency in day-to-night transitions.
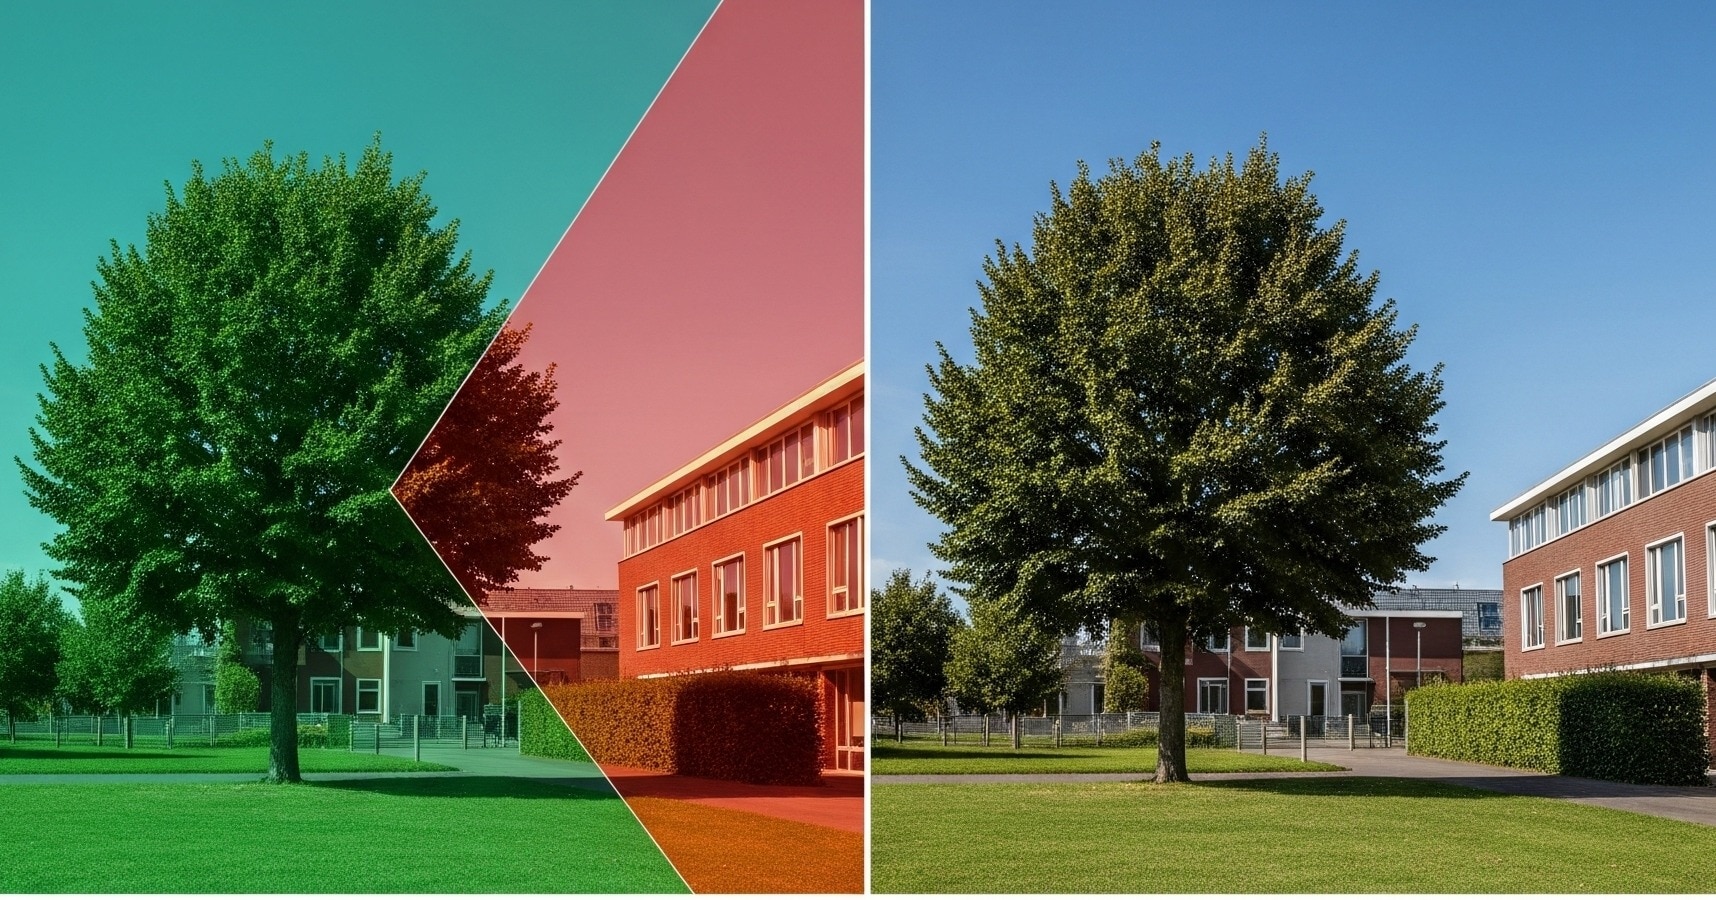
Now, a common problem in real-world projects is that different cameras or lighting setups don’t always look the same. Even if you’re filming the same scene, a Canon and a Panasonic might capture colors differently.
Fortunately, LUTs can help match the colors between different shots or cameras, so the whole video plays smoothly. This is especially helpful in weddings, interviews, multi-cam setups, or documentary shoots where you can’t always control every condition.
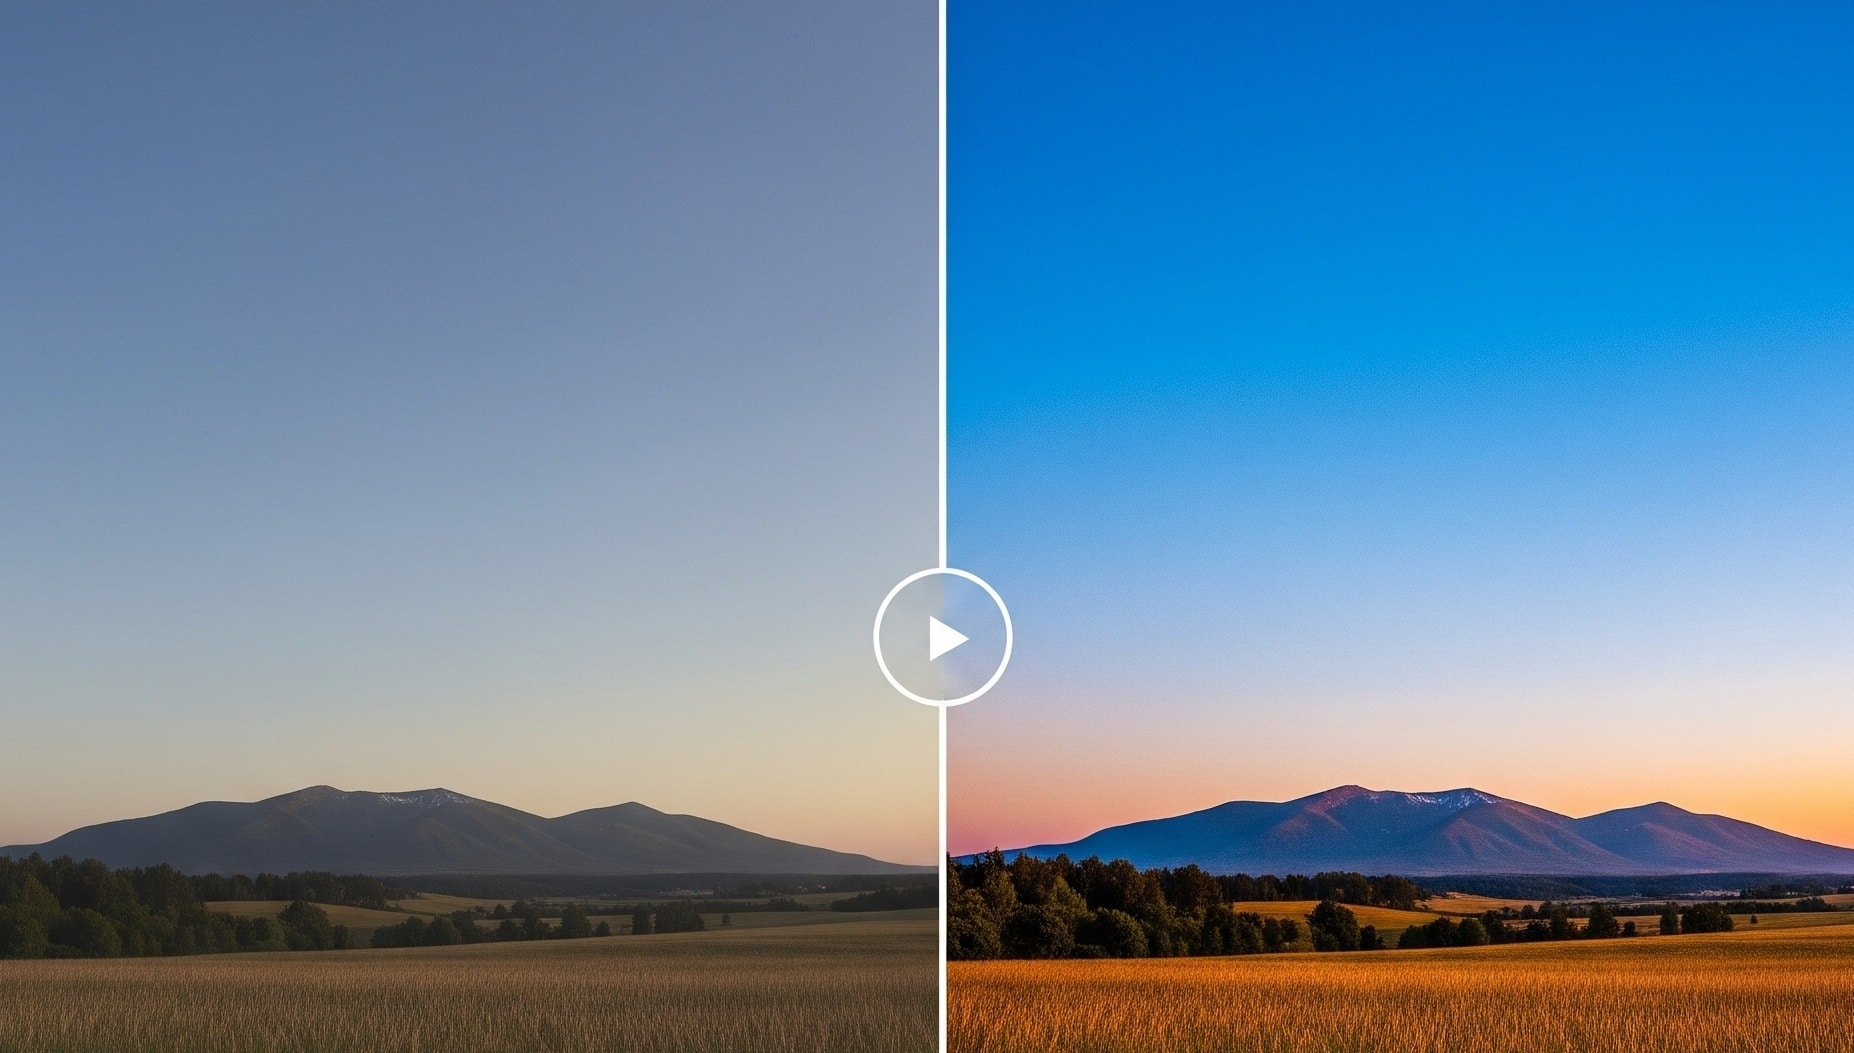
This is where things get exciting. Creative LUTs are used to give your video a specific “look” or emotion. They go beyond just fixing things, it is more of storytelling. You can make your video look dramatic, romantic, vintage, cinematic, or even surreal, all with the help of LUTs.
This is especially popular in music videos, short films, commercials, and social media content where style matters a lot.
Avoid Common Errors When Using LUTs
LUTs can make your videos look great, but only if you use them the right way. Here are a few common mistakes people make and how you can avoid them:
One big mistake is using a LUT that doesn’t match your footage. For example, if your video was shot in Sony S-Log3, but you apply a LUT made for Canon C-Log, the colors might look way off.
To avoid this, always make sure you’re using a LUT designed for your camera’s log profile. If you're not sure, check the name of the LUT file. And when in doubt, try testing it on a few frames first to see if it works. If it looks wrong, it probably is.
Another common mistake is applying a LUT at full strength and just leaving it there. While it might look dramatic, it can often be too strong, blowing out highlights, crushing shadows, or making the images look unnatural.
After applying the LUT, use the “opacity” or “intensity” slider, depending on your editing software, to bring it down till it suits the video. Reducing it to 60–70% can make a huge difference. Always trust your eyes; if it looks too much, it probably is.
Skin tones are super important. Even if your overall grade looks great, bad skin tones can ruin it. Some LUTs push reds or oranges too far, and this makes people in the video look sunburned or unnatural.
You can avoid this by always checking how a LUT affects the skin. If it ruins the tones, try masking the skin and adjusting it separately, or use a different LUT altogether. You can also tweak the color wheels or curves manually to bring skin tones back to normal while keeping the overall style.
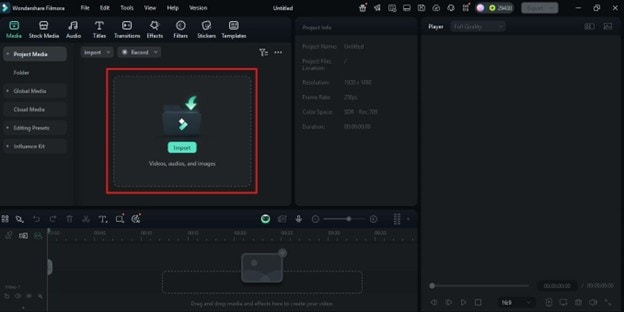
How to Apply LUTs When Editing Videos
Here’s how to apply LUTs in video and adjust them in Wondershare Filmora:
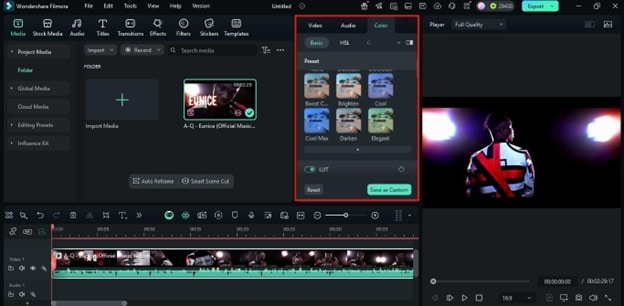

Watch your preview window to check how the changes look before exporting.

Conclusion
LUTs are one of the easiest ways to transform the color and mood of your videos. But to use them effectively, you need to choose the right type, make sure it fits your footage, and apply it with care. With the right approach, you can take your videos from basic to professional using Filmora.