Raw footage often doesn’t match the visual style of the video you are working on, as their colors may not match or the image may be overexposed. Correcting these imperfections in each clip you included in a project is a slow process that can take days to complete.
However, there is a much quicker way to go through the color grading process, once you’re done with color correction. In this video tutorial, we are going to show you how to apply LUTs to one or more video clips in Filmora9.
Part 1: What Are LUTs?
Lookup tables are pre-programmed presets that contain a set of color values that are automatically applied to a video clip, which in turn speeds up the color grading process. The creative, technical, and camera-specific LUTs are the most common types of LUTs, but each of them transforms color input values into output values that are defined within a specific LUT.
Hence, some LUTs only alter the saturation value, while others can change the video’s contrast, brightness, or color balance. LUTs alter RGB colors with mathematical precision by assigning new saturation, hue, or brightness values to the footage to which they are applied. They are used during the color grading process to create a specific visual style or make a visually flat footage more vibrant.
Part 2: How to Add LUTs to Multiple Clips in Filmora9?
Color grading is one of the last steps in the post-production process, so applying LUTs before you’re done color correcting the footage may make it difficult to get the results you were hoping for.
So, once you’ve placed one or more video clips to Filmora9’s timeline, removed all their parts you don’t want to use, applied transitions, and performed all other video editing tasks you wanted, you can start adding LUTs to the footage.
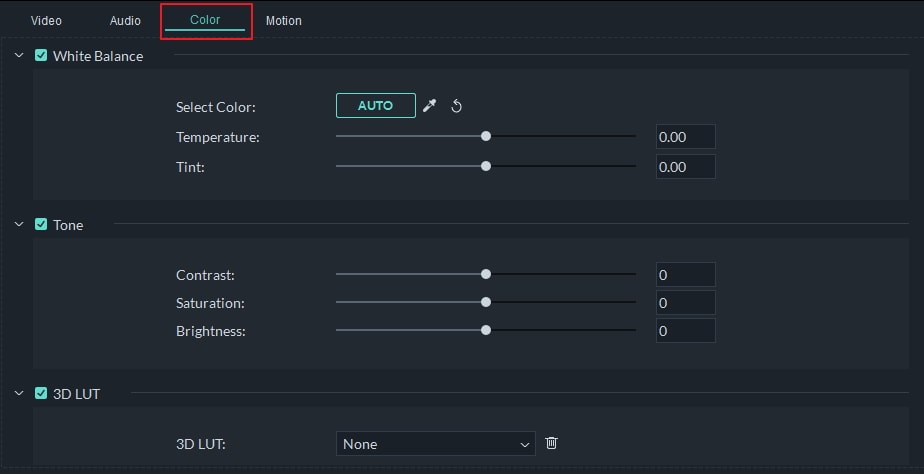
To apply a 3D LUT to a single video clip quickly, double click on it in the timeline, go to the Color tab, and select one of the available options in the 3D LUT drop-down menu. The LUT you selected is going to be applied automatically to the video clip and you can see the changes you’ve made in the Preview Window.
Note: The LUTs in Filmora9 are named after movies and TV shows whose visual style they recreate, so you can choose between Game of Thrones, House of Cards, or Gravity LUTs among numerous others.
However, applying LUTs to each video clip you included in your project can be a time-consuming task, especially if you are working on a large project than contains hundreds of video clips. Filmora9 offers a faster way to apply LUTs to multiple video clips.

Go to the Effects tab, and click on the LUT submenu that is located on the left side of the screen. Filmora9’s LUT library contains 26 different LUTs, and you just have to find the one that fits your project’s demands, drag it to the timeline and position it on the video track that is above those on which your footage is located.
Keep in mind that a LUT is only going to be applied to the video clips that are located below it, while the video clips that are located above the video track to which you placed a LUT are not going to be affected.
Dragging one of the LUTs edges in an outward direction will enable you to extend its duration and apply it to multiple video clips. What’s more, you can double-click on the LUT you added to the timeline, and adjust its opacity using the Alpha slider.

Part 3: How to Add Custom LUTs in Filmora9?
Besides using the preset LUTs, Filmora9 also enables you to add custom LUTs. Head over to LUTs submenu in the Effects tab and add the Custom LUT to the timeline.

Once you’ve placed the Custom LUT to the correct video track and adjusted its duration, you should click on it and proceed to choose the LUT you want to use from the 3D LUT drop-down menu.

Use the Alpha slider to adjust the LUTs transparency, before clicking on the OK button to confirm the changes you’ve made.
Part 4: How to Import New LUTs in Filmora9?
In case you would like to import a LUT you created into a project in Filmora9, you just have to add the Custom LUT to the timeline from the video editor’s LUT library, and double-click on it. Extend the 3D LUT drop-down menu and choose the Load New LUT option.

Navigate to the location on your hard drive at which the LUT you want to import is saved, click on it to select it and then click on the Open button to load the LUT. Click on the OK button in the lower-right corner of the tab to complete the process.
Conclusion
Replicating the visual style of your favorite movies and TV shows with Filmora9 is easy because the video editor enables you to apply LUTs to one or more video clips in just a few quick steps. What’s more, you can also import the LUTs you created into a project you’re working on and use it to give a unique visual style to your video.


