In this video tutorial, I’ll be showing you how to make a video with Filmora including how to import the footage into a project, do some basic editing and trimming, and export the final cut of the video from Filmora in a quick way.
Start a new project
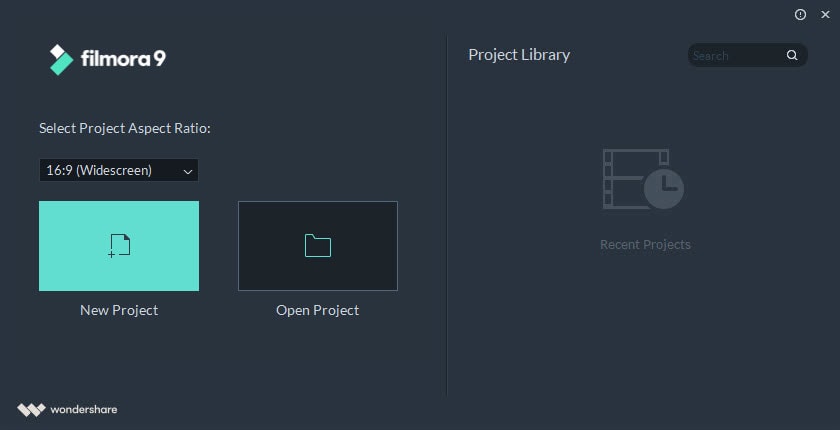
Launch Filmora and simply click on the New Project icon to create a project using the default settings.
The Edit window will appear on the screen, where we can start making our video.
Import Media Files to a Project
Click on the Import Media Files Here icon and navigate to the folder where the video and audio clips you want to use are located.

Select the media files you’d like to import and click on the Open button. You can access all the files you add to a project from the Media tab.
Preview the Videos
Double-click on a video clip in the Media tab and it will start playing automatically. Below the preview window, you’ll see the progress bar that shows you how much of the video has already been played.

In case you would like to add only a portion of a video to the timeline you can use Mark In and Mark Out icons that look like curly brackets to set in and out points. Click on the exact spot on the progress bar where you want the video clip to start and then proceed to set the In point by clicking on the Mark In icon.
You should then jump to the position where you want the video to end and set the Out point. Hit the play button to make sure that you selected the portion of the video you wanted and in case you like the results add the file to the timeline. Repeat this process for all video clips that contain segments you don’t want to include on the timeline.
Drag-n-Drop files onto the timeline
You can add as many video clips to a track as you want or you can place them on a few different tracks. The only important thing is to position the video clips right next to each other in order to avoid any empty space between them.

When you place and arrange all the video footage on the timeline, you can also create a soundtrack. We can add an audio file to the timeline the same way we would add a video file. The only difference is that audio files must be added to the audio track that is located directly below the video track. The note symbol next to a track tells you which tracks are audio tracks.
If the audio file you added is longer than the video footage, you can adjust its duration by dragging one of the file’s ends to the right.
Export the Project
The final step of the video editing process is to export the video you created. Click on the Export button when ready and wait for the Export window to appear on the screen. Use the MP4 file format because it works with both macOS and Windows, so you don’t have to worry about the video’s compatibility with different media players.

Click on the Settings button to adjust the video’s encoder, resolution, frame rate, bit rate or change its output audio settings if necessary.
The rendering process will start as soon as you click on the Export button. The video file you created is going to be located in the folder you specified as the destination folder after the rendering is completed.
