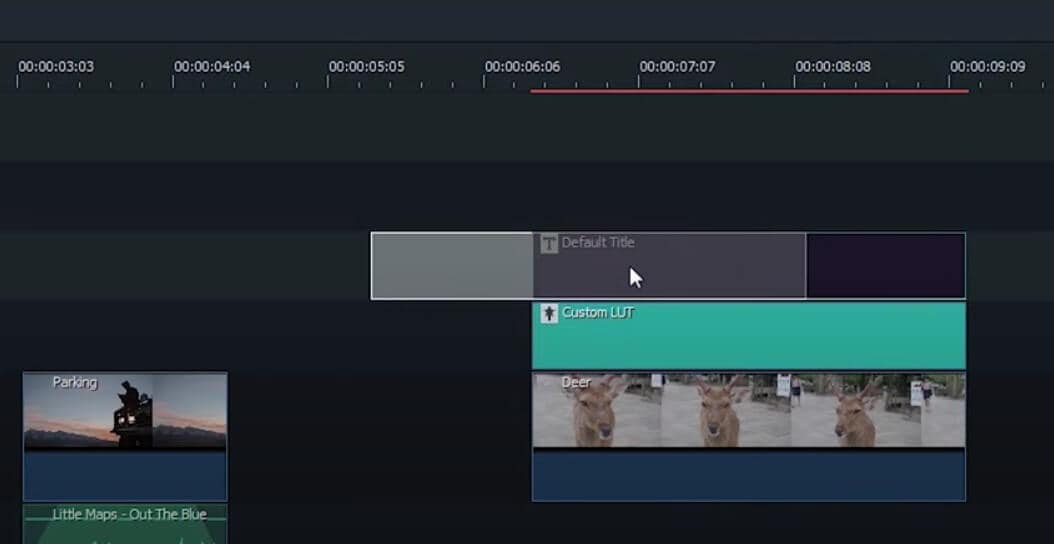
Video editing is a world of never-ending creativity, the more you dive into it the better you become. There are different elements and properties that you can connect to create a perfect piece of intro or short video. In an instance, we want to aggregate a few clips on the timeline to a single place on the video clip. For that, we need to group those clips and later on perform certain editing depending upon the requirements.
In this guide, you are going to learn about grouping, ungrouping, and making a cut in a group on your timeline.
How to group clips with Filmora9
Grouping a particular section on the timeline is a fine art but it would take a lot of clicks if you are not using the productive method. The art of aggregating a few clips into one frame is made easy and wonderful with Filmora9 video editor. Let’s learn to do it in just 1-2 clicks with the help of this wonderful guide.
Drag your cursor and select the clips that you want to move on the timeline. This method would save your time of selecting and putting each clip manually.
- 1. Drag your cursor and select the clips that you want to move on the timeline. This method would save your time of selecting and putting each clip manually.
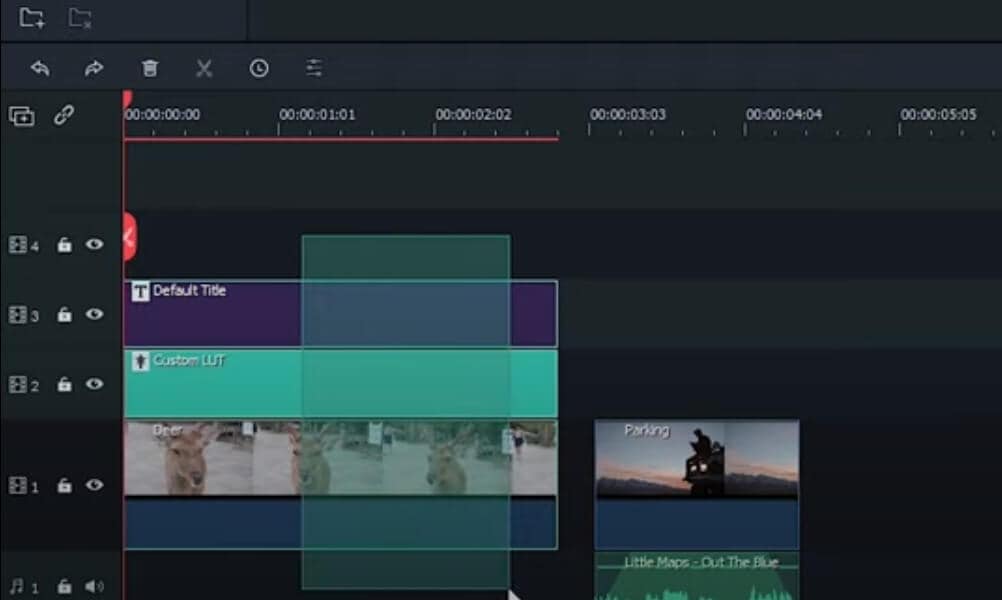
- 2. Now you can easily move the clips to any place on the timeline by simply picking up with one click.
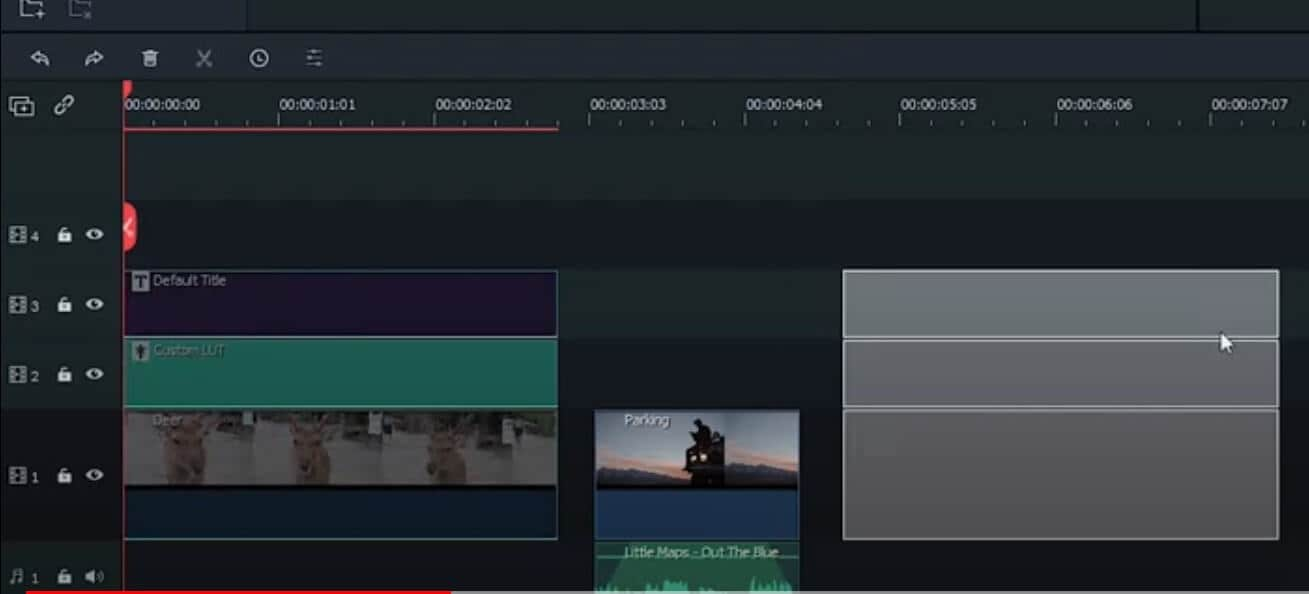
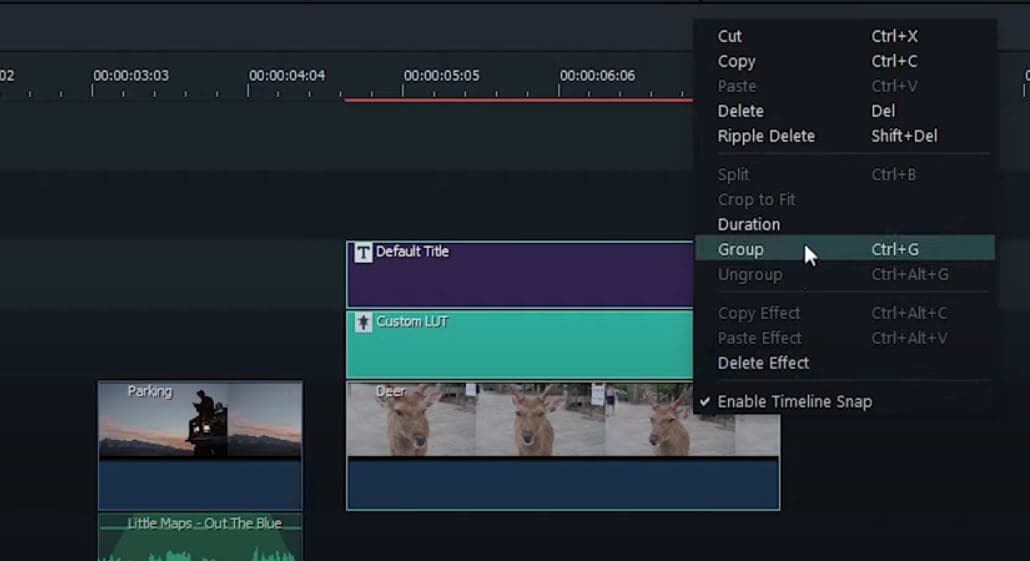
- 3. When you have moved them in a group, they will be ungrouped but if you want them to be in a group you need to drag over the group of clips, right-click on the timeline, and select Group from the options.
- 4. This way you will be able to group and drag several clips without manually picking up each one of them to a certain section on the timeline.
How to ungroup clips with Filmora9
If you want to ungroup the clips you need to right-click on the grouped clips and select Ungroup.
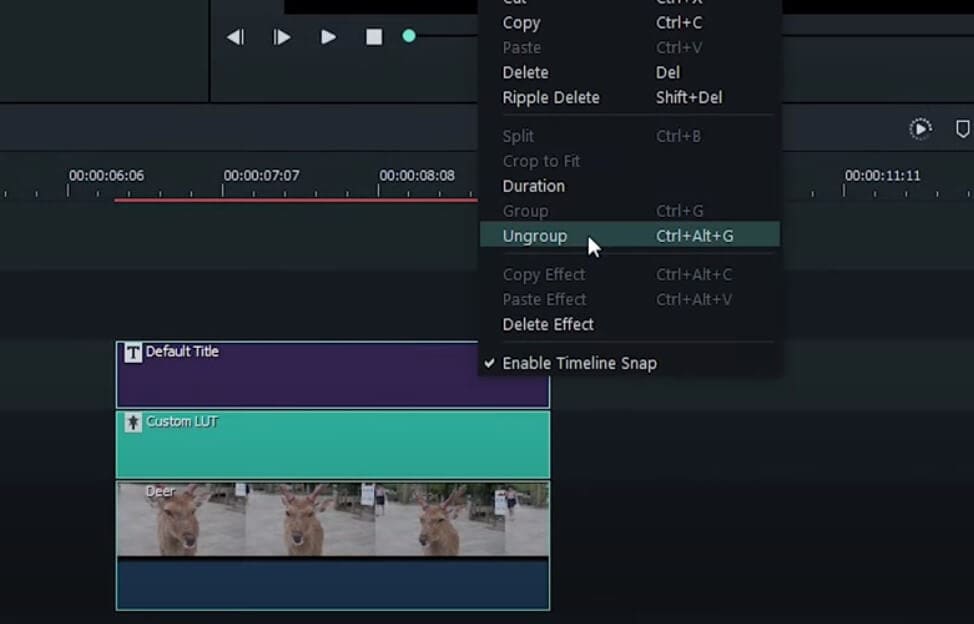
Your clips are ungrouped now and you can drag them one by one to any section on the dashboard.
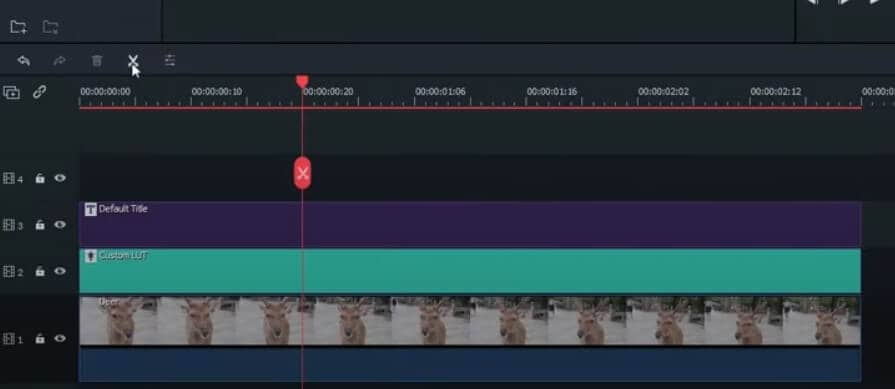
Making a cut in a group:
In this part, you will learn to make a cut in the group with simple clicks.
- 1. Click on the scissor icon as shown in the image and it will highlight the group that will be cut.
- 2. Now a window will come up to ask if you want to ungroup or cut the grouped clips.
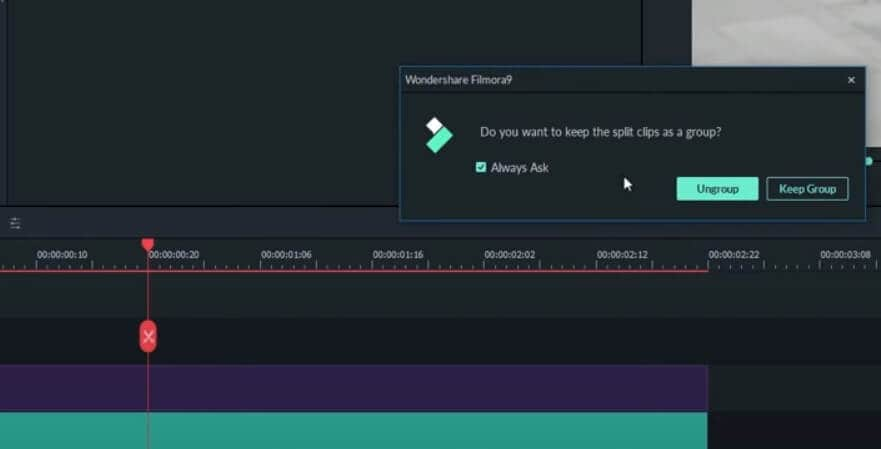
- 3. You can checkmark or uncheck the box if you want to see this suggestion in the future.
- 4. There are two cases in this section. If you select Ungroup from the options then your clips would move isolate. Ungrouping the clips while cutting is not considered as a good practice.

- 5. You should always select the Keep Group option so that your clips stay together even after a cut.

Now you have learned how to group, ungroup clips, and also how to make a cut on the group of clips. This is very simple and precise where you would find yourself in a position to do it more precisely.
Conclusion
There are different aspects of video editing but making the right choice at the right moment is very important or you will be wasting time picking up the clips one by one. The grouping and ungrouping of these clips seem to be very simple but their use case is much more solved once we move or make a cut in the grouped clips. The progress is saved and edited on the same group of clips without being affected by the ungrouped clips.
