Keyframes are the points in an animation or clip editing that indicate the start and end of a shot’s transition. They include parameters such as position, opacity, and scale that you can adjust and customize to make animations. Editors use this technique to make static elements look alive, and in Wondershare Filmora, you can animate elements such as clips, text, or images using keyframes.
Moreover, it is perfect for beginners who haven’t tried editing media before because, with Filmora, you can change the positions of images. When you have an image that you plan to move slowly from left to right, you can place one keyframe at the start and one at the end in Filmora and make your media look engaging. This tutorial will elaborate on the Filmora keyframe so you can make your animations.
Animating position
To initiate, set the position of the media you want to animate. Follow these steps to animate the position of your video.
- Launch Filmora on your desktop and import your video using the New Project interface.
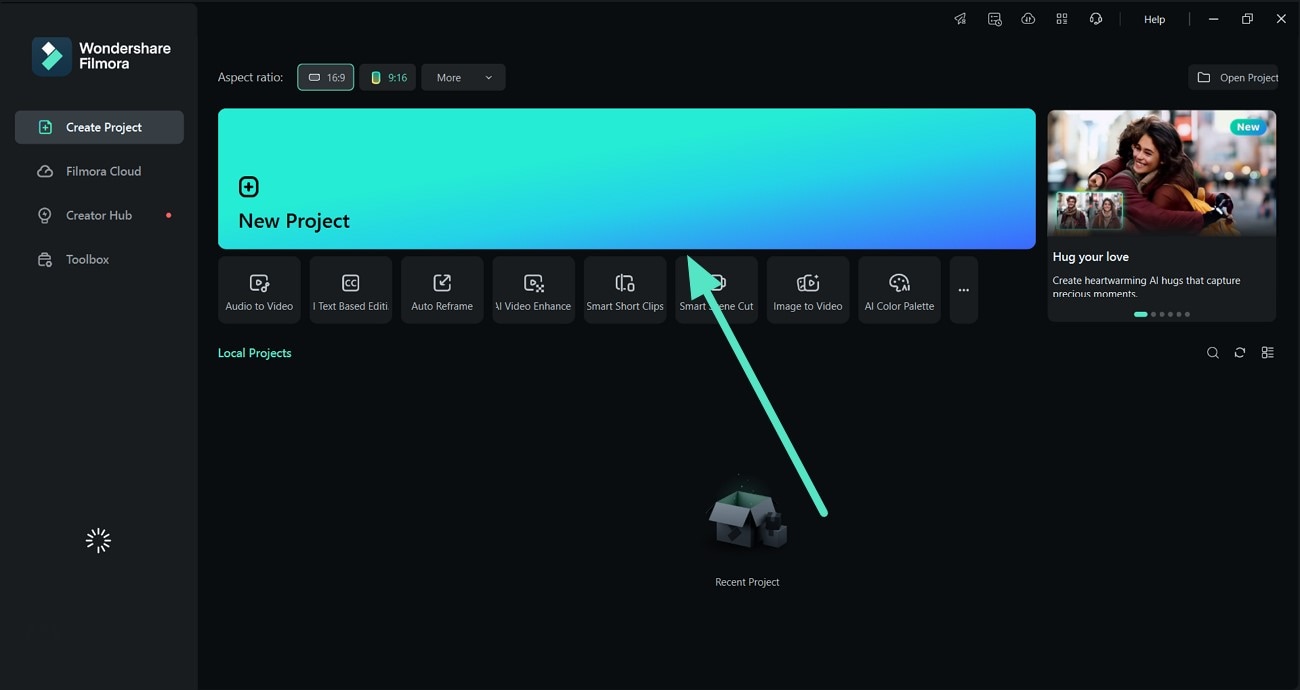
- Drag and drop the video to the timeline below and select elements such as a Stickers from the Stickers section above. Then, drag it down the editing timeline above your clip to adjust its position accordingly.

Adding keyframes
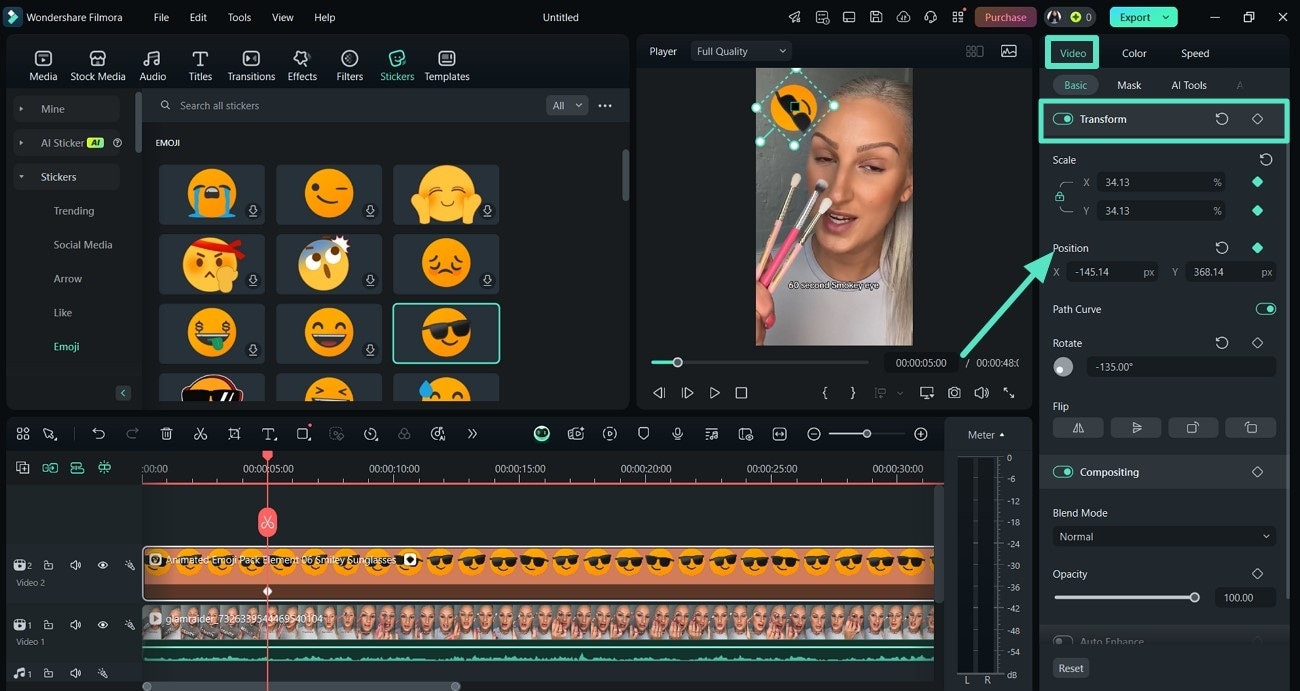
After you fix the starting position of the keyframe in Filmora, it’s time to start adding the keyframes to your video clip.
- Access the Video side panel and use the Position option to turn on the “Transform” toggle add keyframes already present on your editing timeline.
- You can also animate by dragging the sticker up and down according to your requirements.
Moving keyframes
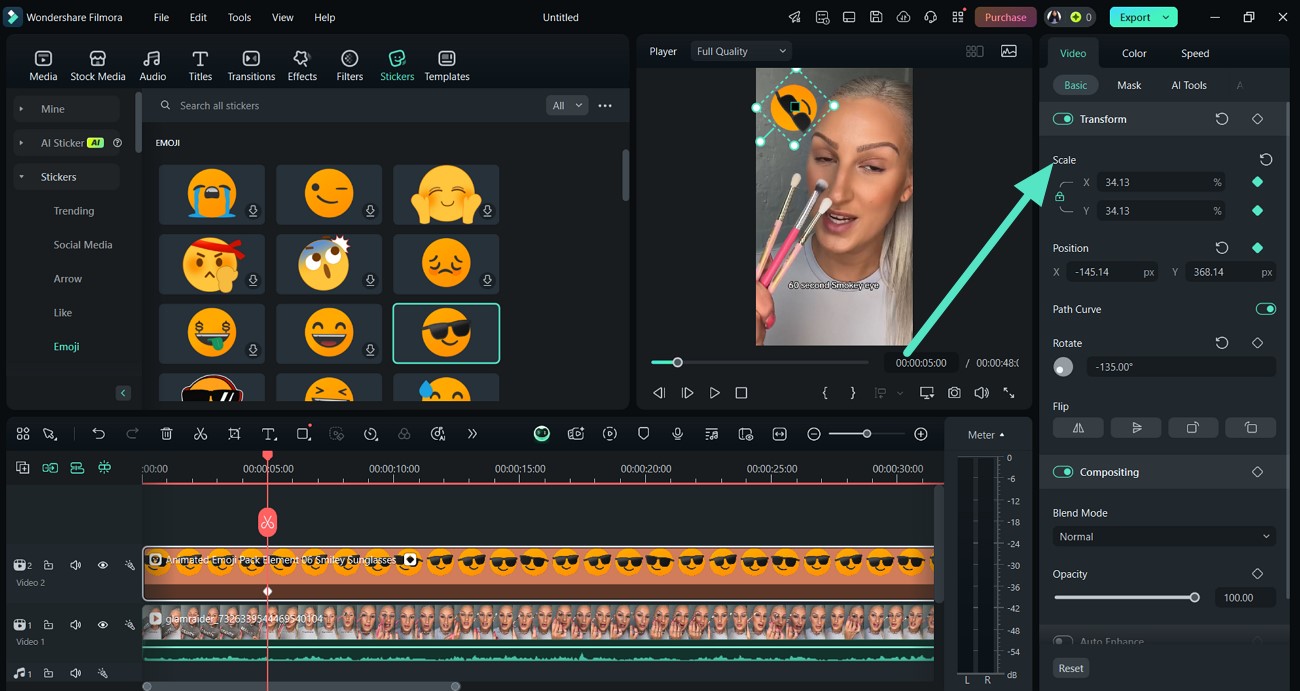
You can also make your animations fast by dragging them close to each other and reducing their distance. Select your keyframe on the screen and use the Scale option from the right side, or drag it with the mouse. When the distance between keyframes is less, the animation becomes fast, and you can make it slow by increasing their distance.
Changing keyframe values
If you don’t like the keyframe Filmora created, you can change your creation with a simple click. Here is how to change keyframe values.
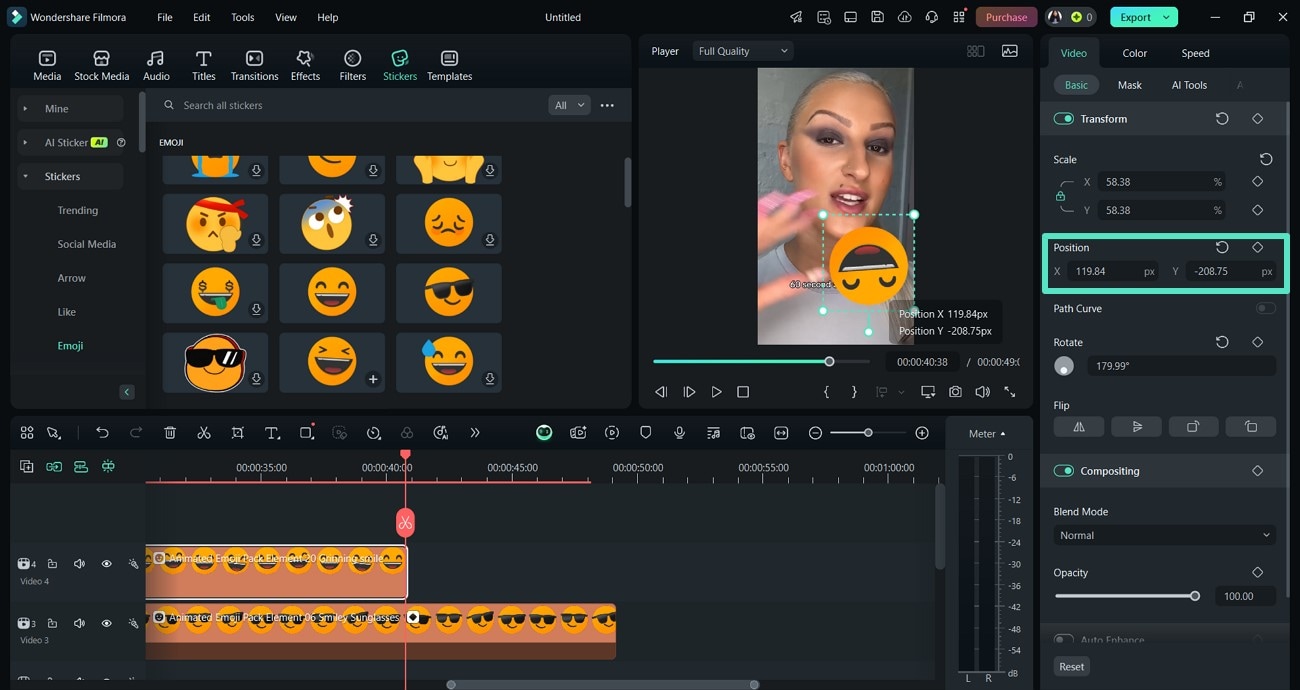
- Use the right side of the tool to change the numbers under the Position heading. You must change the X and Y figures to change your keyframe’s value and play the video to check the new settings.
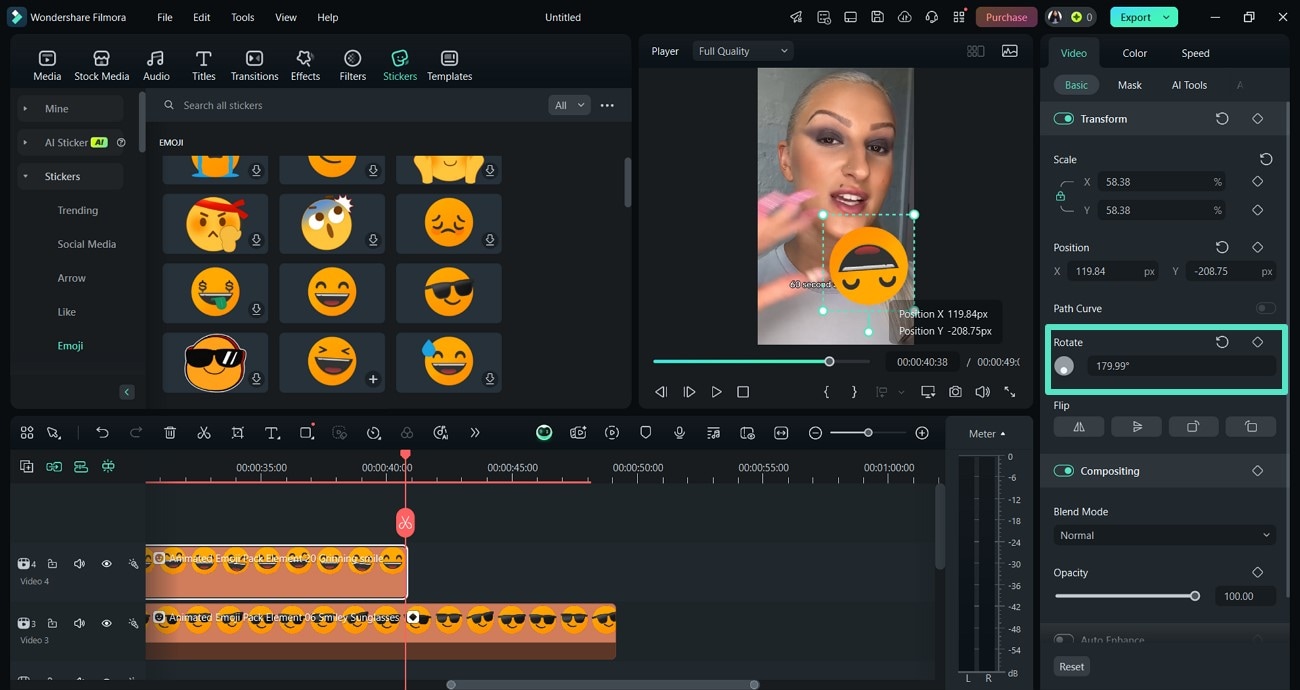
Animating rotation
Filmora also enables its users to customize the rotation of keyframes apart from fixing it through position. The following step lets you animate your keyframe’s rotation in Filmora.
- Use the Rotate wheel from the right to change the positioning of your keyframe and make it up, down, or as you want.
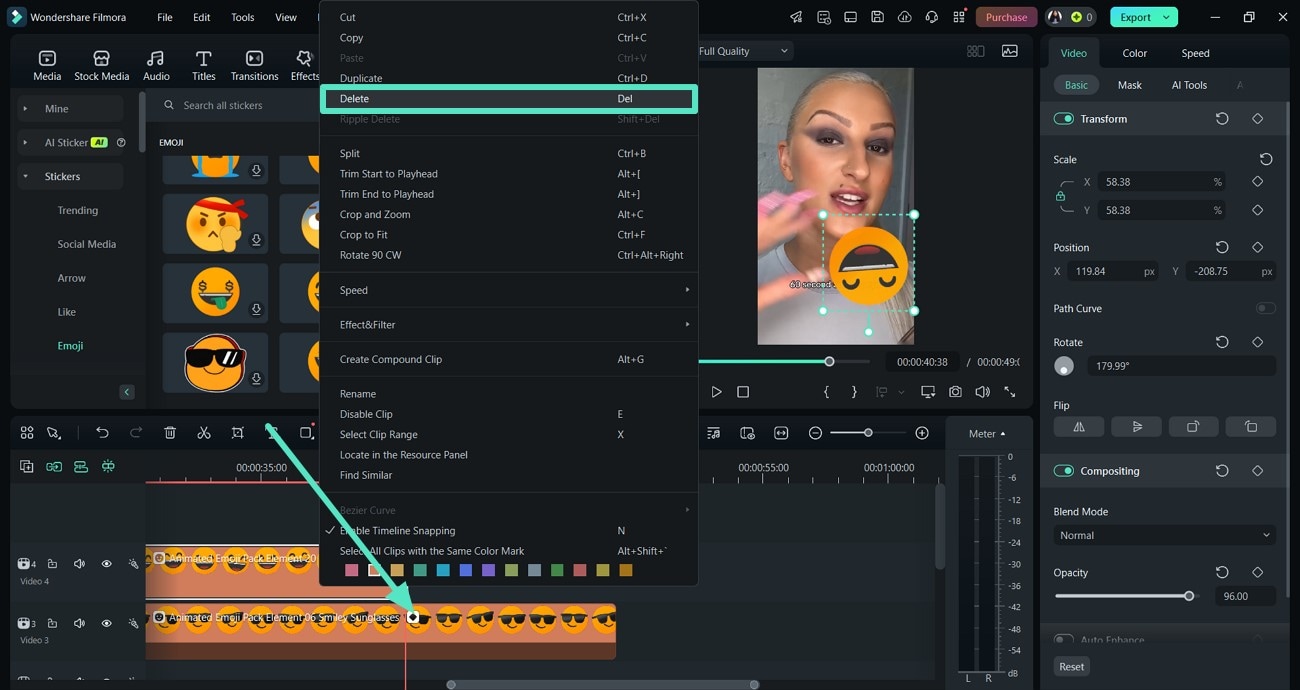
Deleting keyframes
Did you accidentally add excess keyframes or want to start animation keyframing from scratch? Here is an easy way to help you delete extra keyframes:
- To delete keyframes, head to the editing timeline and right-click on the one you want to delete. Now, it will show you different options, so select the Delete option to remove the keyframe from your video.
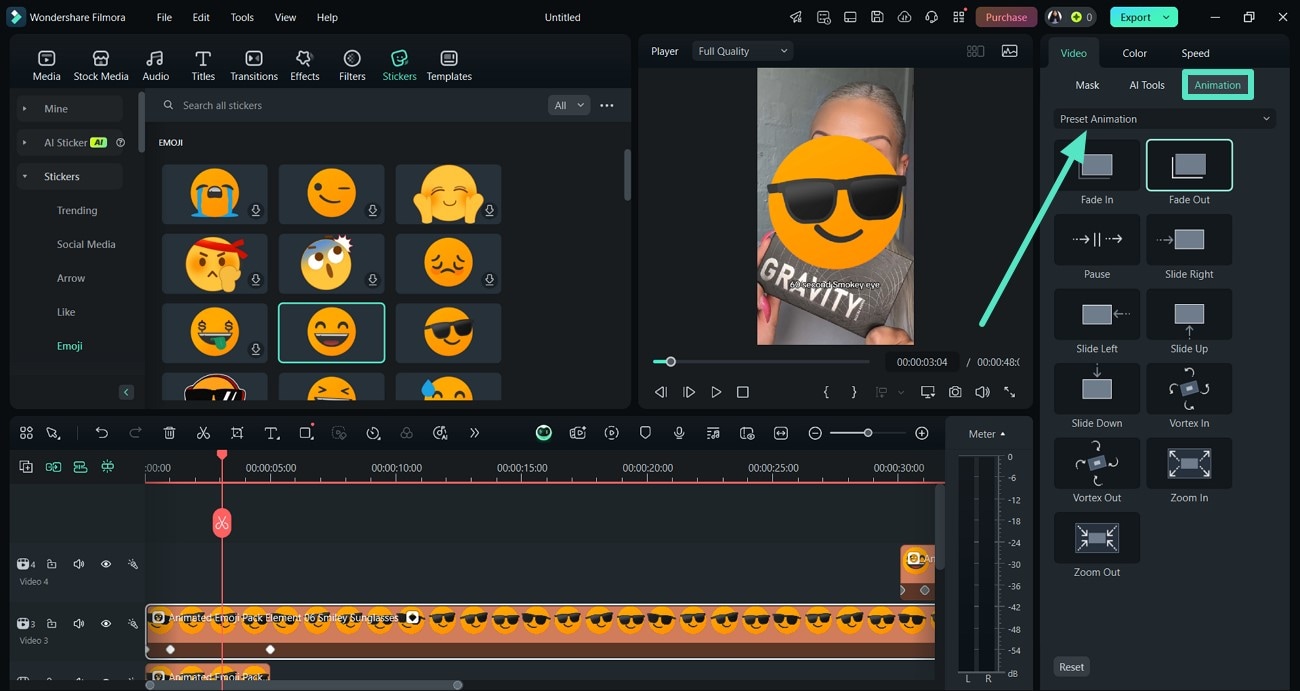
Preset animations
When you don’t have time to customize your keyframe animations or lack creative ideas, use the preset animations. You can edit your keyframes with one click and save your precious time. Follow the simple steps to preset your animations:
- Look for the Animation setting on the right side and click it to access several Preset Animation templates. You can drag them or move over the screen to increase or decrease the distance between keyframes.
To conclude
To summarize, this article walked you through the steps to animate media using the Filmora keyframe. It offers basic keyframing and complex one, allowing you to make cool videos that bring you views online. With customization available in Filmora, you can use your creativity to improve your content’s look and update your editing skills. Thus, follow this tutorial and add keyframe animations to your content today.
