Are you ready to start working on your next project? In today’s tutorial, I will be showing you how to create a project and help you understand Filmora9’s interface layout.
Create a project

The welcome window that lets you open up an existing project or start a new project is going to appear on the screen after you launch Filmora9.
Project Library
On the right side of the window, you’ll see the Project Library, where you can browse through recent projects you’re working on quickly. Or, you can also click Open Project to load a project already existing or click on a New Project icon if you want to start a new one.
Aspect Ratio
The Select Aspect Ratio drop-down menu is located directly above the New Project icon, where you can change a project’s default 16:9 aspect ratio, which is very common aspect ratio for film. You should choose the 1:1 aspect ratio for your Instagram videos, 9:16 for Instagram stories, standard 4:3 or the cinematic 21:9 aspect ratios before clicking on the New Project icon.

As soon as the project loads you’ll be inside the video editor. In the upper left corner of the screen, you will see a number of tabs, like Media, Audio or Titles.
The Media tab lets you import images, audio, and video files into a project. Each media file you add to a project is going to be displayed here. You can use the Import drop-down menu to import videos recorded with your phone or import media files from your computer. You can record videos from a webcam, capture your computer’s screen or record a voice-over from the Record drop-down menu.
Filmora9’s collection of royalty-free music and sound effects is located in the Audio tab. You can also click on a particular category in case you already know which genre of music you’re looking for.

Openers, Lover 3ds or End Credits are just a few types of templates you can find in the Titles tab. Each of the titles presets is fully customizable, so you can adjust them to a specific project or use them on different projects.
The Transition tab contains over a hundred of transitions you can use to switch from one shot to another smoothly. All transitions are divided into categories, like Speed Blur or 3D, which makes finding a transition you want to add to a video clip easier.

The selection of filters and image overlays Filmora9 offers can be accessed from the Effects tab. The video editor lets you manipulate the footage in a variety of ways. In this tab, you can also find effects that allow you to blur faces or crop videos.
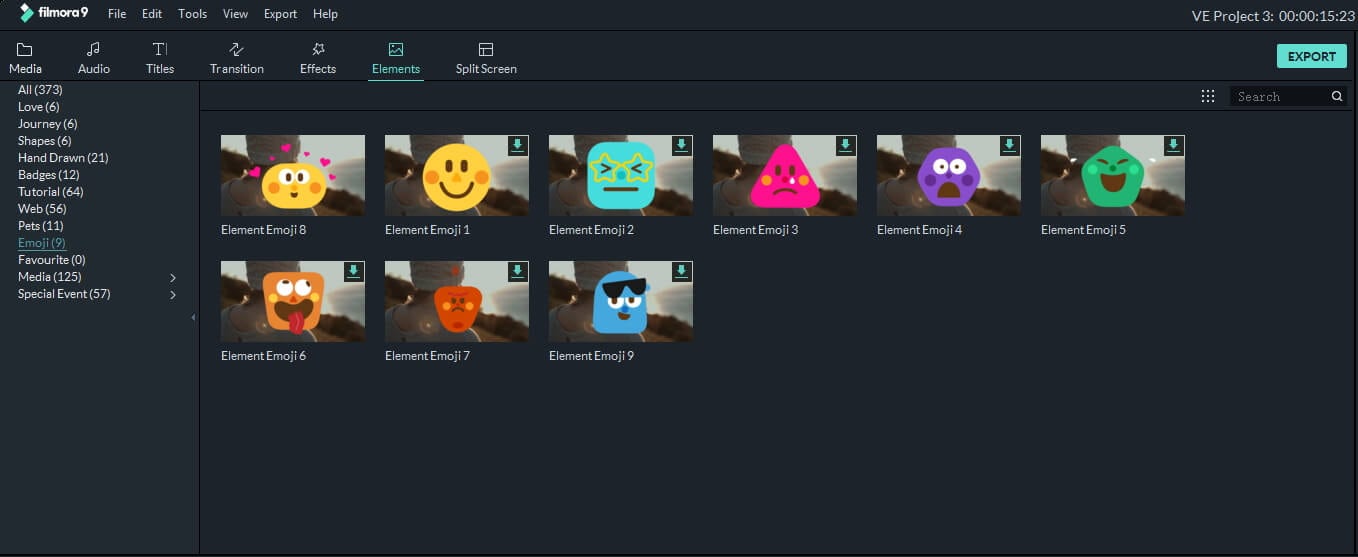
If you want to add emojis, shapes or hand-drawn media assets to a video, you should head over to the Elements tab. Filmora9 offers over two hundred elements you can use for free in all the videos you create.
File, Edit, Tools, View, Export and Help menu buttons are located above the Media tab in the upper right corner of the window.
You can create a new project, open an existing one, or save a project from the File menu, as well as adjust project settings or import media files. The Redo, Undo, Select All, Cut, Copy, Paste and Delete options are all located in the Edit menu, while the Tools menu enables you to sort and group media files quickly and efficiently.
The View menu lets you control how you preview the footage in Filmora9, by adjusting the playback quality or the zoom level. Once your project is completed, you can head over to the Export menu and decide whether you want to export a video to a hard drive, to a device or to your social media channel.
The online help guides can be accessed from the Help menu, where you can also check for updates or contact the support center. Click on one of the Filmora9’s social media links if you want to become a part of its vibrant community.
